Share seeds, swap stories…while contributing so much more

Seed saving is an art, not to mention fun and empowering. Plus, it’s a valuable contribution on a deeper level: agricultural biodiversity matters, and seed saving in home gardens is mainstream conservation of biodiversity!

PHOTO: John Withee bean collection.
A highlight of our 2013 Seed Swap was the John Withee bean collection. A family tradition of “beanhole” cooking led John Withee to collect and organize 1,267 bean varieties. He donated the collection—and its handcrafted case—to Seed Savers Exchange before he passed away.

Here’s why you, the home gardener, should start a seed collection:

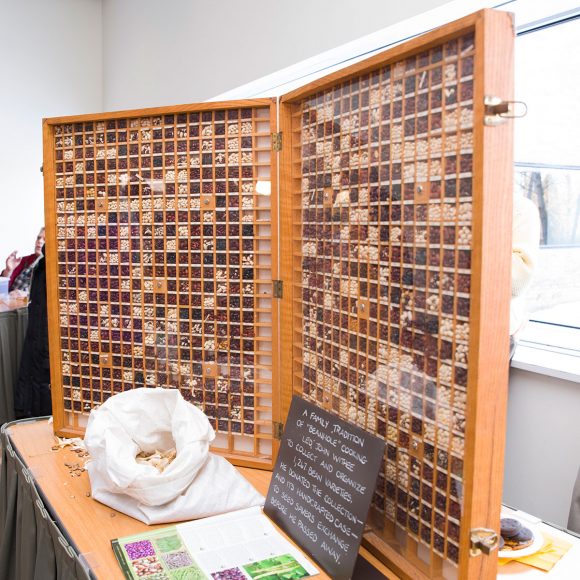
Seed saving promotes self-reliance, and swapping seeds connects and builds community. It connects us to our agricultural roots. Additionally, it helps conserve our agricultural resources. Preservation matters. Once varieties are lost, they cannot be recovered. A century ago, seed houses had hundreds of varieties, and now just a few remain. Think about this vegetable fact: In 1903, 544 varieties of cabbage were listed by seed houses across the United States. By 1983, just 28 of those varieties were represented in our national seed bank at the National Seed Storage Laboratory (now the National Center for Genetic Resources Preservation).

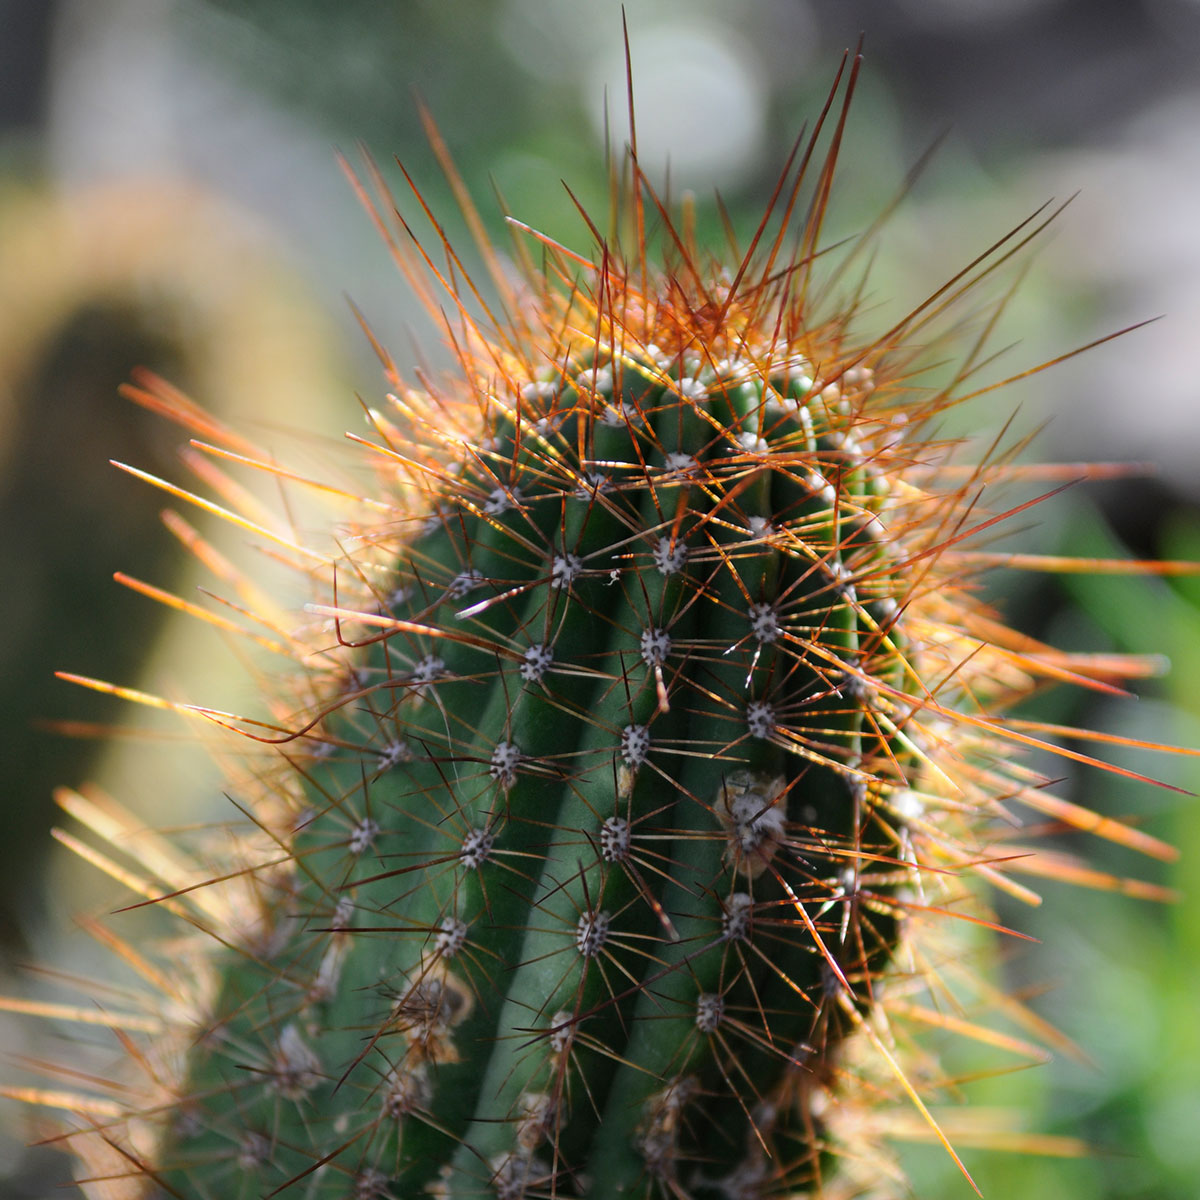
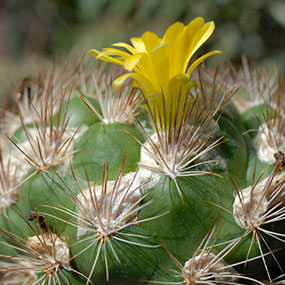
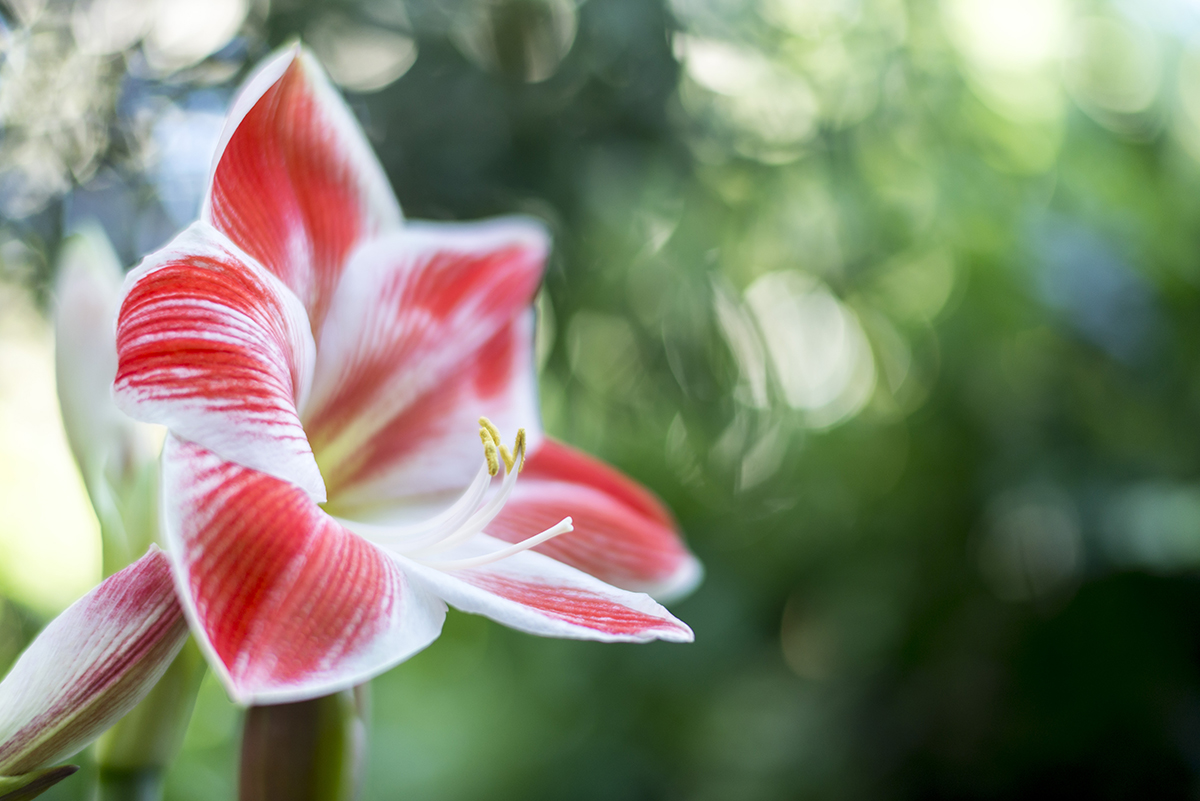
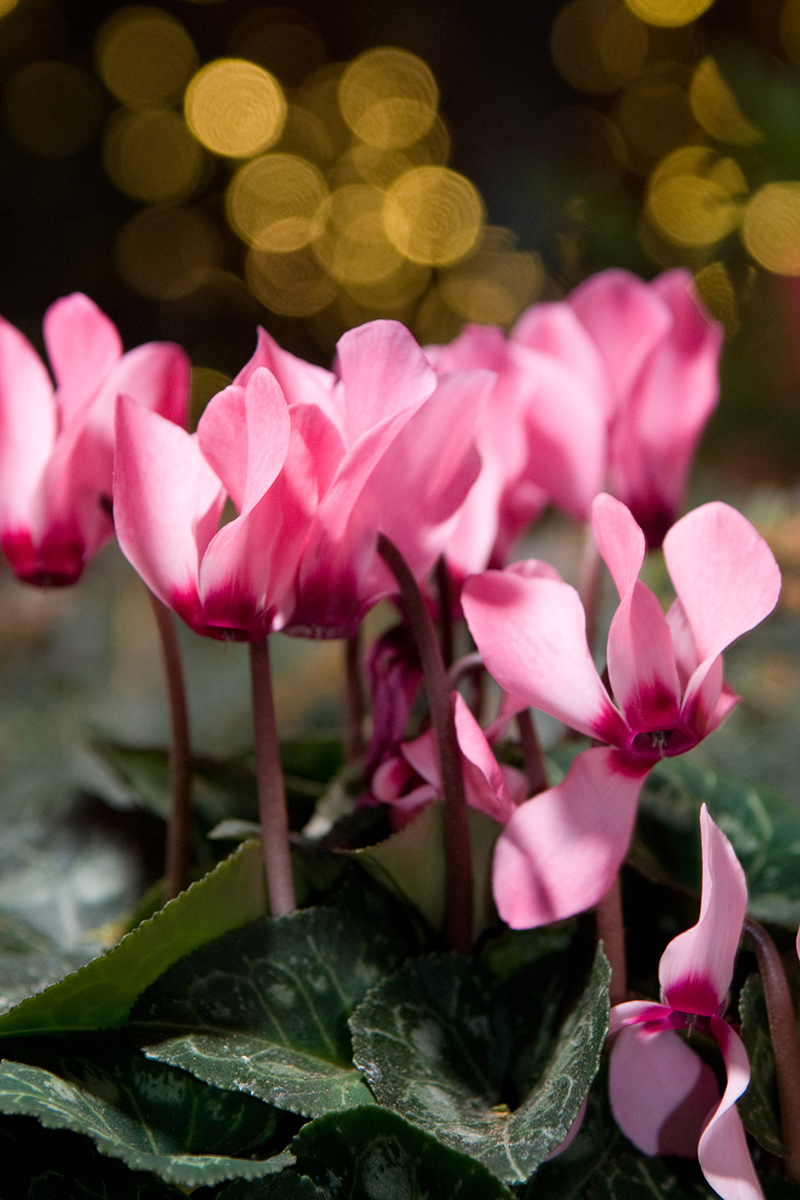
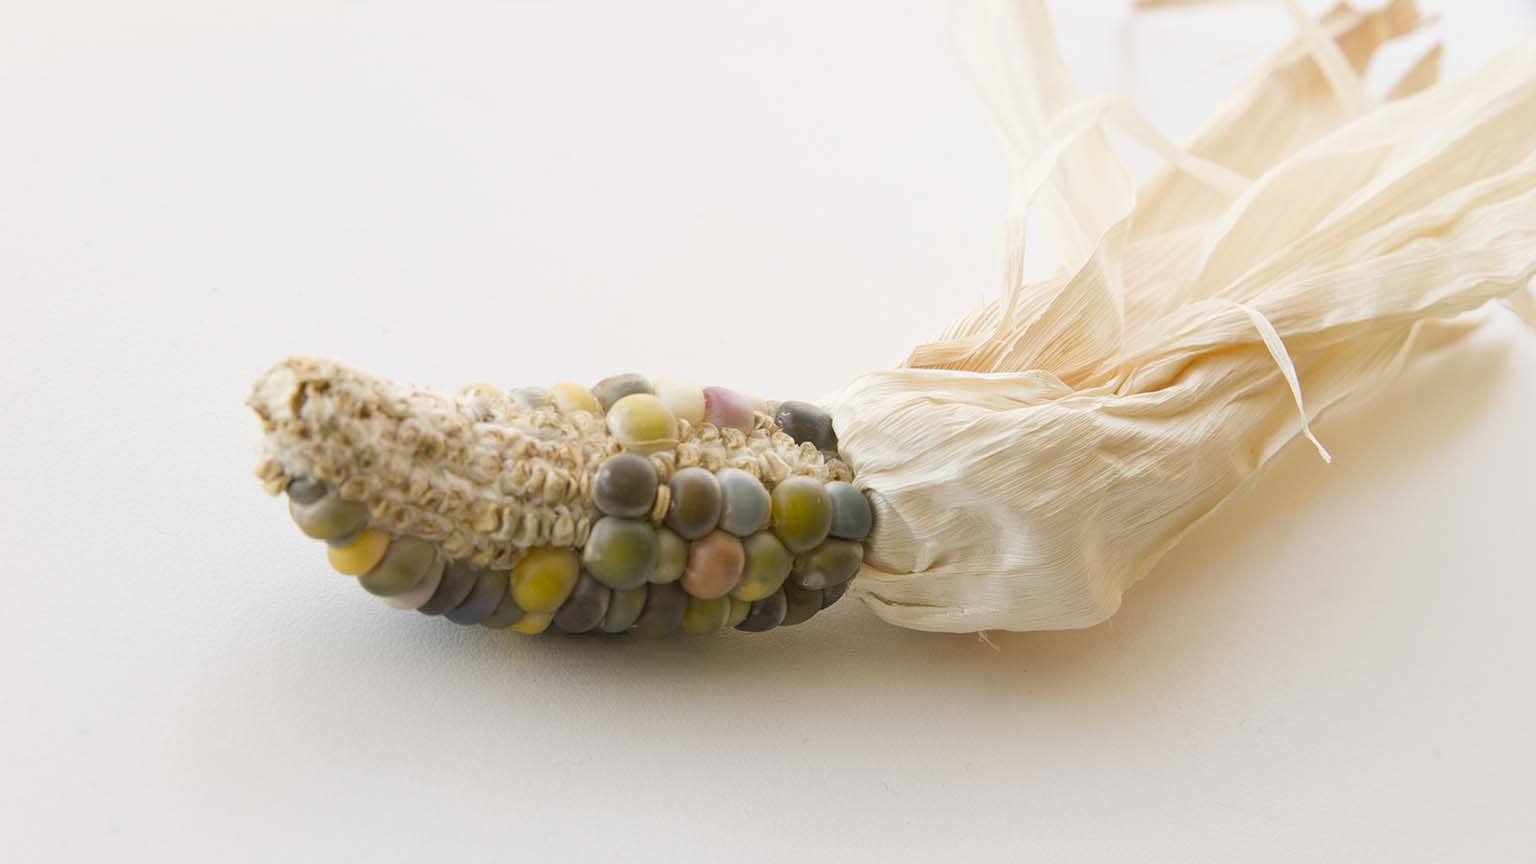
Saving seeds encourages adventurous eaters. Growing heirloom varieties holds culinary appeal because it offers the opportunity to grow interesting vegetables that aren’t readily available in grocery stores.

Thrifty seed collectors save money because there is no seed to buy each spring. They maintain a personal seed collection.

Seed savers are lifelong learners, and home gardeners play an important role in helping to preserve our diverse seed histories. Home gardens become living laboratories to learn about plants. Seed saving builds observation skills, and there is a need for more seed growers to evaluate varieties for disease resistance and variety. 

Finally, saving and sharing seed just feels good. 

PHOTO: Broccoli seedlings
Broccoli seedlings

Which seeds should be saved (and are the easiest to save)? 

Deciding which seeds to save requires a working knowledge of several definitions:

Hybrid varieties (F1) produce seeds that, when grown the next year, are unlikely to resemble the original plant. Don’t save seeds from a hybrid vegetable. Seeds should be saved from open-pollinated plants (OP), those stable varieties that can reliably reproduce themselves generation after generation. As long as open-pollinated plants don’t cross pollinate with other varieties of the same species, their offspring will carry the distinguishing characteristics of the variety. Heirloom vegetables are open-pollinated plants that produce seeds passed down from one generation to another, often with historical connections and stories. Heirlooms carry special value and are usually old varieties.

Deciding which seeds to save requires a basic understanding of how plants reproduce:

Very simply, plants either mate with themselves or they mate with other plants. Self-pollinating plants have all the flower parts (anther and stigma) to transfer pollen within their own flowers (achieved by physical contact of male and female parts), or between separate flowers on the same plant (helped by wind or insects). In other words, they mate with themselves. Cross pollination takes place when pollen is transferred from one plant to another plant by insects, birds, or wind. Crossers can’t move pollen without help as the selfers do. Offspring of plants that cross pollinate may have different characteristics than the original variety unless they are isolated from plants of the same species.

Seed packet with description designating F1 seed.
If a package is labeled F1, seeds should not be saved, as they are unlikely to reliably reproduce the same plant as the parent.

A couple of tips on planning a garden for seed saving:

  • Start small and keep it simple.
  • Balance the many factors that comprise the art and practice of seed saving.
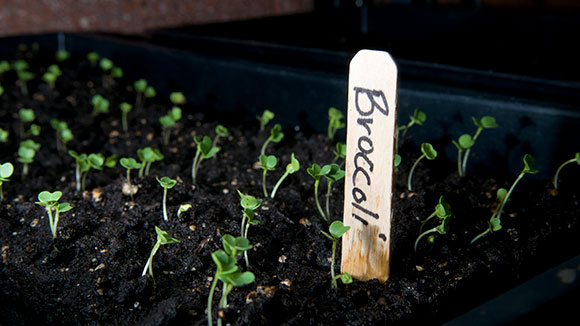
  • Begin by choosing a couple of self-pollinating annuals. Peas, beans, tomatoes, and lettuce are easiest to save. Insect- and wind-pollinated annuals may require isolation distances so they don’t cross pollinate.
  • Thoughtfully map out the garden to make efficient use of space. Growing plants for seed may take up more room for a longer period of time. While radish may be harvest-ready after growing 30 days, it may take much longer for your radish crop to produce its seeds.  

Take our classes during the Super Seed Weekend to learn more about planning a garden for seed saving.

Seed savers contribute! Come to learn, swap seeds, and share stories at Super Seed Weekend and experience the satisfaction that comes along with being a seed saver. A broad community of seed savers (new friends) awaits!


©2017 Chicago Botanic Garden and my.chicagobotanic.org

Repotting Cactus

Repotting a cactus can be intimidating, but a few simple tricks can make the project a lot less painful—and result in beautiful, healthy plants.

When repotting a cactus, there a few essential tools you’ll need:

  • Chopstick or small dowel
  • Cactus soil
  • Container with drainage
  • Gloves
  • Newspaper

Cactus soil is a special blend of potting soil that is formulated for fast drainage. It is usually a blend of peat moss and sand, sometimes including coconut fiber, perlite, or vermiculite. With the increase in popularity of growing cacti and succulents, it has become a garden center staple and can be found at most garden centers and hardware stores.

View video on our YouTube channel

You’ll want to use a container—preferably one that is made from terra cotta—with drainage holes. This allows the water to drain away from the roots rapidly. Cacti are native to dry environments and do not like to have their roots sitting in water. If the drainage hole on your pot is especially large, it can be partially covered with a rock to prevent soil from draining out the bottom when you water. Most cacti are slow growing and should never be planted in a pot that is more than an inch larger in diameter than their previous container. This is to help prevent rot.

Winter is a great time to warm up in the Greenhouses and see our cacti collection.

Weingartia lanata in bloom.
Weingartia lanata in bloom

Repotting your cactus is in many ways very similar to repotting almost any other houseplant.

  1. Begin by filling the new pot ½ to ¾ full with soil.
  2. Remove your plant from its old pot. 
    • Make sure to wear gloves.
    • Roll up a sheet of newspaper to make a strip approximately the same width as a belt. 
    • Wrap your newspaper strip around the plant and use it as a handle to gently lift the plant from the pot.
  3. If the plant is really root bound, gently loosen the soil around it to encourage new growth. (I like to leave some of the soil intact. This provides some weight to help keep the plant anchored. If the soil is poor quality, all of it should be removed.)
  4. Using the newspaper handle, set your plant into its new pot.
  5. Using the chopstick, firm the soil around the base of your plant. Keep adding soil until it reaches the same level as the old soil. (This should be approximately ½-1 inch below the lip of the container.)
  6. Water your plant throughly. 

Your cactus now has much more room to grow, which also means much more soil to stay moist. Make sure to check before watering again—the soil can stay moist for a long time, even if it is a mix made for cacti.


©2017 Chicago Botanic Garden and my.chicagobotanic.org

Keep holiday plants beautiful beyond the season

Holiday plants and flowers make great gifts for everyone on your shopping lists. They are perfect gifts for family members, the host and hostess of the holiday parties you attend, and of course, are beautiful for decorating your own home. Plus, they can be enjoyed long after the holiday season is over, adding color and life to your home on chilly winter days.

But getting your plants to last longer will require a little special care. Here’s how to take care of the most popular gift plants, both during the holiday season and long after.

Jubilee Red poinsettia
Euphorbia pulcherrima ‘Jubilee Red’

Poinsettias (Euphorbia pulcherrima) appreciate bright light away from heating vents, fireplaces, and drafty windows or doors. Maintain even moisture (but avoid soggy soil); plants will wilt dramatically if allowed to dry out. The plants should never be allowed to stand in water for more than 20 minutes if possible.

Poinsettia plants can be a challenge to keep year-round, and most gardeners discard the plant after the holidays. However, those trying to force a rebloom the following season can follow these guidelines:

  • As long as the plant looks healthy, continue to provide it with even moisture and warm temperatures in a bright location, out of direct sun. In six to eight weeks, it will begin to lose its leaves and turn slightly off-color. At that point, cut the entire plant back to 6 inches and repot in a larger pot, adding enough extra soilless mix or potting soil to fill the pot. Water thoroughly and place the plant in a south-facing window.
  • Begin to fertilize the plant twice a month with a dilute 20-20-20 or 10-10-10 mix. New growth should begin. Begin pinching new stems back once a month to encourage bushy growth. Continue this pinching until the end of summer.
  • In mid-May, after all danger of frost has passed, gradually introduce the plant to the outdoors, bringing it back in at night until the nighttime temperature remains above 60 degrees Fahrenheit. Then place the pot in a sunny spot where it is protected from strong afternoon summer sun. Water and fertilize regularly.
  • When night temperatures approach 60 degrees, it’s time to bring the poinsettia back inside to a sunny windowsill. By the end of September, the plant must be placed in a completely dark closet or covered with a box every night from 5 p.m. to 7 a.m.—with no exceptions. After 7 a.m., it can be placed back in a sunny window but returned to the closet at 5 p.m. This dark treatment is necessary for the plant to set its flower buds. Provide normal water during the day and fertilize monthly.
  • Poinsettia plants thrive in warm rooms with bright light and will suffer if exposed to drafts, sudden temperature changes, or excess dryness from heating vents. Continue this treatment until the middle of December, when the plant should be fully colored up for display again for the holidays.

Cocktail amaryllis
Hippeastrum ‘Cocktail’

Amaryllis (Hippeastrumbulbs should be potted up in wide, squat containers using a soilless mix. Allow the “shoulders” of the bulb to remain above soil level; water well once and then allow soil to dry out before watering again. Keep the pot away from direct sunlight, drafts, and heating vents.

  • Most amaryllis plants will send up stalks and flower first (leaves will emerge after a bloom cycle). As the stalk grows, rotate the pot for even growth. After flowering, allow the stalks to yellow and wither before removing them from the bulb.
  • Continue to water the plant after leaves emerge. After May 15, take the plant outside and place it in a location where it receives morning sunlight. Fertilize regularly with a dilute 10-10-10 or 15-15-15 mix.
  • Around October 15, bring the plant inside for its resting period. If the leaves have yellowed, remove them from the bulb. If they are still green, allow them to yellow before removing them from the bulb. Take the bulb out of its container; shake off the dirt and place it in a cool, dark room (40 to 50 degrees). At that time, cut off any dried roots from the bulb and re-pot. Signs of new green growth can occur from six to 10 weeks later.

Cyclamen 'Salmon with Eye'
Cyclamen ‘Salmon with Eye’

Cyclamen plants prefer quite cool indoor conditions. Water only when the soil dries out, and avoid splashing water on foliage.

  • Water these plants below the foliage, or set them in a shallow saucer to soak up water. Discard any unused water after 20 to 30 minutes. (To prevent root rot, make sure the plants don’t sit in water for long periods of time.)
  • Cyclamen will continue to bloom for a few weeks if they are kept in a north- or east-facing window. Remove the faded flowers and their stems at the base of the plant as soon as possible to keep the plants blooming in a tidy fashion. Most gardeners find it too difficult to force the plant to bloom again the following season.
Azalea 'Big Joe'
Azalea ‘Big Joe’

Azaleas require moist soil, bright light, and occasional misting. They perform best if kept in cool locations. Flowers will remain for months if old blossoms are quickly removed, the plant receives adequate moisture, and it is kept in cool conditions.

  • In May, once all danger of frost has passed, the plant can be taken outside to a shaded or partially shaded spot where it only receives morning light in the garden. At that time, begin to fertilize twice a month with a dilute liquid fertilizer formulated especially for acid-loving plants.
  • Bring the plant back indoors before October 15.

Phalaenopsis orchid
Phalaenopsis orchid

Phalaenopsis or moth orchids prefer warm rooms in bright, but not direct sun. Moth orchids will bloom for months, but sudden temperature changes can cause the plant to drop buds. Remove drying buds to maintain the beauty of the plant. Orchids potted in fir bark generally require once-a-week watering. Those in potting soil can be watered less often.

  • After flowering, allow the stem to yellow before cutting it off at the base of the plant. Begin fertilizing plant twice a month with a dilute orchid fertilizer. This will encourage the growth of a new stem and more flowers the following year.
  • Wash the foliage monthly. It’s not necessary to take this plant outdoors for the summer; but it will tolerate being moved outside if kept in shady location, and not allowed to dry out.
  • Continue normal watering and fertilizing until a new stem appears, approximately 10 to 12 months later. When the plant initiates flower buds, discontinue fertilizing.
  • Continue to provide bright light—but keep out of direct sunlight—in a warm room. During winter, try to provide extra humidity from pebble trays, or by misting daily if possible. 


Ivy topiary
Ivy topiary

Ivy topiaries are popular holiday plants that can last for years if given proper care.

  • Like cyclamen and azaleas, ivy also prefers quite cool conditions and bright light far away from heating vents or fireplaces.
  • Mist the plant regularly, or rinse the plants in a sink to keep the foliage clean and free of spider mites. As new growth emerges, train the new growth to the desired form.
  • Take the plants outside after May 15. Maintain growth during the summer by keeping the plants watered often, and fertilize them at least once a month, keeping the plants in a semi-shaded location. Continue training and pruning the plants periodically to keep their desired form.
Paperwhites
Narcissus papyraceus

Paperwhites (Narcissus papyraceus) may require a cage or a ring of raffia tied around them to keep them from flopping as they grow. If purchased as bulbs, grow them in a shallow dish filled with pebbles rather than soil. Arrange the bulbs close together and cover them with pebbles, with just their tips exposed. (The weight of the pebbles helps to keep them from falling to the side as they grow.) Water just enough to encourage root growth, not soaking the bulbs.

Paperwhites can be discarded after blooming, as they are not hardy to be planted outside in your garden.


©2016 Chicago Botanic Garden and my.chicagobotanic.org

So You Want To Buy A Christmas Tree

Christmas tree lots carry a dazzling array of trees ranging from fragrant balsam firs (Abies balsamea) to shimmering Colorado blue spruces (Picea pungens). With so many choices, how does one choose?

The three most commonly encountered groups of Christmas trees are firs, pines, and spruces.

PHOTO: Siberian fir tree (Abies sibirica).
Siberian fir

(Abies sibirica)

Fir (Abies sp.)

The most common firs available are Canaan fir, noble fir, and balsam fir. All make terrific trees with a classic piney fragrance. They feature dark green needles (often with silver undersides) and are known for their rounded needles, which minimize injuries. They’re among the longest-lived Christmas trees and most resistant to needle drop. The main downside is that some varieties can be very expensive.

PHOTO: Colorado blue spruce (Picea pugens 'Procumbens')
Colorado blue spruce

(Picea pungens ‘Procumbens’)

Spruce (Picea sp.)

Spruces come in colors ranging from dark green to icy blue, but they all share one thing in common; incredibly sharp needles. While they make terrific trees for outdoor decorating, they do not hold up very well to the dry air indoors. If you select a spruce, it is critical that it is kept away from any sources of heat that might dry it out. The branches are strong and can support ornaments well, and their color range is quite appealing. When used properly, spruce can be an excellent plant for holiday decorating.

PHOTO: Pinus cembra 'Blue Mound'.
Pinus cembra ‘Blue Mound’ showcases its long, soft needles.

Pine (Pinus sp.)

Pines are another popular Christmas tree. The most commonly available pines are white pine and Scots pine. Pines feature long needles and tend to have a more clumpy look on the branches so the overall effect is less formal than the firs and spruce. The branches are generally more stiff than other evergreens, which makes them great for hanging ornaments. The biggest downside to pines is that they often turn a duller green for the winter. Many tree lots dye them a darker green to make them more attractive.

As you can see, every type has its pluses and minuses, but a few things hold true no matter which type of tree you select:

  1. Ask to unbag the tree before purchasing it. Many tree lots have the trees in netted bags, which makes it hard to see if the tree has a flat side or a bald spot. If this is a concern, just ask.
  2. Give the tree a good shake. If you find lots of needles falling off, that means the tree is dried out and will not last long.
  3. Look for trees with healthy, firm needles. Dull, brittle needles are a sign of a dried-out tree.
  4. Always give the trunk a fresh cut before placing it in water. If you have the ability to do this at home, that’s best, but your tree will be fine if you have it done at the lot just before bringing it home.
  5. Get your tree into water as soon as possible. Once the cut end scabs over, the tree will have a hard time taking up water and will lose needles rapidly.
  6. Never allow the water dish to dry out. It’s not uncommon to refill the dish every day, especially for the first week.
  7. Christmas tree food (a liquid food similar to the packets of cut flower food you receive in bouquets) helps extend the life of your tree.
  8. Avoid placing your tree near radiators or heating vents. This will cause needles to dry out very rapidly and can quickly become a fire hazard.
  9. At the end of the season, trees can be “planted” in the snow and used as seasonal decor and shelter for birds, or composted.

©2016 Chicago Botanic Garden and my.chicagobotanic.org

Play a game to learn about water conservation

A few years ago, my Daisy and Brownie Girl Scout troop was working on their Household Elf badge. We needed a fun way to teach about conserving water at home—not a lecture—because let’s face it, after a full day of school, 6- to 9-year-old girls would will not sit still and listen to another lesson. I decided to make a board game for them. The main message of this game was a really important one: in Chicago, all of our water for drinking, cleaning, and recreation comes from Lake Michigan. If we waste water, then we waste the lake. It is that simple. 

PHOTO: Board, cups, beads, and game tokens are arranged for the water conservation game.
The Water Conservation Game is set up and ready to play.

The girls responded very well to the activity. I am sharing it on the Garden’s blog for others to use, because at the Chicago Botanic Garden, we would also like people to understand the importance of conserving water from our lakes and other sources. Obviously this game was created for Chicago residents, but the same principles apply everywhere, in every community. The game could be adapted for another location by replacing the image of the Lake Michigan with an image to represent the local water source. (For most cities, that is groundwater.)

Download the game board

Click to download the water conservation game.
Click the image above to download your copy of the Water Conservation Game.

I discovered, to my surprise, that many of my Brownie Scouts were not familiar with board games. Most millennials have lots of experience pushing virtual buttons on a screen and competing against friends in cyberspace, but tossing a die and moving a token around a board with actual friends? Not so much. Anyone replicating this activity may find they need to explain how a game like this works. Also, it was also important to require that the players actually read the board squares in order to understand why they are taking two or three or ten beads as they move around the board. Having a discussion at the end of the game proved essential to getting the message across. 

After playing the game with my Scouts, I shared it with a group of middle school girls who were studying conservation in an after-school program. Believe it or not, it worked well with the older students, too. In fact, they loved it—mostly because they got to make a bracelet. But hey, whatever works, right?! 

To use this activity with your group, make one complete game set for every three to five students.

A game set includes:

  • 1 game board, printed on 11″ x 17″ paper
  • 1 six-sided die
  • Place marker tokens; one per person (these can be any small object, or borrow them from another board game set)
  • About 100 pony beads (I like to use transparent blue plastic beads because they look like water)
  • 1 small cup per person, plus one cup to serve as the bead reservoir
  • Elastic thread cut into 8-inch pieces; one per person (this is to make bracelets)

Game rules

  1. The object of this game is to move around the board and be the person who uses the least water. Remind players that every time we use water, we take a little more out out of Lake Michigan.
  2. Put about 100 beads in a cup and place it in the middle of the lake. The beads represent water from Lake Michigan. Players will keep track of how much water they use by collecting the beads in their cups as they move around the board.
  3. Players place their markers on “Start.” Each player rolls the die; the player with the highest roll goes first. If there is a tie, roll again to break the tie. The player sitting on the left of the first person goes second and players take turns going around the board in a clockwise direction. (I had to explain this to the girls in my troop.)
  4. The first player rolls the die and moves that number of spaces on the board in the direction of the arrows. The player lands on a square, reads what it says and follows the directions, collecting the beads from the reservoir and putting them into her own cup. Each player takes a turn and until everyone has moved around the board once and ended at the lake. It is not necessary to roll a perfect number to reach the end.
  5. When everyone is swimming in the lake at the end, tally up the number of beads each player has collected. The player with the fewest beads wins, because she used less water than the other players. 
  6. Return beads to the reservoir and play again once or twice to give others a chance to win. 

What is this game telling us? 

Ask the players to think about water use. The questions below can stimulate discussion. This can be brief, but it is important to reinforce the message that all of our water comes from Lake Michigan and we need to be responsible with water use.

  • What activities in the game used a lot of water and made someone lose the game?
  • What are some ways people waste water?
  • What practices use less water? 
  • What would happen if everyone was careless and used all the water from the lake? 
  • What can you do at home to reduce the amount of water you take out of Lake Michigan? 


PHOTO: Package of 620 pony beads and a bracelet made from the beads
Transparent blue pony beads resemble water and make a nice bracelet.

Make a water bead bracelet

For a fun wrap up, each player can make a bracelet using the beads and elastic string. Wear the bracelet to remember to try and use less water at home. The bracelet makes a nice reward for learning outside the classroom.

One last important note

When teaching young children about water conservation, avoid the temptation to bring up stories of environmental problems that are beyond their ability to solve right now in their lives, like unpleasant images of industrial pollution, drought, and famine. Child development experts will tell you that when we burden children with messages about how they need to help save the planet, we actually do more harm than good by making them feel overwhelmed, hopeless, and less inclined to adapt sustainable habits. Focus on things they can do, like turning off the water when they brush their teeth. It is enough that they learn not to use more water than they need at home so that they can share it with all of the creatures they love. This is a message we can respond to positively at any age.


©2016 Chicago Botanic Garden and my.chicagobotanic.org