
Anticipation is running high for Seed Swap!
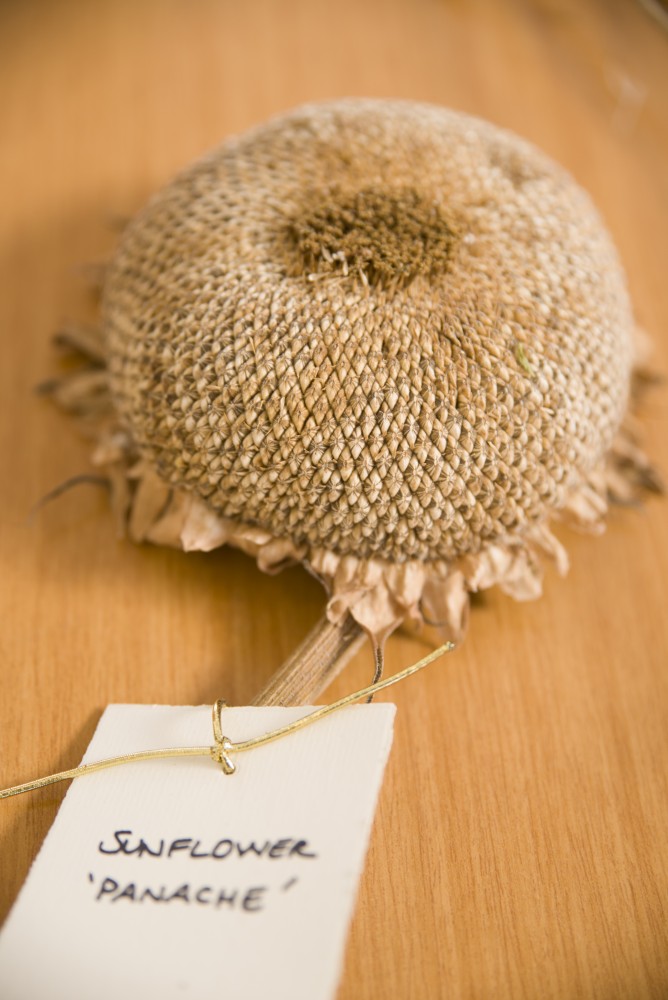
It’s always a fun day with a community vibe, as Chicago area gardeners gather to swap seeds, stories, and green-thumb tips. A special bonus of 2014: keynote speaker Ken Greene (founder of the terrific Hudson Valley Seed Library) will be available during the swap to answer questions and offer “sage” seed-starting advice.
With that in mind, here are five simple secrets for seed-starting success:
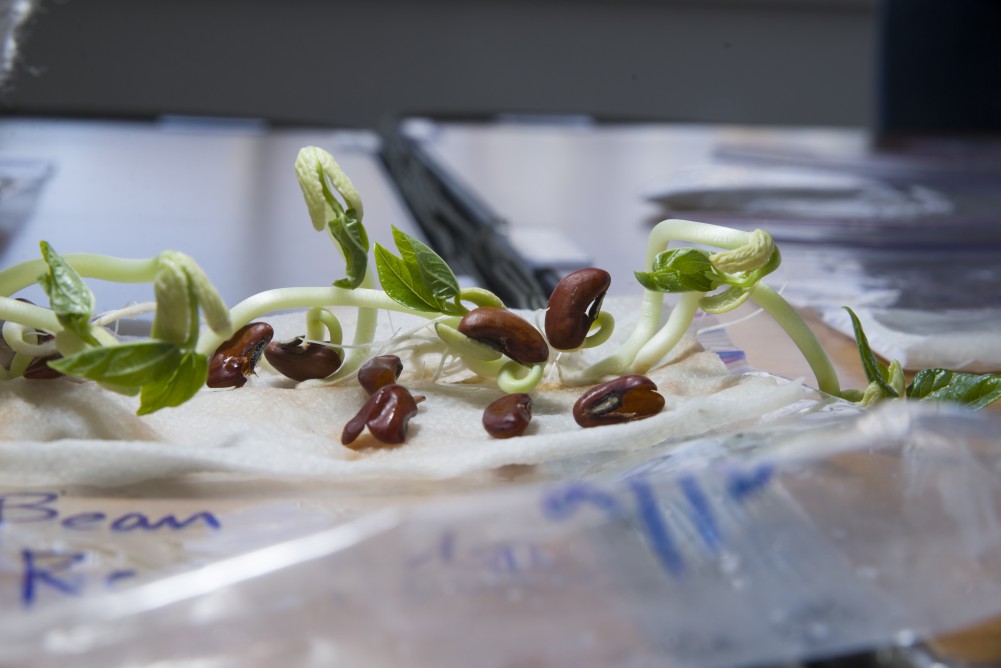
1. Quality seed starter. Give your seeds a healthy jump start by planting them in a really good seed starting mix. Don’t skimp on quality here—plants grown in inferior mix will never perform like those grown in a high-quality medium. Some adjectives that should describe the product you buy: sterile, fine-grained, free-draining, fluffy, uniform. One brand we’ve had success with: Black Gold.
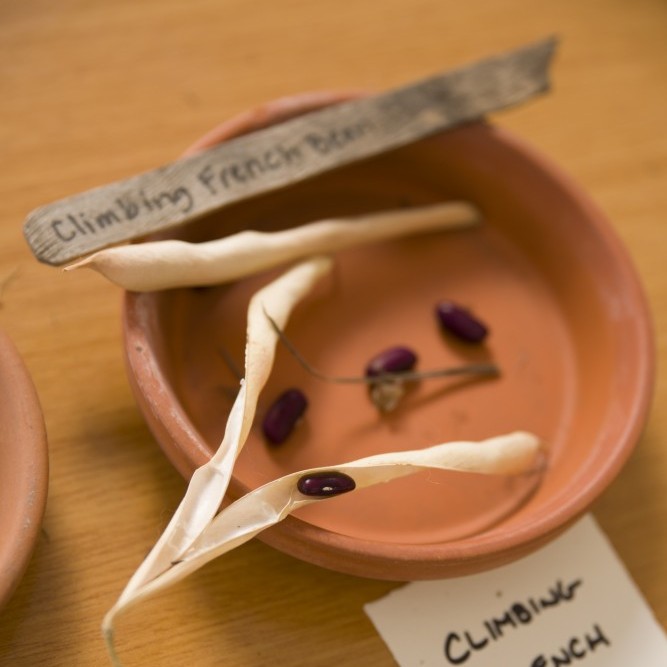
2. The back of the pack. It’s a simple step that can make a big difference: read the back of the seed packet before you sow. It’s full of important and helpful information—often spelled out in great detail—such as planting depth, days to germination, and watering requirements. Save the seed packs after you sow, too, since there’s often valuable transplant and harvest info there as well.
3. D.I.Y. pots. You don’t need a fancy setup to start seeds. D.I.Y.ers can make their own paper pots; recyclers can put egg cartons to good second use; and the organically minded can replace plastic with peat or compost pots that go straight into the ground and disintegrate as the season progresses. Reusing last year’s plastic pots? Wash them out thoroughly and rinse in a 10 percent bleach solution to knock out fungus and residues before filling with starting mix.
4. The right light. A strong light source is crucial for stimulating plant growth. Without it, plants turn leggy, making them weak and more susceptible to breakage. Consider full southern window exposure as a mere starting point—even better is a grow light that can be raised with the plant’s height, while offering the 12 full hours of strong, even light that seedlings need.
5. Self-watering system. Started seeds in years past, only to have them dry out and wither before you know it? You may be a candidate for a simple capillary mat/self-watering system. After filling pots with seed starting mix, set them on the specially-designed mat/tray—fill the tray with water, which the mat draws up to the pots, keeping them properly moist without being waterlogged. The system is a boon to those who can’t water every day; an optional lid helps keep humidity high. They’re available at many nurseries and online.
At Seed Swap, Garden experts and master gardeners from our Plant Information Service desk will be available to chat, but we’ve found that the best way to get an answer is also the simplest and most satisfying: turn and ask the gardener next to you.
Looking forward to seeing you at the swap!
©2014 Chicago Botanic Garden and my.chicagobotanic.org