Are your summer or early fall container gardens looking tired? Change out your container gardens to extend your displays well into the fall.
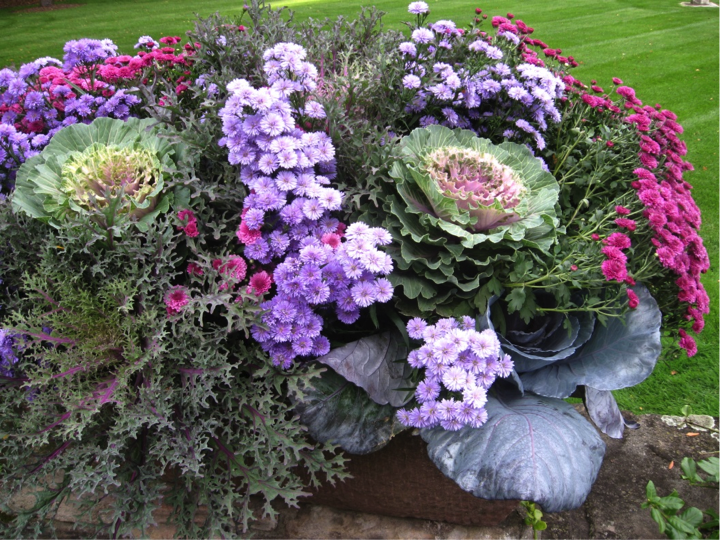
A fall container garden with asters, mums, cabbages, and kale. Photo by Tim Pollak
Gardening in containers can offer us year-round seasonal interest, and we can extend the garden seasons to create vibrant container gardens. I’m a huge fan of fall container gardens with a rich variety of color, texture, and hardiness that carry their beauty well beyond the first frost.
A container garden that changes its appearance from one season to another is the definition of a seasonal “change-out” concept. Change-outs can be done by simply removing or adding one or more plants, objects, or other material to the container to add seasonal interest. Color alone can offer more impact on the container garden than any other design element. (However, nothing has more negative impact on the container garden than a poorly maintained appearance or bloomed-out flowers.)
Tall grasses at the back of this basin garden offset blooming fall annuals. Photo by Tim Pollak
Change-outs should take advantage of seasonal blooming plants and colorful foliage and textures in prime condition. The change-out can add instant color or texture to the display and create a “wow” from one season to another. Color schemes can change through the seasons as well, such as pastels and soft tones in the spring, bright and colorful combinations in the summer, warm and autumn-like colors in the fall, to greens and interesting textures in the winter. Your container gardens can change and develop through the year much like a garden bed or border do in the landscape.
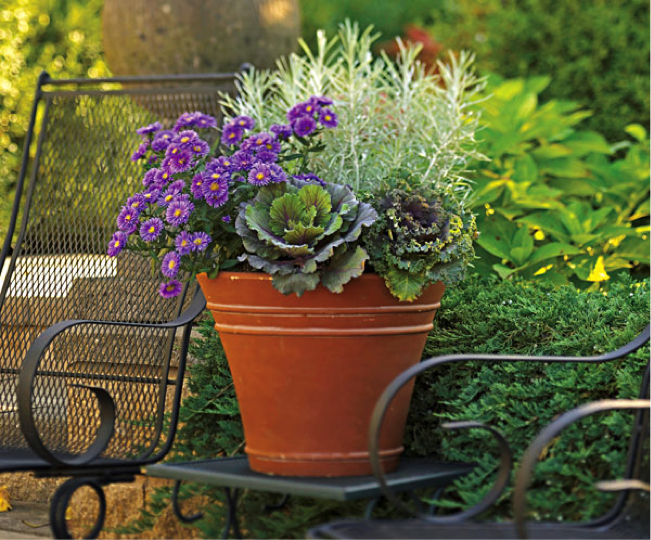
While chrysanthemums still reign supreme in many gardens and containers every fall, try other interesting plants such as asters, ornamental or flowering kale and cabbage, heuchera, pansies and violas, and ornamental grasses. These plants all are cold hardy, and will tolerate light frosts, lasting well through the autumn season.
A fall container with grass, pansies, and heuchera, which comes in a host of leaf colors. Photo by Tim Pollak
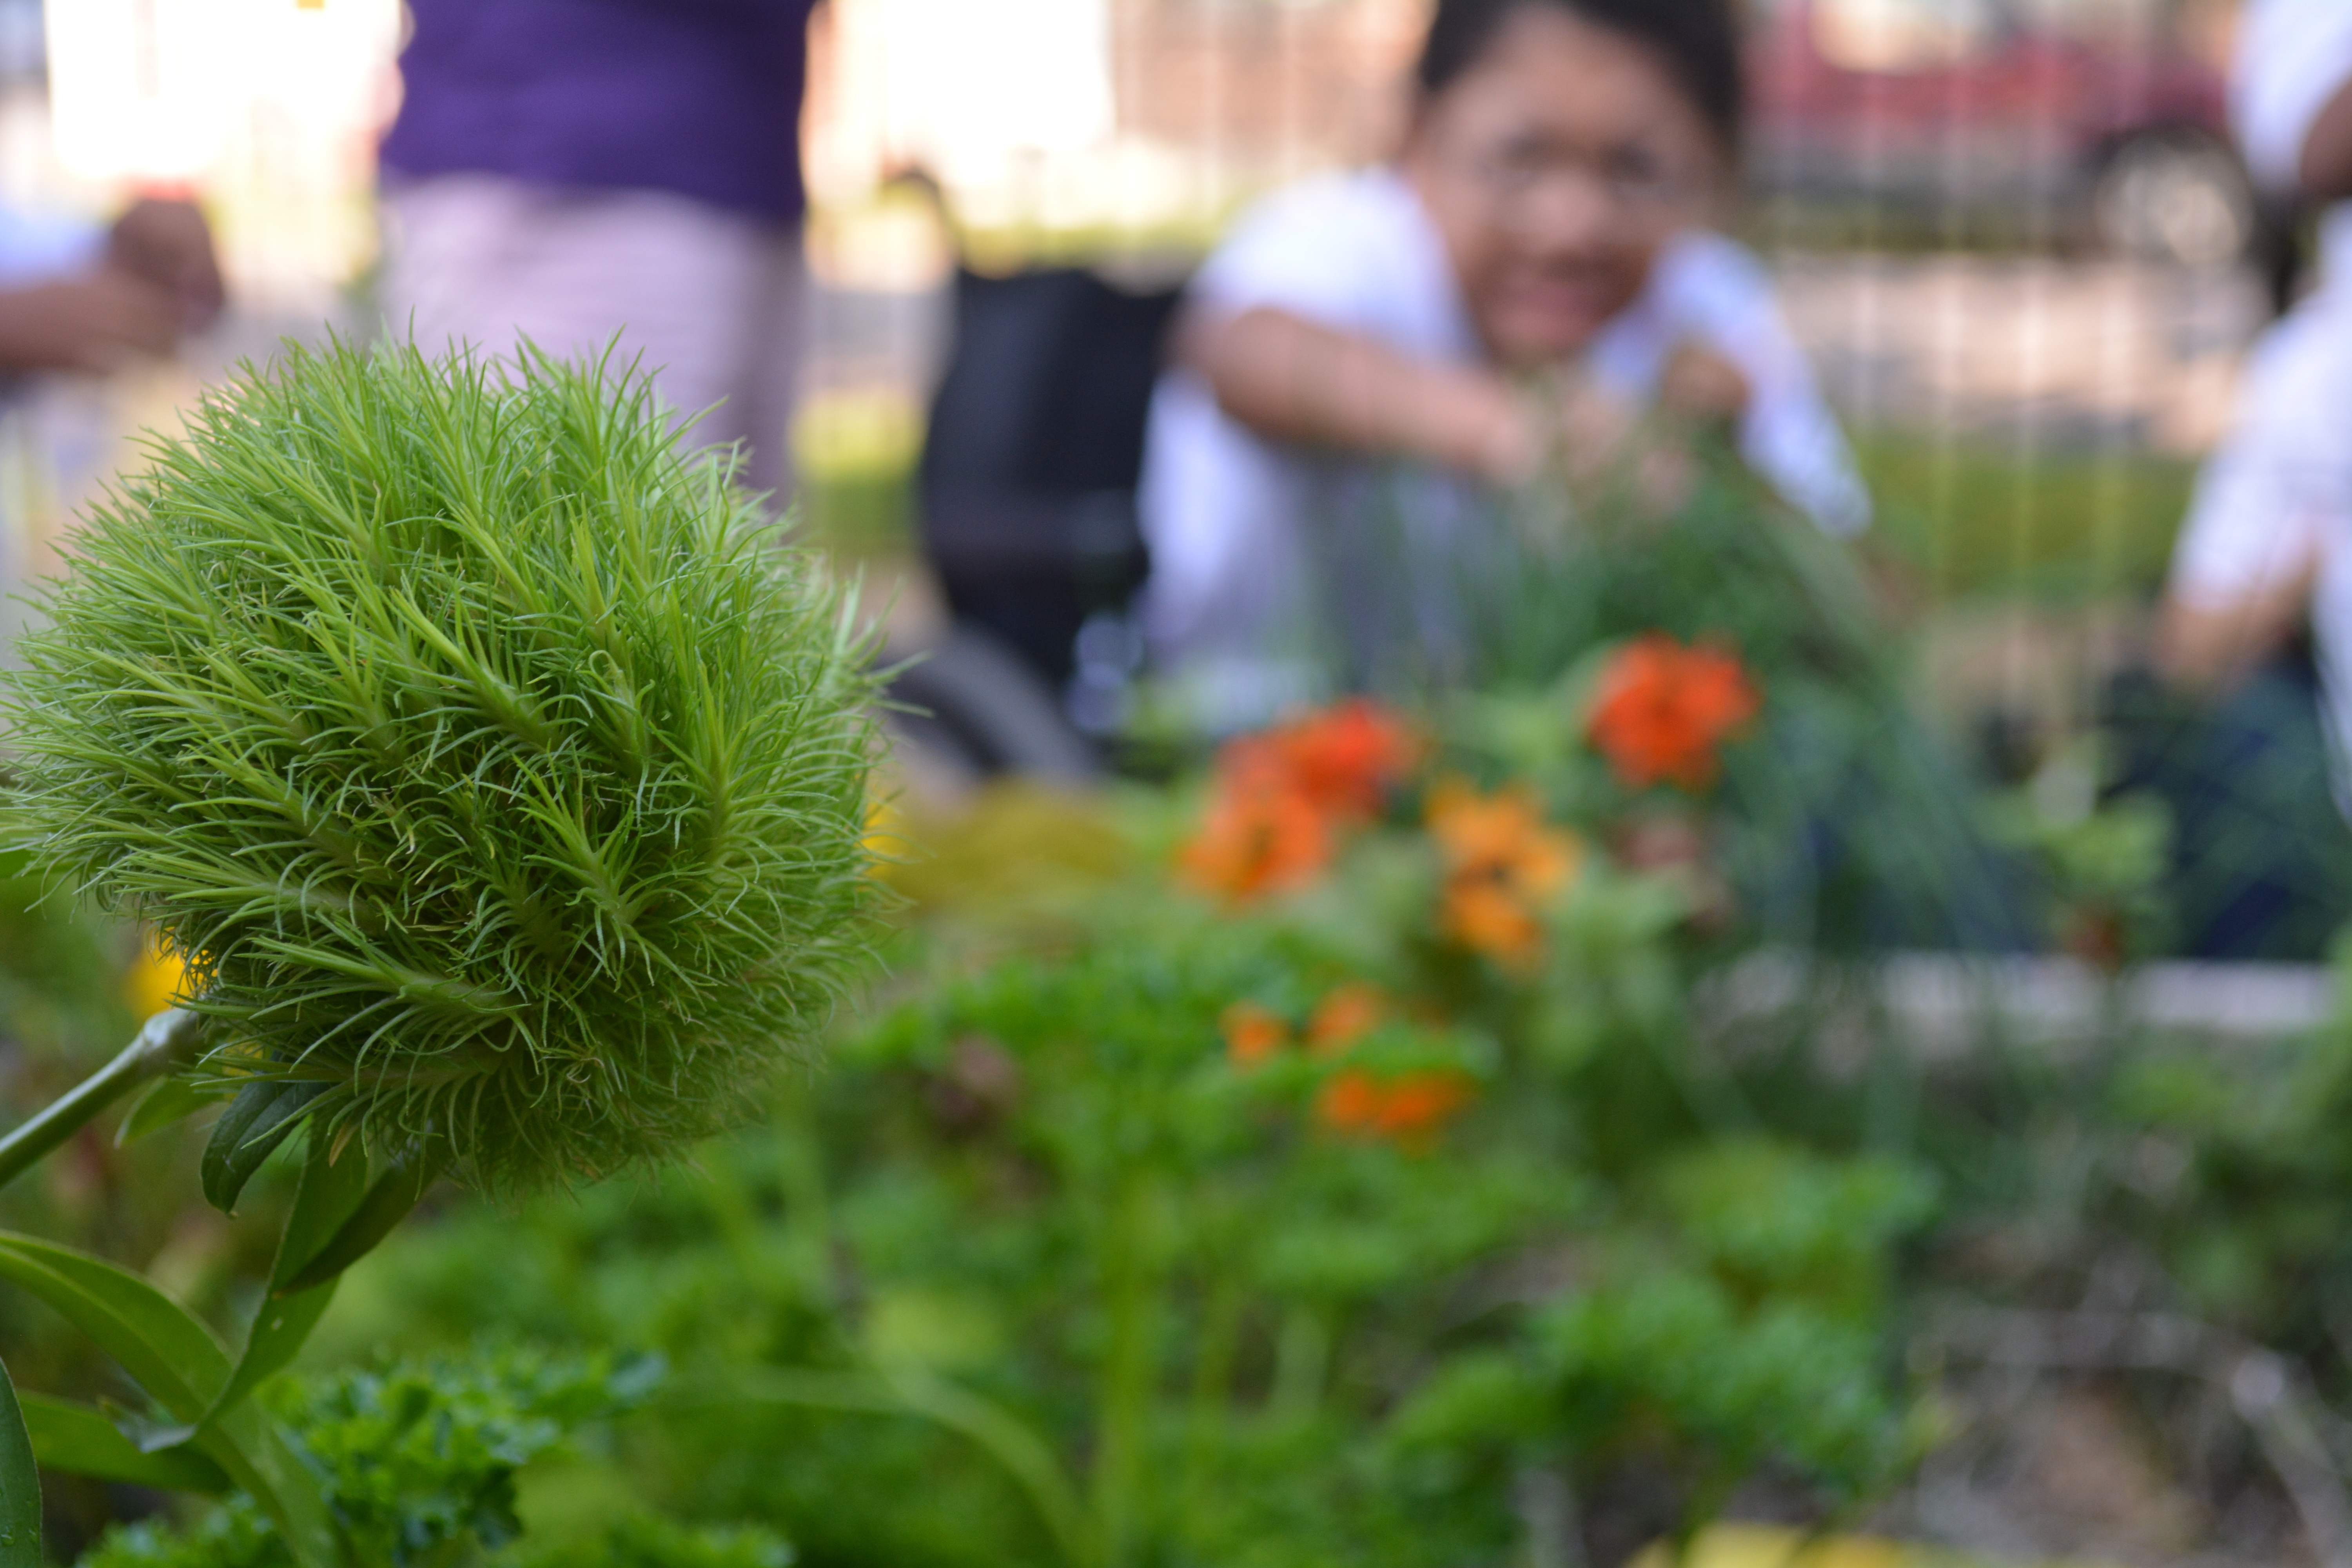
I love the combination of using purple or blue asters with ornamental kale—the colors play off each other nicely in a long-lasting display. Using other lesser-known plants—such as some of the fall-blooming salvias—can add height and create interesting combinations in your container gardens. Cold-hardy vegetables and herbs can also be added for interest and texture. I like using swiss chard, broccoli, Asian greens, parsley, and alliums to add interesting and colorful effects to my containers.
Another thing I like to do when creating fall displays in containers is to incorporate pumpkins, gourds, dried corn, branches and leaves of trees or shrubs, and autumn or Halloween decorations. A fun and simple addition to your fall containers may be to simply carve out a large pumpkin and use the pumpkin as a container, placing a combination of fall plants in it to decorate your front door or patio.
A fall container garden planted with cabbages, asters, and curry plant. Photo by Tim Pollak
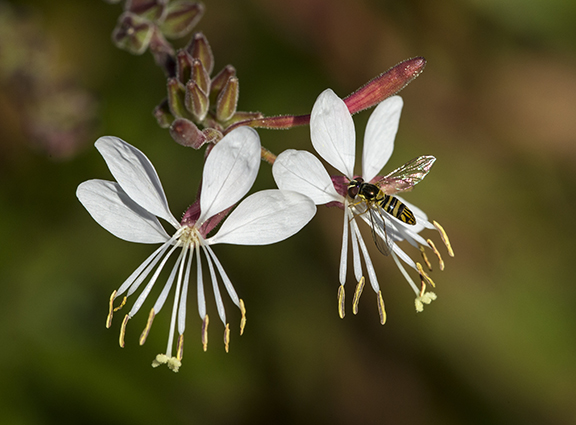
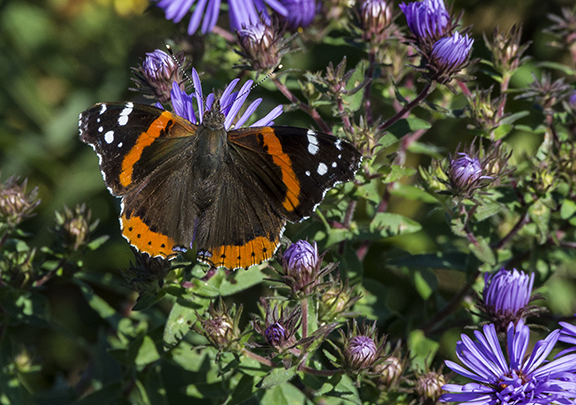
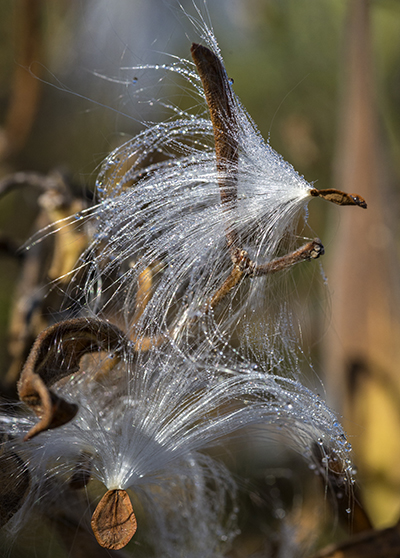
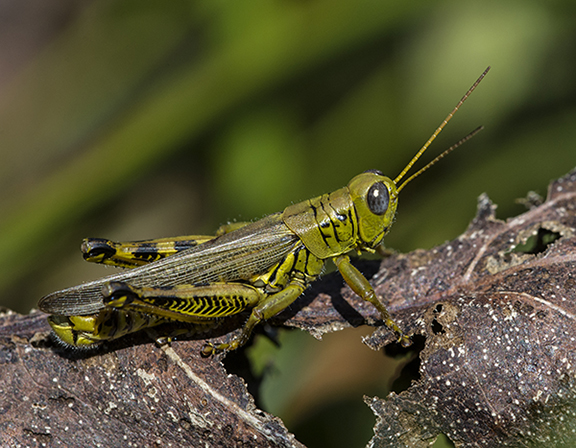
Asters, sawtooth sunflowers, gaura, and goldenrod are going strong. All of them are abuzz with bees and other insects. Grasshoppers dance from plant to plant. Butterflies fuel up for a last fling or long journey.
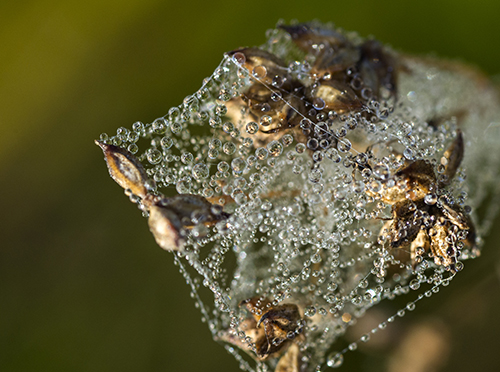
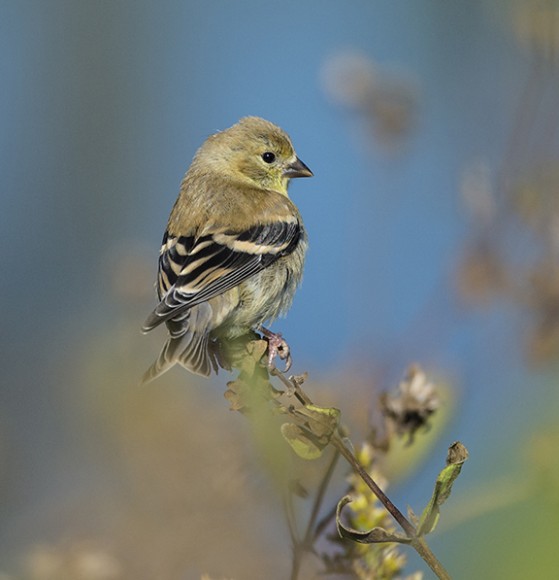
Grasses, some with tiny fragrant flowers, sway gracefully; many have grown more than 7 feet tall in this one growing season. Early morning dew transforms the seedheads into works of art. Silken strands of unseen spiders glow in the sunlight. Flocks of goldfinches munch on seeds, stocking up for winter, chirping their happy tunes, while shy sparrows occasionally pop up from the shadows, giving us a glimpse of their subtle beauty. Milkweed seeds blow gracefully in the wind.
The prairie truly must be walked to be appreciated. There is so much diversity, and so many stories to tell.
Touch a compass plant leaf on even the hottest day and it will be cool to the touch—with roots going down 14 feet, they pull up water that is chilled underground.
Monarchs live in symbiosis with milkweed plants (as do many other insects). Look closely and you may see a whole world on a milkweed plant.
Surprises can be anywhere—a hummingbird zipping by for a quick sip, a great blue heron flying overhead, drama as a hawk dives down to grab a vole. Fall on the prairie is colorful, alive, and a place of great wonder not to be missed.
I make no secret about the fact that fall is my absolute favorite season. Between the pumpkin-spiced treats, falling leaves, warm-toned landscape, and endless fall activities, I simply can’t get enough of the many opportunities that fall brings.
Fall also happens to be my favorite season for horticultural therapy. This exciting time of year is when all the off-site therapy gardens are reaping the benefits from their summer of hard work. The fall programs begin after a brief hiatus upon the completion of the summer program, and many enthusiastic gardeners return to plentiful crops and beautiful blooms just waiting to be enjoyed.
Today I’m describing three of my favorite fall activities and their therapeutic benefits: fall planters, mum pumpkins, and harvest herb dip.
Fall planters
Students at Christopher School work to transition their school garden from summer to fall.
Creating fall planters—either in a personal, tabletop container or raised garden bed—is a great way to prepare your garden for the fall while adding seasonal interest. This activity works well for a group of any size or ability.
During this activity, our groups begin to remove overgrown summer crops for composting while replacing them with edible fall crops and autumn blooms. For our off-site therapy gardens, we typically plant cabbage, kale, onions, pansies, and mums. This allows the group one more opportunity to work in their outdoor garden before the impending first frost.
Therapeutic benefits:
This activity brings a cyclical close to the gardening season. In the beginning of spring, we discuss seed germination and the life cycle of a plant. It is important to relate this activity back to the spring to highlight how far the garden has come during the harvest season. The theme and symbolic nature of this activity—events coming to a close or new beginnings—is useful in horticultural therapy groups. Take time to think about how you can relate this to your specific audience and how the message can resonate with them—either as a group or individually.
Mum pumpkins
The mum pumpkin activity is always a big hit in horticultural therapy. The supplies needed for this activity are as follows: one small pumpkin (I use pie pumpkins), a spoon for scraping, cut flowers, and floral foam. This activity can also be done using soil and cell-pack flowers such as mums or pansies.
The mum pumpkin activity has two large components to it: the carving out of the pumpkin and the planting or arranging of the flowers. It typically takes a full 60 minutes for a large group of horticultural therapy participants to complete this activity as well as a decent amount of space.
Beautiful mum pumpkins created in an off-site horticultural therapy facility.
The first step is carving out the pumpkins. For many of the contracts, we like to wash and save the seeds for future baking enjoyment. Often, hand-over-hand assistance is needed in order to help our participants scrape out the pumpkin innards. This creates a wonderful opportunity for fine motor and rudimentary skill exercise. Once the pumpkins are clear, the floral foam can be inserted for the mum arrangement. (If you choose to fill your pumpkin with a planted flower, I would recommend using 1-2 cell-pack pansies per pumpkin.)
Therapeutic benefits:
One of my favorite aspects of this activity is the sheer joy that radiates from our participants after they create a beautiful, seasonal centerpiece. This activity allows participants to create something that is their own, something with their favorite colors, and plant material that will bring them joy every time they see it. It’s important to insert activities such as these to encourage self-expression and promote joy. That, after all, is one of the greatest benefits to gardening.
Harvest herb dip
Our simple and delicious harvest herb dip has been a late summer and fall favorite for many, many years. Why is that? It involves a beloved activity for all individuals—eating! For our harvest herb dip, we collect fresh herbs from our garden as well as cucumbers, tomatoes, peppers, and other goodies to create a delicious snack.
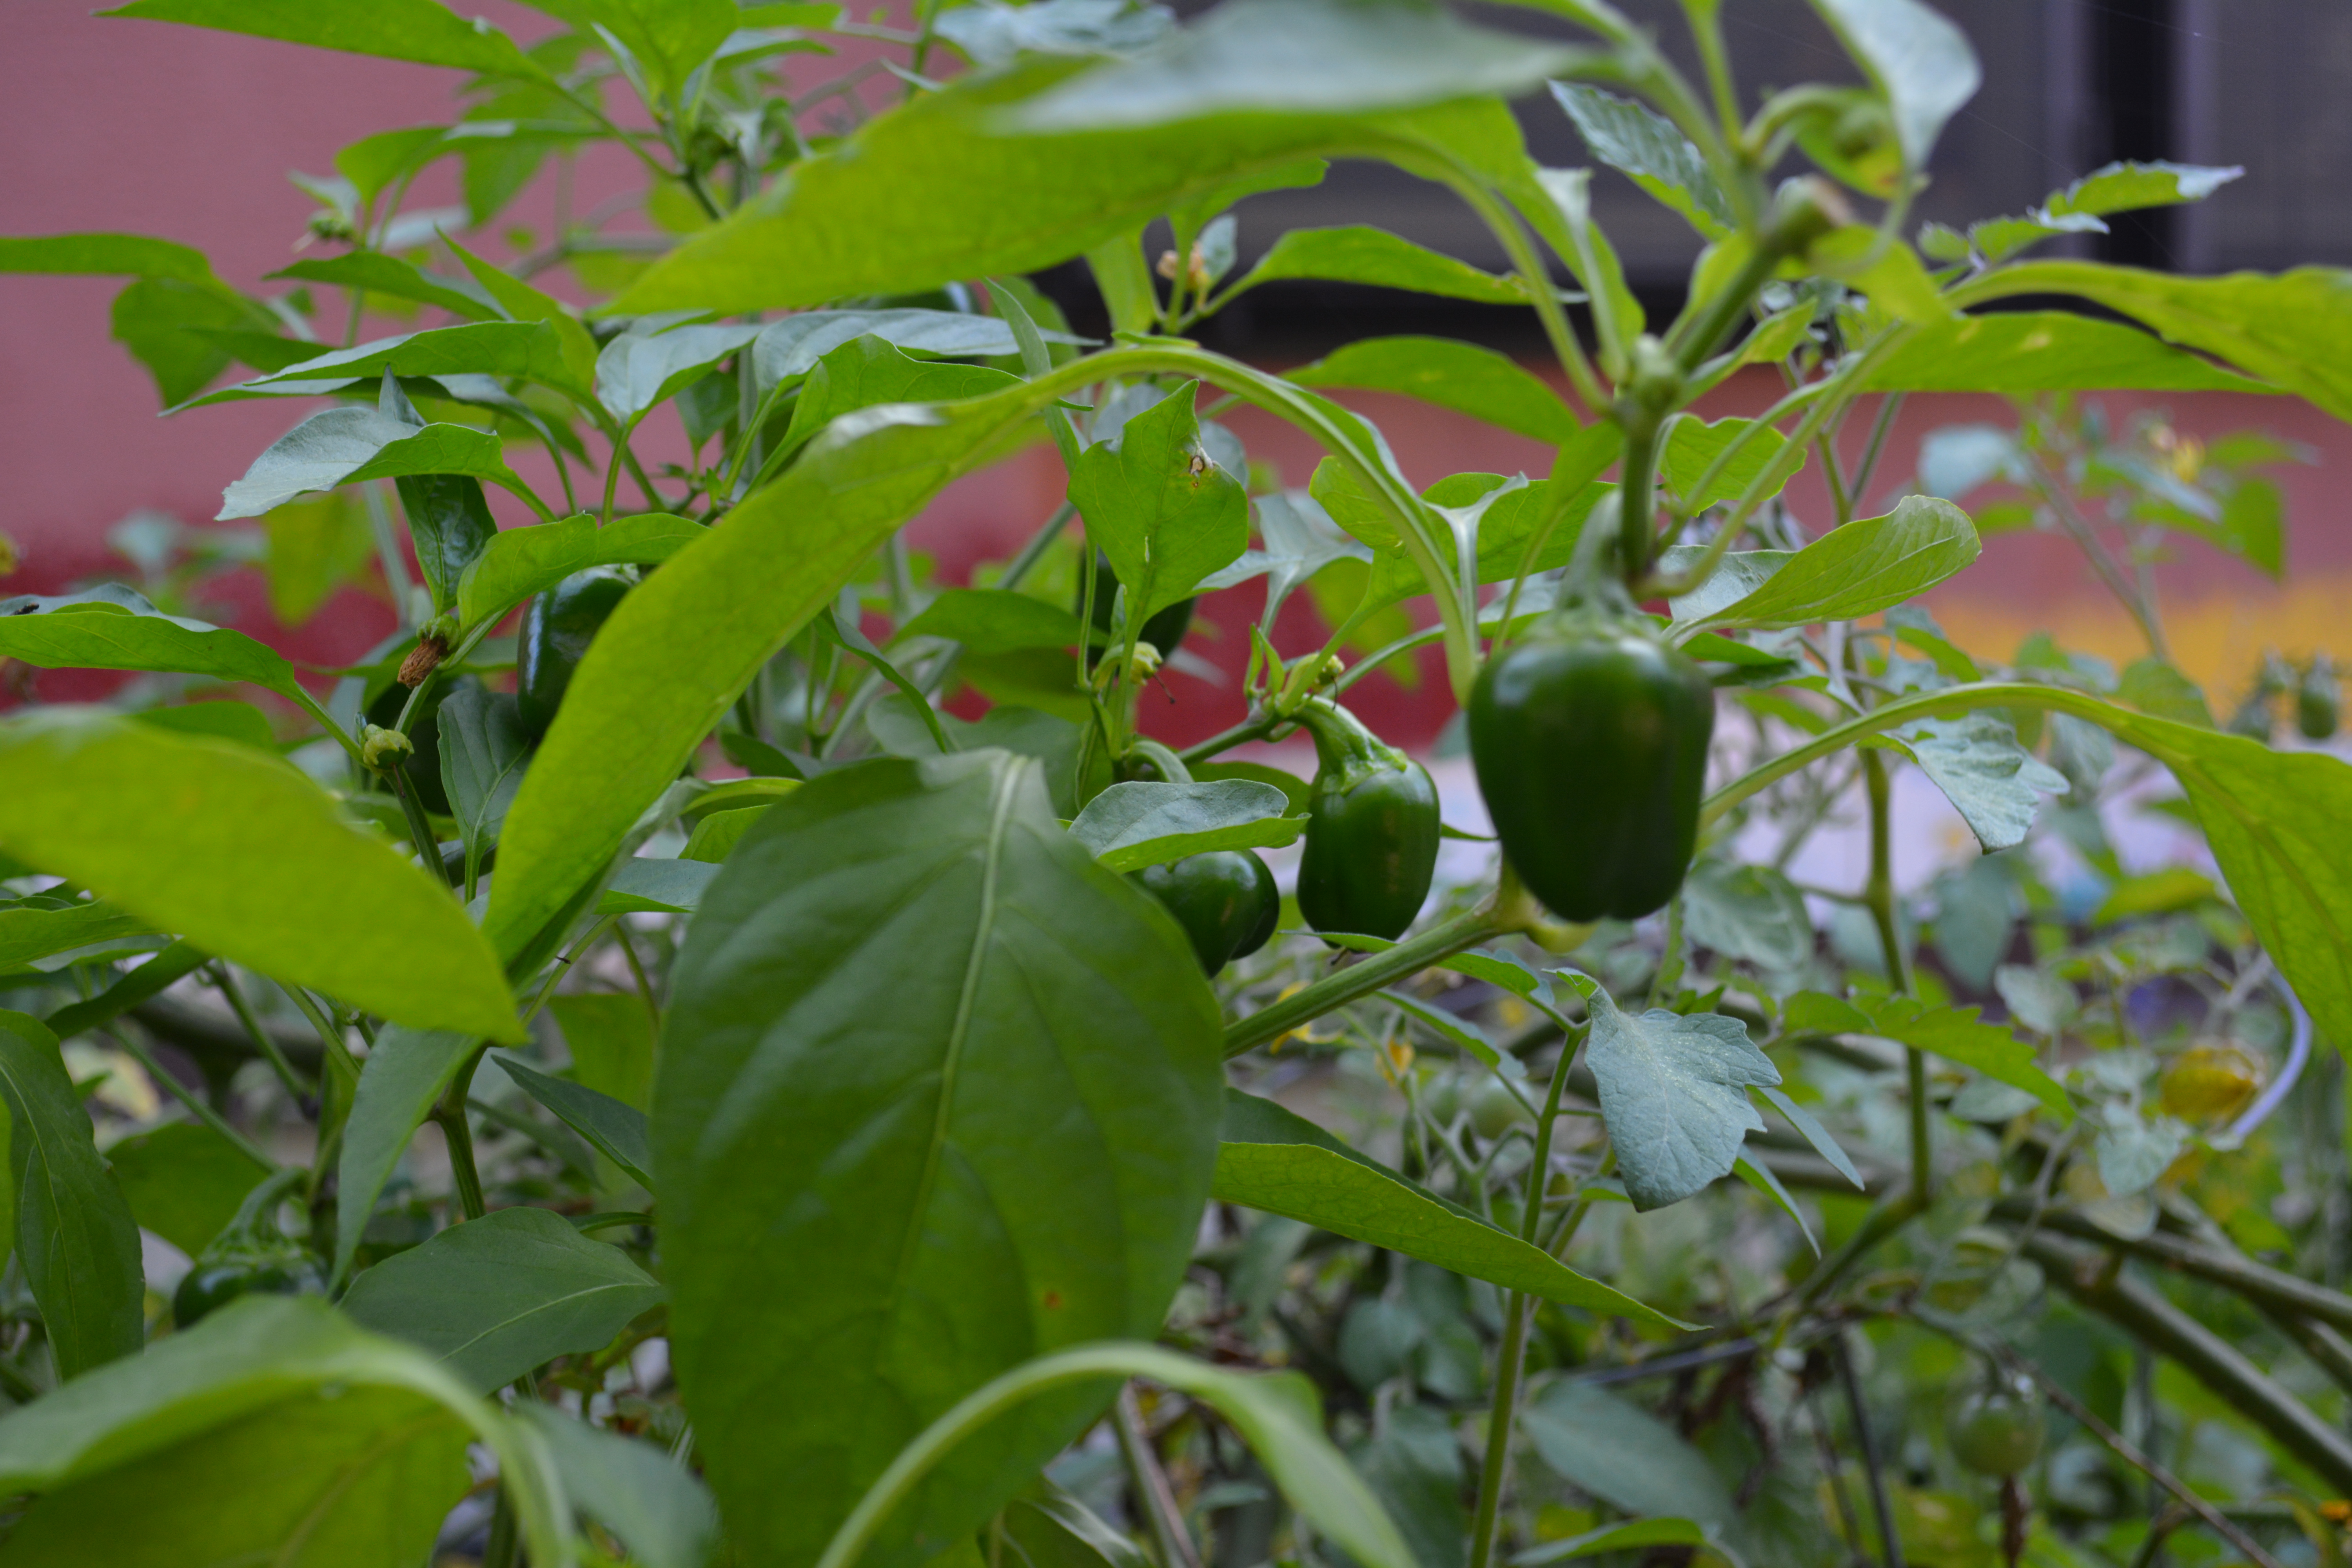
Baby sweet peppers grow in the Christopher School Enabling Garden.
For our groups, we supply each participant with a paper bag and encourage them to pick items that they’d enjoy in their dip. We commonly collect chives, parsley, peppers, and cucumbers. Once each participant has collected their desired items, we head inside to wash and prep the ingredients. While the participants are chopping their various herbs and vegetables, the horticultural therapist and/or aides mix the two store-bought ingredients: whipped cream cheese and sour cream. We use roughly one 8-ounce container of cream cheese with 4 ounces of sour cream. (This recipe can also be made with greek yogurt in place of the sour cream. )
With the base of the dip mixed, each participant gets a personal bowl of dip in which they can pour and mix their ingredients. Then, with some sliced cucumbers, peppers and crackers, the participants dig in!
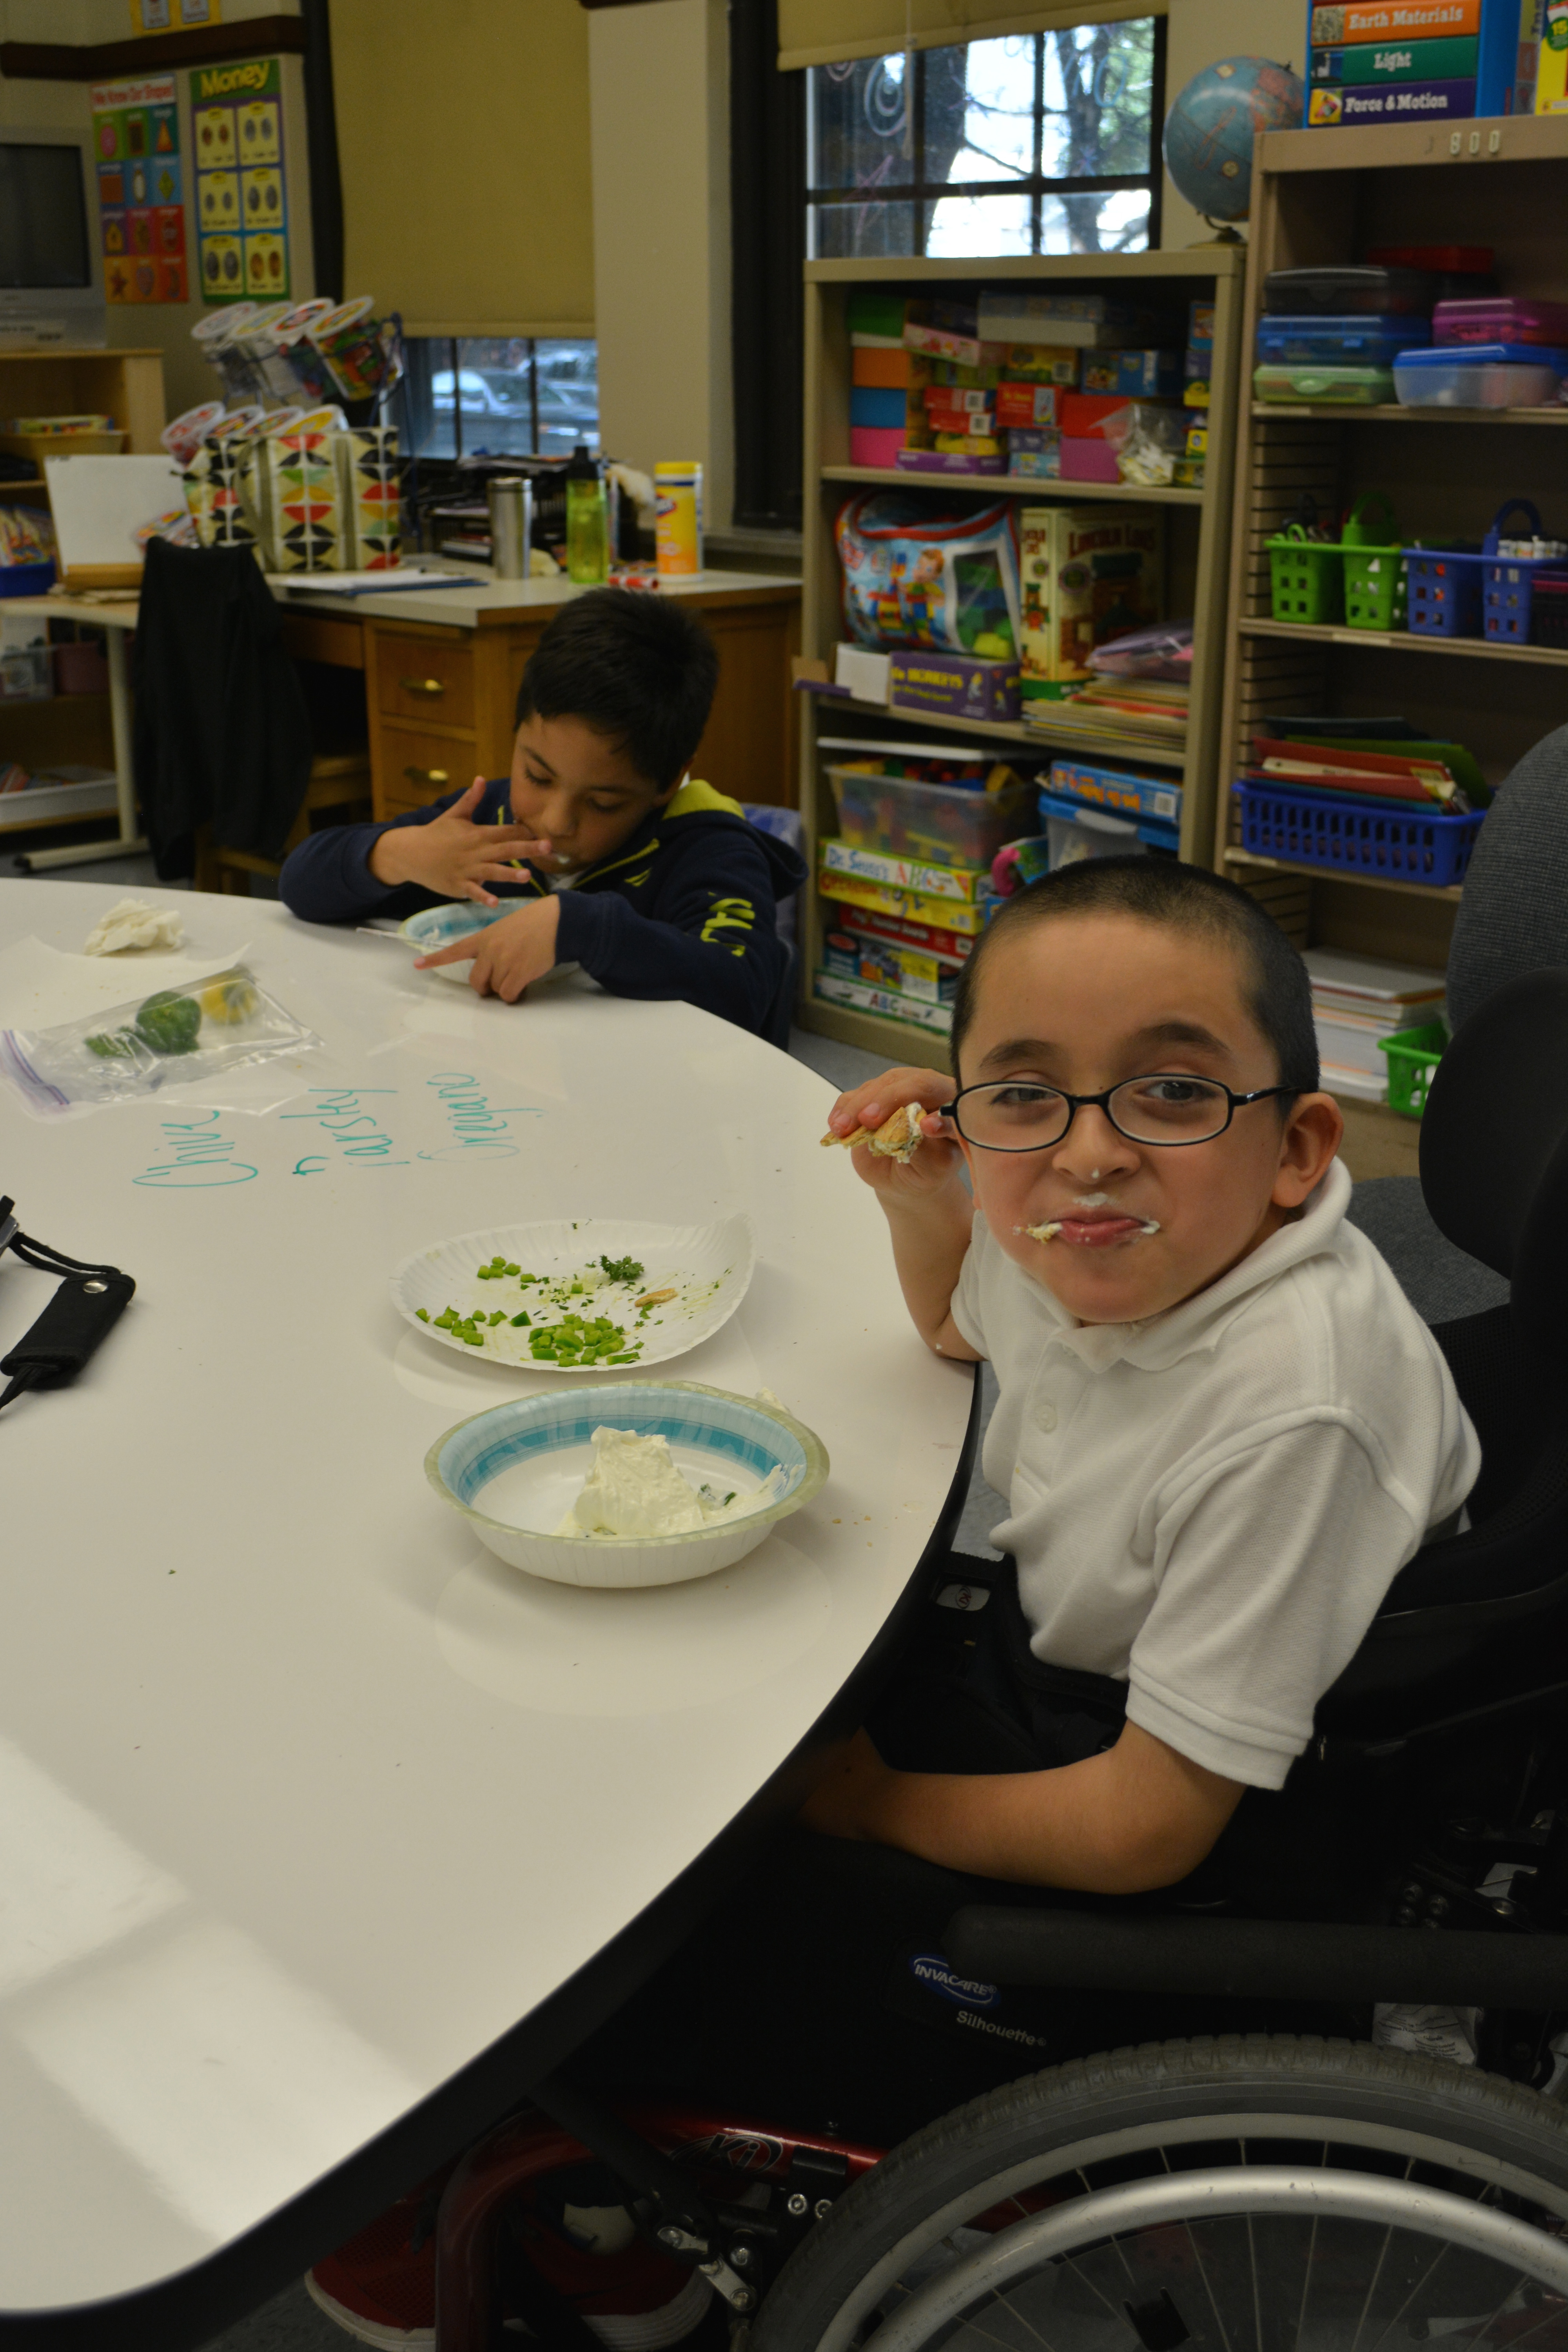
A student enjoys his homemade herb dip with garden cucumbers and peppers for dipping.
Therapeutic benefits:
Inserting activities involving edible garden items is always rewarding. In my first year, I discovered that many horticultural therapy participants (namely students) had never seen a tomato, pepper, or cucumber grow on a plant—let alone one they tended to and cared for themselves. The therapeutic benefits for this activity relate to educational opportunities. We often take time to discuss what other food items can be made from our delicious garden harvest to get participants excited about healthy and sustainable foods. It never ceases to amaze me how much fun students have picking and eating delicious vegetables!
There are many more activities that one can do with a group or individual in a therapy garden during the fall season. Simple and inexpensive garden-maintenance activities provide wonderful opportunities for socialization and conversation regarding healthy practices for living things.
Fall is a beloved season by all of our garden groups, and it’s important to squeeze in as much time as possible in our outdoor therapy gardens before the midwestern winter knocks at our door. With the beautiful fall colors, plentiful harvest, and mildly cool weather—it hard to imagine a more desirable place to be than a garden.
My summer intern, Melanie Jensen (now a senior studying horticulture at Southern Illinois University), has always wondered how botanic gardens put together their impressive seasonal displays. In fact, she was so intrigued by them that she did her final presentation—a graduation requirement for the Garden’s horticulture internship program—on the complexities and challenges of preparing these displays.
To say the work is complex and challenging is almost an understatement. Sometimes our work here seems like magic. Overnight, the Garden can transform from spring to summer or summer to fall. Yesterday there were spring troughs, summer palm trees, or fall mum towers in the Garden. Today, there is something completely different. Yes, it does seem like it happens just like that, perhaps with the snap of a finger. But behind the scenes, for months or even years before most visitors get to see a display, a team is already hard at work making it happen.
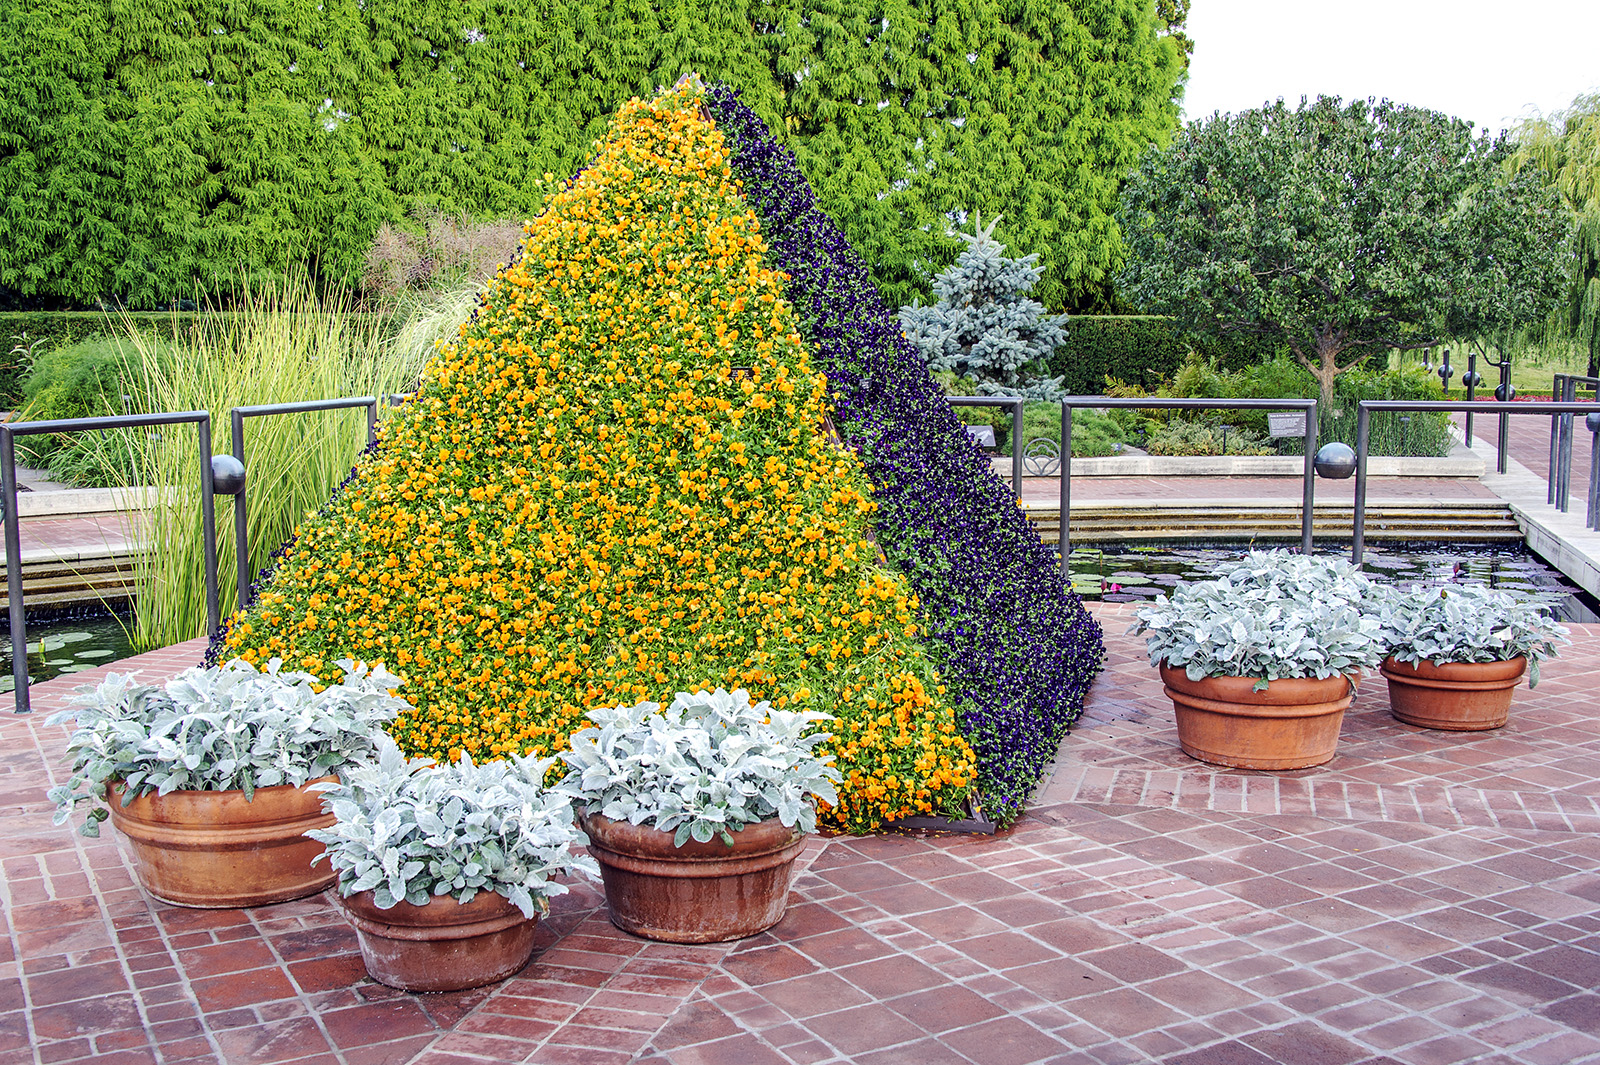
The Viola pyramids are currently on display in the Heritage Garden.
Melanie and more than 50 other staff and volunteers had a front row seat this summer to help me create this fall’s signature display in the Heritage Garden—the Viola pyramids, which are now on display. The pyramids themselves are really just a set of simple flowers presented in a very unique way. The story could end right there, but what I think makes this display fascinating to people like me and Melanie (and hopefully to you, too) is the astonishing amount of work it takes to get the pyramids from concept to finished product.
The Garden began working on this project more than a year ago, when outdoor floriculturist Tim Pollak and I were brainstorming on how we could use the pyramids in another display. Last used about five years ago, the pyramids have traditionally been used as a summer display component, planted with two cultivars of Alternanthera. Pressed to take a fresh approach to the pyramids, we settled on the idea that they would make a great fall display. We considered using mums (too fragile, and many growing challenges) and Verbena (not frost-tolerant enough for fall), and concluded that Viola were our best option. Others agreed.
Saying we are creating Viola pyramids is the easy part. Actually doing it is a completely different story, and it’s a testament to great project planning and teamwork at the Garden.
Here’s what it took:
1. Our production team grew 6,400 Viola plants, half orange and half purple, so they were ready for planting into the pyramid structure by early August. The pyramids are 9 feet wide at the base, and 10 feet tall at the apex.
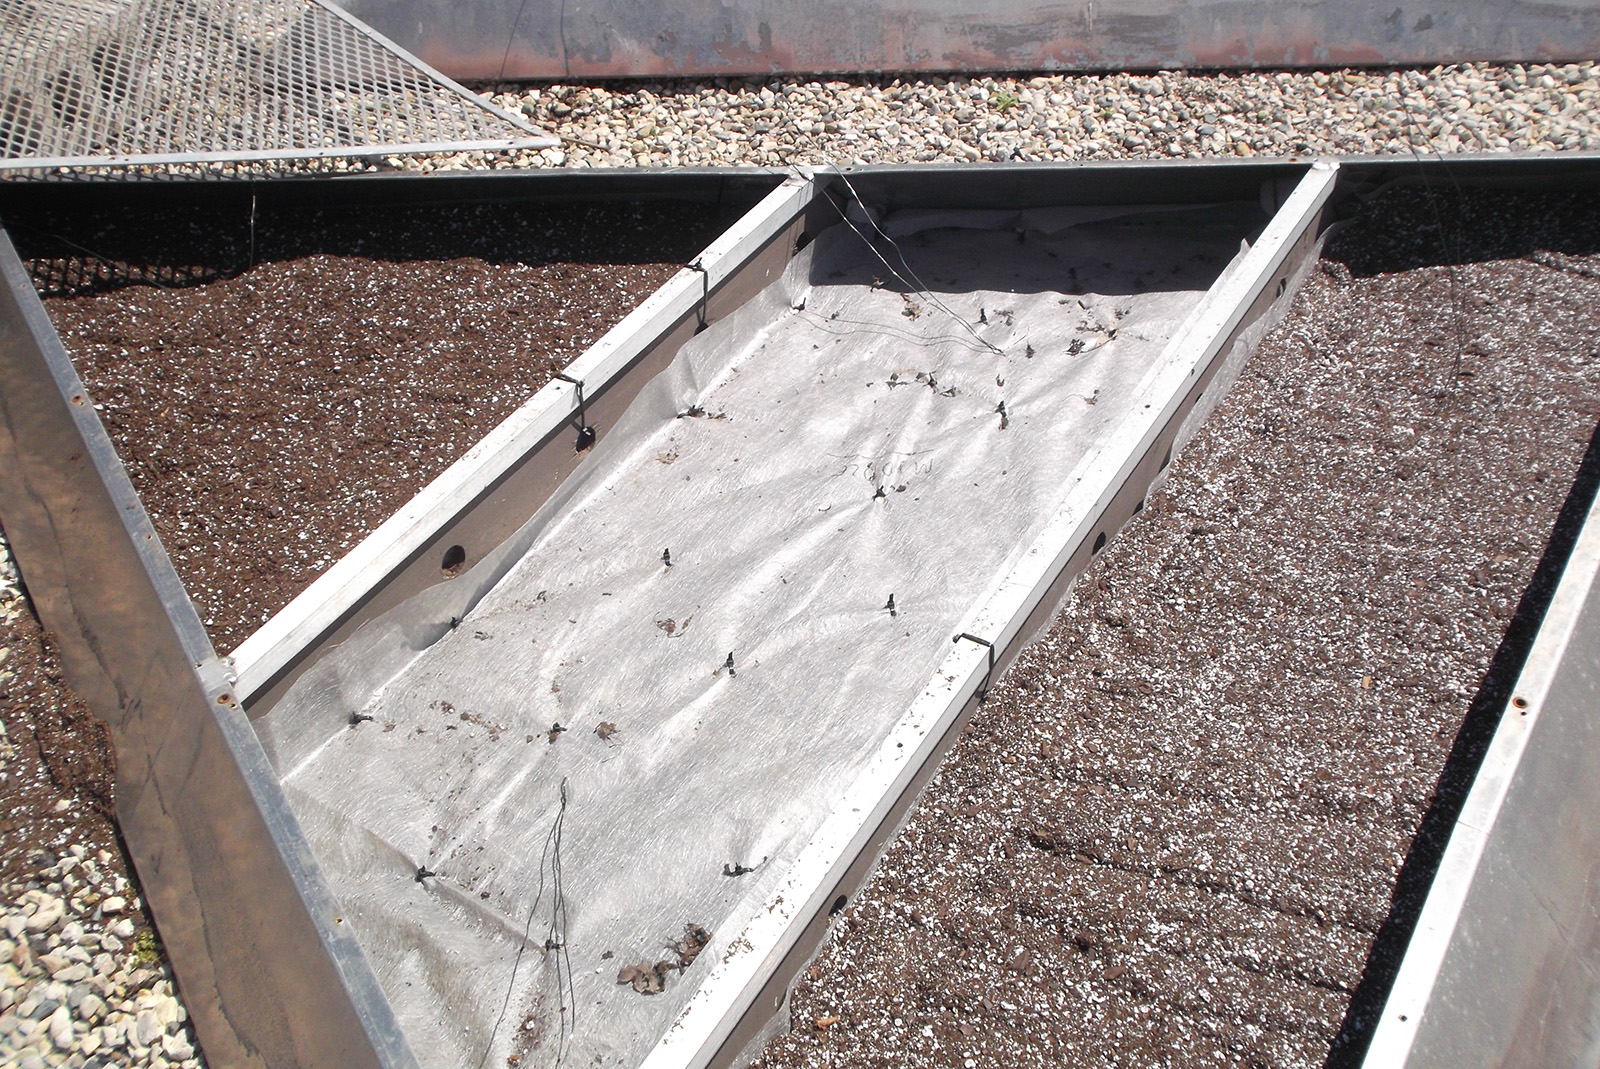
Panels lined with landscape fabric
2. In the meantime, Melanie and I led the team to prepare the pyramid frames. Working in the nursery, our first step was to attach landscape fabric to the front face of the pyramids using hundreds of zip ties. Landscape fabric helps hold the soil and the plants in the frame. We had to be very careful that the fabric covered every nook and cranny of the frame. If not, soil would leak from the frame, and it would undermine the integrity of the entire planting space.
Filling the panels with custom-blended planting media
3. Next we custom-blended special planting media, using lightweight potting soil and perlite. The pyramids retain water differently at their tops versus their bottoms, so we changed the composition of the media throughout the frame to accommodate this variance. Near the top of the pyramid we used a heavier, more water-retentive blend of about 70 percent soil and 30 percent perlite. At the bottom, where there is a risk that the pyramid could become waterlogged, we created a lightweight mix that was about 30 percent soil and 70 percent perlite. You can see in the picture how the soil/perlite composition changes from top to bottom.
Soaker hoses weave throughout the frame
4. Most of the time we will water the pyramids with a hose and water nozzle, but sometimes we need to give them a deeper soaking, especially on hot and sunny days. To help with that, we weaved soaker hoses throughout the frame so that we could water from the inside out.
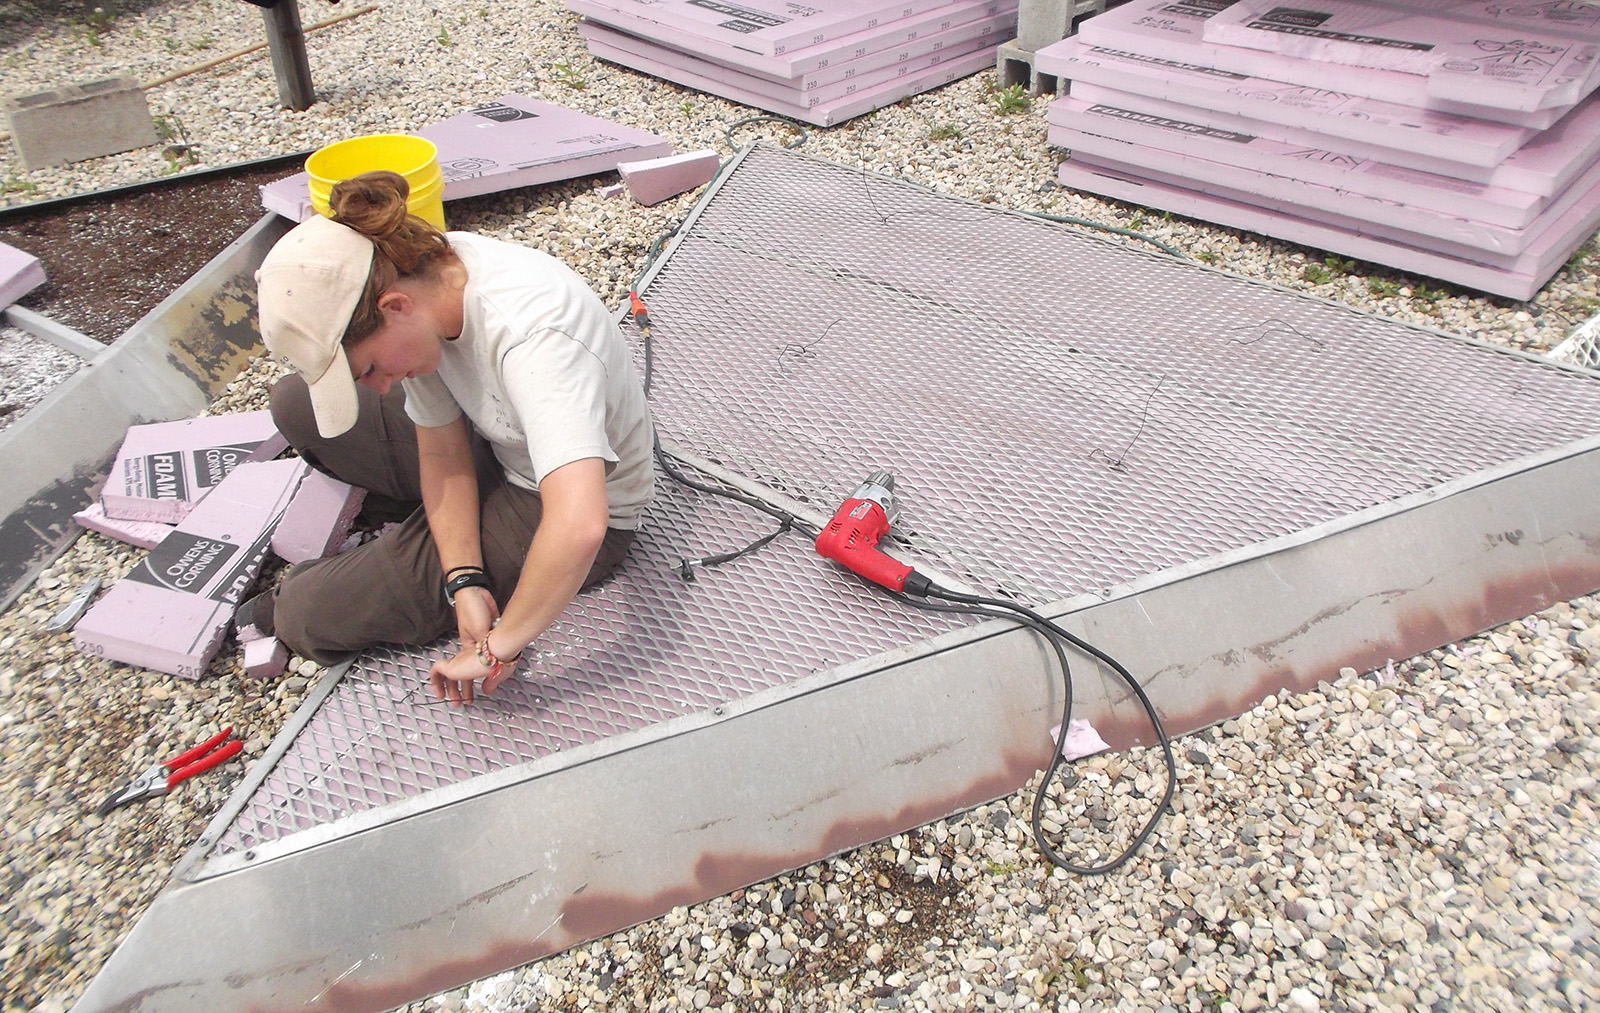
Intern Melanie Jensen prepping the panels
5. To make the pyramids lighter (each individual panel weighs about 500 pounds—meaning each pyramid weighs 2,000 pounds), and to reduce the amount of soil and perlite needed, we stuffed sheets of foam insulation into the bottom of the frame. A mesh screen secured all of these materials inside the frame.
Deadheading the Viola panels
6. Time to plant! We cut tiny holes into the landscape fabric and inserted a Viola plant. As we planted, we also pinched and deadheaded each and every Viola. During the critical first few weeks of growing in the pyramids, the Viola plants need to spend their energy developing roots and spreading foliage to cover the entire frame, rather than producing flowers. Removing all of the flowers is a hard thing to swallow, but it’s really for the best long-term interest of the display.
(Incidentally, the cut flowers were put to good use, donated to our Roadside Flower Sale team. Pressed flowers are sold at their annual sale, with proceeds supporting Garden initiatives, including generous funding for the horticulture department.)
The Violas doing what they do best: blooming again
7. The original plan was to leave the Viola plants simply to grow as-is under the care of our great production team until they were display-ready in mid-September. However, Mother Nature had other plans. The weather caused the Viola to grow faster than expected, and by late August it became clear that we would need to do another round of deadheading. Staff and volunteers again converged in the nursery for two days of meticulous work removing every flower head and seedpod from the display. It was a lot of work, and a little disconcerting to again make a beautifully colorful pyramid all green and flowerless, but it was an important task so the Viola could flower prolifically later into the season.
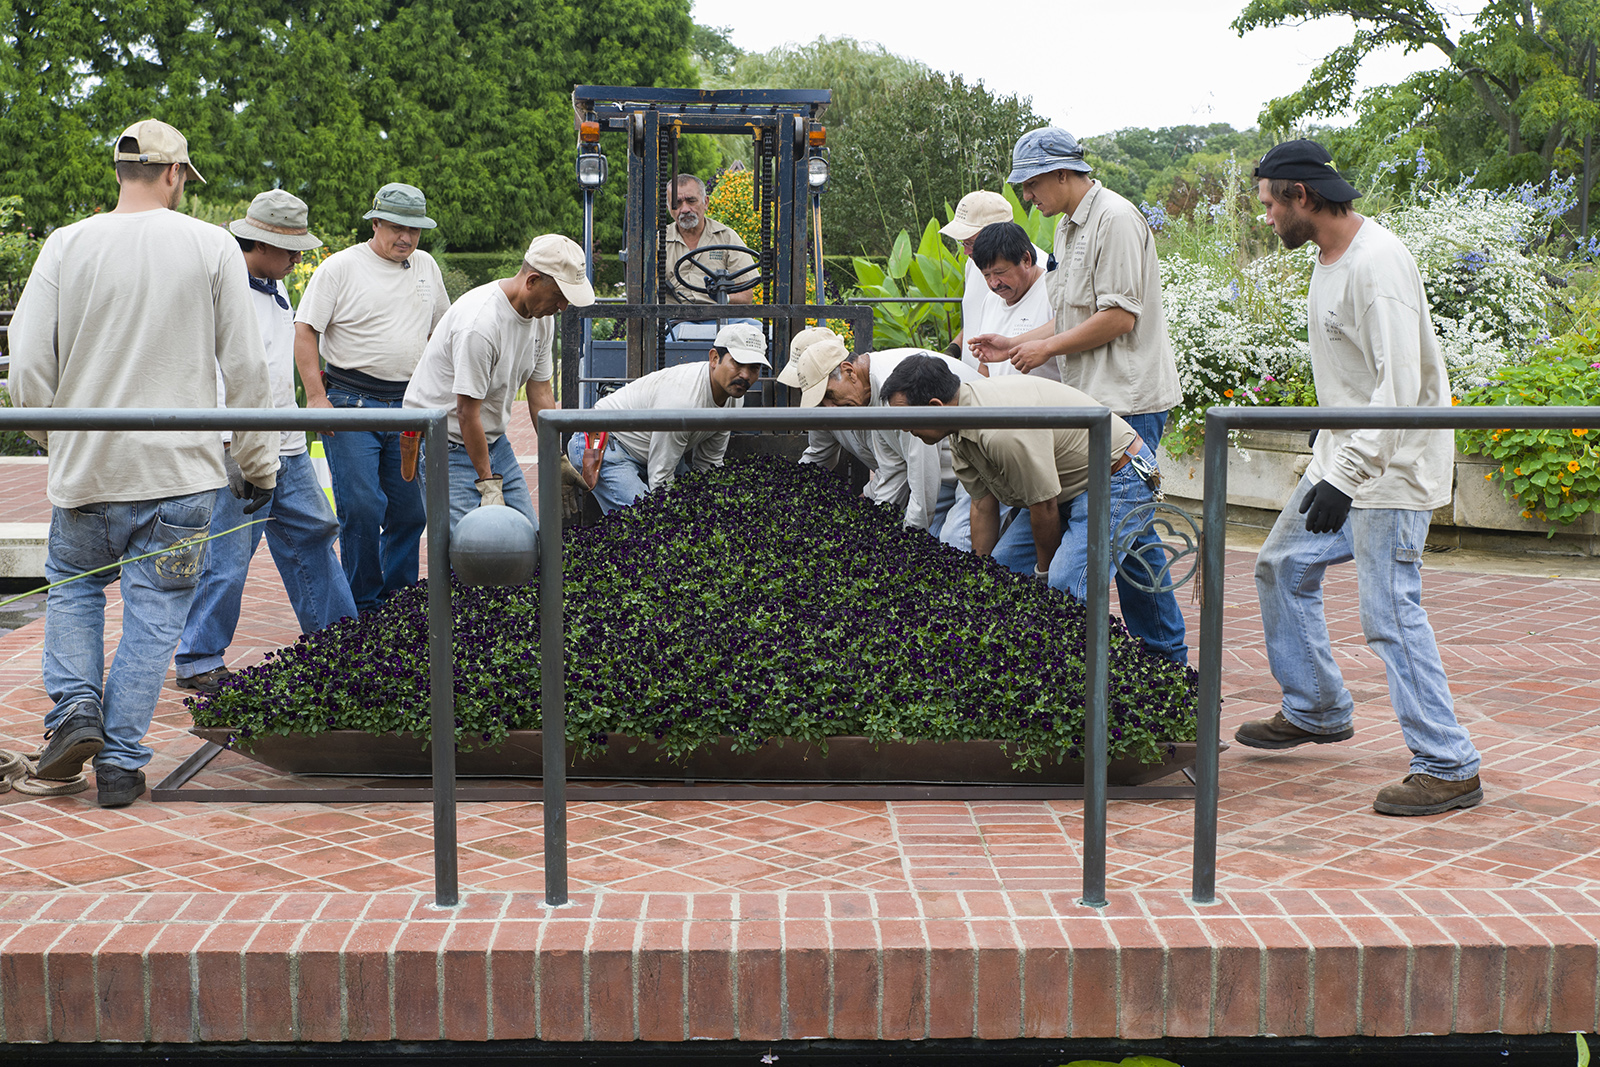
Lifting a panel into place in the Heritage Garden
8. Time to move to the Heritage Garden! It took 15 strong groundskeepers, some extra machinery and ropes, a lot of creative thinking, and 1½ days of hard work to move the pyramids from the Nursery to the Heritage Garden. Come by and take a look!
I often like to break down the numbers for a project, because it articulates the scope of work in a way that words cannot. So, here are some numbers for this project: Over one year of planning, more than 50 people involved, 6,400 plants used, and more than 500 hours of labor to get the job done. Yes, 500 hours!
It seems like a lot of work—and it is—but I hope that everyone who sees the display takes away something uniquely personal to them. Perhaps it sparks your creativity on how to use simple plants in unique ways. Maybe seeing something new and special triggers your passion for plants and horticulture, either as a hobby or as a career. Sometimes the display will draw your attention to a part of the Garden that you never explored before now. Or maybe you like it just because it looks pretty cool. It’s even O.K. if this display just isn’t your thing: artistic choices are very personal. Whatever your take-away is, however, my hope is that we can use this display and others like it to engage you in a conversation about plants and to help you connect to the Garden in an exciting new way. That makes 500 hours of work worth it for me.
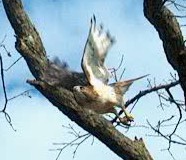
Thursday, November 1, Garden education staff watched a large red-tailed hawk hunting small animals on the Learning Campus.
This is a perfect place for these raptors. They can soar over the open lawn searching for small mammals, and when they catch a vole, rabbit, or other creature, they can safely retreat to a high branch of a nearby trees to devour their prey.
We watched it catch two small animals – probably mice or voles – within about ten minutes. It ate one of these unfortunate animals while perched in the pine tree pictured at the left and the second in the oak limb, pictured below.
You may see more hawks now and through winter than you do in spring and summer. According to The Cornell Lab of Ornithology, there is a population of red-tailed hawks that live in our area year-round, but in late fall other hawks from far north fly into the area and join them during the winter. We must have more of the animals they like to eat.
Come to the Garden this month to see our fall gardens, but remember to look up in the sky, because it’s likely that you’ll also see a hawk!