Do-It-Yourself Seed Balls

Spring is seed season—and a good time to think about gifting seeds to gardeners, friends, and green-thumbed moms (think Mother’s Day, May 8).

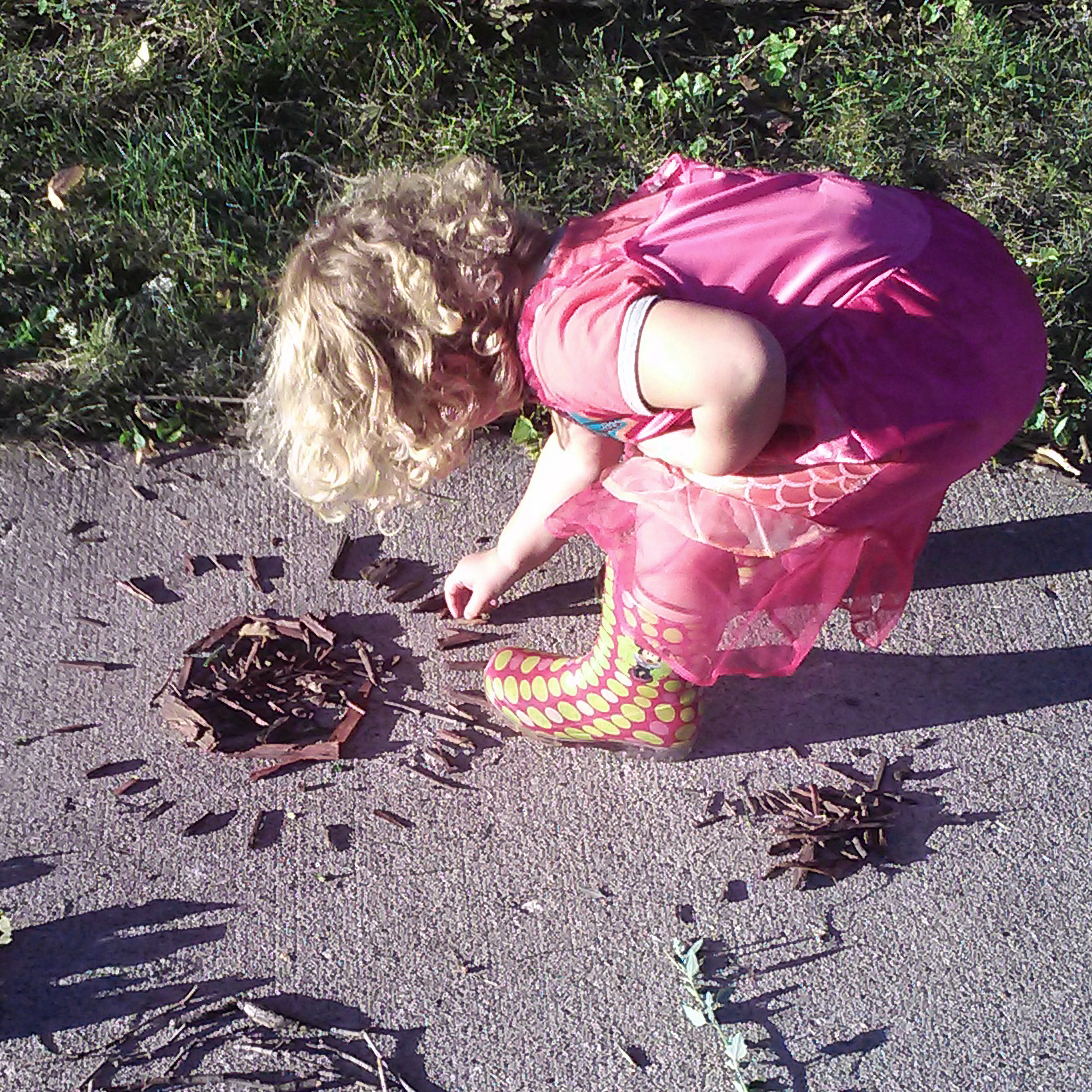
Musing about how to share some of the seeds that she gathered at February’s Seed Swap, horticulturist Nancy Clifton got interested in the guerrilla gardening-inspired idea of “seed balls” (or seed bombs, as they’re sometimes called). While the guerrilla gardening movement leans toward stealth seeding, Nancy thinks seed balls make an ideal gift item—they’re easy to make, easy to “plant,” and an easy way to teach kids about germination.

PHOTO: Seed balls made with different recipes.
Clay powder gives seed balls a reddish color and even texture; using clay chips makes a slightly chunkier, greenish seed ball. Both work equally well.

Here’s the easy seed ball recipe:

  • 1 cup powdered clay or potter’s clay (can be purchased online)
  • ½ cup dried compost (the finer, the better—Nancy used a pre-bagged compost mix)
  • 2 tablespoons desired seeds (see seed choice section below)
  • 1 tablespoon cayenne pepper (to deter critters from eating the sprouts)
  • Water

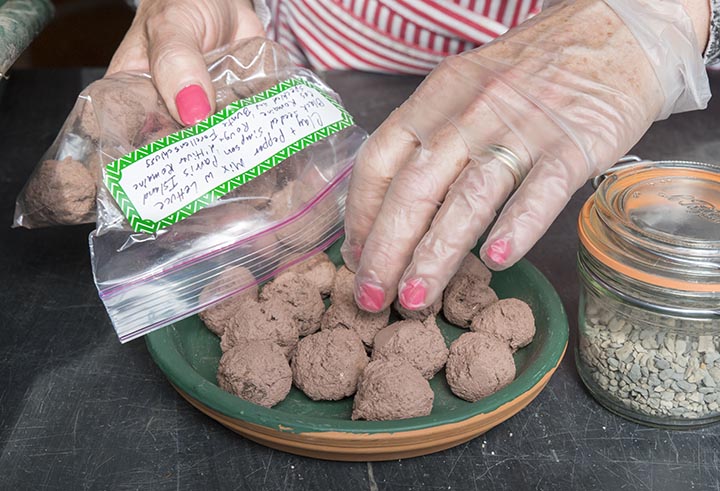
Mix the dry ingredients; then add ½ cup water. Stir, then begin to judge the consistency. Wearing gardening or plastic gloves, roll a teaspoon-sized ball in your hands (size can vary). Think “mud pie”—the ball should hold together when you squeeze it, without crumbling or dripping water.

Roll all of the mixture into balls; then let the balls dry on newspaper or waxed paper for two or three days. Don’t worry about smoothness—rustic-looking seed balls are as interesting as marble-smooth. The color will change to dark red/terra cotta as the balls dry. This recipe yields about 24 seed balls.

About Your Seed Choice

  • Less is more. You only want a few seeds to sprout from each seed ball. Too many seeds mean too many sprouts, resulting in too much competition for nutrients and water.
  • All sun. All shade. All herbs. All spring. Choose seeds with similar needs to maximize success in their container or garden spot. Nancy’s variations:
    • All summer annuals
    • All lettuces
    • All cool-season herbs
  • Use organic, non-treated seeds from your own garden or from trusted sources.
  • Choose native species for flowers and perennials that will grow successfully in our USDA Zone 5 region. Be responsible: do not use seeds from invasive species.
PHOTO: Nancy handles finished seed balls using plastic gloves.
Wear plastic or latex gloves when making seed balls. The mixture tends to be very sticky, and clay can dry out your hands very easily.

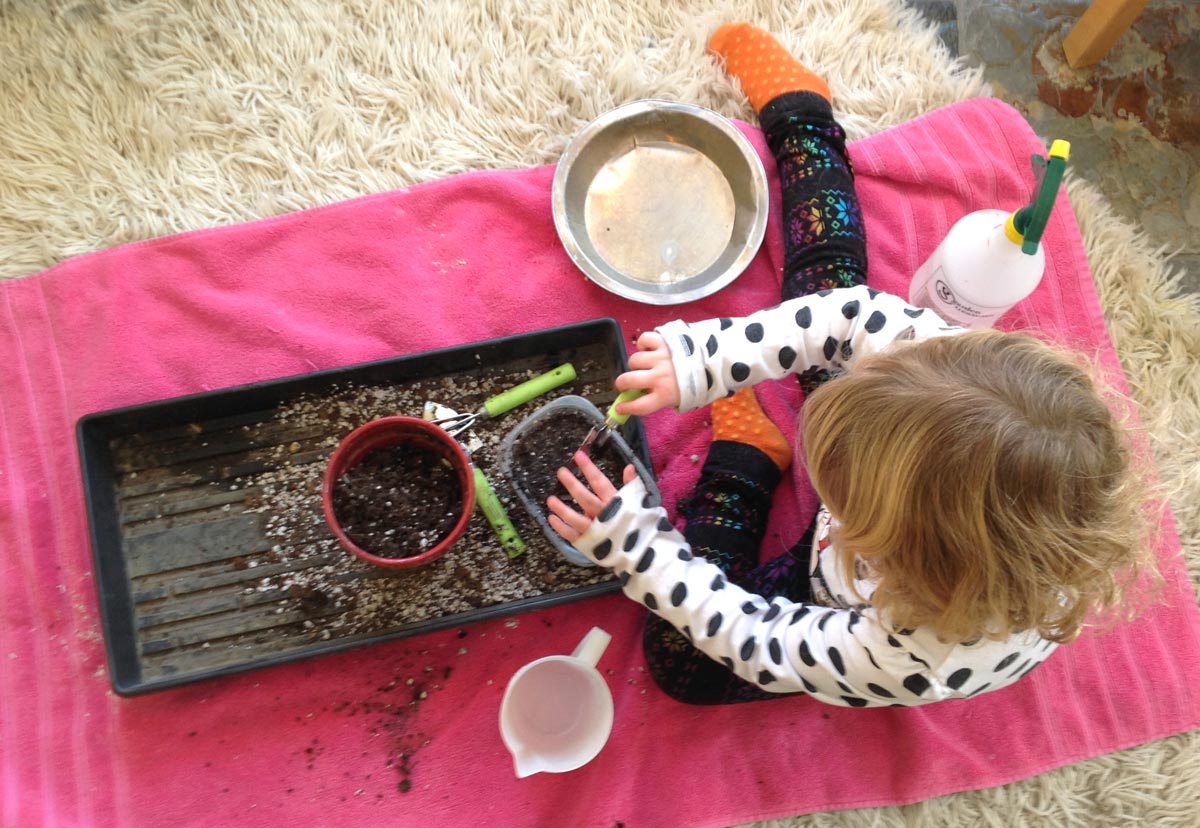
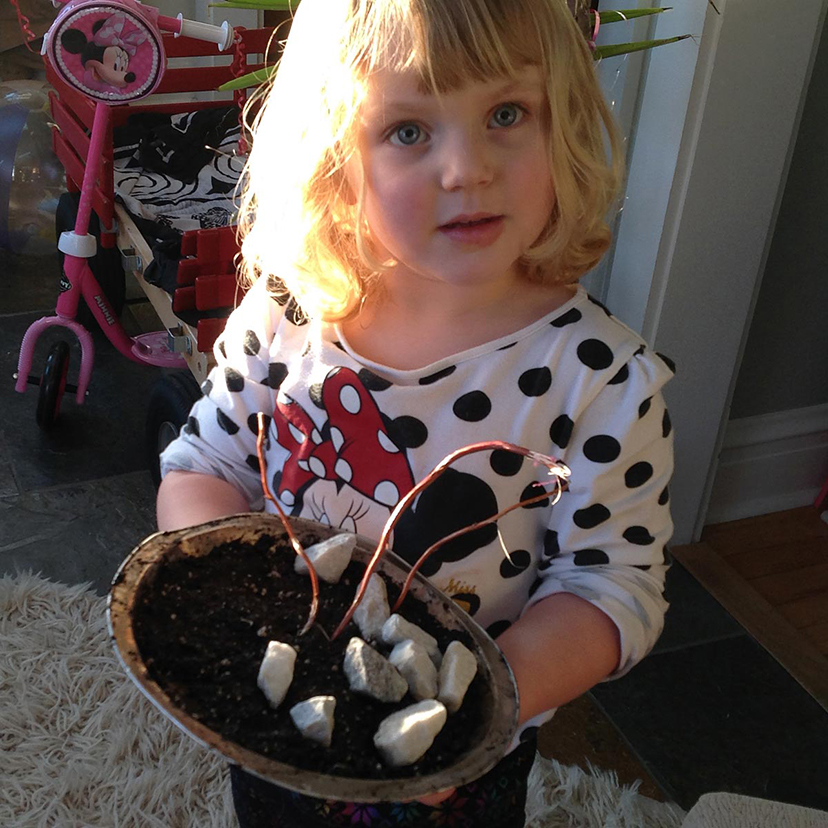
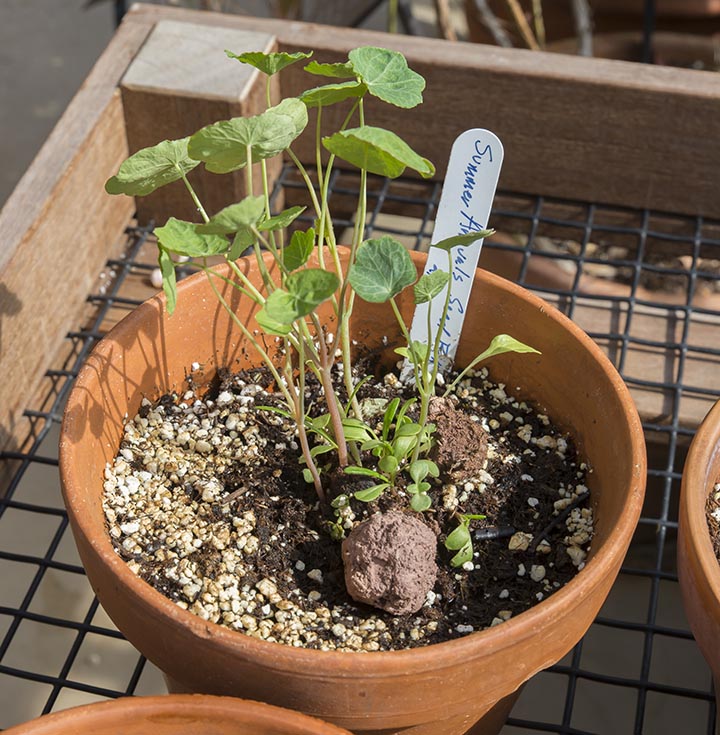
Seed balls can be set into a container of potting soil (sink it down just a bit into the soil), or placed, randomly or intentionally, on bare soil in the garden. A rainy day is the perfect day to “plant” seed balls—rain helps to break down the clay and compost, giving seeds a good dose of food and water to get started growing.

Throw one in your garden. Fill an empty space. Gift a brown- or green-thumbed friend. And happy spring, everyone!


©2016 Chicago Botanic Garden and my.chicagobotanic.org

All-Season Nature Crafts for Kids

As a mom and working artist, I try to think of ways I can introduce my 3-year-old daughter to the outdoors and the power of imagination through craft projects. And as an employee at the Chicago Botanic Garden, I am inspired by all sorts of family programs and drop-in activities for kids and families that celebrate the outdoors.

What’s fun about nature art is that it starts with an adventure and ends with a surprise. For instance,  the “family of owls” that we created may appear in story time later.

Here are some of the nature-inspired activities and kid-friendly crafts that have come out of my journey as a mother and continue to get the best reviews from Laila, my toughest little critic.

Dirt is cool

Even when she was a baby, my daughter was intrigued by dirt. She is still fascinated by it, in any form. In the long winter, when we’re tired of being cooped up, we bring a little of the outdoors inside and put together a mud pie prep kitchen. Supplies include dropcloth, potting soil, spray bottle, pouring cups, pie plates, and sticks, rocks and/or sand for decorating.

PHOTO: Mudpie in progress.
Don’t forget to have an old towel underneath your creation station.
PHOTO: Laila holds her finished mudpie.
The finished muddy treat

Happiness is when mom says it’s OK to play with your food

This is the best way to distract a picky eater, or wow guests with an inexpensive dish you can design with your kids. Laila and I made these creations out of various fruits, vegetables, herbs, and cheeses.

PHOTO: A cheese and fruit plate in a holiday theme is fun for kids to graze.
Bite-sized holiday snacks are great for kids who graze.
PHOTO: A vegetable butterfly makes for delicious, healthy snacking.
A vegetable butterfly makes for delicious, healthy snacking.

It’s an outdoors treasure hunt

Laila and I start by taking adventure walks and filling our pockets or a basket with sticks, leaves, flowers, and other found art objects. Everywhere you look, there are free art supplies.

PHOTO: Laila through the year, enjoying the outdoors.
Every season has something outside to explore.
PHOTO: Sticks and grass make a portrait of our house; Laila works on a mulch sun.
We made a portrait of our house. Sticks and grass set the scene; Laila works on a mulch-made sun.
PHOTO: Onion skins provide the fall leaves for our tree painting.
Take gatherings inside to make nature scenes or collages inspired by the seasons. Here, onion skins provide the fall leaves for our tree painting.

Rock ’n’ roll with it

Hand-picked rocks can be collected, cleaned, painted, and polished to transform into precious stones with a story attached. Even little nature lovers can apply homemade or washable paint to their rocks before an adult adds a clear topcoat finish. The rock art can be used as a paperweight or embellishment to a potted plant. Add a pipe cleaner and clothespin to make it a photo holder.

PHOTO: Laila collects stones on the beach; the painted stones below.
Every child likes to collect rocks.
PHOTO: A photo holder made from a painted stone, clothespin, and colorful pipe cleaner.
Collected stones can be painted or polished as keepsakes. Here, we’ve added a pipe cleaner and clothespin for a photo holder.

Impromptu art

One day we found pine cones and added fabric, buttons, and ribbon to create a family of owls that found a new home in our Christmas tree. Another time we used sticks, wire, glitter, and beads to build a twinkling mobile.

PHOTO: A family of hand-made pinecone owls using buttons for eyes and ribbon feet.
A family of pine cone owls made great Christmas ornaments.

When the projects are done, we talk about what we made, where our supplies came from, and who we can share our creations with.

Some of my favorite childhood memories are of outdoor exploration with my mom. I hope Laila someday will feel the same way.

Want to get more nature into your child’s education? Learn about our Nature Preschool program.


©2016 Chicago Botanic Garden and my.chicagobotanic.org