‘Tis the season for the harvest bounty at Windy City Harvest! Our staff and program participants are busy harvesting our final summer crops: peppers, tomatoes, and eggplant; and early fall crops: kale, carrots, and cabbage.
This harvest season, we unveiled our cookbook, Cooking in Season with Windy City Harvest. This cookbook is a collection of our favorite seasonal recipes and features the fresh produce grown and harvested at our farms transformed into healthy dishes by our program participants, staff, and local chefs.
Windy City Harvest Youth Farm participants
Our program has been lucky to develop wonderful partnerships with local chefs and restaurants. Many of these chefs, including Cleetus Friedman, executive chef and creative chef for Caffé Baci; and John des Rosiers, chef/proprietor of Inovasi, Wisma, and The Otherdoor, have generously shared seasonal recipes that feature Windy City Harvest produce.
Harvesting kale at the Washington Park farm
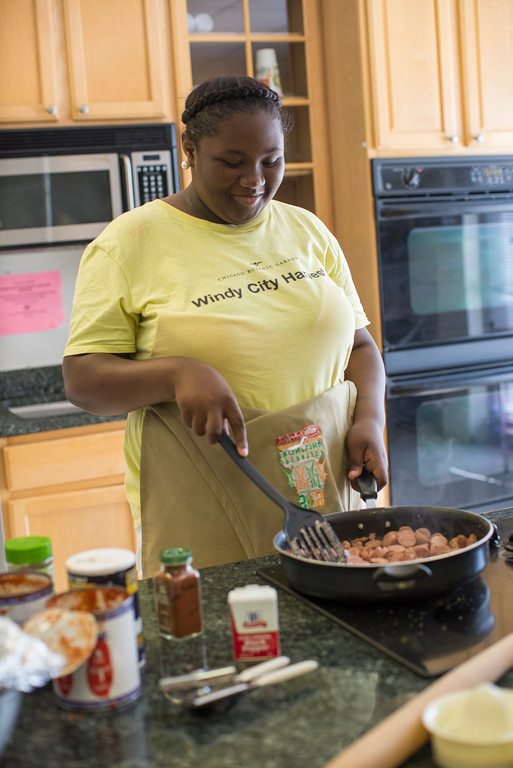
Just like planting seeds and harvesting the bounty, cooking is an essential component of the Windy City Harvest program. Program participants learn how to cook with produce grown on the farms, sometimes using fruits and vegetables that may be unfamiliar to them. The participants then share their newfound culinary skills with their communities, whether trading recipes with market customers, providing cooking demonstrations at local WIC (Women, Infants, and Children) clinics, preparing multicourse lunches for their peers, or showcasing their dishes at our annual Open House celebrations.
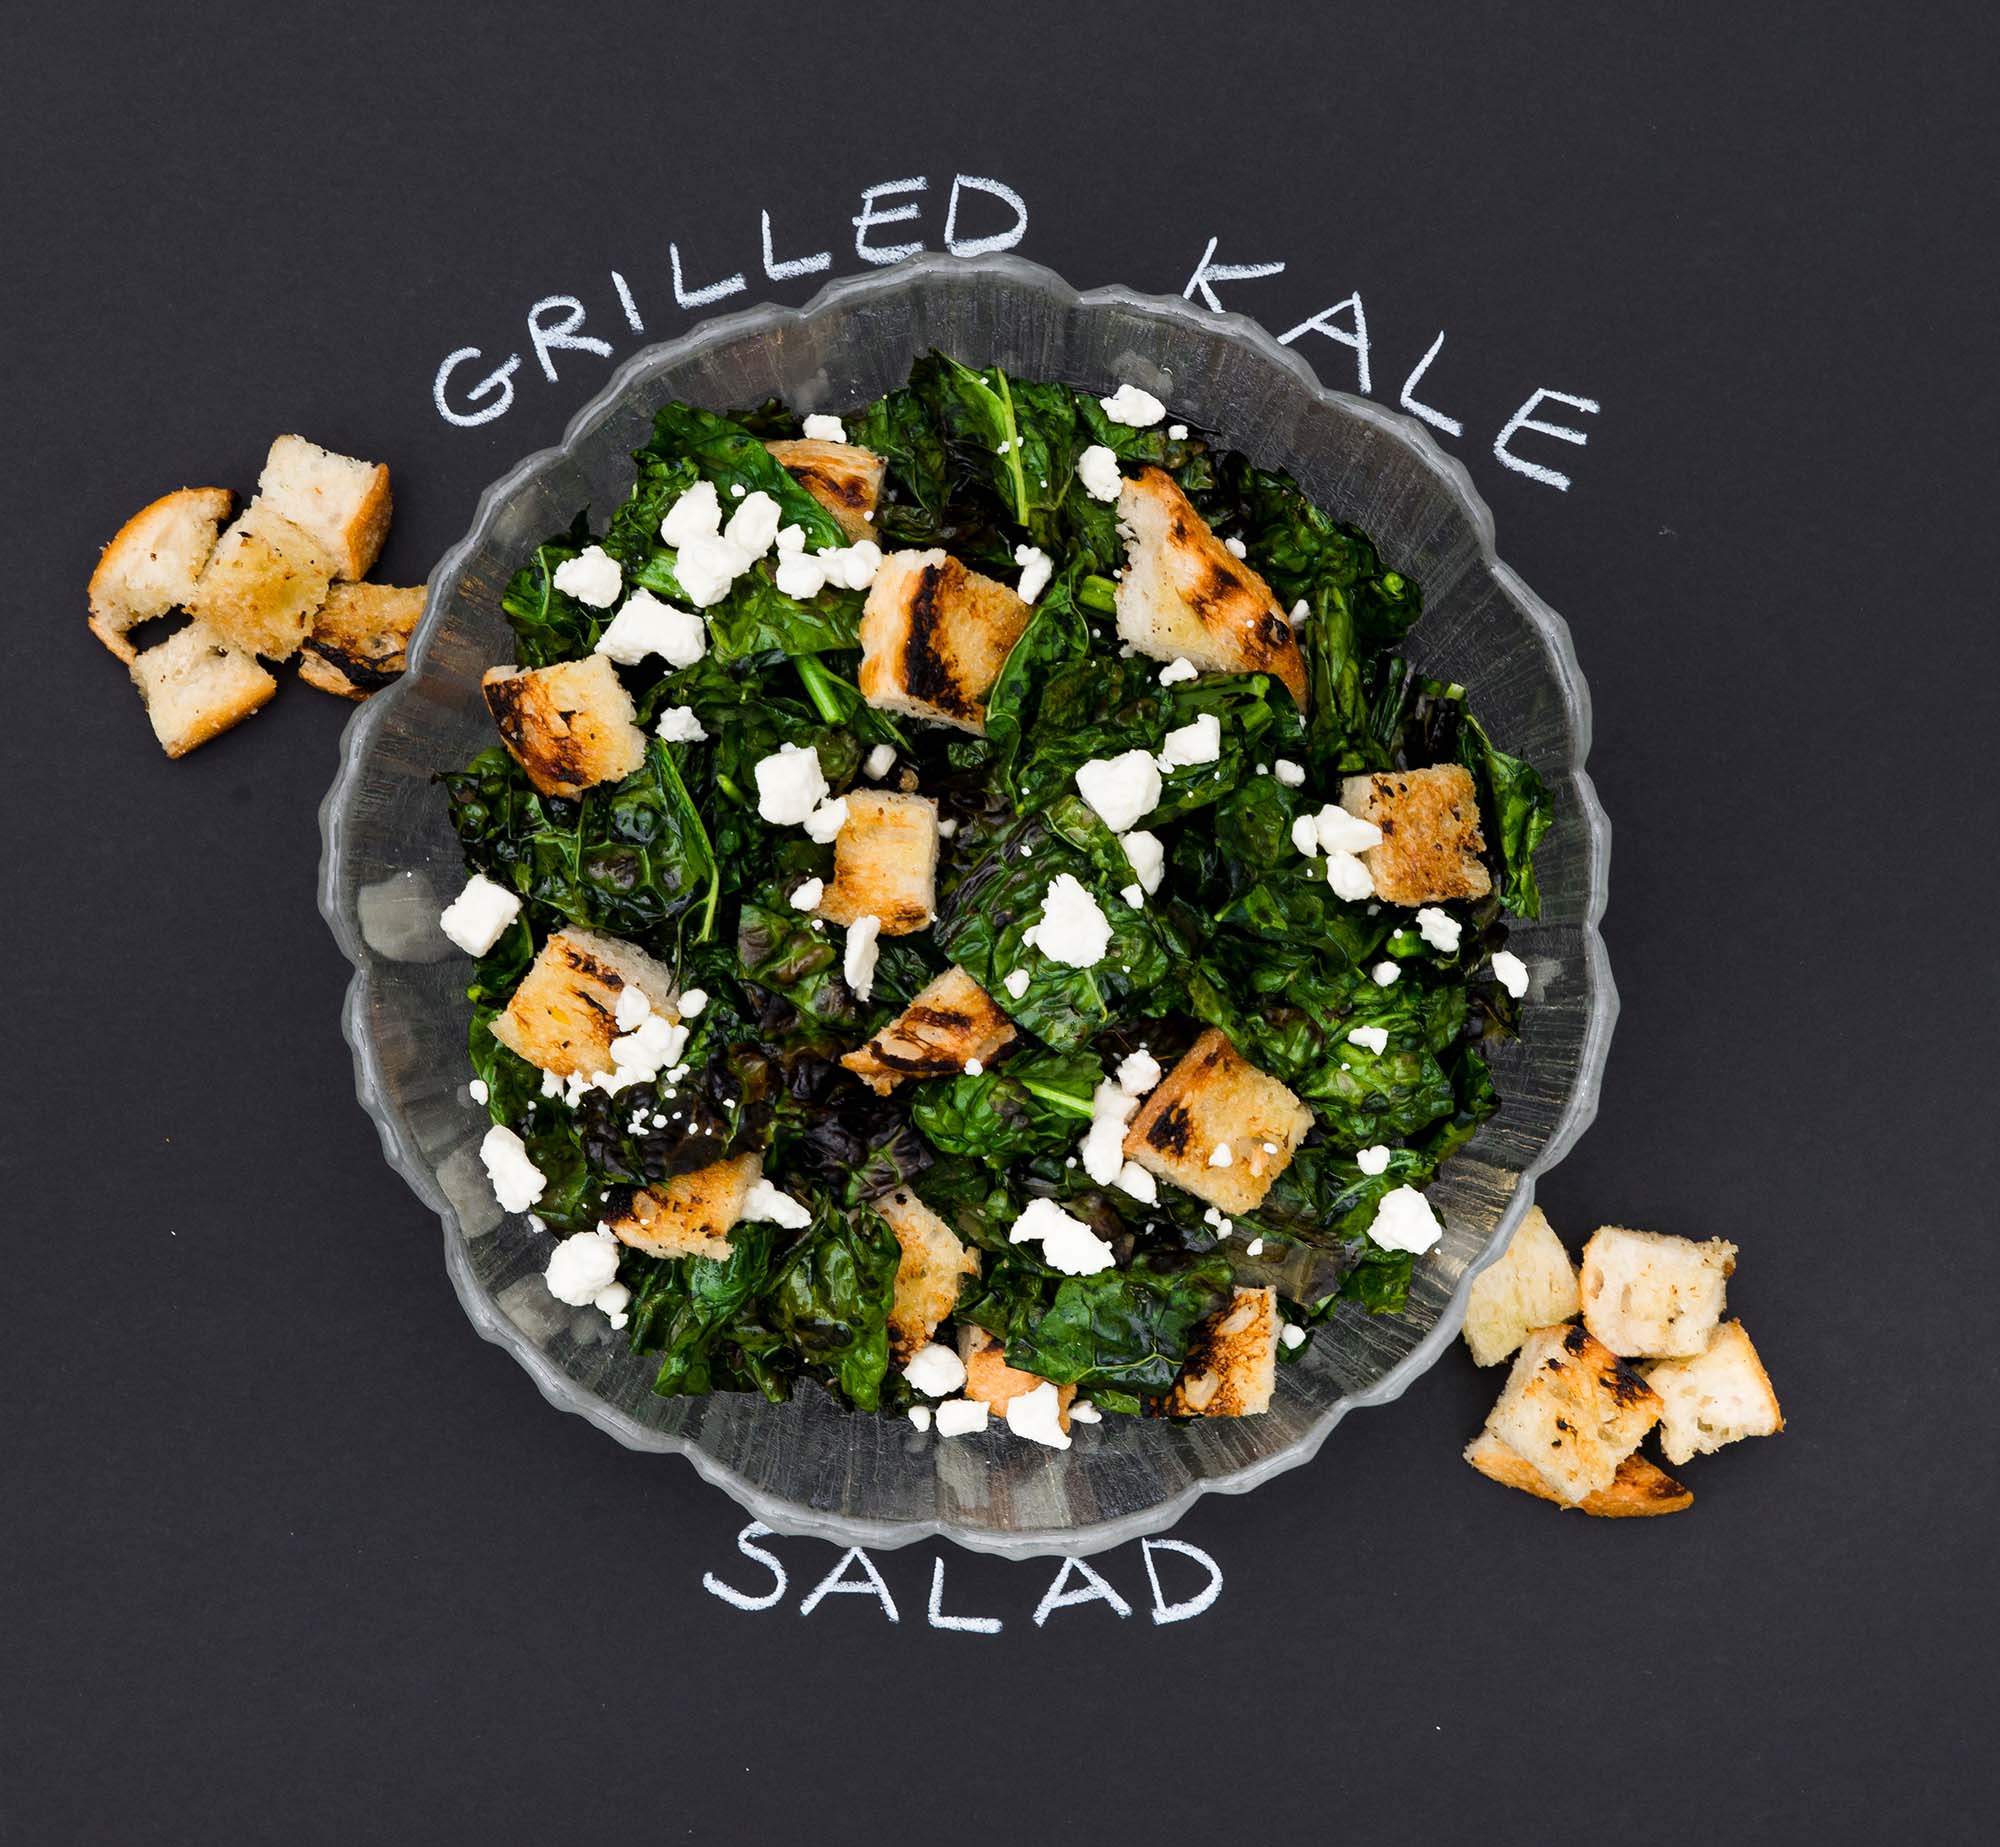
One of our favorite fall recipes is a grilled kale salad.
Grilled Kale Salad Preparation: 15 to 30 minutes. Serves: 6 to 8
Salad:
3 pounds (about 4 bunches) toscano kale, washed and dried
½ cup vegetable oil, divided
½ teaspoon salt, plus more for bread
2 garlic cloves, cut in half
½ loaf of sourdough bread (cut into ¾-inch thick slices)
Dressing:
3 large garlic cloves, minced
½ cup lemon juice
½ cup extra-virgin olive oil
½ teaspoon salt
1 cup feta cheese, crumbled
Preheat the grill to high. Stack the kale and cut off the thick end of the stems about 3 inches from the end of the leaf. Compost the stems. In a large bowl or large plastic bag, toss the kale with ⅓ cup of the vegetable oil and salt, until the leaves are evenly coated with oil.
Rub each slice of bread with a garlic clove half. Drizzle the remaining oil on the bread. Grill the bread slices until golden brown with nice grill marks on each side. Set aside. Grill the kale leaves until crispy and cooked—about 30 seconds to 1 minute per side. Dice the grilled bread into croutons, and julienne the kale into bite-size pieces. Place the mixture in a large bowl.
To make the dressing, combine the minced garlic with the lemon juice, olive oil, and salt in a Mason jar. Tighten the lid and shake the jar vigorously to combine the ingredients. Pour the dressing over the kale and bread, and toss the mixture to coat. Add the feta and toss again. Transfer the salad to a serving platter or bowl.
Get in the kitchen with Windy City Harvest
If you would like to see more seasonal recipes and learn about the Windy City Harvest program, pick up a cookbook in the Garden Shop. Bon appetit!
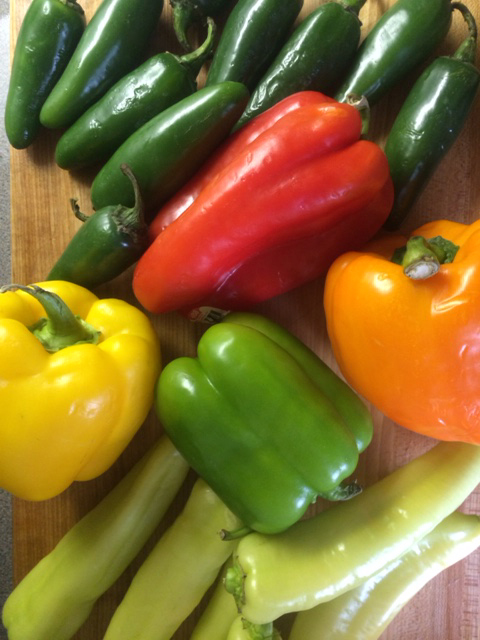
Are you staring at the glorious color wheel of peppers at your local grocer or farmers’ market and salivating over your peppers growing at home?
If so, you are a pepper lover, and while you hold yourself back from buying every type you see on the shelf, you also know that this feeling is fleeting.
Savor the flavor—pickling lets your harvest last longer and tastes amazing.
Those beautiful colors and unusual varieties are in their prime now, when the hot summer days and good strong rains are perfect support for a fruiting pepper plant. In just a month or two, the number of varieties will start to dwindle and your hot spicy recipes will taste bland again.
Fear not! You can preserve that color and flavor easily with pickled peppers! But even Peter Piper couldn’t pick a peck of them. You have to pickle them yourself. Luckily, pickling peppers is perfectly painless.
Play it smart! Wear gloves when seeding hot peppers.
Note: Be careful when handling hot peppers; don’t rub your eyes as the capsaicin will migrate and can really irritate them (and be detrimental to contact lenses). One way to avoid this is to use disposable gloves. Wash your hands thoroughly after removing the gloves as well.
Hot or not:
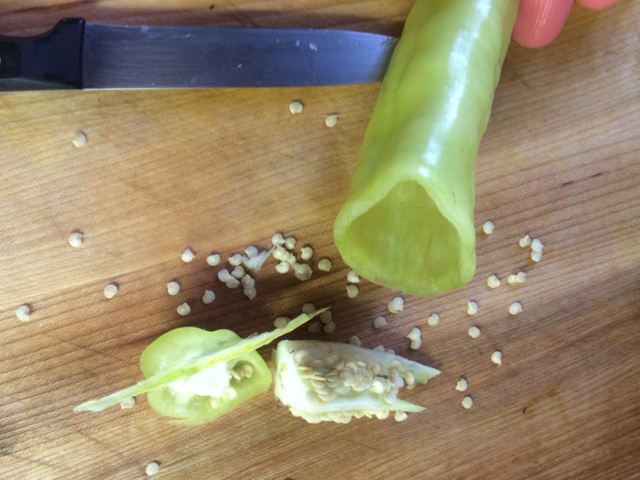
Just how spicy do you want your peppers? Go ahead and take a bite. If it’s too hot, it’s not too late. Before you pickle, core your peppers (removing the seeds and inner ribs). This removes some of its spiciest elements. You can also run them under water once they are cored to lessen the heat.
Coring and removing the ribs and seeds takes a lot of the heat out of the pepper. Like the pepper hot? Leave them in.
If you like it hot, leave your peppers whole. Just poke or slit holes in the side of the pepper to expose the inside to the pickling liquid.
Be sure your pickles are tender, firm, crisp and not showing any spots, wrinkled skin, or decay. Also, wash them well before pickling.
Skin off:
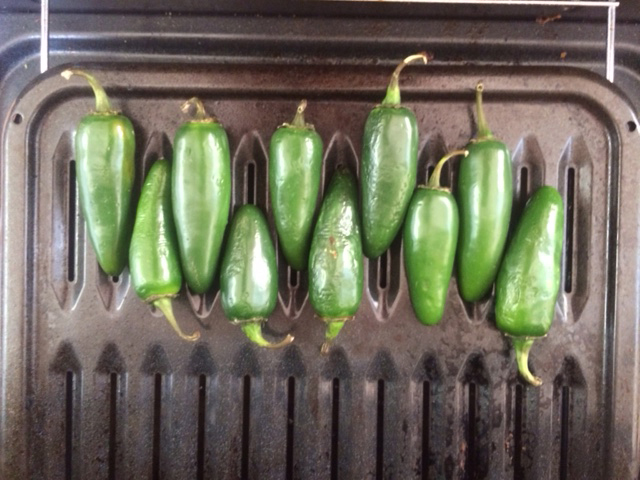
Pickled pepper skin can be unpleasant and rubbery. If you are thinly slicing your peppers (or your peppers are very thin-skinned), you may choose to leave the skin on. However, if you are pickling your peppers whole, remove the skin now by blistering the outside of the pepper on the grill, in the oven, or with the broiler. Once the skin is blistered on all sides, let the pepper cool and the skin will slide right off.
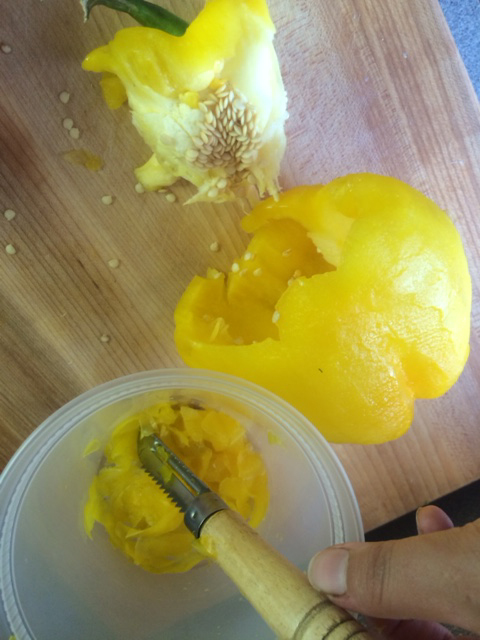
If you don’t want to heat up the kitchen on a summer day, use a vegetable peeler to remove the skin (preserve as much of the flesh as possible).
A brief roast will blister the skins of your peppers, making them slide right off when cool.
You can also skin peppers with a peeler.
Sterilize your jars and make pickling liquid.
Use glass jars that can vacuum seal (Mason® or Ball® jars work great). Wash them well, then heat them in the dishwasher or fill with boiling water until the glass is hot. Pour out water just before you fill them with peppers and brine.
A basic brine for a 1 pint jar contains the following:
½ tablespoon of sugar or honey (*may be left out if you prefer)
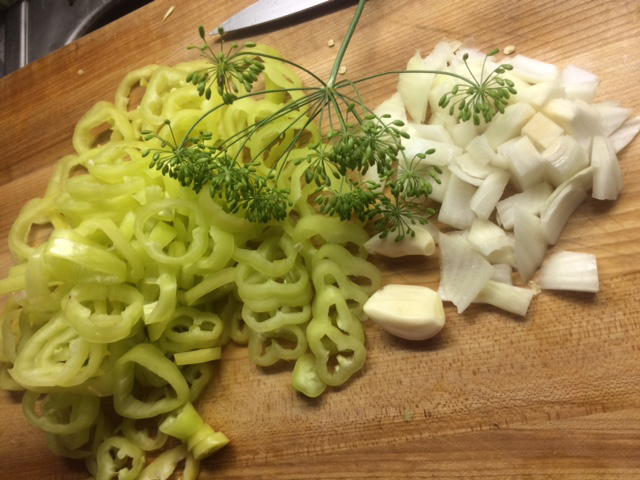
Dill, onions, garlic, and peppers: this is going to be awesome.
What to add?
Onion, garlic cloves, peppercorns, mustard seeds, dill seeds, sesame seeds, bay leaves, cinnamon sticks, and many other spices can add flavor to the brine. For a true Chicago hot dog, add two garlic cloves and a pinch of mustard seed. For a sweet approach, add 2 tablespoons of honey and some chopped onion. For Thai Chilies, add sesame seed for richer tasting pickles.
TIME OUT TO TASTE TEST!
Take a sliver of your pepper and a bit of your pickling liquid and set to the side. Let the liquid cool and then taste them together. Hold your nose—the vinegar will be strong! This is not exact, but gives you can idea to the flavors you’ve mixed. Adjust your spices as you may need.
Leave space to pour the brine in, and for the jars to seal properly.
Pack your jars:
Bring the brine to a boil; reduce heat and cook just long enough for the salt to dissolve in the vinegar (about 2 minutes). Pack your garlic cloves, extra dill, or other ingredients with your peppers into the hot jars, leaving 1 inch of air (called headspace) in the top of the jar. Then, ladle the hot pickling brine over the peppers until the brine is ½ inch from the top of the jar.
Put on your lids and rings and close gently. Don’t turn as tight as you can—you want the lid to be easy to loosen later.
Store:
If you plan to use your peppers right away, put the jars into the fridge for two days and start eating!
If you want to hold on to you peppers longer, you will want to can them. Place your newly packed jars into a canning pot filled with boiling water. The water should sit 1 inch above the jars. Keep the water boiling for 10 minutes. Then lift the jars out of the water and let them cool on a towel (not touching each other). After they have cooled overnight, press the center of the lid down with your finger. If the lid doesn’t move, it has sealed and your peppers will keep for up to a year! If the lid pops up and down, the jar didn’t seal and should go into the fridge for quick eating.
Don’t forget to have fun! Play with different color and flavor combos or chop the peppers for something spreadable. As long as you use the right amount of vinegar and salt, the sky is the limit!
Already perfected pepper pickling? Then make giardiniera!
Use half the recipe above and add carrot, celery, onion, cauliflower, green olives, and garlic to the jars. Also add 2 tablespoons oregano, 1 teaspoon celery seed, 1 teaspoon ground pepper, and 3 cups of olive oil to the pickling liquid. Rather than canning, let the jars ferment in your fridge for at least two days before eating for the best flavor.
What’s the oldest thing in your refrigerator? Chances are that it’s the almost-but-not-quite-empty jar of mustard.
Conditioned by decades of backyard barbecues, brightly colored squeeze bottles, and grab-’em-by-the-handful packets, Americans are at last tuning in to the taste of homemade condiments.
The time has come for homemade mustard—and you won’t believe how easy and tasty it is.
Start with the Basics
As always, we turned to program horticulturist Nancy Clifton to learn the how-to’s. Within five minutes of starting her demo for us, she had the first batch of mustard whipped up:
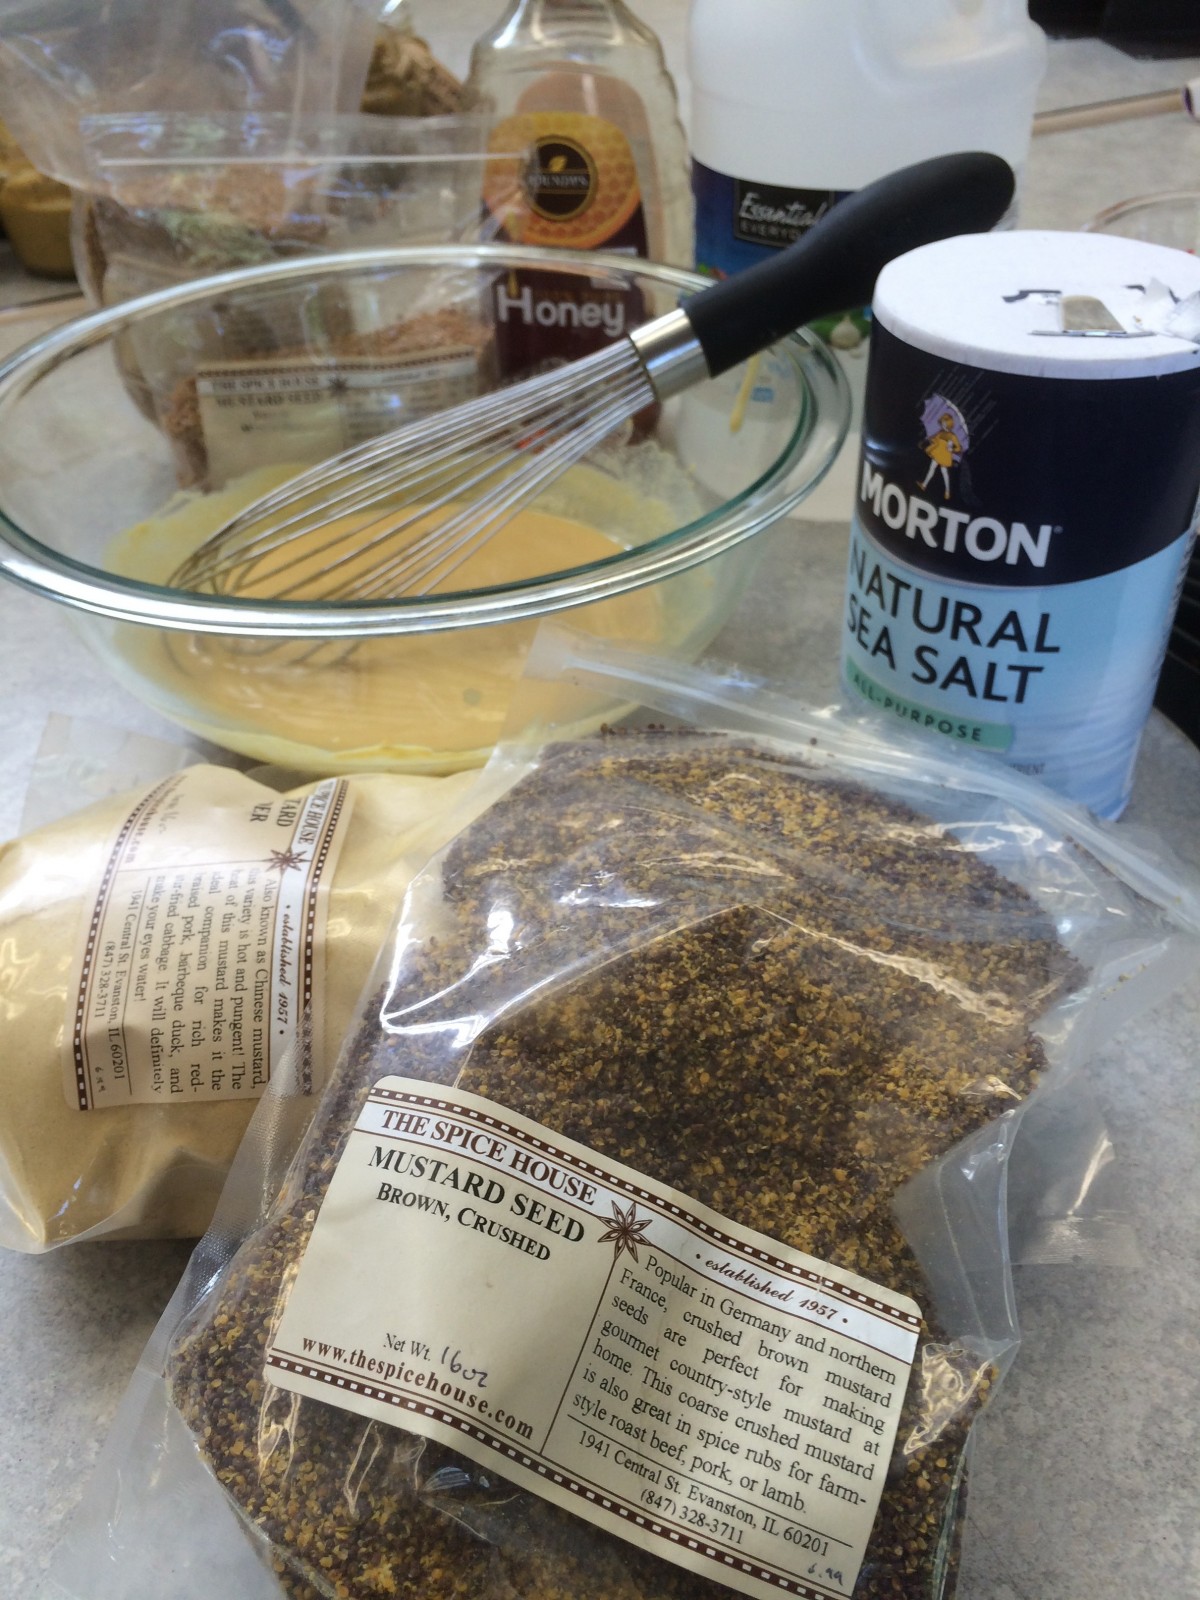
The basic mustard-making ingredients
Nancy Clifton’s Basic Mustard Recipe
½ cup dry mustard powder*
¼ cup cool water (see tips on temperature below)
¼ cup white vinegar
¼ teaspoon salt
2 to 3 teaspoons honey
Whisk ingredients together. Pour into clean Mason or Ball jars and set aside on a pantry shelf for two weeks, to allow the spice’s heat to mellow to the degree desired. Sample out of one jar periodically to test the heat level as you wait. It takes about two weeks for mustard to reach “mild.”
(*Local to the Chicago area? Find mustard powder available in bulk at Penzeys or The Spice House, or purchase online.)
Mustard-making Tips
Mustard powder makes a much stronger spread than mustard seeds. Best bet? A combination of both.
Hot water mellows mustard’s heat—use hot instead of cool in any recipe if you prefer less bite.
Soak whole grain seed in vinegar and water for 48 hours to soften it before using it in a recipe. Keep the seeds submerged, not floating.
Freshly made mustards should mellow for 2-4 weeks at room temperature on a pantry shelf. Refrigerate after the desired pungency is reached. Homemade mustards last 6 to 12 months in the refrigerator.
Clockwise from top left: hot mustard seed, yellow mustard powder, a finished basic yellow mustard, brown crushed mustard seed, and medium-hot mustard seed.
Next, Get Creative
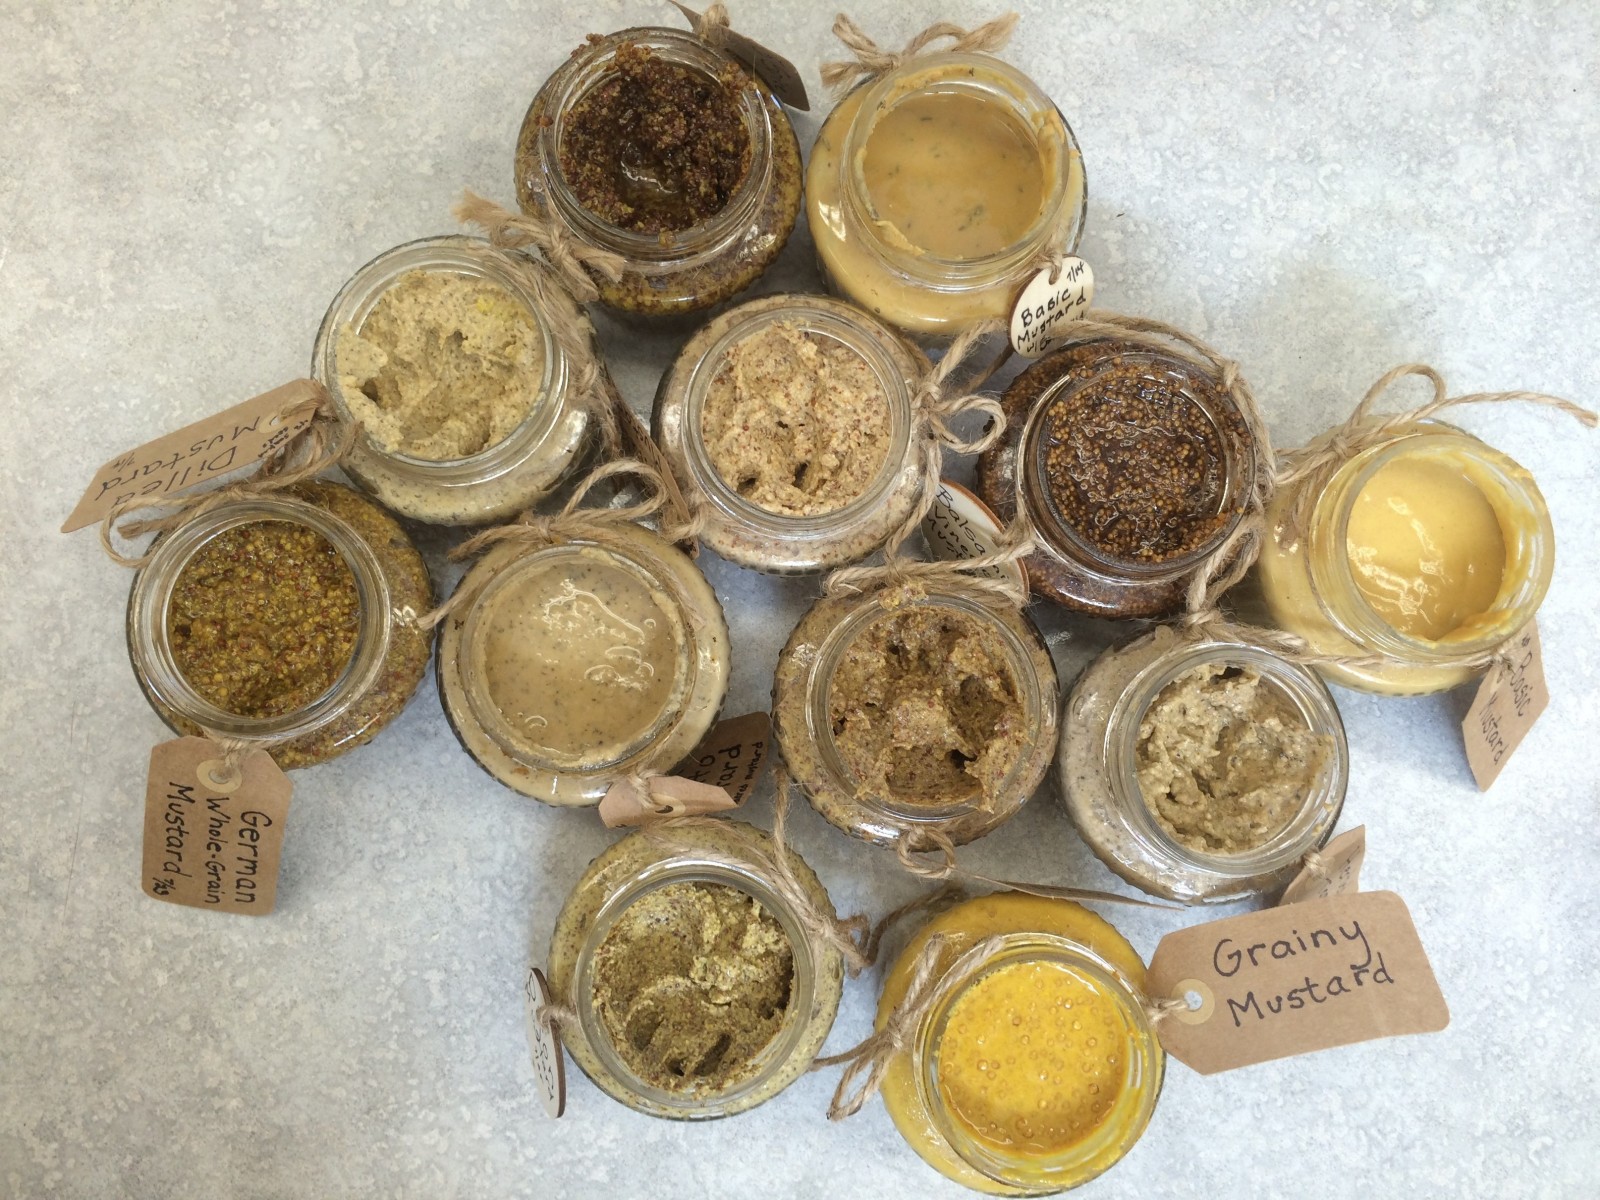
After making that first quick batch of basic mustard, Nancy passed around ten jars of flavored mustards for us to sample. Revelations all!
By tinkering with the basic ingredients—using cider or champagne or balsamic vinegars, adding fresh or dried herbs, experimenting with different whole mustard seeds, adapting recipes from cookbooks and the web—Nancy had us all exclaiming over the freshness, complexity, and surprise of mustards in these flavors:
Mustards make a sandwich (and a hot dog, as any self-respecting Chicagoan knows), and homemade mustards will forever change your approach to sandwiches. Try mixing hot mustards with mayo for a deliciously different spread. You’ll also rethink deviled eggs…potato salad…pork tenderloin…veggie sauces…and salad vinaigrettes.
A Hot Gift Item
Homemade mustard in a single jar or assortment makes a great gift that’s sure to be enjoyed!
Homemade mustards make awesome gifts. Need a football season party gift? Check. Hostess gift? Check. During the holidays, gift neighbors, co-workers, and foodies with a package of three different mustards in quarter-pint jars—delicious and memorable!
Experiment, and build your gift stock—remember that it takes a couple of weeks for mustard to mellow—and the next time you’re cleaning out the refrigerator, recycle that old jar of yellow stuff and replace it with a jar of your own fresh, tasty, homemade mustard.
The Plant Connection
Brassica nigra in seed and in flower. The seeds are contained in conical pods called silique.
Yes, mustard seed comes from a plant—three different plants, in fact. All are in the Brassica family.
Brassica nigra = black mustard seed Brassica juncea = brown mustard seed Sinapis alba = white mustard seed
And yes, you can grow your own mustard plants for seed—just be sure to harvest it all, as mustard can quickly self-sow and take over a garden bed.