Five Unexpected Things to Learn in Master Gardener Training

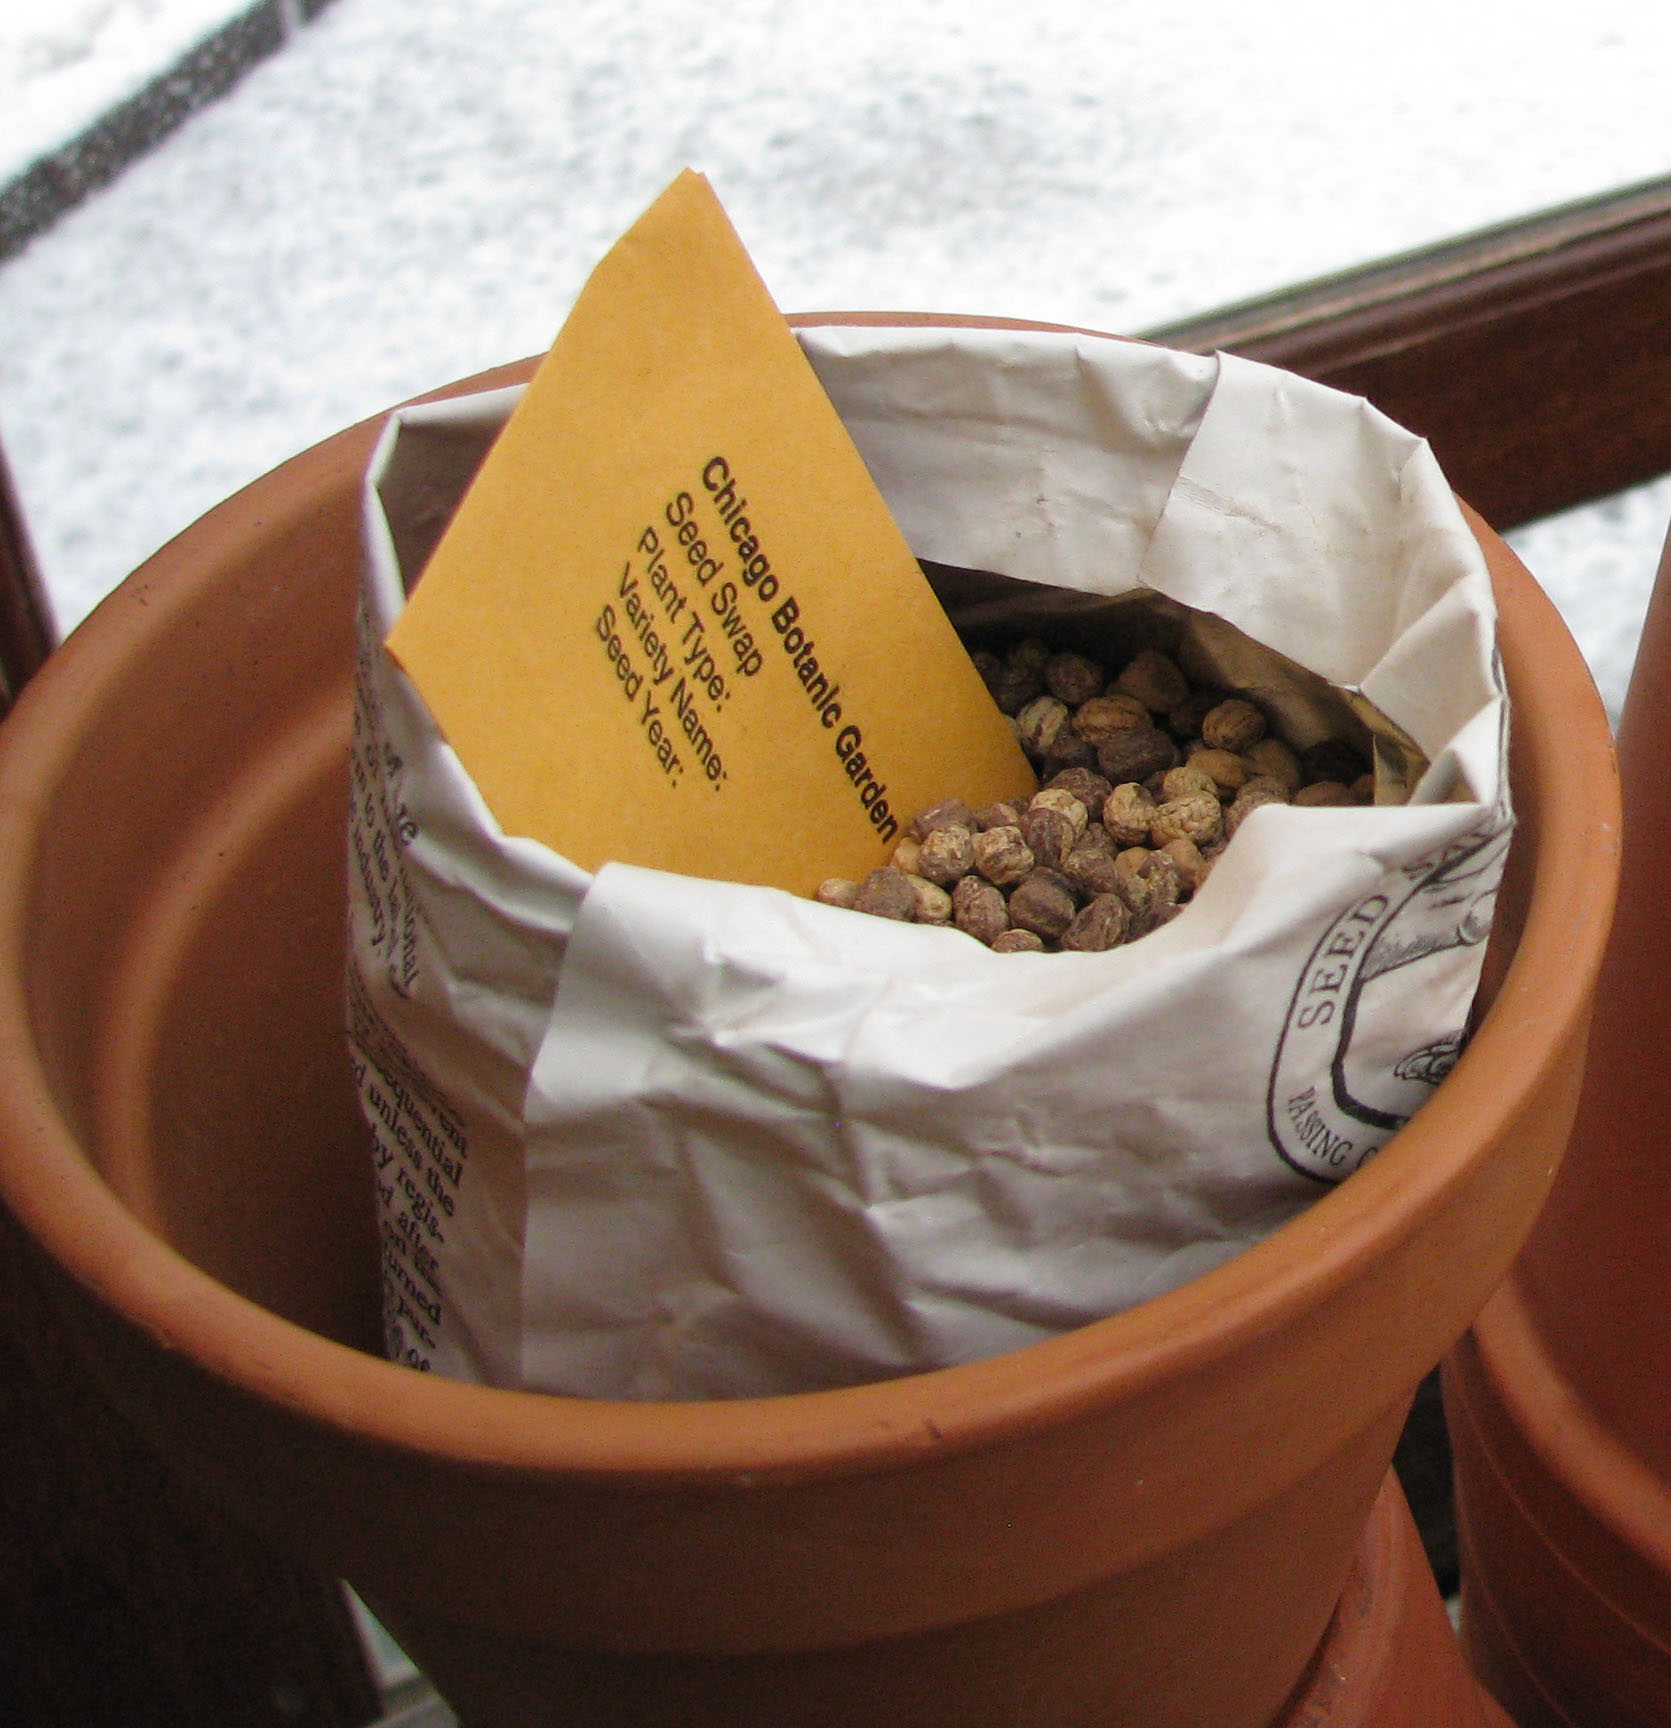
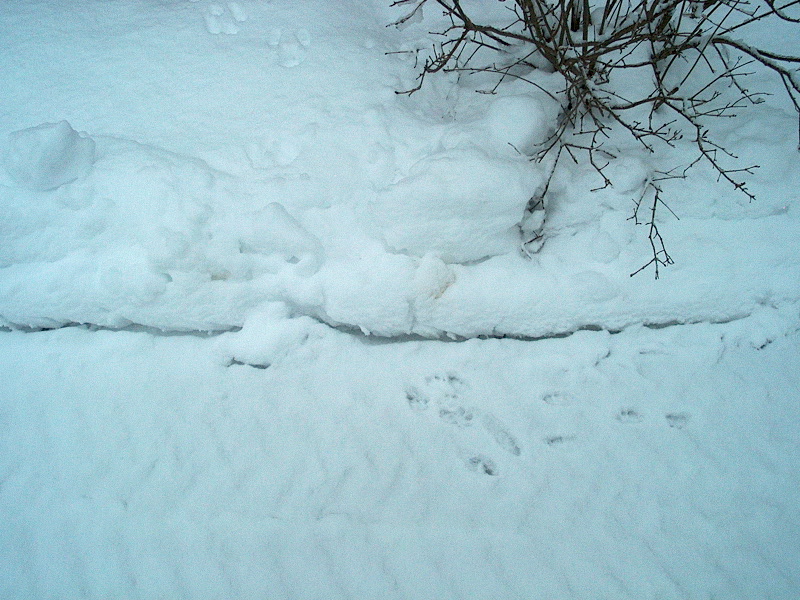
It’s snowy outdoors at the Chicago Botanic Garden. But serious gardening is underway indoors, where master gardener training has begun.

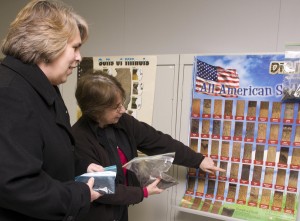
The Garden’s Plant Information Service help desk typically recruits 20 new master gardener interns from each biannual training session. Master gardeners answer your questions!

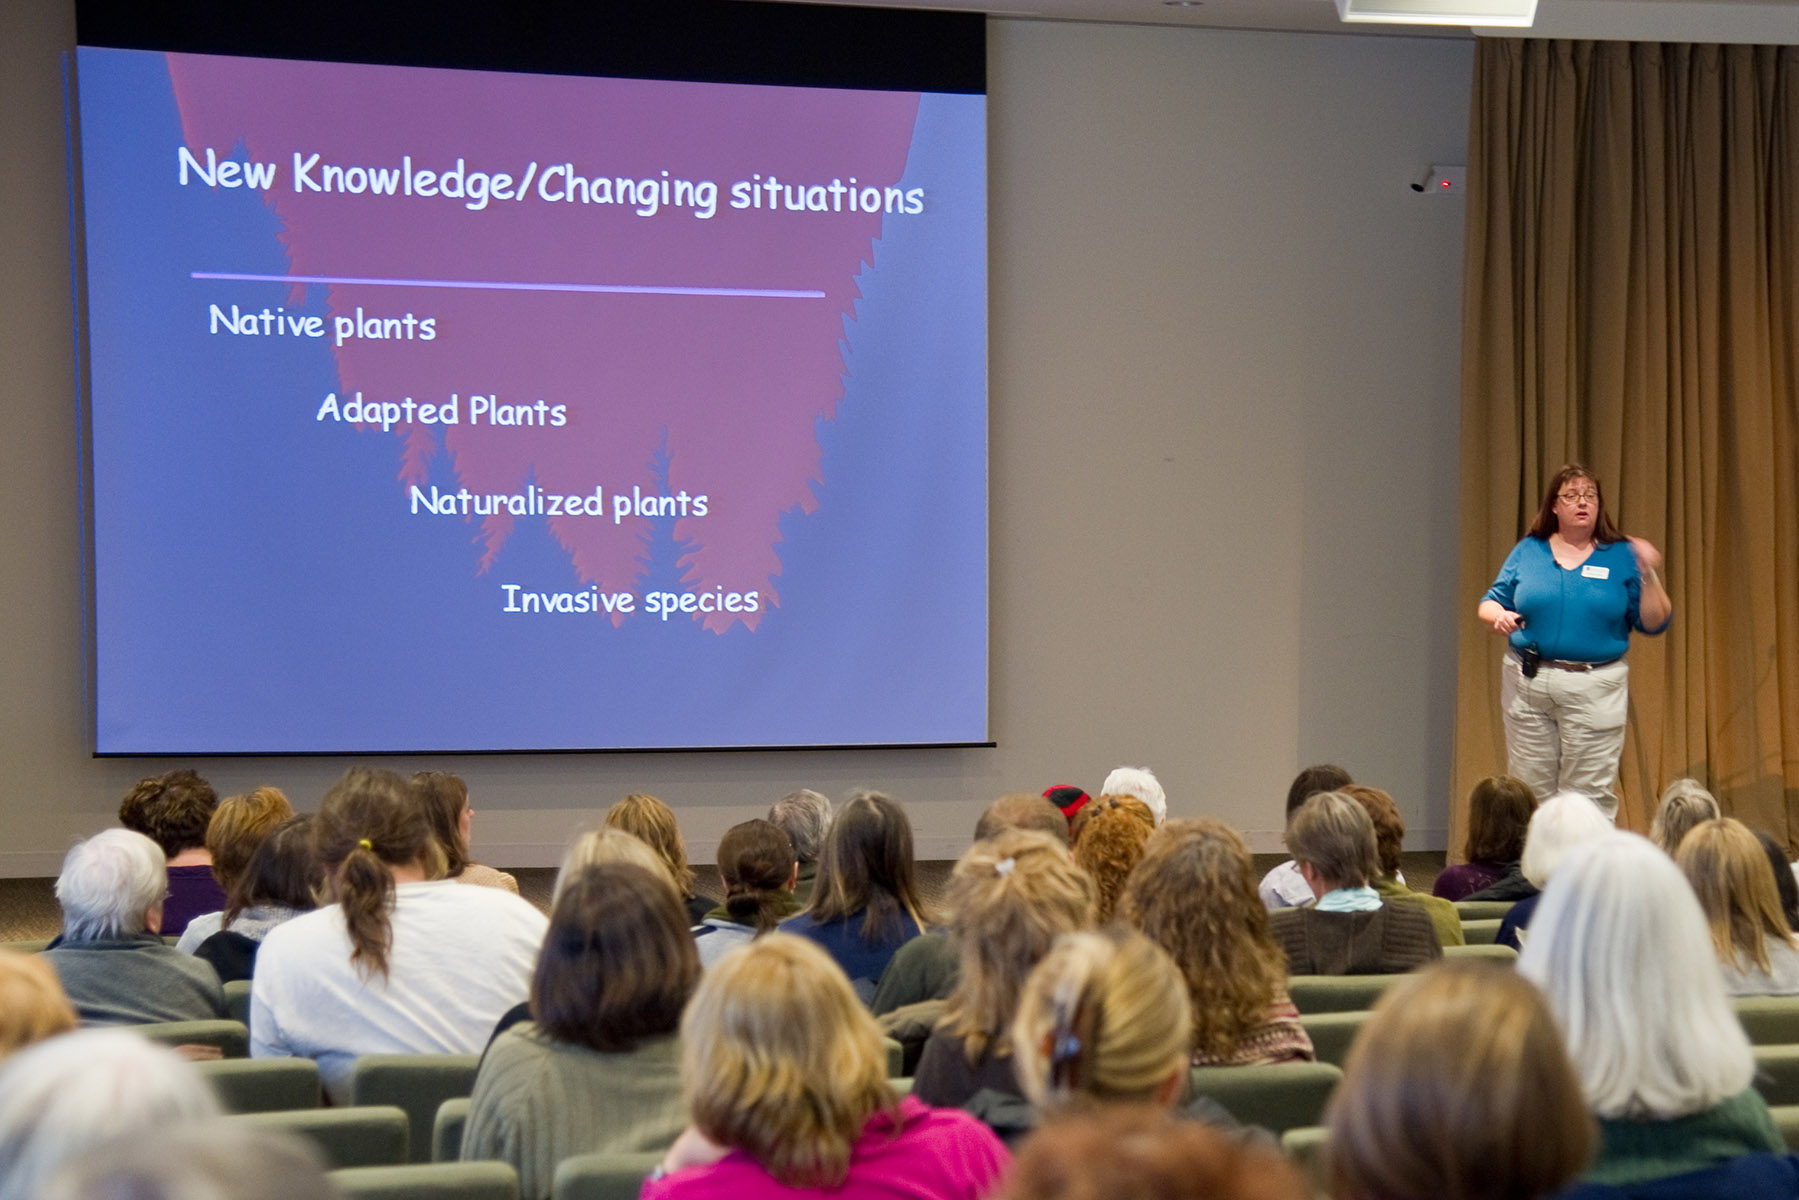
Every two years, the Garden becomes a teaching site for the University of Illinois Extension Master Gardener program. This year, the ten-week course, which started January 16, saw a record number of students enroll in on-site (93) and online (31 — triple the number of screen users as last session) classrooms.

What are those 124 folks up to so far? They’ve finished sessions in topics including botany, soils & fertilizers, and woody plants. (Herbaceous plants, vegetables, fruits, turf, plant pathology, insects, and IPM/pesticide safety are up next.) They’re learning skills which are key to the program, including how to be a volunteer community educator — the true definition of a master gardener.

Lessons learned along the way include:

1. You don’t have to know everything.  Yes, master gardener training is a crash course with lots of information coming at you fast. And, yes, there’s a test after every week’s session (it’s open-book, and you can take it at home). The real skill is to learn about the resources with the answers to the questions you’ll be fielding as a volunteer.  As one instructor puts it, “there are two kinds of knowledge: what you already know, and what you know you can find the answer to.” The master gardener program teaches both.

Soil Class_rjc4600
Students learn to identify soil samples.

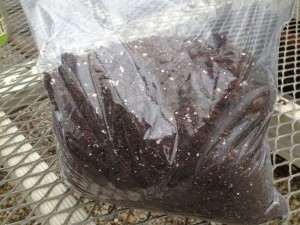
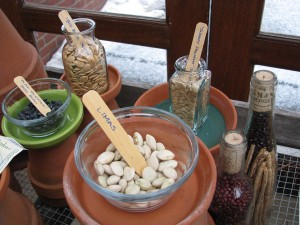
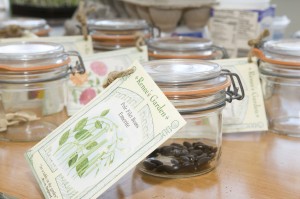
2. The educators bring some interesting stuff to class. While class is lecture-based, there are plenty of PowerPoint visuals to help you picture what you’ll encounter out in the Garden. In the Soils & Fertilizers class on January 23, instructor Ellen Phillips brought soil samples, and explained soil porosity with the aid of…sponges!

3. You learn from everyone in class. Most classes have a Q & A session, and that’s when things can really get interesting. The real-life questions that fellow master gardener trainees bring up in class are the same questions you’ll be asked by the public. Many an “after-school” conversation, and many a gardening friendship, have begun from a question asked in class.

4. You identify your real interests. Are you a natural teacher? A community organizer at heart? Or a home gardener with decades of skills to share? After successfully finishing the course, master gardener trainees head out to master gardener internships, with lots of opportunities to find a volunteer situation that truly fits their interests.

Master Gardeners answer gardening questions at the Plant Information Service.
Master gardeners answer gardening questions via Plant Information Service.

5. You realize that this is a special program. Started in Illinois back in 1975, the master gardener program began as an aid to agricultural extension officers who needed to be out in the field helping farmers, but also needed volunteers to run the office and answer day-to-day questions from the community. (It still functions that way in some rural counties.) Today, the program is a shining example of public education at work, as university/research-based knowledge gets passed on from master gardener instructors to master gardener trainees to the public, in communities all over the state.

Although the next on-site master gardener session won’t start at the Garden until 2015, we offer the course every year online! There are also different University of Illinois county extension offices that offer the program each year. Think about your schedule, talk to our Plant Information Service volunteer master gardeners, and do some research about the program on our website. See you at the next master gardener training!


©2013 Chicago Botanic Garden and my.chicagobotanic.org

Valentine’s Day Wishes

From ancient China to Greece, Europe, and finally the New World, the tradition of sending messages as a gift of flowers has flourished over the centuries. Popularized in the Victorian era, when public display of emotion was frowned upon, great effort and detail went into the choice of flowers presented in a bouquet. Each flower chosen had its own well-known meaning concealed in its size, shape, color, and even the way it was presented — by hand, singularly, or in a group. Even the number of blooms was important.

While much of the secret language of flowers is lost in modern times, the traditional gift of roses on Valentine’s Day still expresses unmistakable true love. And while many celebrate Valentine’s Day later in the year, we midwesterners appreciate giving blooms in February, when our hearts and senses most long for the color and smell of the garden in bloom.

[easyrotator]erc_49_1360874367[/easyrotator]

From the hearts of everyone at the Garden, we wish you a happy Valentine’s Day with a virtual bouquet, and hope that if you were lucky enough to get some flowers of your own today, you enjoy them at least until the snowdrops pop up to welcome us to spring. It can’t be long now!


PHOTOKeep your home bouquet longer with these quick tips from Nancy Clifton, horticultural program specialist:

  • Use floral preservatives that come with flowers!
  • When you are ready to put your flowers in a vase, give each stem a fresh cut. Cutting at an angle opens more area for the flower to take up water. If you can, cut the stem ends in water to prevent the cut from sealing quickly.
  • Make sure that the water you used is room temperature (or slightly warmer) to help your flowers absorb it quickly and easily.
  • Make sure your vase is clean. Dust can hinder water uptake in your bouquet.
  • Keep your arrangement away from direct heat and cold drafts.
  • Pull off bruised petals to keep your flowers looking their freshest.

©2013 Chicago Botanic Garden and my.chicagobotanic.org

How to Plant a Glass Jar Terrarium

Tim Pollak, outdoor floriculturist here at the Chicago Botanic Garden, recently taught a fun class, a glass jar terrarium workshop, with the Joseph Regenstein, Jr. School of the Chicago Botanic Garden. I went down to the production greenhouse that morning to learn how to plant a terrarium so I could share some tips with you. Follow the steps below to make your own! Need a little more direction? In the video below, we build a terrarium and give a few extra tips for success.

First, select a container such as a glass bottle, glass vase or bowl, miniature glass greenhouse, fish bowl, or something similar. Use a tightly closed, clear glass or plastic container to retain the most humidity. Open containers also work, but will require more frequent watering.

Let’s build the layers (from the bottom up):

1. Start with a layer of coarse sand or pebbles, usually no more than 2 inches deep.

2. Cut a sheet of landscape fabric or weed barrier to fit over the pebbles.

3. Add 1/4- to 1/2-inch activated charcoal (available at an aquarium store) to help filter the air and water and keep the terrarium fresh, especially if it’s a closed terrarium.

4. Use a clean, well-drained growing medium that is high in organic matter. A blend of peat moss, vermiculite, and perlite is a good choice. Soil should be slightly moistened prior to planting. If planting a desert garden, use the proper type of soil. Add about 2 inches of soil.

5. Select small plants that are suited to your light conditions. Add a mixture of plants with small or large leaves, short and tall in height, and other variations. Add color, either with foliage color and interest, or with flowering plants.

6. Add accents and ornaments to complete the look you are trying to create. Create a miniature landscape or theme.

Caring for your terrarium

Watering: Water until moistened after planting, being careful not to let water pool in the bottom where it cannot be removed. Leave the closed terrarium uncovered until the foliage has dried. A closed terrarium may not need to be watered for 4 to 6 months — look for condensation to form on the inside of the container to check the moisture level. Open terrariums need watering occasionally but not as frequently as other houseplants. Watering should be light to avoid standing water. 

Light: Keep out of direct sunlight as the terrarium could heat up too much and you could injure the plants.  Most plants suitable for terrariums prefer medium to low light. Bright, indirect sun is preferred. If you need to supplement light with an artificial light, a 100-watt bulb placed close to the terrarium or fluorescent lights placed directly over the terrarium will be helpful. Supplemental lighting should be provided 14 to16 hours per day.

Fertilizer: Generally, plants in a terrarium should not grow rapidly and should seldom need fertilizer. Do not fertilize more than one to two times per year. Use a slow-release pellet fertilizer at 14-14-14. 

Temperature: Keep terrariums in a warm location (65 to 70 degrees Fahrenheit). Avoid cold drafts as much as possible. Certain plants, such as desert plants and succulents, may prefer warmer temperatures.

Pruning: Many plants in a terrarium will gradually outgrow their limited space. Pruning will keep them in their space and often promote side-shoot growth that will help fill out the plants. Be sure to remove all trimmed vegetation from the terrarium when complete. As the plants mature, it may become necessary to remove certain plants or add others.

2013Feb11_9901Mark your calendar for 1 p.m. on Saturday, March 30, when Nancy Clifton, horticultural program specialist, will give demonstrations on terrariums in the Garden Shop. Visit the Shop online to see the selection of terrariums available for purchase as well!


©2013 Chicago Botanic Garden and my.chicagobotanic.org

Got seed? Need seed? Swap it!

For gardeners, February is an exciting month: it’s seed-starting time! That’s why we’ve made Sunday, February 24, a day dedicated entirely to seeds.

limas and othersThe morning kicks off with classes led by our friends from Seed Savers Exchange (they’re coming in from Decorah, Iowa). Shannon Carmody takes you step by step through a “Seed-Saving Primer” from 9-10 a.m., then digs a little deeper for “Planning Your Garden for Seed Saving” from 10:30 a.m.-12:30 p.m.

You can register online here.

After you take a lunch break in the Garden Cafe, settle in at the Alsdorf Auditorium at 2 p.m. for a lovely hour of “Seed Letters,” a free lecture by SSE’s seed historian Sarah Straate. Sarah charmed the audience with a version of this presentation at the Seed Savers Exchange Annual Conference last year (the photographs she shows are terrific!). 

At 3 p.m., it’s time for Seed Swap! Bring seeds you harvested from your own garden, or seed packets that you never got around to finishing. (I’m bringing French marigolds that I harvested from my community garden plot last year, love-in-a-mist seedheads from my front yard garden, and a few packets of never-did-grow-those veggie seeds). Make sure your seed is clearly labeled and include as much info as you can to help out your fellow swappers.

Seed Swapbean seeds_RJC9663No seeds to swap? No problem! Generous donations from several of our favorite seed resources should ensure plenty of seeds for all.

Also on hand: staff and volunteer experts (including master gardeners from our Plant Information Service desk) who can answer all your questions about seed starting, germination, seed saving, and everyone’s favorite topic: growing tomatoes.

This is our second annual Seed Swap—the first swap was so much fun that we can’t wait to see some of the same faces there again—hopefully bringing seeds harvested from last year’s seed-swapped crops!  

Saving seeds can be fun and easy—to get you started, here are five vegetables with easy-to-save seeds to harvest for next year’s swap:

  1. Peas. Just train them up a trellis, fence, or tuteur, let them grow, then let dry on the vine—instant pea seeds for next year’s planting. Every gardener (even kids!) can do this, and it’s fun to pop the dried peas out of their shells mid-summer.
  2. Beans. Incredibly beautiful seeds dry right on the bush, vine, or pole. Harvest when pods are dry but before they crack open and scatter their contents. Do a little reading beforehand, as there are many different types and varieties of beans.
  3. Lettuce. All lettuce likes it cool outside. Once summer’s heat kicks in, lettuce bolts, then sets hundreds and hundreds of seeds per plant. Harvesting is easy, though: slip a bag over the seedhead and tie it in place. Once seed has set and dried, just clip the stalk, invert the bag, and shake seed loose. Instant storage, too!
  4. Tomatoes. As everyone who’s ever bitten into a fresh tomato knows, there’s goo around the seeds in the center. How best to separate out the seeds? Talk to our tomato experts at the Seed Swap, and check out this blog post.
  5. Parsley. Like lettuce, parsley eventually bolts and sets seeds that are easy to collect in a bag. Unlike lettuce, the process takes two years, which can seem…challenging. It’s actually quite simple: Let your parsley plant grow (try not to harvest TOO much from it) straight through ‘til fall. The leaves will yellow and wilt. As winter arrives, mulch the plant lightly with straw or leaves. The following spring, the plant will re-energize, sending up flower shoots that set many tiny, poppy seed-sized seeds. Harvest as above for lettuce. 

©2013 Chicago Botanic Garden and my.chicagobotanic.org

Stories in the Snow

When a coyote pirouettes in the snow, you start to wonder. Where was it going? And what made it turn?

After a big snow, I love looking for wildlife tracks and the stories they tell. The paw prints and other tracks in the snow are among the small wonders of winter.

In a recent blog, we talked about finding awe on winter walks—turning attention outside yourself for emotional well-being. By following animal tracks, you lose yourself in a different world and take a fresh look at the nature that surrounds you. You can do so in your neighborhood or at places including the Chicago Botanic Garden, where I’m director of youth education.

One winter, after a snowstorm, I decided to look for evidence of wildlife near the Garden’s Regenstein Learning Campus. My first sighting was the tracks of at least one coyote running through the snow.

The individual track was not a clear footprint, but it was the right general shape and size to be a coyote.

PHOTO: the single track of a coyote is seen in the snow.
The coyote track looks like that of a medium-sized dog, with padded feet making toe impressions in the snow.

The tracks formed a few paths across the Campus.

PHOTO: two coyote trails are seen very clearly running through the snow, close to the treeline.
A coyote ran through the snow toward the right of the picture, then ran back and rejoined its original trail.

The tracks did not follow the paths that people walk, but instead ran closer to trees. This makes sense for an animal that is trying to stay hidden from other animals. I also found a spot where the coyote seemed to run up, do a little turnaround, and take off in another direction.

PHOTO: The tracks in the snow look like the coyote ran and make a circle in the snow.
The tracks look like a coyote circled around after running out of the woods.

This isn’t the clearest picture, but you can still see that the coyote came from the wooded area toward the front of the picture. Then it turned around and sank down on its front paws, right where you see two clear side-by-side holes in the snow. It turned and ran to the right of the picture frame. You can imagine a spirited puppy, running excitedly as it plays in the new snow and leaves tracks like these. Was the coyote playing? Hunting? Running away? If you’re walking with someone, especially kids, it’s fun to come up with a story.

I was also hoping to find evidence of animals interacting. The closest thing I found was this set of rabbit tracks.

PHOTO: a set of rabbit tracks appears from behind the corner of the building, turns around and goes back in the direction it came from.
The rabbit that left these tracks decided to turn around and go back instead of coming around the corner of the building.

Here, the rabbit hopped to the corner of the building, stopped, and then turned around and went back the way it came. Did it possibly see or smell the coyotes that were running around and decide to go back to hiding?

I also spotted squirrel, bird, and mouse tracks. And then I found these strange marks in the snow.

PHOTO: a nice layer of snow on top of a hedge row has long parallel lines from students dragging their fingers along the hedge as they walked past.
Fingerprints in the snow?

What could these strange lines be? “It’s elementary, Mr. Watson!” These “fingerprints” were left by elementary school students as they dragged their hands along the snow.

Here are some tips on how to look for wildlife stories:

  • Go out and look when the snow is fresh.
  • Think about which animals you have actually seen around, and where you have seen them. Look there.
  • Do a little research on the habits of animals you might see and look for tracks in places where that animal finds food, water, or shelter.
  • Search around trees and shrubs, especially if there are places a small animal might crawl into for shelter. Watch you head as you duck under branches.
  • Take photos to compare them to pictures of animal tracks posted online.

And if you don’t spot any animal tracks, no worries. You got in a walk and fresh air and took in the beauty of a winter wonderland.


©2013 Chicago Botanic Garden and my.chicagobotanic.org