Is your landscape ready for April showers?

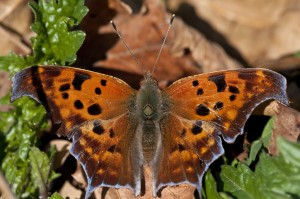
It’s been a fairly cold and snowy winter in the Chicago area (though some of us longer-term residents might call it rather normal!). But the temperatures now are moderating, and signs of spring are popping up all over. The daffodils are quickly breaking the ground surface, and bits of green are reappearing at the crowns of our native plants.

After last summer’s record-breaking heat and drought, our first thoughts this spring may not be about rain or flooding. But heavy rains are sure to return at some point, and how we manage that water runoff can have a big impact on flooding, on groundwater levels, on water quality, and on the health and beauty of our garden landscapes.

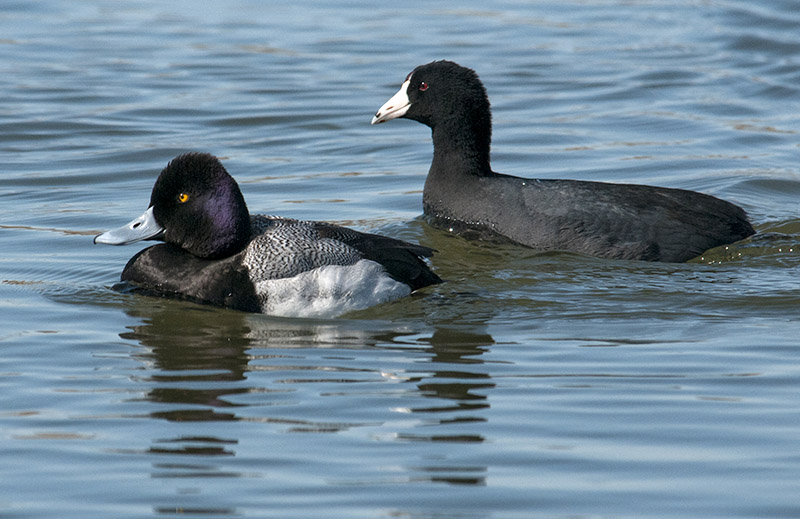
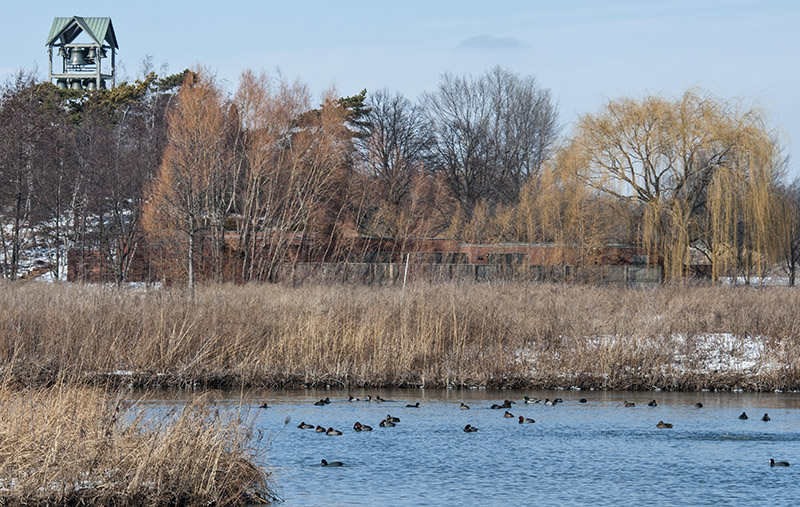
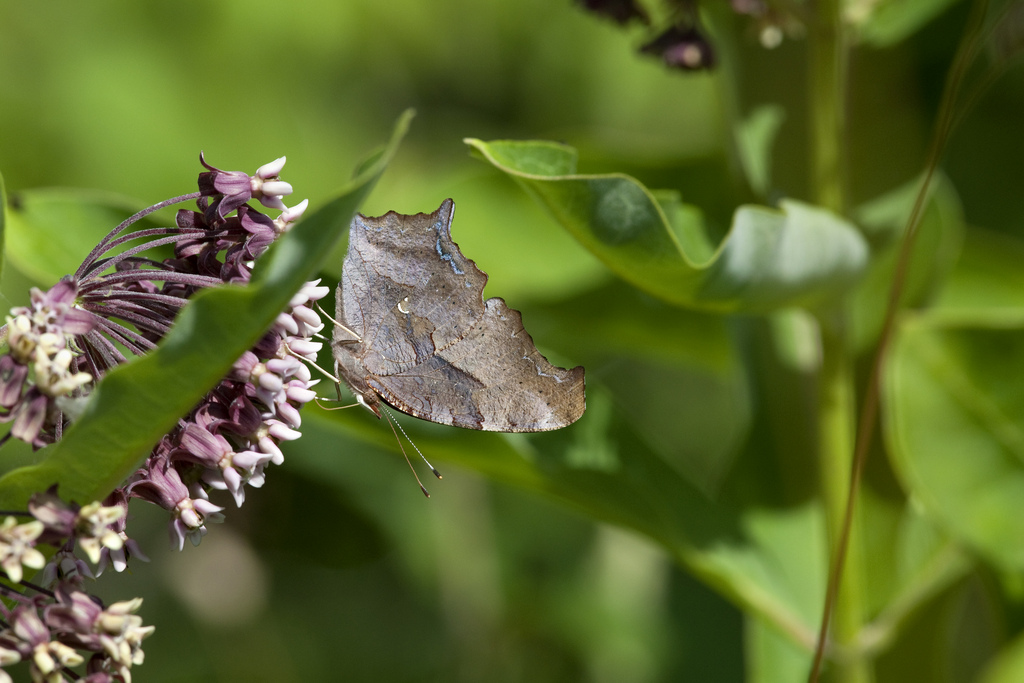
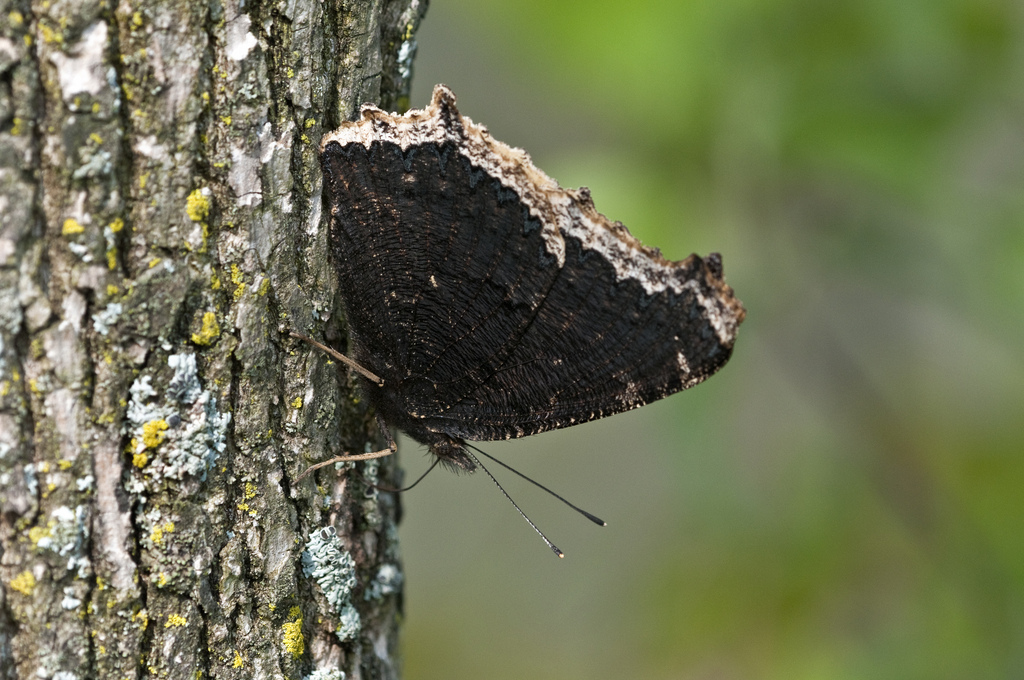
A remarkably simple and effective approach to capture excess rainwater is rapidly gaining popularity, especially in residential settings. Rain gardens are aptly named, nifty landscape features that capture rainwater traveling across a lawn before it reaches a waterway or storm sewer, allowing much of that water to percolate down into the soil. Rain gardens truly are a win-win-win trifecta: 1) they help reduce flooding (and recharge ground water) by allowing more rainfall to soak into the ground; 2) they improve the quality of water reaching our streams and lakes by slowing the runoff and allowing soil particles and related contaminants to settle out; and 3) with a little thoughtful design, they become a spectacular native plant garden that’s rich in seasonal color and texture—as well as an important habitat for butterflies, dragonflies, and insects that songbirds love to eat.

Around homes and apartments, a rain garden often is situated downslope of a roof downspout so that it can capture the roof’s runoff water before it reaches the street or storm sewer. Think of a rain garden as a shallow “bowl” depression in the ground, with the downslope lip of the bowl just a bit higher than the surrounding land so that water is trapped behind it. A modestly sized rain garden often can be easily installed as a weekend project: a few shovels, a rototiller to loosen the soil, about 100 native plants, and some mulch are all that’s needed to create a 10-foot by 10-foot rain garden.

Rain Water Glen
Rainwater Glen at the Garden’s Plant Science Center

The Chicago Botanic Garden advocates the use of native plants in rain gardens including sedges, rushes, grasses, and various forbs (flowering species). Native plants recommended for rain gardens are particularly well-suited for both submerged conditions that occur right after it rains, as well as the dry conditions that develop between rainfall events. These native plants also help support our native populations of wildlife. Chicago Wilderness has great information about using native plants in the landscape. 

You can assure yourself (and your neighbors) that there’s no need to worry about your rain garden becoming a breeding site for mosquitoes. When installed in soils that drain reasonably well, a rain garden’s standing water will disappear within a day or so (and that’s far shorter than the seven to 12 days needed for mosquitoes to lay and hatch eggs).

There are many guides available on how to design, install, and maintain a rain garden, including quite a few on the Internet. One particularly well-written resource was prepared by experts in Wisconsin and is titled “Rain Gardens: A How-to Manual for Homeowners.”  This manual provides excellent information about how to site a rain garden in your yard, and suggests good native plants to use for both sun and shade conditions.

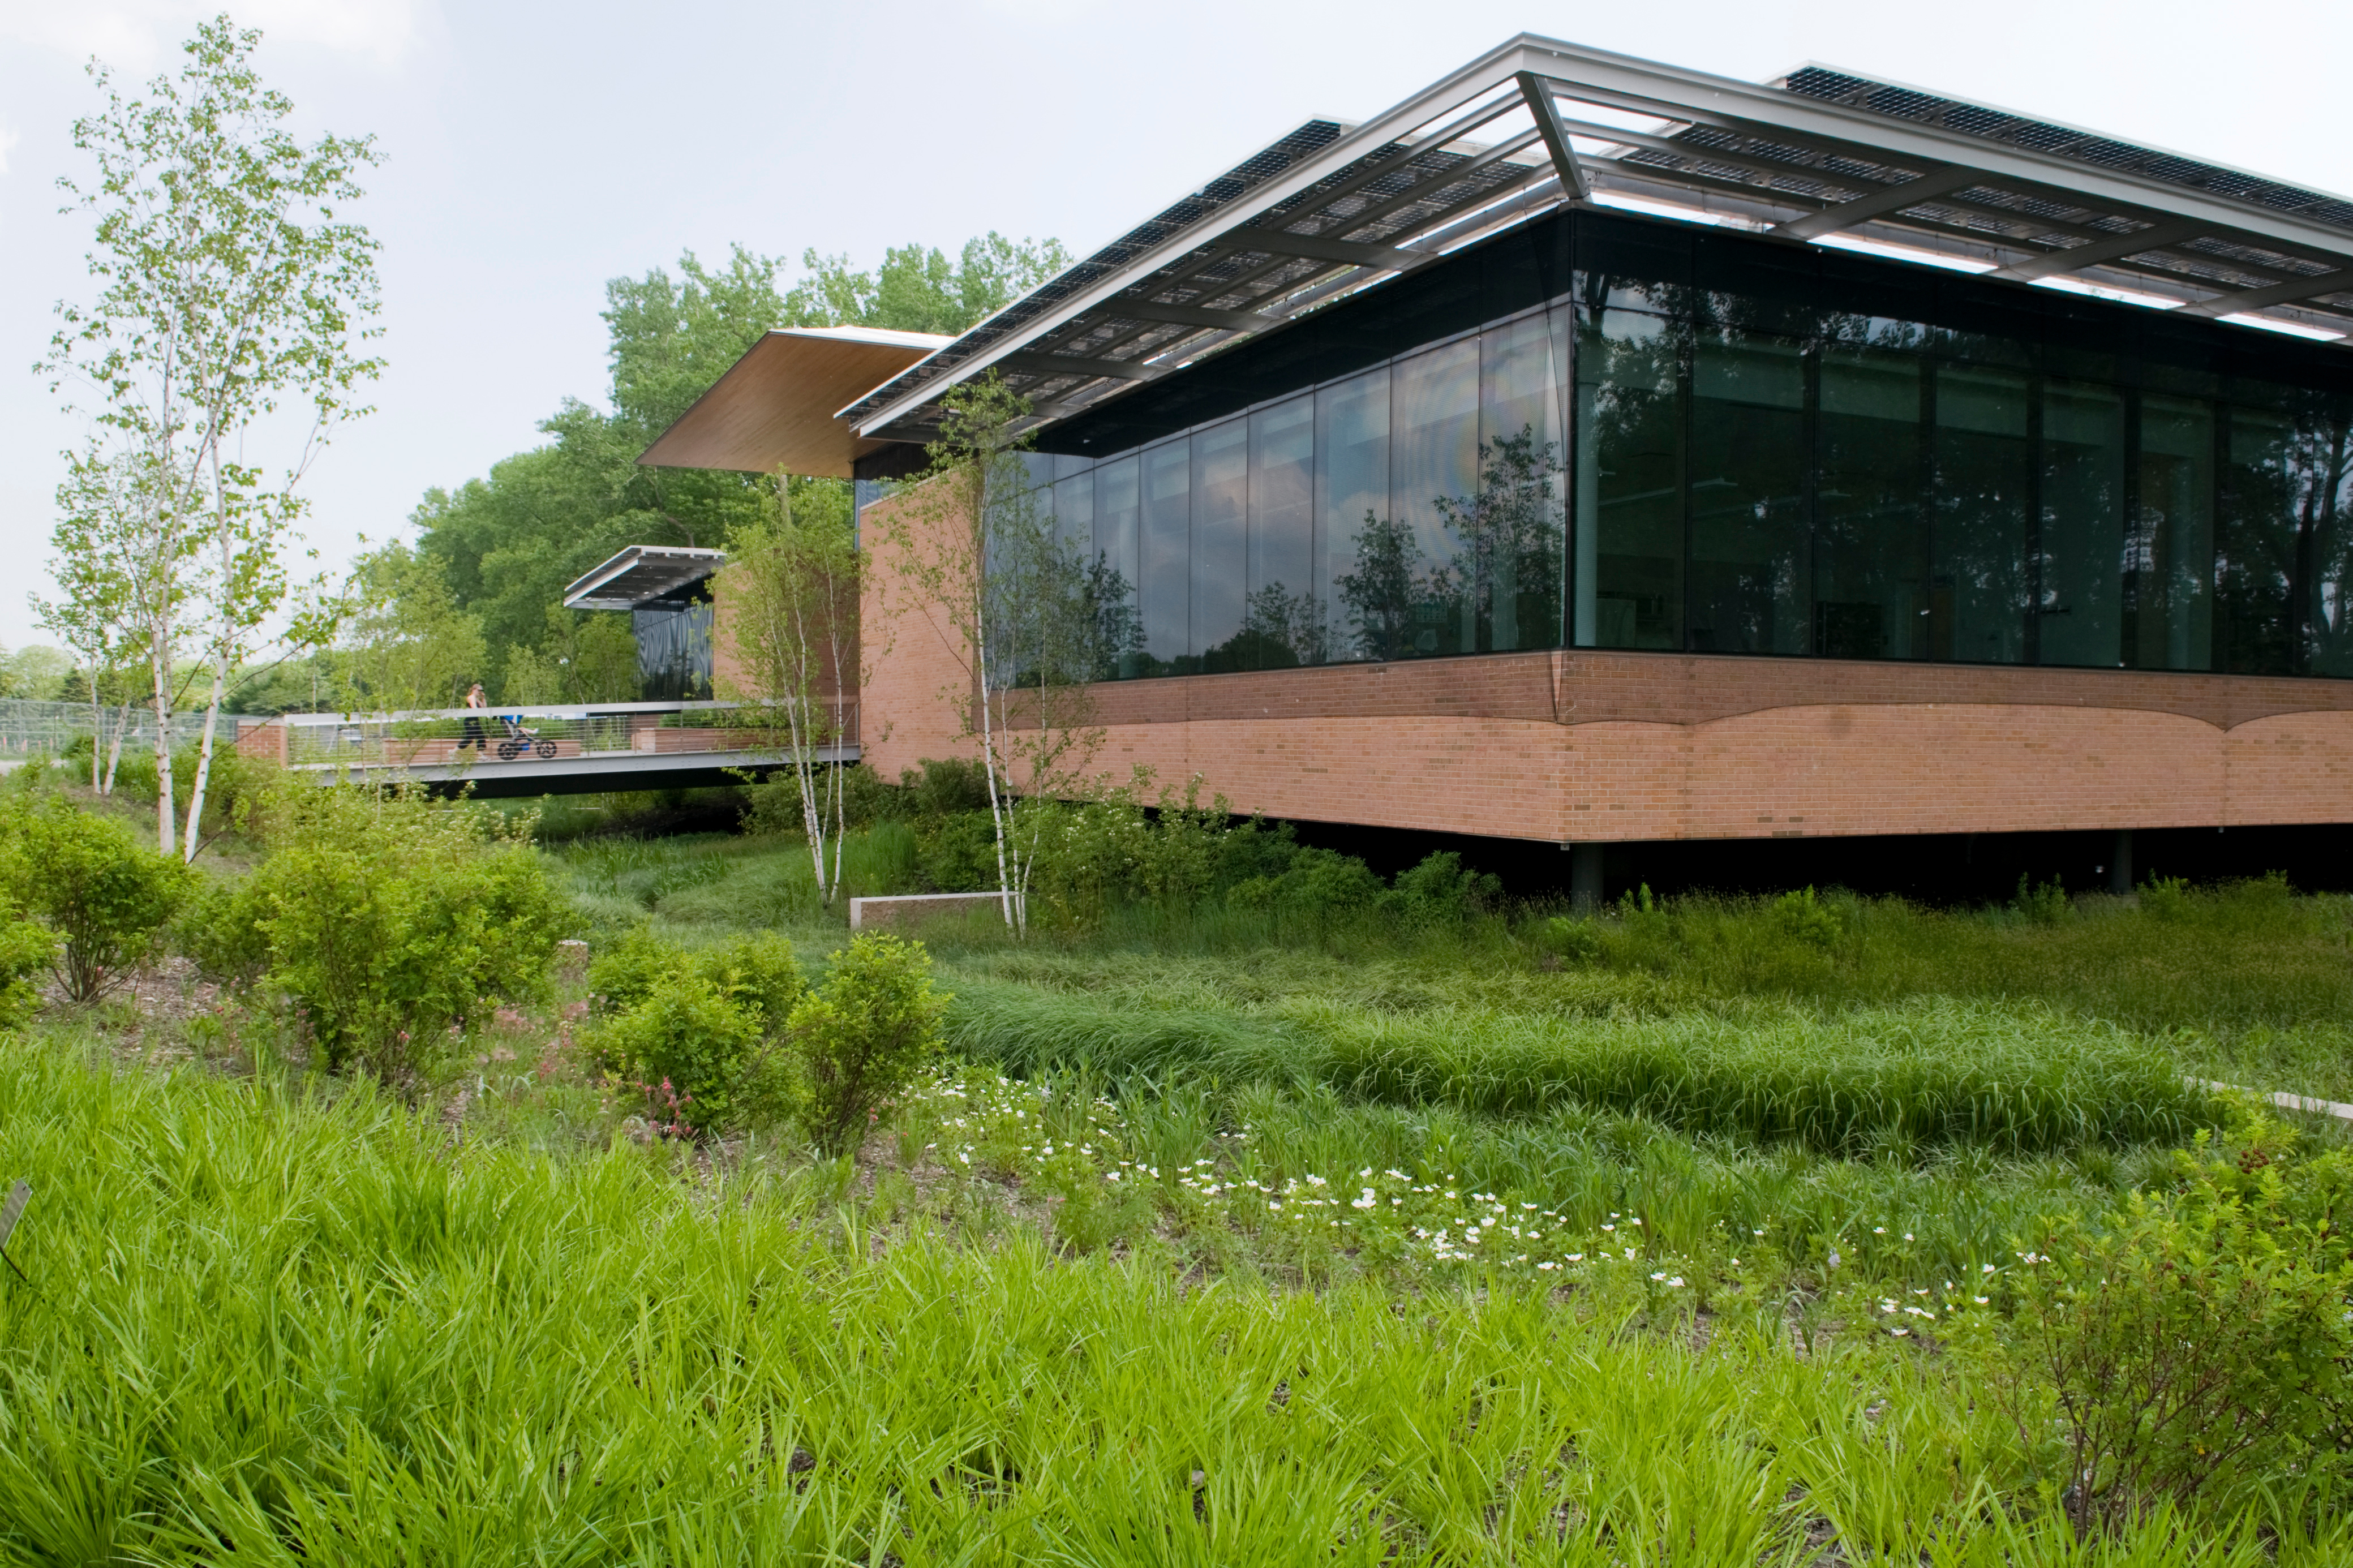
You can learn more about rain gardens at the Chicago Botanic Garden on Saturday, June 1, 2013, as we celebrate World Environment Day. A how-to rain garden station will be set up alongside the Woman’s Board of the Chicago Horticultural Society Rainwater Glen at the Daniel F. and Ada L. Rice Plant Conservation Science Center.

On a related note: Perhaps you’ve heard recently in the news about the dire situation for monarch butterflies this spring (for example, see this National Geographic bulletin). If you’ve thought in the past about planting milkweed to help the monarchs but still haven’t, 2013 could be an especially important year for you to add some to your garden. The native swamp milkweed (Asclepias incarnata) can be a great rain garden plant!


©2013 Chicago Botanic Garden and my.chicagobotanic.org

For the Love of Ducks

Spring is here, although it might not feel that way. The days are getting longer and the ducks are migrating through Chicago on their way to the breeding grounds in the north. A few will stay around all summer, but most are here only for a short visit. Now is a great time to see a delightful variety of waterfowl.

PHOTO: view of ducks from the prairie.
Looking North from the Dixon Prairie, you can see many ducks. ©Carol Freeman


D3V_2669
Male and female redhead ducks. ©Carol Freeman

The Chicago Botanic Garden is a perfect place for the ducks to stop during their migration. They look for any open water they can find. The south end of the Garden near the prairie is one of the best places to look for them. I take the paths that are closest to the open water, and walk very slowly so as not to alarm them. If I’m careful, the ducks will only swim to the far side, but not fly away. Patience is key. I like to sit down, get very still, and wait for the ducks to get used to me being there. This might take 20 to 30 minutes…did I mention, patience is key! Sometimes I sit for 30 minutes and the ducks never get any closer. Occasionally new ducks will fly in and I can get a few shots before they realize I’m there and swim off. This is what makes duck photography so challenging.

D3V_3149
Trumpeter swan leading the way. ©Carol Freeman


D3V_3180
All the ducks swimming my way. ©Carol Freeman

On a recent visit to the garden, I had one of those magical moments that you always wish for as a photographer. I was sitting still, hoping the ducks on the far side of the pond would make their way a bit closer for some photos. As I was waiting, a single resident swan swam straight toward me. So I took a few shots. Then, I noticed one of the ducks starting to follow the swan. Cool! So I took some shots of the duck. Then I noticed that ALL the ducks were swimming in my direction. Wow! I must have had 15 ducks all around me. They apparently deemed me to be okay once their swan friend showed confidence in being around me. They kept a watchful eye, and every time I moved my camera for a shot, the ducks backed off a bit.

Then, just as mysteriously as it came, the swan swam away, taking all the ducks with it, and I was left basking in their trust and in the glow of that moment, realizing just how rare it is and how lucky I was.

Since the ducks are migrating through, I never know what I’m going to see from one day to the next. That is really the fun part for me. In the past couple of weeks I’ve seen hooded merganser, red-breasted merganser, common merganser, lesser scaup, ring-necked duck, redhead duck, coot, northern shoveler, common goldeneye, canvasback, and gadwall.

D3V_3160s
A lesser scaup and coot make a close pass. ©Carol Freeman

There will be a stream of ducks from now through April. So get out and see what you can find. And if you are patient and lucky, you might be graced with a magical moment of your own!


©2013 Chicago Botanic Garden and my.chicagobotanic.org

Hidden Wings

A walk in McDonald Woods in late winter or early spring might be uninspiring to many people because of the drab gray trunks of dormant trees and seeming lack of activity. You might see the occasional black-and-white flash of a downy woodpecker flitting from tree to tree, or spot a white-breasted nuthatch as it navigates upside down, probing for whatever bits of protein it might have missed on earlier explorations.  

But who would expect butterflies? After all, 80-degree days and abundant flowers overflowing with nectar haven’t even awaken in our minds. But they are here, at least those few species that spend the winter, hidden away as adult butterflies under loose bark, inside piles of brush, or maybe in an old woodpecker nest or hollow log.  

Even though I know they are here, it is still a surprise the first warm day in March when I spot a mourning cloak basking in the strengthening sunlight. As I approach for a better look, it is likely to spiral upward, erratically flitting off to another patch of sun.  

PHOTO: Side view of the question mark butterfly.
Question mark (Polygonia interrogationis)
© Carol Freeman

The mourning cloak, eastern comma, and question mark are three of the common woodland butterflies at the Garden that generate a brew of chemical antifreeze earlier in fall that allows them to survive the coldest weather winter has to offer. Instead of migrating like the monarch or spending the winter wrapped in a chrysalis, these three are adults, wings at the ready to take advantage of the first warm weather of spring.

The lack of nectar-producing flowers this time of the year does not deter them as they are perfectly happy to feed on sap from any of the branches that may have been damaged during winter storms, or drink the fermented liquid oozing from an injured willow or oak tree. Although butterflies are a generally short-lived organism, usually living only a few weeks, these three can survive for eight to ten months.

PHOTO: The Mourning cloak butterfly.
Mourning cloak (Nymphalis antiopa)
© Carol Freeman

The dark, purple-brown color of the mourning cloak gives it an advantage at this time of the year. Those richly colored wings, held out to the sides, act like solar collectors absorbing the sun’s energy and passing it on to the body where it raises the temperature of their muscles enough to allow them to fly.

The comma and question mark utilize a similar basking strategy. They often posses sun-absorbing, dark-colored under wings, which, when held closed against their bodies and perpendicular to the sun’s rays, elevate their temperature. The thermal boost gives this group of insects a head start on the season by allowing them to exploit a habitat at a time of the year when there are few other butterflies around to compete for precious resources.

Although these three butterflies are insects, and as you know all insects have six legs, these three belong to a group known as the brush-footed butterflies. They have modified fore legs that are smaller than their other legs and cannot be used for walking.

PHOTO: Question Mark butterfly.
Question mark
© Carol Freeman

If you get a chance to get a close look at one of them, you might be surprised to see that they are only standing on four legs. The other two are tucked under their heads.

Next time you think of taking a walk in the dormant woods, pick a sunny day when these not-so-fragile gems might be out and about, soaking up sun and supping on sap.


©2013 Chicago Botanic Garden and my.chicagobotanic.org

Forcing Branches to Bloom Indoors

Forsythia
Forsythia

If you are longing for spring blooms as much as we are, you might like to try forcing branches to bloom indoors! Spring-flowering trees and shrubs form their flower buds in late summer or fall before the plants go dormant for the winter. The buds can be forced into bloom indoors in late winter or early spring.

In order to flower, the buds need to undergo a period of cold. I’m sure you’ve noticed in the Chicago area, we’ve had plenty of cold temperatures this year! Now is a great time to cut branches from spring flowering shrubs for forcing indoors.

Once the branches are indoors in water it may take one to four weeks for the blossoms to open, although two weeks is typical. The closer to their natural bloom time you cut the branches, the sooner they will open.

Prune branches for forcing carefully, using proper pruning techniques, and cutting off only those branches that are not essential to the plant’s basic shape. On a day above freezing, cut branches at least 1 foot long that have plenty of flower buds. Flower buds are usually larger and more plump than leaf buds.
 
If you are pruning branches just for forcing, try to choose branches from more dense areas of the plant and cut them evenly around the plant, as you will be removing some of its natural spring display. Be careful not to disfigure the tree or shrub. Cut a few more branches than you expect to use, because some may not absorb water properly.

Redbud
Redbud

Place cut branches in a container of warm water. Then, while holding each stem underwater, make a fresh cut 1 inch from the base. Cutting stems underwater will help prevent air from entering the stem through the cut end and blocking water uptake.

Remove any buds and twigs that will be underwater in the vase. You may want to add a floral preservative to the container water to help control bacteria.

To start, keep the branches in a cool room out of direct sunlight and change the water every other day. When color appears on the buds or the foliage begins to unfurl, arrange the branches in a vase and display them in a cool room out of direct sunlight.

Some good choices for forcing include serviceberry (Amelanchier), magnolia (Magnolia), flowering quince (Chaenomeles), forsythia (Forsythia), crabapple or apple (Malus), flowering pear (Pyrus), flowering cherry (Prunus), viburnum (Viburnum), cornelian cherry dogwood (Cornus mas), and redbud (Cercis).

Learn more about how to force branches to bloom indoors in this video we taped in 2010 with Heather Sherwood, senior horticulturist in the English Walled Garden.


©2013 Chicago Botanic Garden and my.chicagobotanic.org

Egg-cellent adventure

Dye-ing for nature-based fun? Forgo the food coloring and kits, and go for naturally safe, naturally kid-friendly, and naturally beautiful “homemade” egg dyes instead. Dyes can be used on hard-boiled or fancy blown-out eggs. Most of what you need is probably already in your own kitchen and pantry.

PHOTO: The vegetables we use, and their accomanying egg colors.
What colors will you get? Beets = purple, yellow onions = yellow, red cabbage = pale blue.
PHOTO: the tools you'll need to create your own egg dyes
The tools you’ll need to create your own egg dyes.

Step 1: Gather your supplies.

Stainless steel utensils and glass containers won’t stain; always rinse utensils as you go from color to color, so there’s no contamination.

  • Pint and half-pint Ball jars or heat-safe glass bowls (the better to watch stuff happen!)
  • Non-reactive stainless steel or enamel saucepans
  • Strainer
  • Tongs

Step 2: Gather your ingredients.

Vegetables, fruits, and spices can all create lovely, earthy colors. We hard-boiled large, white eggs and used plain white vinegar, which helps to set the color. Here are the dozen dyes and “recipes” we tried, in order of color intensity (after about 20 minutes of steeping):

Chopped and simmered fresh carrot tops create a pale yellow dye.
We used a straightened paperclip to poke holes in an egg for blowing.
Rinse blown-out eggs thoroughly inside and out.
  • Beets = Purple. 1 large beet (cut into chunks) + 4 cups boiling water + 2 tbs. vinegar. Cool and strain.
  • Yellow onions = Yellow-orange. Skins only of 6 medium yellow onions + 2 cups water; simmer for 15 minutes. Strain and add 2 tsp. vinegar.
  • Grape juice = Magenta. 1 cup all-natural grape juice + 1 tbs. vinegar.
  • Coffee = Gold. ½ cup ground coffee + 2 cups boiling water. Steep, strain, and add 1 tbs. vinegar.
  • Red onions = Blue. Skins only of 6 red onions + 2 cups water; simmer for 15 minutes. Strain and add 3 tsp. vinegar.
  • Green tea = Light green. 6 green tea bags + 1 cup boiling water. Steep 5 minutes and strain.
  • Red cabbage = Pale blue. ½ head red cabbage (cut into chunks) + 4 cups boiling water + 2 tbs. vinegar. Cool and strain.
  • Turmeric = Yellow. 2 tbs. turmeric + 1 cup boiling water + 2 tsp. vinegar.
  • Paprika = Orange. 2 tbs. paprika + 1 cup boiling water + 2 tsp. vinegar.
  • Blueberries = Blue/Gray. 1 cup frozen blueberries + 1 cup water. Let stand ‘til room temperature and strain.
  • Carrot tops = Pale yellow. 2 cups chopped carrot greens + 1½ cups water; simmer for 15 minutes. Strain and add 2 tsp. vinegar.
  • Orange peels = Palest yellow. Peels of 6 oranges + 1 ½ cups water; simmer for 20 minutes. Strain and add 2 tsp. vinegar.

Step 3: Gather your family.

Kids love to color eggs. Guided by the recipes above, experiment with veggie/spice quantities and steep times. The longer you steep, the deeper the color—steeping eggs can even be left overnight in the refrigerator. Hardboil eggs or blow them out:

Beets, green tea bags, and orange peels all make gorgeous natural dyes.
  • Use a heavy needle or bent paperclip to poke holes in each end of a fresh egg.
  • Wiggle the needle around inside to pierce the yoke.
  • Blow strongly through one hole, collecting the contents from the other in a small bowl.
  • Rinse eggs thoroughly inside and out.
  • Don’t waste your egg contents—scramble them or use in baking.

Kids with the urge to decorate can:

  • Wrap rubber bands around eggs before dyeing for striped designs.
  • Wrap onion skins around eggs and secure with rubber bands for marbled looks after coloring.
  • Write names, etc. in wax crayon on eggs before dyeing: magic!

Step 4: Embrace the imperfect!

Naturally dyed eggs sometimes splotch or dye unevenly—we had great success with beets and green tea, but our paprika-dyed egg looked marbled and our orange peel dye gave up just a tinge of color. Nonetheless, all looked beautiful in white baskets with shredded kraft paper.

The finished product: gorgeous colors, all "homemade."
The finished product: gorgeous colors, all “homemade.”

©2013 Chicago Botanic Garden and my.chicagobotanic.org