The Frugal Gardener: Winter Pruning, Part 1

“When’s the best time to prune?”
“Anytime!”

It doesn’t matter what season you’re in because there’s always something that can be pruned. You just have to know the plant, its growth characteristics, its best time for pruning, and what your intentions are for that plant as it plays into the whole of your garden design.

“Well, I don’t have a design. I just plant stuff. If it lives, great. If not, then what?”

It all starts with your vision for your garden. You’ve likely seen countless photographs of gardens, viewed television programs, and taken garden tours of your own. And each time you did that, something stuck with you and you want your garden to “look like that.” Maybe it was a particular plant, a color combination, or just realizing that, “Hey! This stuff actually grows in the shade!” These elements get stored in your mind — adding up to what you would want your garden to look like or feel like.

PHOTO: The Garden Wall in winter, looking south towards Dundee entrance ramp.
Willows and red twig dogwoods along the Garden wall next to the Edens Expressway

Maybe it’s a garden that provides a shady respite from the summer heat. Or an open garden theater that celebrates the hot, sunny days of summer. It can be loose and informal, or very tightly clipped into a classic formal garden. Whatever your style, the plants need to grow within the parameters of that design, and after the initial design and build phases, pruning is the most important tool that will keep your garden spot-on with what you envisioned.

The Basic Rules of Common Sense Planting

It’s important to remember that gardening happens in four dimensions — height, width, depth, and time. Plan for what the plants will be doing over time, like growing larger, taller, and deeper. Then, don’t plant something that will grow to 60-feet tall under a power line that’s 30-feet up. Do the math. And if the tag on the plant — assuming, of course, that it’s the correct tag — says that this tree will grow to 15 feet in diameter, don’t plant it 5 feet from something — like your house or driveway. Really. Yes, it looks nice and cute sitting there fresh out of the pot, and you take a picture of your toddler standing taller than the plant. Come back in ten years when the toddler is a kid and the plant is a real tree. Avoid the disappointment and frustration at the beginning — I’m talking about the tree. You’re on your own with the kid.

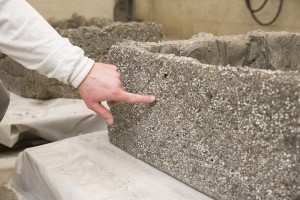
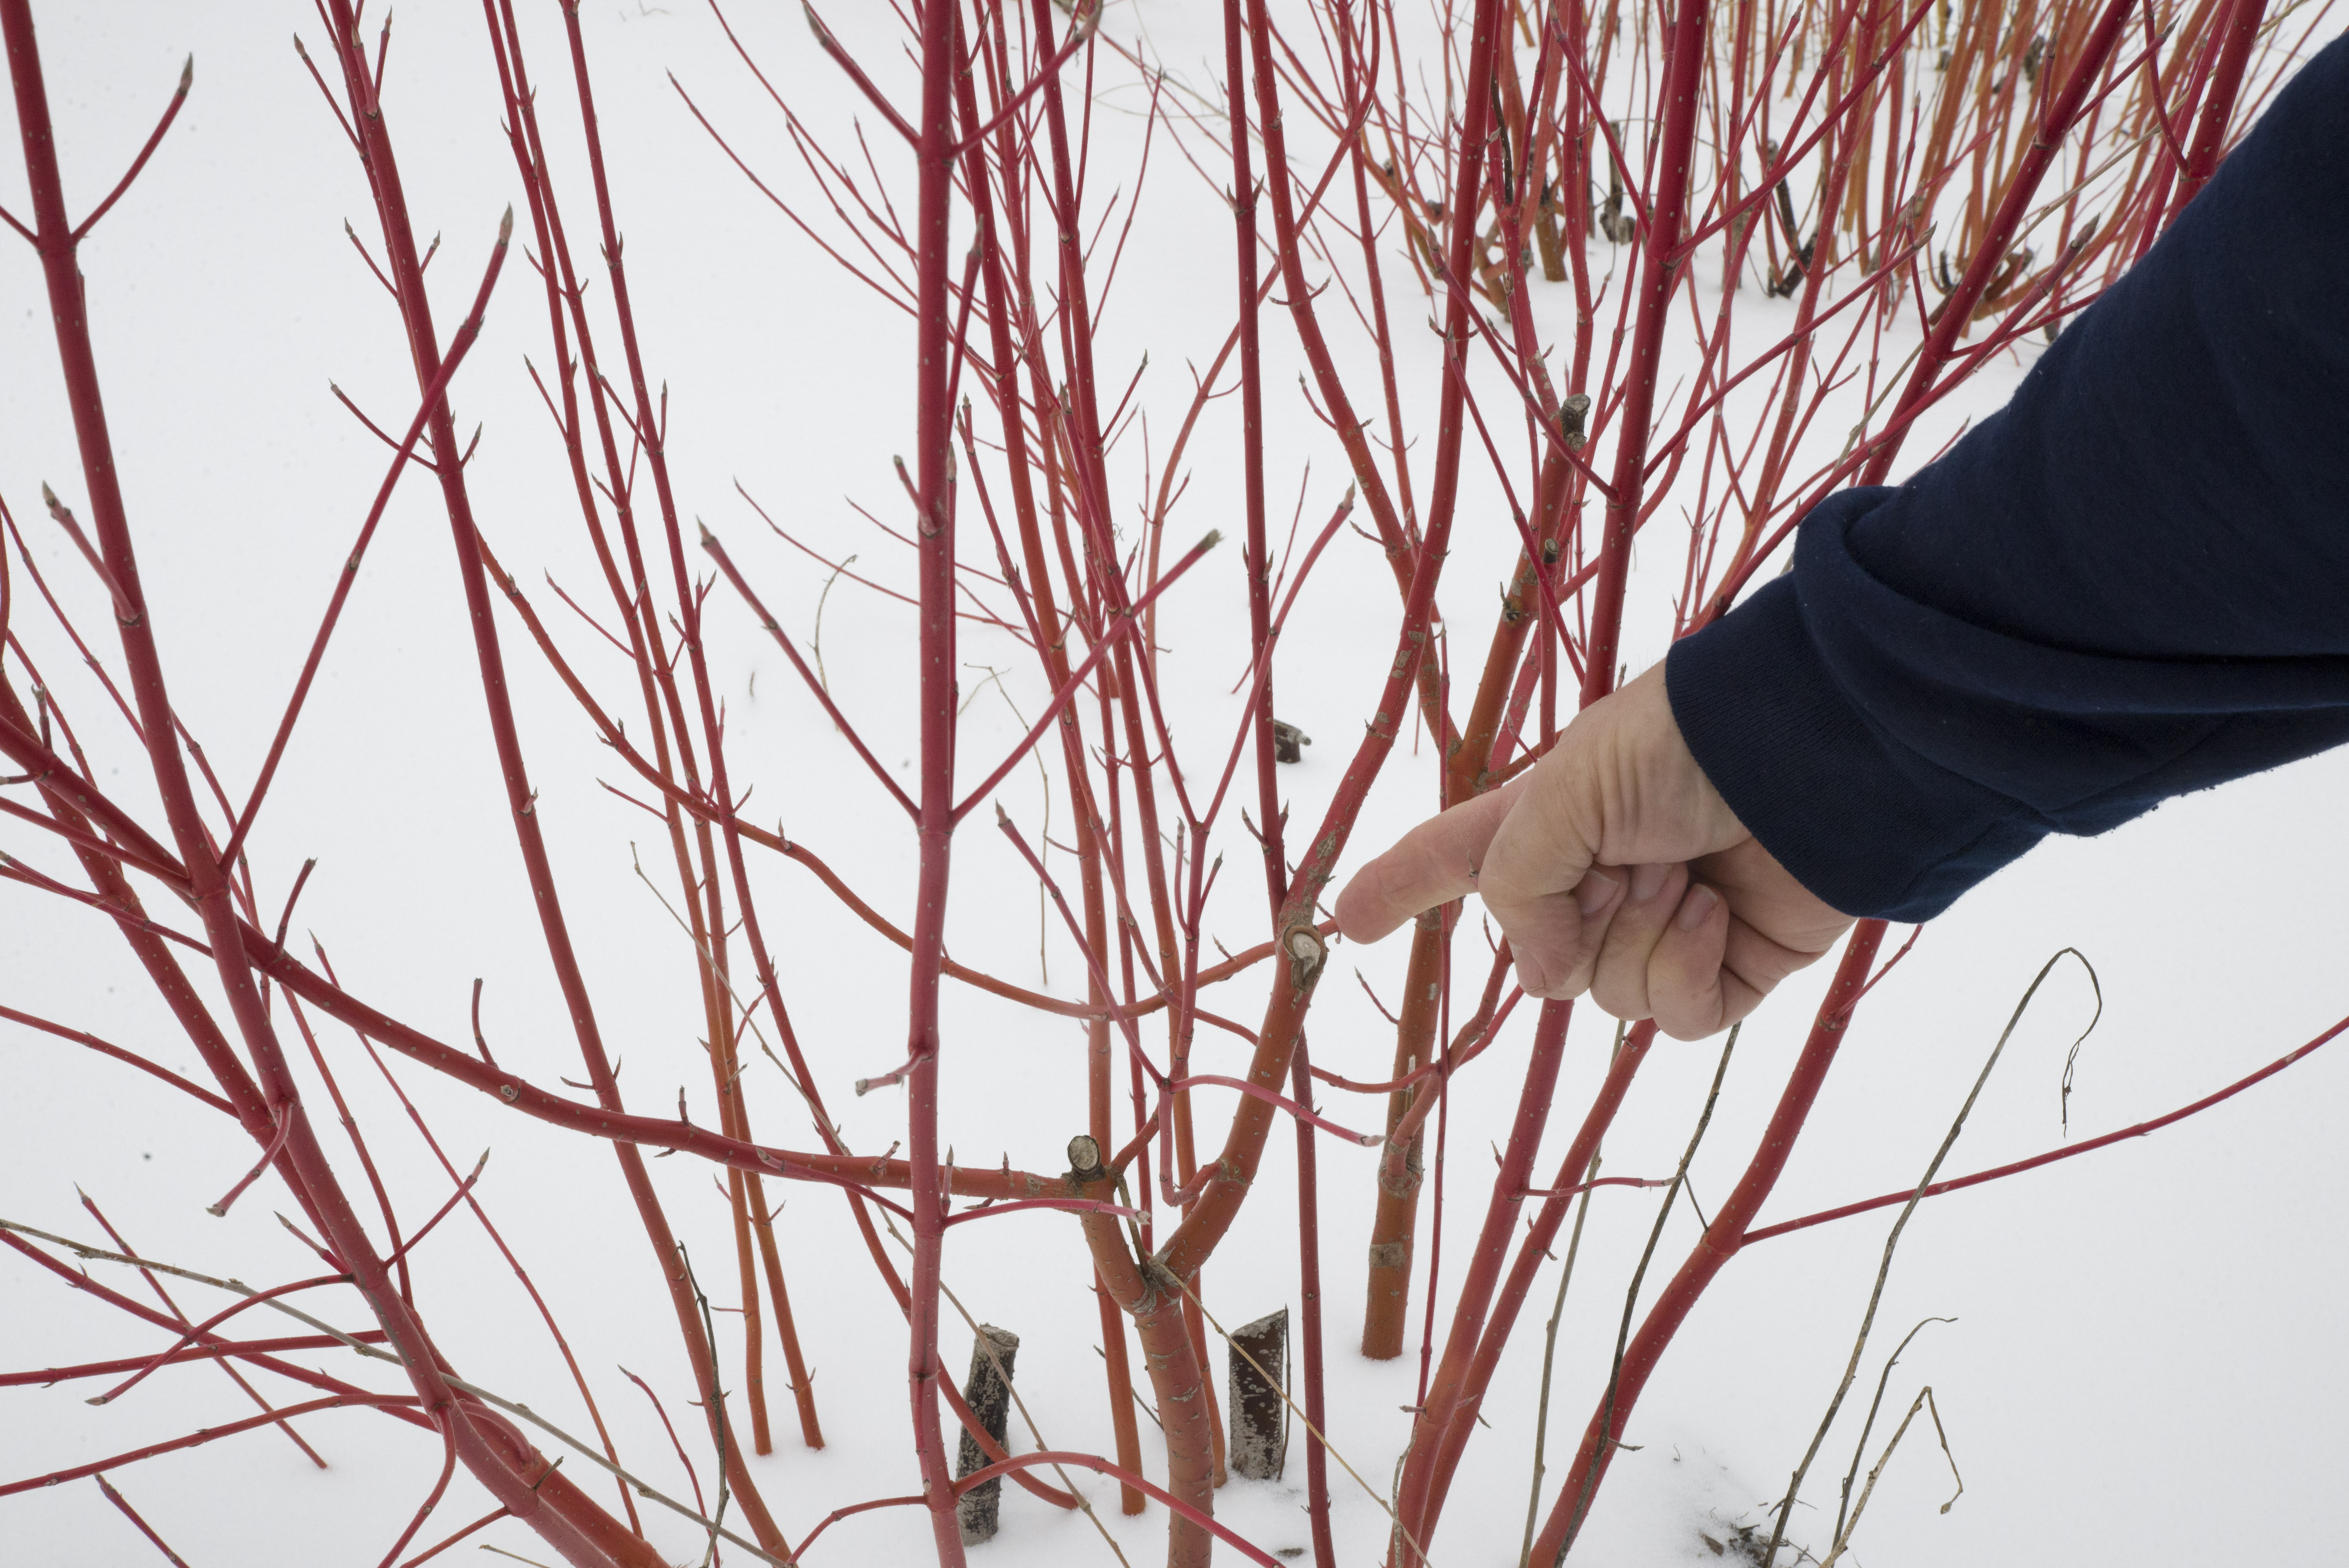
One overarching word of advice for your pruning technique is not to leave stubs or flush-cut. Most branches have a visible collar of folded bark at their base where the branch grows out from the supporting structure — a trunk, limb, or branch. This collar is all that needs to remain when the cut is complete. Leaving more than that, a bit of the branch for example, is a stub. You have a stub if you can hang your hat or your jacket from it. The plant will waste energy shedding this (plant’s version of a hangnail), and as it unevenly sloughs off over time, the site becomes an entry point for rot, disease, and pests. You don’t want that. And by flush-cutting this material, you make it even more challenging for the plant to close the wound. That’s what that little collar of material is — the plant’s built-in bandage. No need for petroleum products to close the cuts — these plants were created with their own internal first-aid system. Let them do their own thing. Just give them a good start and leave them alone.

Coppicing

So now it’s winter — dormant time. This is the best season of the year to perform the most radical cuts of all, short of cutting the thing down. But then again, you may want to do just that!

A willow before coppicing
winer pruning Dave Cantwell 20130222_0988
After coppicing a willow
Pruning willow

There comes a time in the life of some plants when cutting them down is exactly the right thing to do!

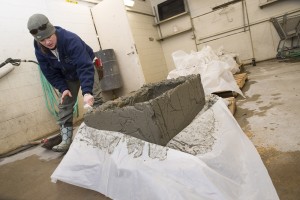
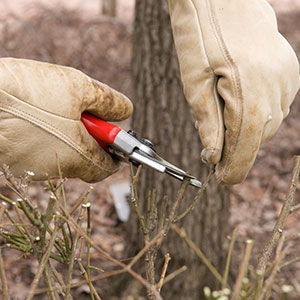
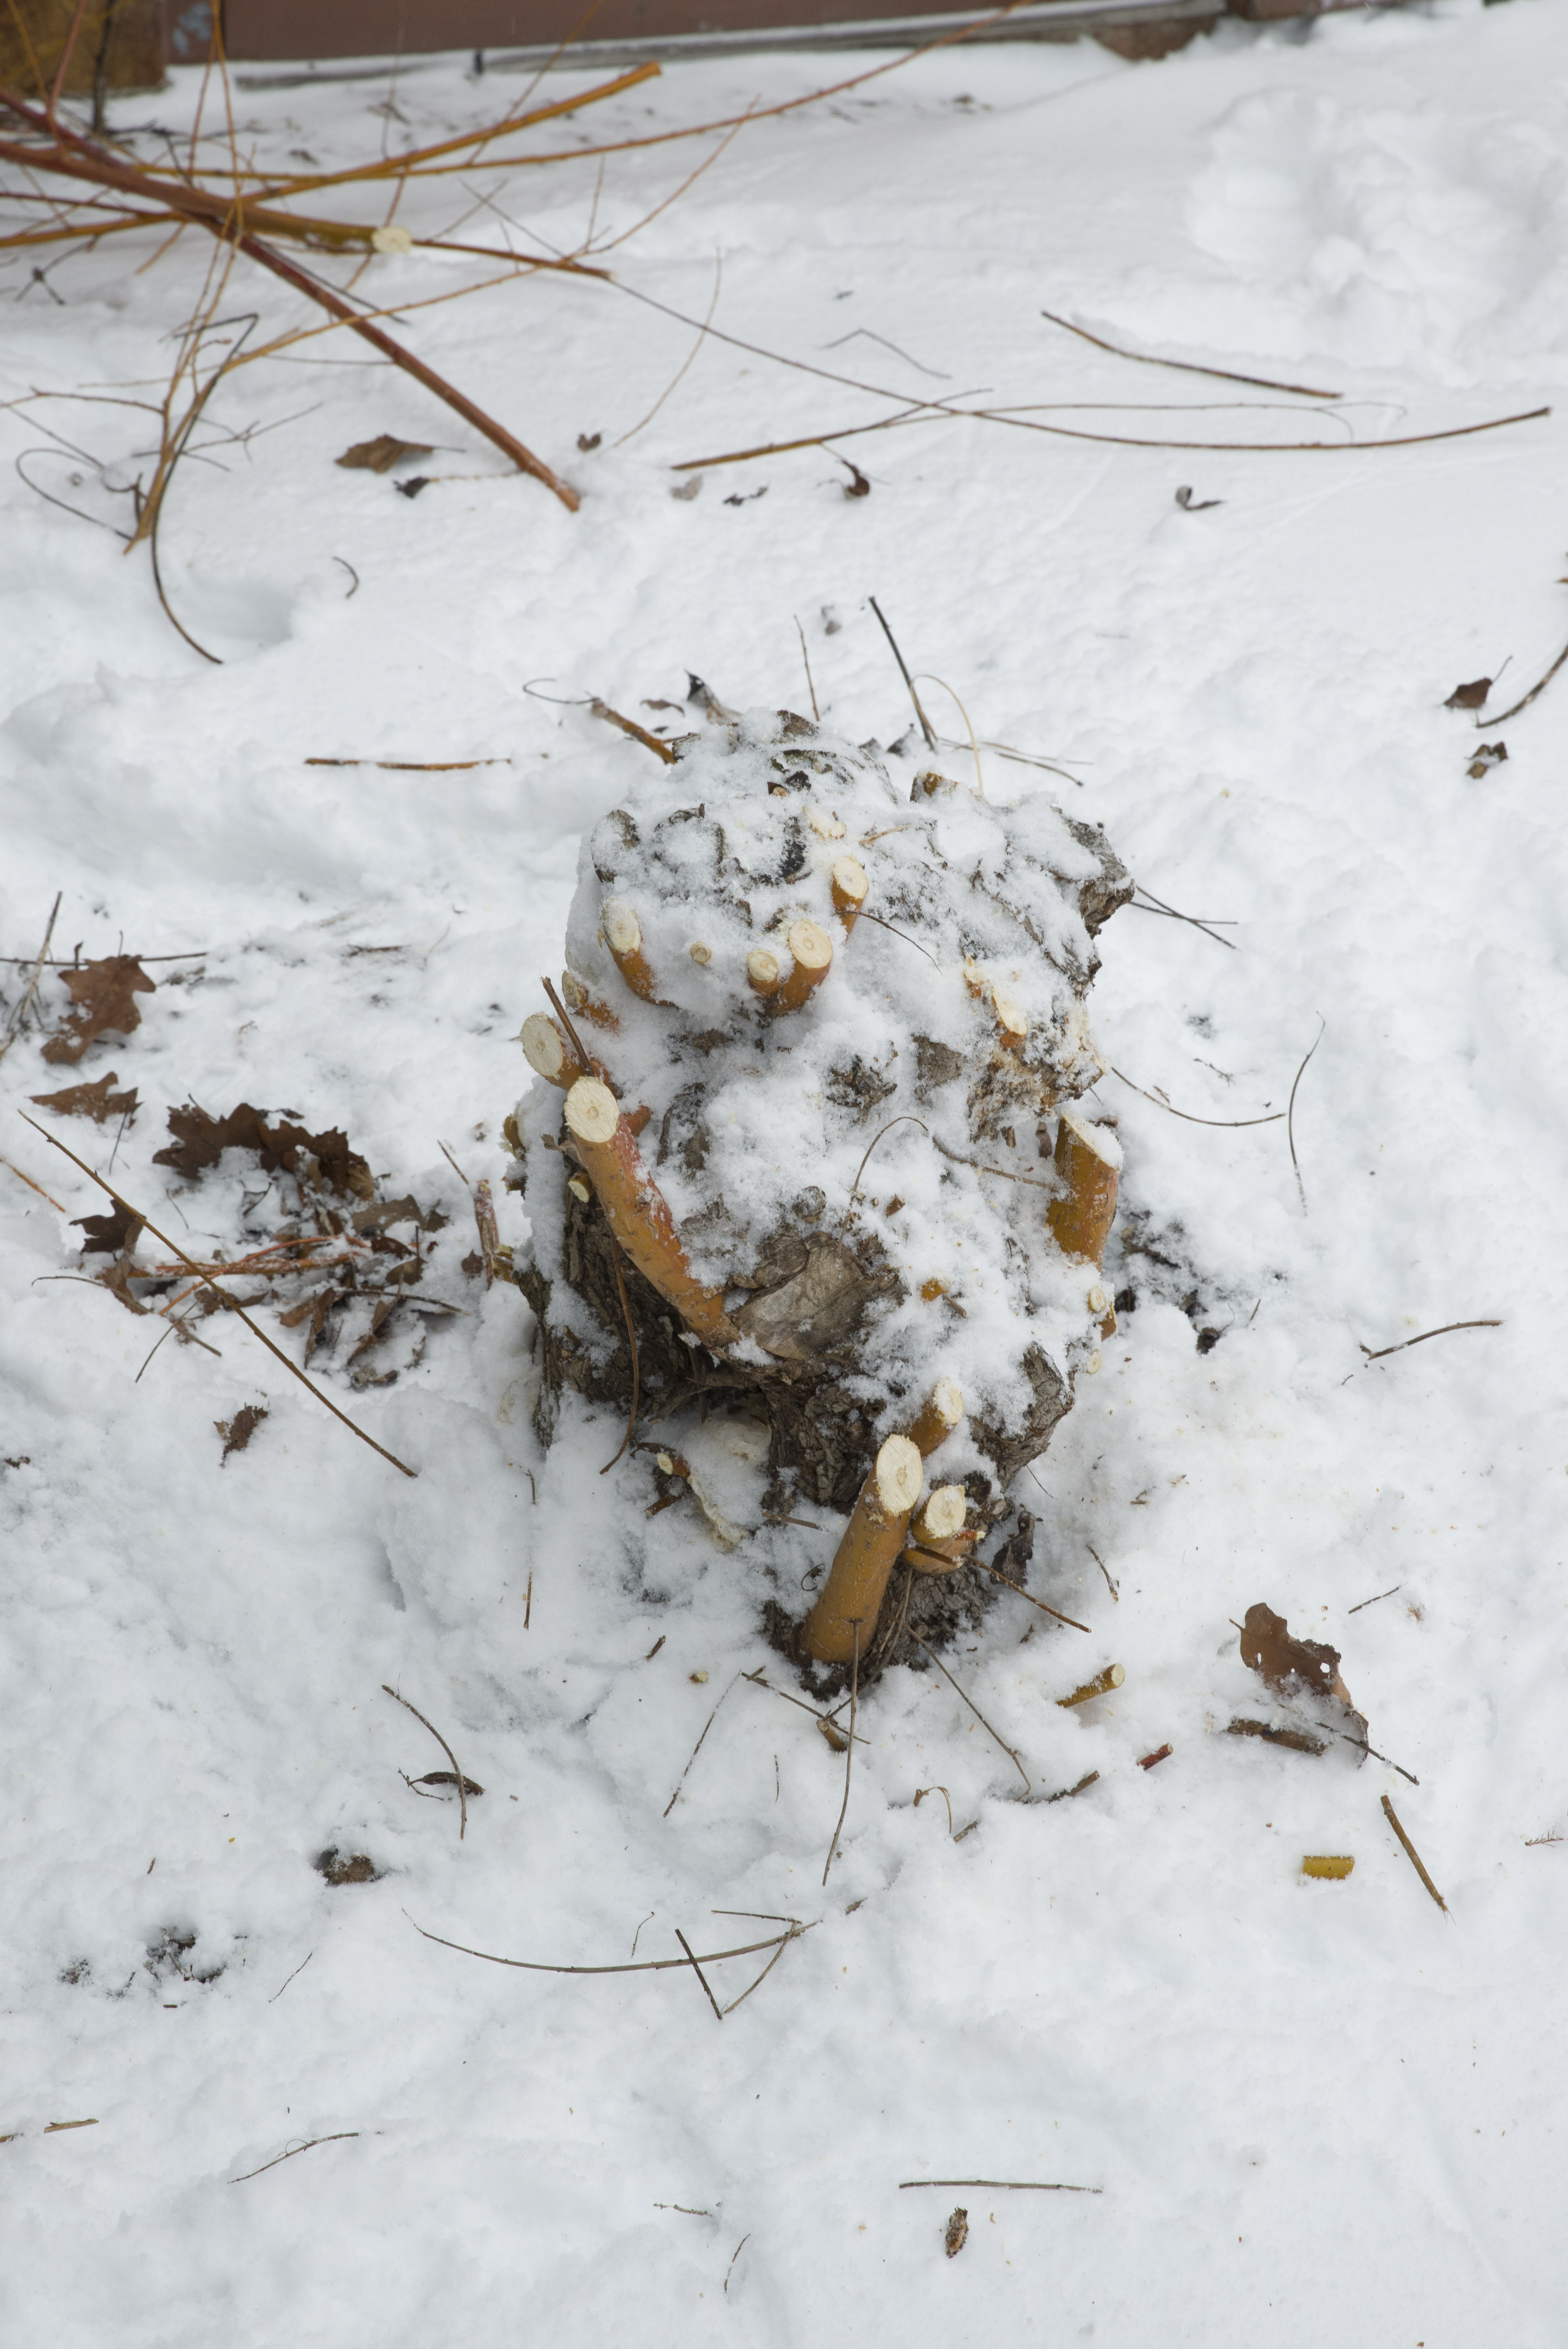
Coppicing is the horticultural practice of whacking down younger trees, virtually to the ground, leaving short stubs sticking out of the soil (it’s not dirt — you wash dirt off of your car or your dog or your kids). No need for them to be any longer than your finger. And be sure to use clean, sharp saws and pruners. Ragged cuts and tears only invite pests and disease by offering an easy port of entry. Life is tough enough — you don’t want that.

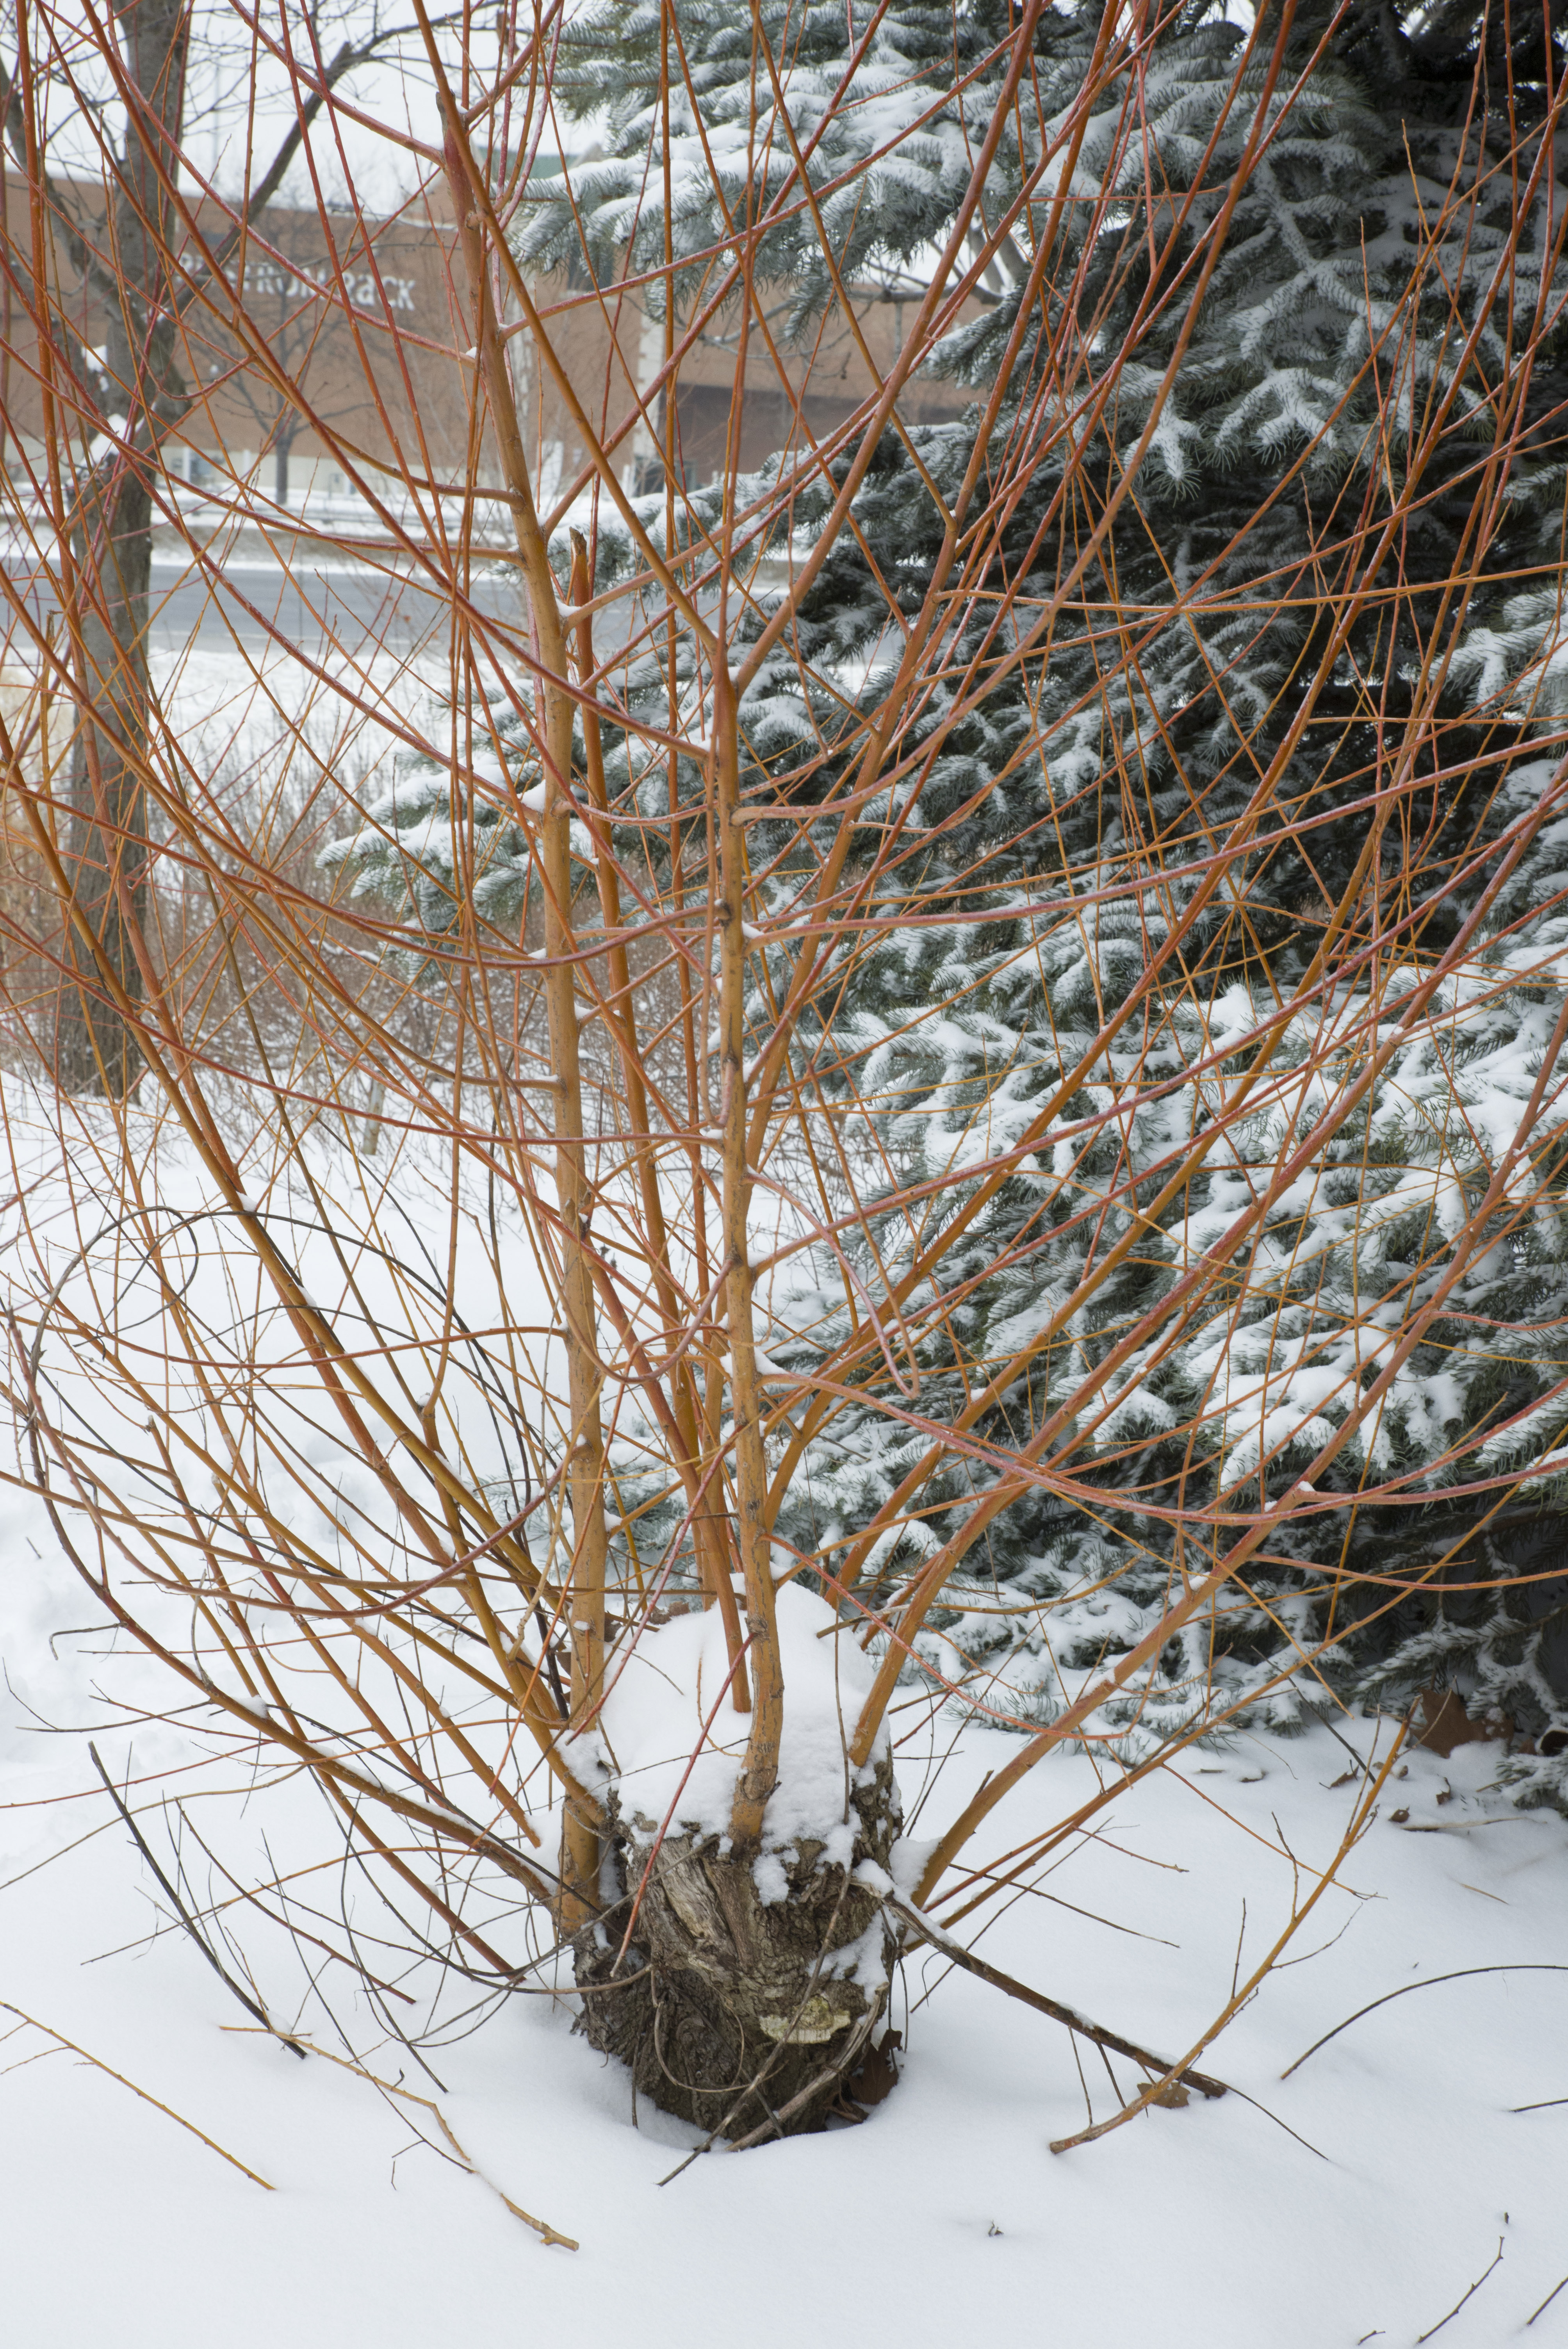
Primarily, coppicing is a technique used on trees to alter their growth habits from single-stem trees into multi-stemmed ornamentals, or more shrublike plants. Willows lend themselves handily to this practice, wherein a healthy, established young willow (Salix alba ‘Britzensis’) regrows over successive seasons into a more shrublike plant resembling a red twig dogwood. It works well when you want that look in an environment that’s too harsh for dogwoods, but in which willows can survive, such as winter salt spray from a road, or drying, frigid winter wind.

Rejuvenation

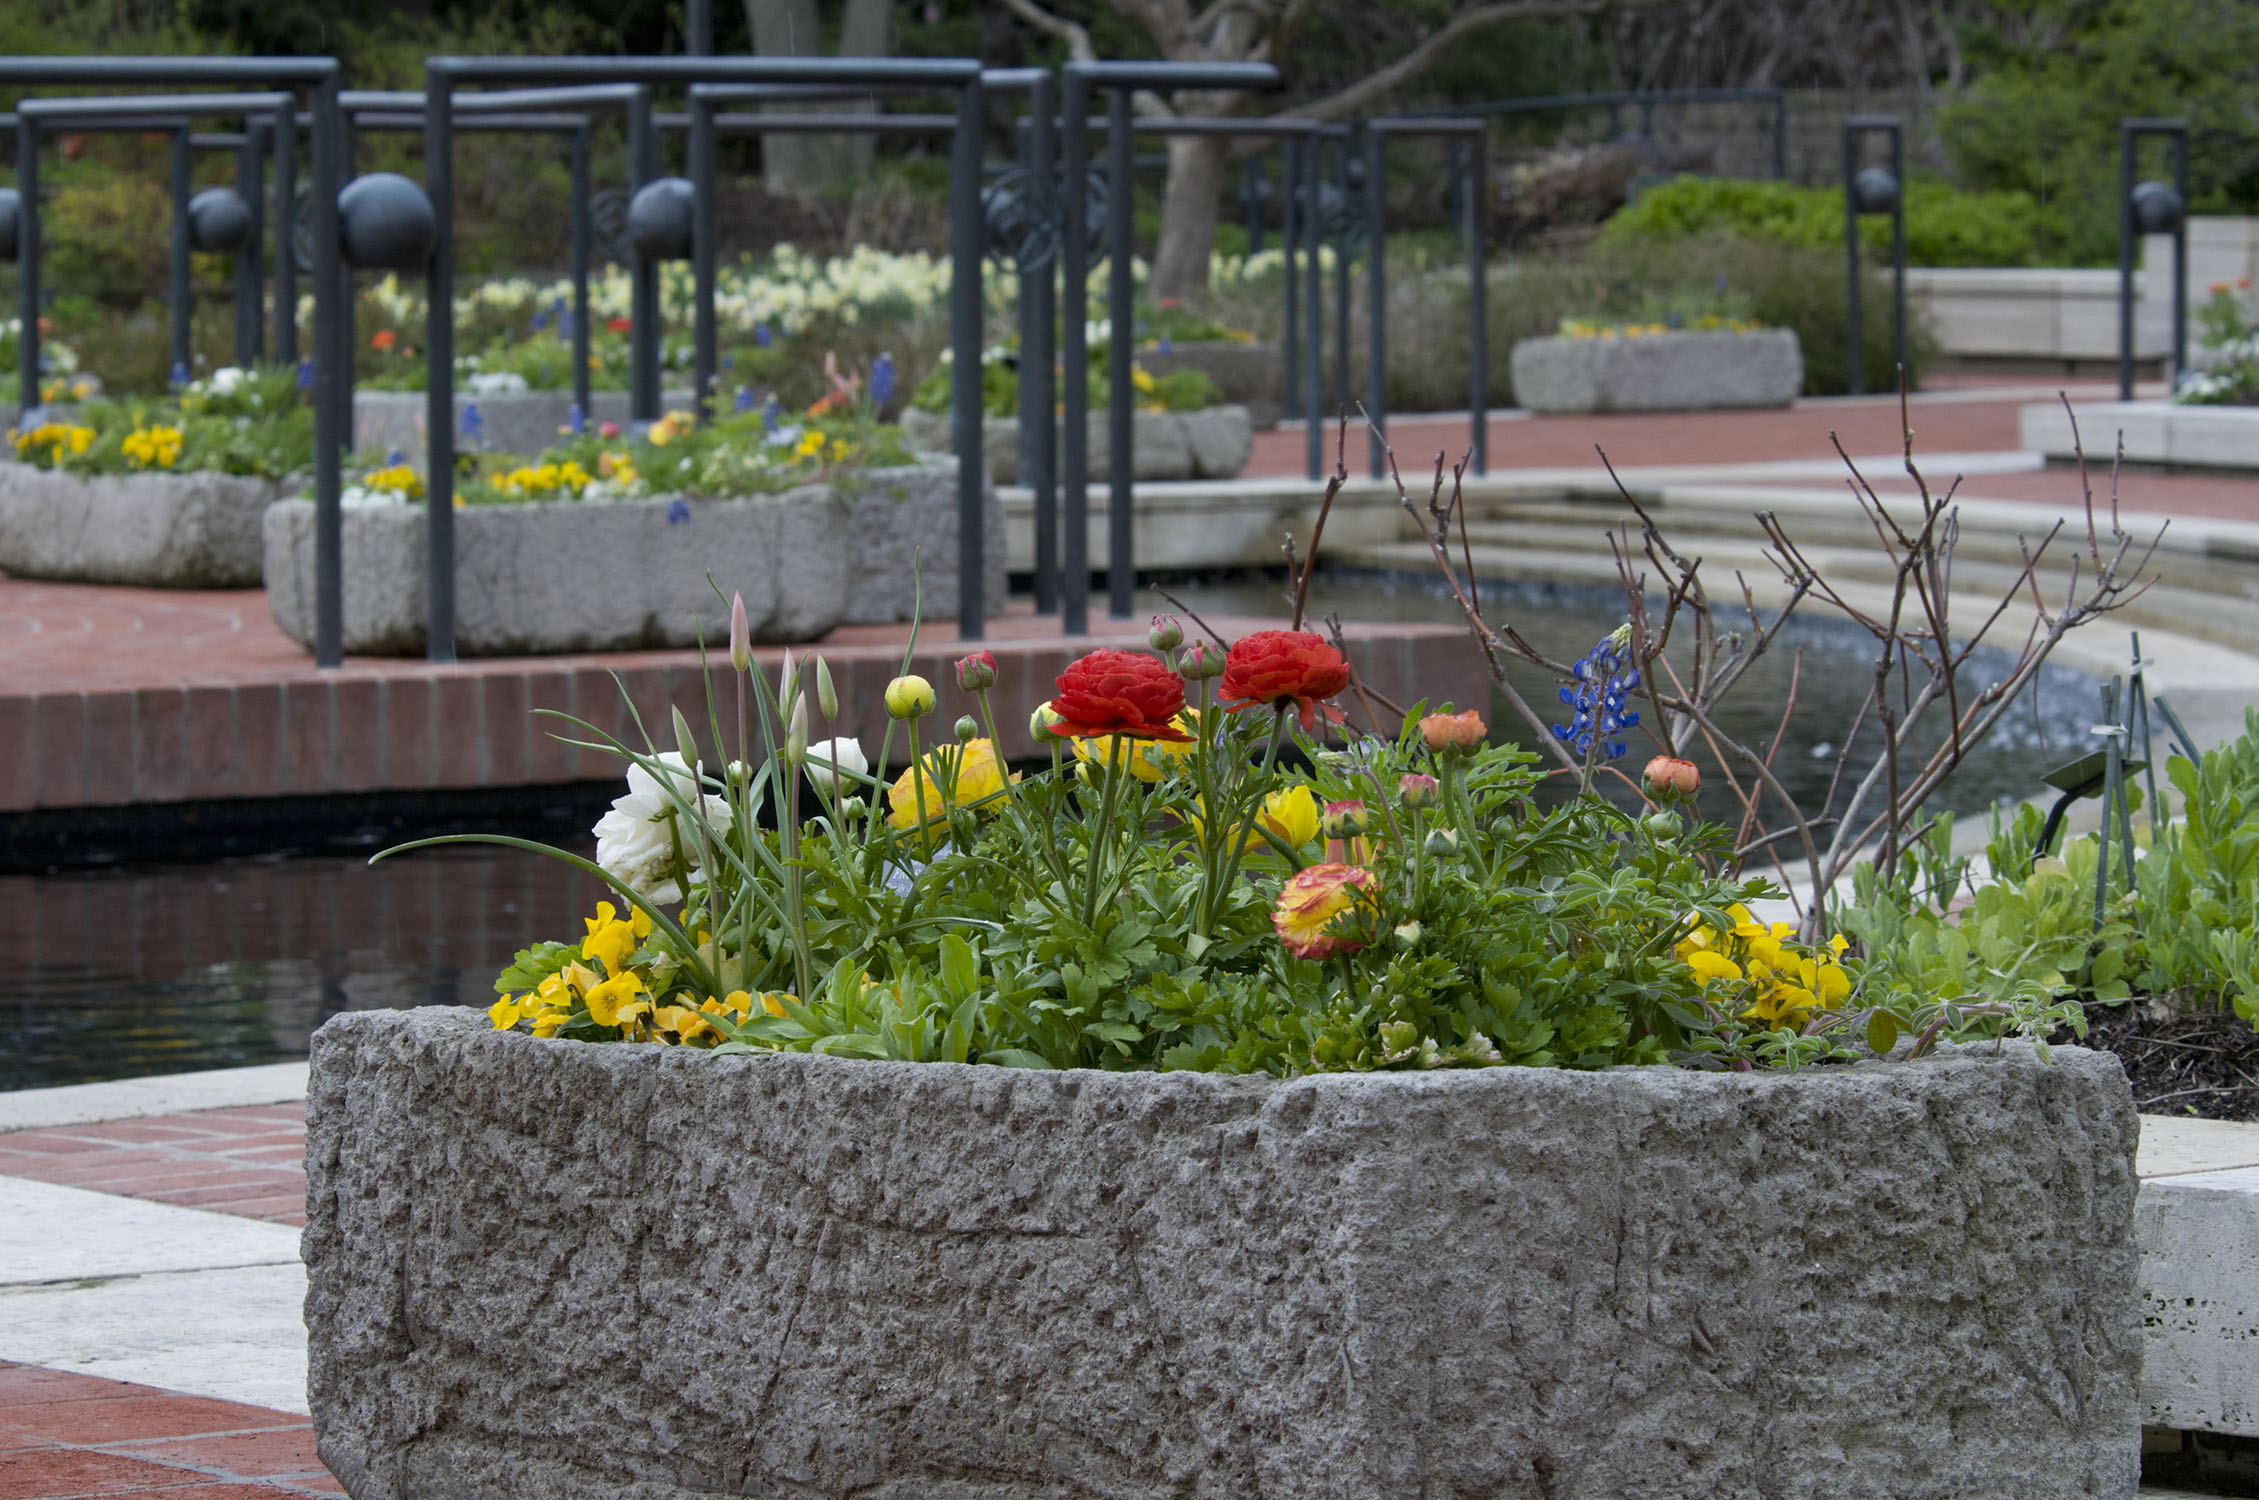
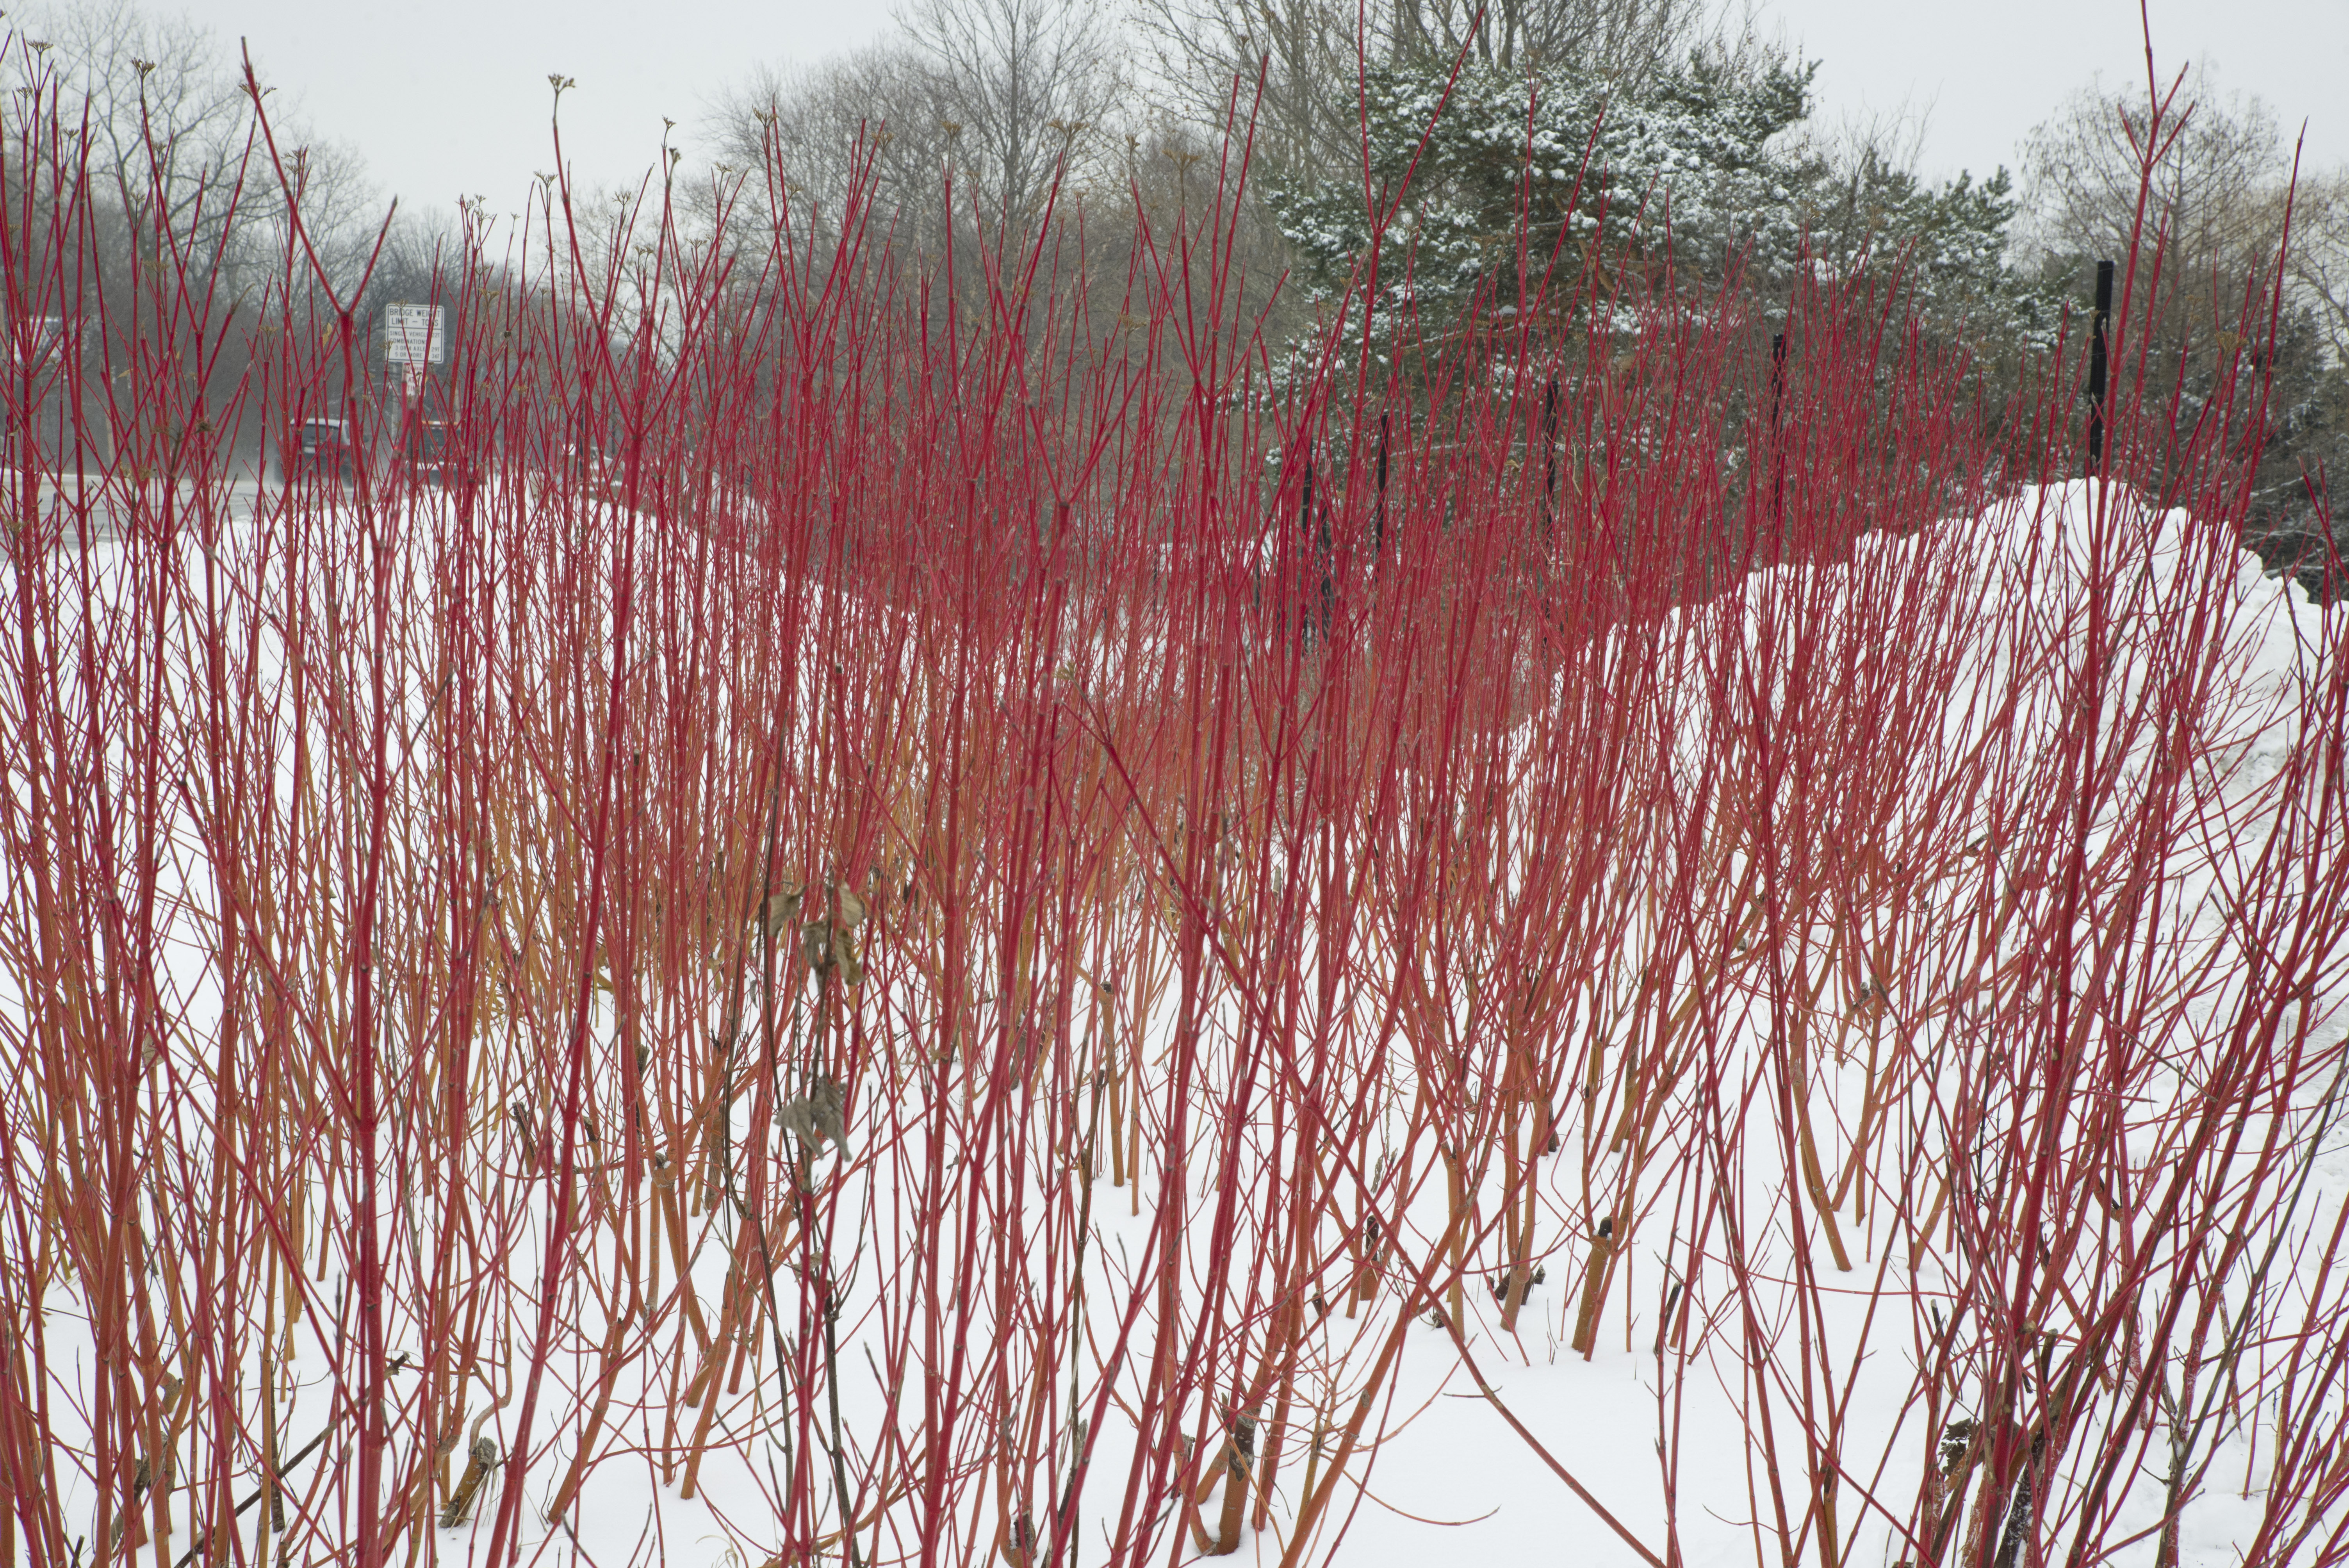
We can coppice shrubs, too. Take, for instance, the red twig dogwood, an old favorite. Over the years, the red becomes gray, the stems become overgrown and brittle, and trimming with shears or hedge trimmers over successive seasons creates a dense thicket of twigs on top with leggy, open stems at the bottom. It looks like an umbrella with extra handles and nothing like those pictures in the gardening magazines. There is good news — you can have a shrub that looks like it came straight out of a gardening magazine by midsummer this year! If it’s properly sited (sufficient sun, water, and drainage), and the roots are established and healthy, then this is the winter to coppice the shrub when it’s the most dormant. My general rule is to cut between Super Bowl Sunday and St. Patrick’s Day (yes, you can do this later, even after buds break — just not too long after). The healthy new stems will all grow back straight, shiny, and colorful — an exciting and welcome bright spot for next winter, which is the primary reason for planting red twig dogwoods — winter interest!

winer pruning Dave Cantwell 20130222_0951
Red twig dogwood in need of rejuvenation pruning
winer pruning Dave Cantwell 20130222_0947
Red twig dogwood pruning
winer pruning Dave Cantwell 20130222_0949
Note the darker stubs from last year’s rejuvenation pruning and how many stems have grown back.

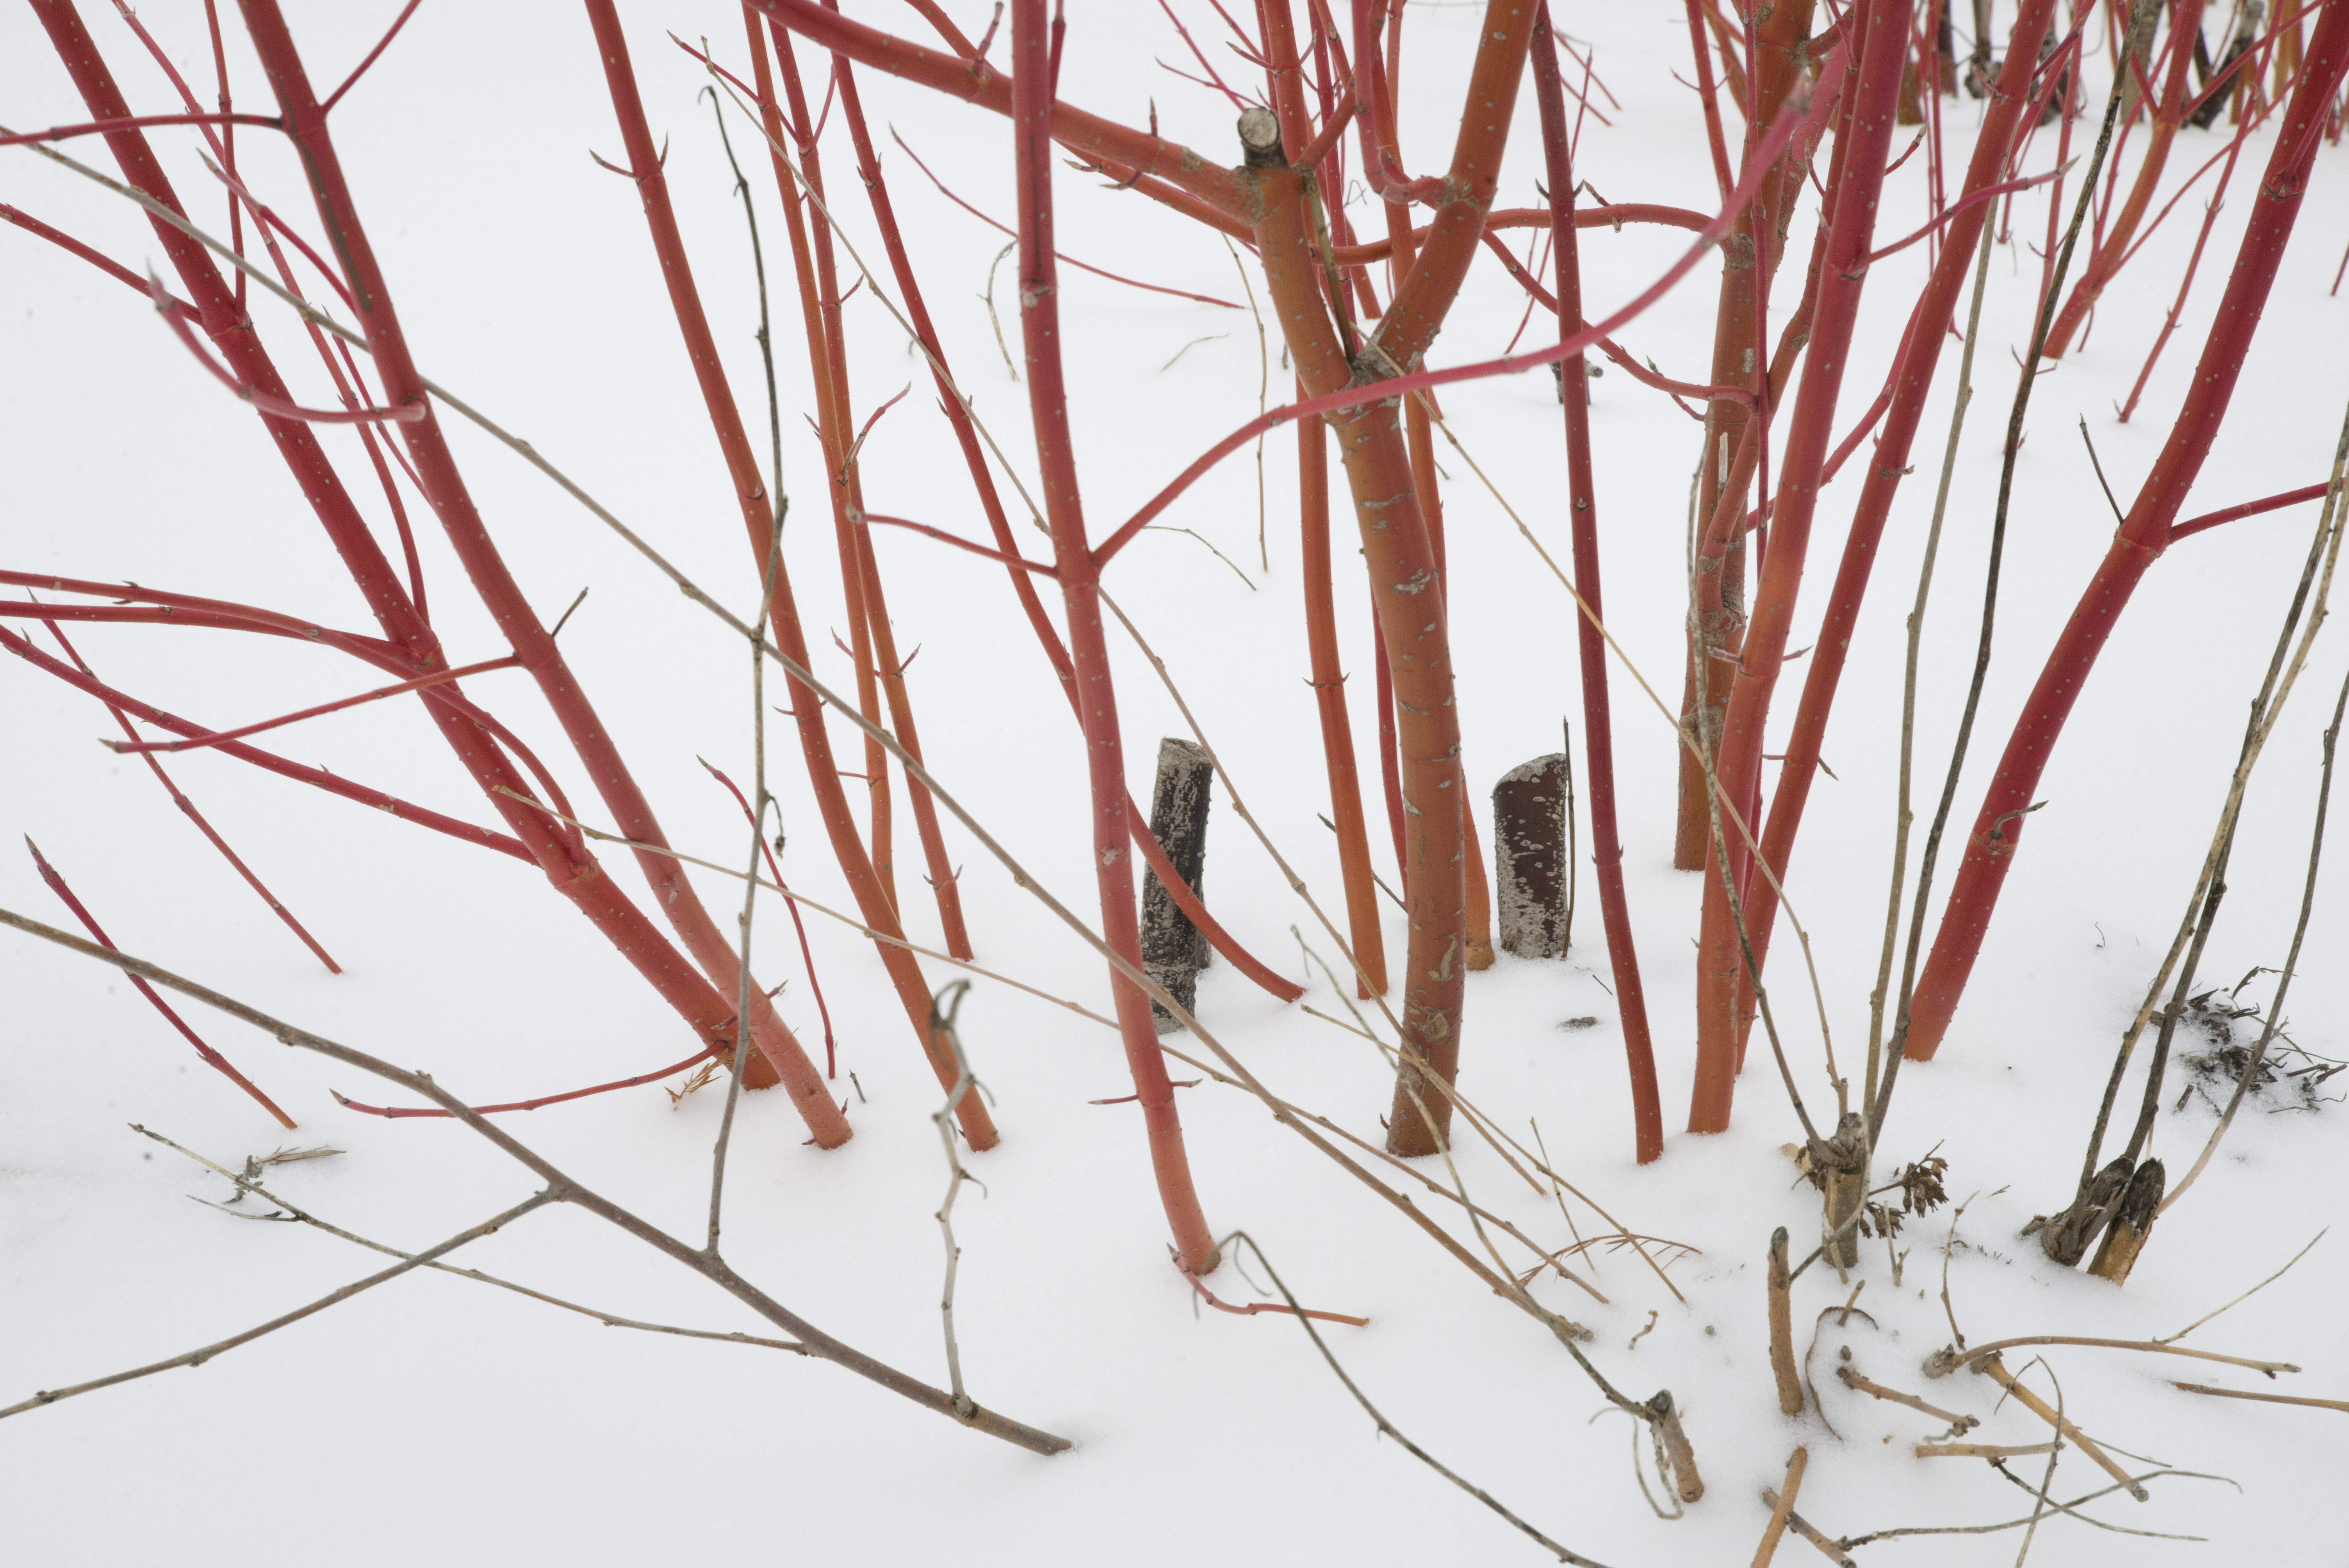
When you opt for this process of going medieval on the plant, it actually spurs the complete, new regeneration of the entire plant above ground. Yes, at first it will just sit there, apparently doing nothing, and looking like a goner. But give it time. What you don’t see is the plant figuring out that it needs to develop new shoots, which will bud right out of the stubs you left behind. Just leave them alone and water the shrub if rainfall drops below 2 inches per week. And it’s always best to give it a couple of good, deep waterings per week rather than spotty, shallow daily passes with the hose or sprinkler.

You want the water to penetrate down into the root zone. If you had x-ray vision, you’d see the dense, rounded mass of roots extending beneath and around the shrub, and each root fiber poking around in the soil looking for water, nutrients, and oxygen. The spaces within the soil allow for the passage of these elements to the roots. Seeing the water percolating through the soil and into this zone may help you to better understand how plants grow, and enable you to more successfully address the plant’s watering requirements — especially now that you’ve cut it down! Forget what the neighbors might think, because you can rest assured that by the end of summer they’ll be envious of the new; perfectly shaped red twig dogwoods in your garden.

Stay tuned for more Frugal Gardening Tips on pruning next week.


©2013 Chicago Botanic Garden and my.chicagobotanic.org

How to Train Your Plant II

Blog followers will remember that in the first “How to Train Your Plant” post, we demonstrated how plants respond to the gravitational pull of the earth. Geotropism is difficult to overcome, but that didn’t stop me from trying to make a plant grow sideways through a maze. You can try this activity at home.

You will need these items:

  • a shoebox (or any kind of box)
  • cardboard to make dividers
  • duct tape (or any opaque tape)
  • soaked bean seeds—I used different beans from a soup mix
  • a container with soil
PHOTO: The materials for the maze are displayed.
You’ll need a shoe box, cardboard dividers, seeds, a pot with soil medium, and of course scissors and tape for constructing the maze.

Stand the box on its side. Then cut two pieces of cardboard to fit in the box and make divisions. You’ll want these to fit as snugly as possible inside the box, but they don’t have to be perfect. The tape will fix that. Cut a large window in each divider. Cut a window on one end of the box. Tape the dividers in place as shown in the picture.

PHOTO: The maze assembly is shown in the shoebox. There are two dividers with cut out windows and a whole in the side of the box for light to shine sideways on the sprouting bean seeds.
Pardon the crude appearance of this maze. I wasn’t going for style points.

Plant the seeds in the soil and put the container on the side opposite of the hole you cut. Just for fun, I used several different seeds from a bean soup mix to see if one kind would get through the maze better than the others. It was like a bean-seed “race.” You can try whatever you like.

Make sure the holes in the divisions are big enough to allow lots of light in from the side, and don’t vary the height too much. Remember, we are fighting the plant’s tendency to grow up—if it’s too challenging, it won’t work. Trust me, I learned this the hard way.

When the maze is complete, give your beans a last bit of water, and maybe a kiss, and then close the box. Apply tape along the top edge, to secure it and reduce light. Then put it next to a window and wait.

And wait.

It’s going to take a few weeks. Remember, horticulturists are very patient. Open the box every few days or so to be sure it has not dried out. Add a little water, but only enough to moisten the soil if it is very dry.

When you see the bean plant emerging through the open window in the box, open it and take a look. How long this will take will depend on the kind of beans you use, how far the plant has to grow, and how warm the room is.  

The beans have sprouted and are moving toward the light

 It took my beans about five weeks to grow through the second window.


PHOTO: all of the bean sprouts are leaning toward the light.
The beans were definitely torn between growing up and growing in the direction of the light.


The winning sprouts, which I believe were lentils, did not actually make it through to the last window when I took this picture, and I’m not sure it has enough “umph” to do it. Still, notice how all of the plants leaned toward the light and most of them grew through the first window. That is a positive result!

What is going on here?

This activity demonstrates phototropism. Photo is the Latin word for “light,” and you will remember that a tropism refers to an organism’s response to stimulus, so that phototropism means plants grow toward the light.

It makes sense for plants to reach for the light because they need light to make sugars, their source of energy. Normally, growing up against the pull of gravity is also growing toward the light. In this activity, we changed that condition, forcing the beans to deviate from their normal course to get the light they needed.

The sprouts that grew the farthest and were closest to completing the maze had leggy stems that would not support growth upward to the last window. If I leave them a few more weeks, they could possibly grow along the bottom and then up the side of the box. I’ll have to wait and see.


©2013 Chicago Botanic Garden and my.chicagobotanic.org

Creating Hypertufa Troughs at the Garden

One of my signature projects at the Chicago Botanic Garden is designing and building the hypertufa troughs for the Heritage Garden spring display. While our greenhouse staff spends their winters growing the unique and beautiful plants that we feature in the troughs, another team is hard at work making the troughs.

PHOTO: Troughs finished and curing.

PHOTO: Heritage Garden troughs from May 2011 display.

Hypertufa is a simulated stone container that is durable in all weather conditions, but lighter-weight than solid stone or concrete. Our trough style, which is rectangular with a distressed finish, is designed to look like vintage livestock feeders that you might imagine aging for generations in the English countryside. 

Making troughs is a heavy and dusty job, but the result is a unique and lasting piece of garden artistry. Here is how we make them at the Garden: 

Step 1 

trough 20130220_0555

trough 20130220_0554

Create a wooden frame with an open top and bottom. We build it so we can easily take it apart in Step 6. Line the interior of the frame with heavy-duty plastic sheeting so the concrete does not stick to the frame. 

Step 2 

trough 20130220_0525

trough 20130220_0545

trough 20130220_0552

Mix 1 part Portland cement, 1/3 part peat moss, and 1/4 part coarse perlite. We add water until the wet concrete slowly falls off our shovel. 

Step 3 

trough 20130220_0561

trough 20130220_0571

We pour about 2 inches of concrete into the bottom of the frame. 

Step 4 

trough 20130220_0573

trough 20130220_0580

Place another large sheet of plastic on the inside of the frame. Add a 4-inch layer of sand on top of this sheet of plastic. 

Step 5 

trough 20130220_0593

trough 20130220_0604

Between the two sheets of plastic, start pouring in more concrete to form the side walls. We try to make the walls about 2 inches thick, making sure they are as even as possible and have no air pockets. As the walls get taller, we keep adding sand on top of the second sheet of plastic. The sand supports the walls until the concrete hardens. Fill concrete to the top of the frame, making sure the support sand is also at the same height.

Step 6 

trough 20130220_0883

trough 20130220_0888

trough 20130220_0897

After the concrete sets but is not completely dry (6-18 hours, depending on its consistency in Step 2), we remove the wooden frame and plastic.

Step 7

trough 20130220_0917

trough 20130220_0614

We then distress the trough to give it a weathered appearance. We use a variety of tools to do this, including hammers, chisels, and wire brushes. This year we even used a power washer. Once the trough is distressed, we drill drain holes and let the concrete completely cure for several weeks. Once cured, it is ready for our spring display!

You can buy pre-made hypertufa containers, but this is definitely a project you can do at home for a lot less money and in a design style that is uniquely your own. Be creative. Add pebbles, shells, or beads to give your trough a little extra flair. Pigment in the mix can give it a color that better matches your décor. Adding more perlite or peat moss will make your trough lighter and give it a slightly different texture (but also makes them a little more fragile, in our experience). Leave the exterior of the trough smooth, rather than distressed, for a more formal or modern look. Lining the mold or frame with leaves (especially those with prominent veins or patterns) is another fun look for the troughs.

When we have a little bit of hypertufa mix left over at the end of our projects, we also like to make unique containers from simple molds that we find around the workshop. An upside down garbage can lid makes a nice birdbath mold. An old plastic bowl can be the perfect shape for a windowsill herb garden. I have even used an old box to make a hypertufa boot tray—who doesn’t need one of those?!  Silly or serious, there is no limit to your hypertufa container options.

PHOTO: Heritage Garden troughs from May 2009 display.


©2013 Chicago Botanic Garden and my.chicagobotanic.org

Looking for some good grub

While checking the perimeter fence around McDonald Woods to see if there was any damage to the fence after a windy day, I discovered a large red oak that had lost its foothold in the frozen soil and had toppled over against a white oak. Since the tree was threatening to push the other oak over into the fence, I decided to cut the red oak down to save the white oak and the fence.

When trying to remove a leaning tree, you have to start at the base and work your way to the top as each section falls away. The base of the tree was good and solid, sending a shower of sour-smelling oak shavings flying from the chainsaw. When I got about halfway up the trunk, the saw began spewing dark brown flakes of rotting wood, and the sawing became easier. After a few more cuts, the trunk became mostly hollow and the top of the tree crashed to the ground.

Looking back at one of the middle sections of trunk, where the center was a rich dark brown from the rotting wood, I noticed a thick, white object shaped like the letter “C”.  

Bessbug Grub

A closer look showed the object to be a large grub from a beetle. These grubs are similar to the white grubs of Junebugs and Japanese beetles that you find in your gardens and lawns, but much larger. Although the rotten wood was frozen, I was able to split open the log, revealing a whole colony of 30 to 40 beetle grubs about 2 inches long and about a half inch in diameter. Each grub was cradled in a smooth-surfaced cell in the rotted wood. Even at temperatures well bellow freezing, the grubs were able to move enough to show they were alive.

As it turned out, these grubs were the larvae of one of our largest woodland beetles, known as the stag beetle or stag-horn beetle. These beetles are one of the myriad invertebrates active year-round, doing the important work of reducing fallen trees to rich organic soil that will help other trees grow and support the next generation of plants.

These beetles are members of the Coleoptera (beetles) and get their name from the large antlerlike mandibles (jaws) found on the front of the head of the males.  The females also have mandibles, but they not as impressive as those of the males. The large mandibles are used for territorial defense and also to protect the beetles from any birds or other animals that might try to eat them. The impressive “antlers” can look threatening to people when they first encounter them; however, they are not a serious threat to people and will only give you a pinch if you handle them roughly. It is not uncommon to find the large brown stag beetles around buildings near woodlands at night, when they are sometimes attracted to the lights.

These critters are fascinating, not only because they are social in the larval stage and can take several years to mature, but they can also produce an assortment of sounds that are thought to help with communication between the grubs. The grubs have a striated structure on the leg that allows them to produce sound (called stridulation), kind of like rubbing a spoon on a washboard. If you notice the dark-colored segment that looks distended on the end of the grub, it is the digestive chamber, where the wood the grub consumes is digested with the aid of microorganisms.  If you give one of these guys a gentle squeeze, you will notice a stream of liquified, dark brown wood coming from the tail-end of the critter. 

One last item of interest about these wood-grubbing dynamos is that they often carry a large population of mites around, clinging to their bodies. When I took a closer look at the grubs, I found dozens of whitish-colored tiny mites attached to each of their legs.  

Bessbug mites

This observation lead me to recall the verse by the Victorian mathematician, Augustus De Morgan:

Great fleas have little fleas upon their backs to bite ’em,
And little fleas have lesser fleas, and so ad infinitum.
And the great fleas themselves, in turn, have greater fleas to go on,
While these again have greater still, and greater still, and so on.

These mites do neither the beetles nor the grubs any harm; they are just along for the ride and probably snacking on any choice fecal pellets deposited by the beetles. If you find yourself sitting on a log out in the woods, you just might be perched above a nest of developing stag beetles.  


©2013 Chicago Botanic Garden and my.chicagobotanic.org

Coloring Between the Lines

As dusk fell over Illinois State Beach Park, Jeremie Fant, Ph.D., perched silently beside the rare downy Indian paintbrush. He watched as the white-blooming Castilleja plant opened its tubular flower and emitted a sweet scent. The clock ticked past 6 p.m. Cautiously, a moth appeared out of the night sky, and fluttered over to sip the plant’s nectar. Bingo.

That moment, and subsequent research in Illinois and Colorado, led Dr. Fant, a molecular ecologist with the Chicago Botanic Garden, to become the first to document the moth as a pollinator of Castilleja with Krissa Skogen, Ph.D., his research partner and a conservation scientist at the Garden.

Dr. Fant in the field
Dr. Fant conducts fieldwork in the Comanche National Grasslands in Colorado.

Fant studies the importance of how flowers are designed to attract specific pollinators, and what a plant’s pollinator means for its survival as a species. “I am fascinated by the way these events can lead to permanent impacts on a plant population,” he said.

He recently explained the intricacies of the process to me, and why the palette of colors we see in the Garden and elsewhere is not only beautiful, but also functional.

The Palette of Pollinators
Pollinators—such as bees, birds, flies, and moths—offer specific benefits to plants, according to Fant. Birds travel expansive geographic areas, and can spread the pollen of a single plant over a large area. Bees, on the other hand, are more localized in their foraging, covering more plants in a condensed area. Where moths fall in this spectrum is not known: they may diversify the genes in a plant population by carrying pollen further than bees, but they may not travel as far as birds.

“The imprint left behind from genealogy is stamped on the landscape, and it’s my job to figure out how that pattern got there,” said Dr. Fant.

Plants Spin the Color Wheel
A flowering plant puts a lot of energy into producing a flower. Why? The purpose of flowers is to attract pollinators who will spread the plant’s genes— promoting the continuation of the species, said Fant. When a plant is red, it attracts birds as pollinators, but if it is yellow, it attracts bees. White flowers are particularly appealing to moths—especially those that bloom after sunset when moths are out and about. The color, combined with the scent, allows a plant to lure in a specific pollinator.

Connecting the Dots
This information led to a hunch when Fant considered the white flowers on the downy Indian paintbrush in Colorado and at Illinois State Beach Park, where he conducts much of his fieldwork. Most species of Castilleja plants produce red flowers and are known to be pollinated by birds. But here in Illinois, in the furthest east population of such plants, they chose a different color, and as he confirmed, a different pollinator. It is the question of why, and what that choice means for the plant, that Fant is now preparing to study when he returns to his field research this spring.

prairie aug-2574
Charismatic red flowers bloom on the gravel hill in the Dixon Prairie, Fant’s favorite area at the Garden.

Ultimately, Fant tracks how genes move within plant populations, which largely hinges on how they are carried by pollinators. He examines plant DNA to determine if they share one or more genes, and are therefore related. Then, he maps the location of related plants, tracking the movement of specific genes and inferring how and why they got there. “There’s always some reason for the movement,” he said.

This spring and summer, look for red flowers on the gravel hill in the Dixon Prairie, where Dr. Fant is growing unique bird-pollinated plants such as the royal catchfly, with the goal of increasing the plants’ genetic diversity.

Fant noted that moths are often overlooked as pollinators, and along with Dr. Skogen he is especially interested in studying their relationship with many kinds of plants. In addition to the Castilleja, he also studies rare species of the gravel hill in the Garden’s Dixon Prairie.

At the end of our conversation, Fant, dressed in a bright-yellow sweater, jumped up from his desk and headed toward his lab in the Daniel F. and Ada L. Rice Plant Conservation Science Center, where he is always moving forward to catch up with the past.


©2013 Chicago Botanic Garden and my.chicagobotanic.org