Mulch Ado about Everything

What’s the right kind of mulch? How much do I put down? When’s the best time to mulch? How often do I need to amend the mulch? Is mulch the best weed barrier?

Great questions about a basic garden element.

PHOTO: Grounds staff spread leaf mulch around the base of a tree.
Fall is the best time to give your trees a good layer of mulch.

Mulch is an important facet of your garden, and too often, its use and application are ill-informed or misconstrued; the most prevailing idea is that mulch is a definitive weed barrier. I hate to be the bearer of sad news, but the answer to that one is, well…have you noticed that weeds will grow quite well from the seams in the sidewalk? Or from the smallest cracks in the driveway? Or apparently straight out of bare concrete along the expressway? So, seeing that weeds will grow in the most adverse circumstances, you can safely assume that an organic medium such as mulch will inevitably play host to weeds as well and just live with it. (Besides, they pull out easily).

Let’s make the distinction here, too, that when crushed stone or gravel is used in place of mulch, we’re really talking about a walking surface—alternative to paving—or decorative stone covering, and not organic mulch in the strictly horticultural sense. Ideally, organic mulch immediately adds nutrients to the life cycle of plants. If not thoroughly composted, it can (and will) break down or compost into smaller, organically beneficial material. But its primary benefit for trees and shrubs is threefold:

  • To protect and optimize the root zone
  • To protect the trunk, stems, and bark
  • To define the turf/bed edge

Protect and optimize the root zone

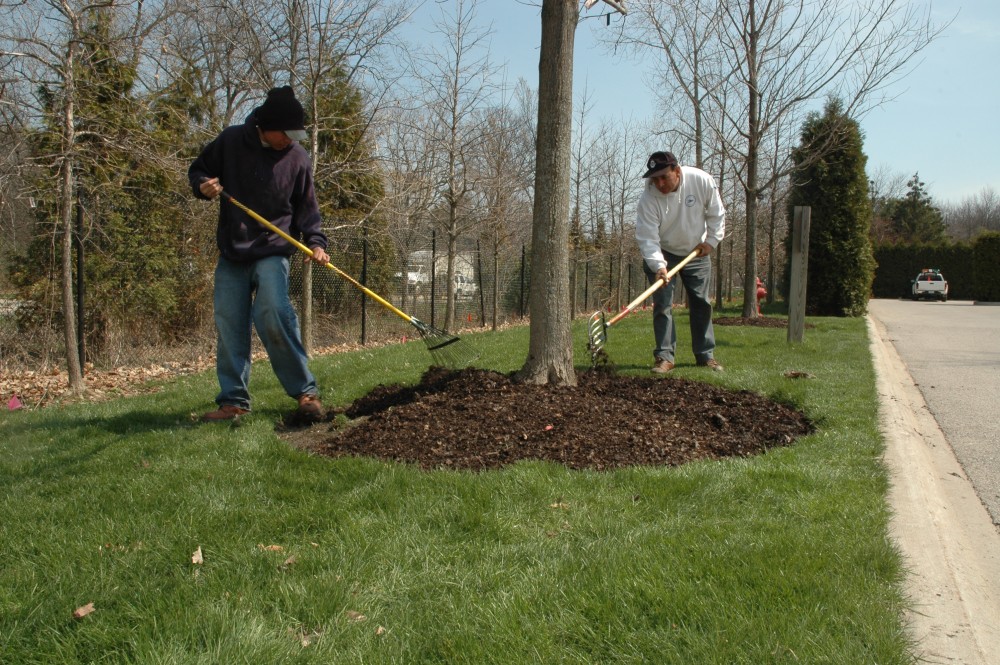
When we consider that many shrubs and trees are planted either singly or in groupings throughout turf areas, we need to imagine what’s going on underground, where the roots grow. One common plant myth that was taught to me thousands of years ago in the fifth grade was that the taproots of all trees go down as deep into the earth as the tree is tall. The fact is, most mature trees don’t have taproots; instead, they have large, lateral, anchoring roots that tend to dominate the side of the tree that faces into the prevailing winds. As these major root structures fan out into the surrounding soil to gain a firm hold, their secondary roots likewise fan out laterally; branching out into progressively smaller and finer filaments that probe the soil for water, oxygen, and nutrients. Research has found that the smallest of these roots can be the diameter of a human hair and extend hundreds of yards away from the tree! And their depth in the soil can be from 8 inches to 2 feet down, depending upon the soil composition. They grow best where the oxygen level remains above 18 percent. Clay soil, consisting of densely compacted soil particles, will cause roots to grow higher in the soil than a sandier, looser soil, and 75 percent of the tree’s root mass can be found within its drip line.

PHOTO: Photo with graphic showing of the drip line of a tree, and the critical root zone.
Trees spread their roots! The full root zone of a tree extends two to three times beyond the critical root zone.

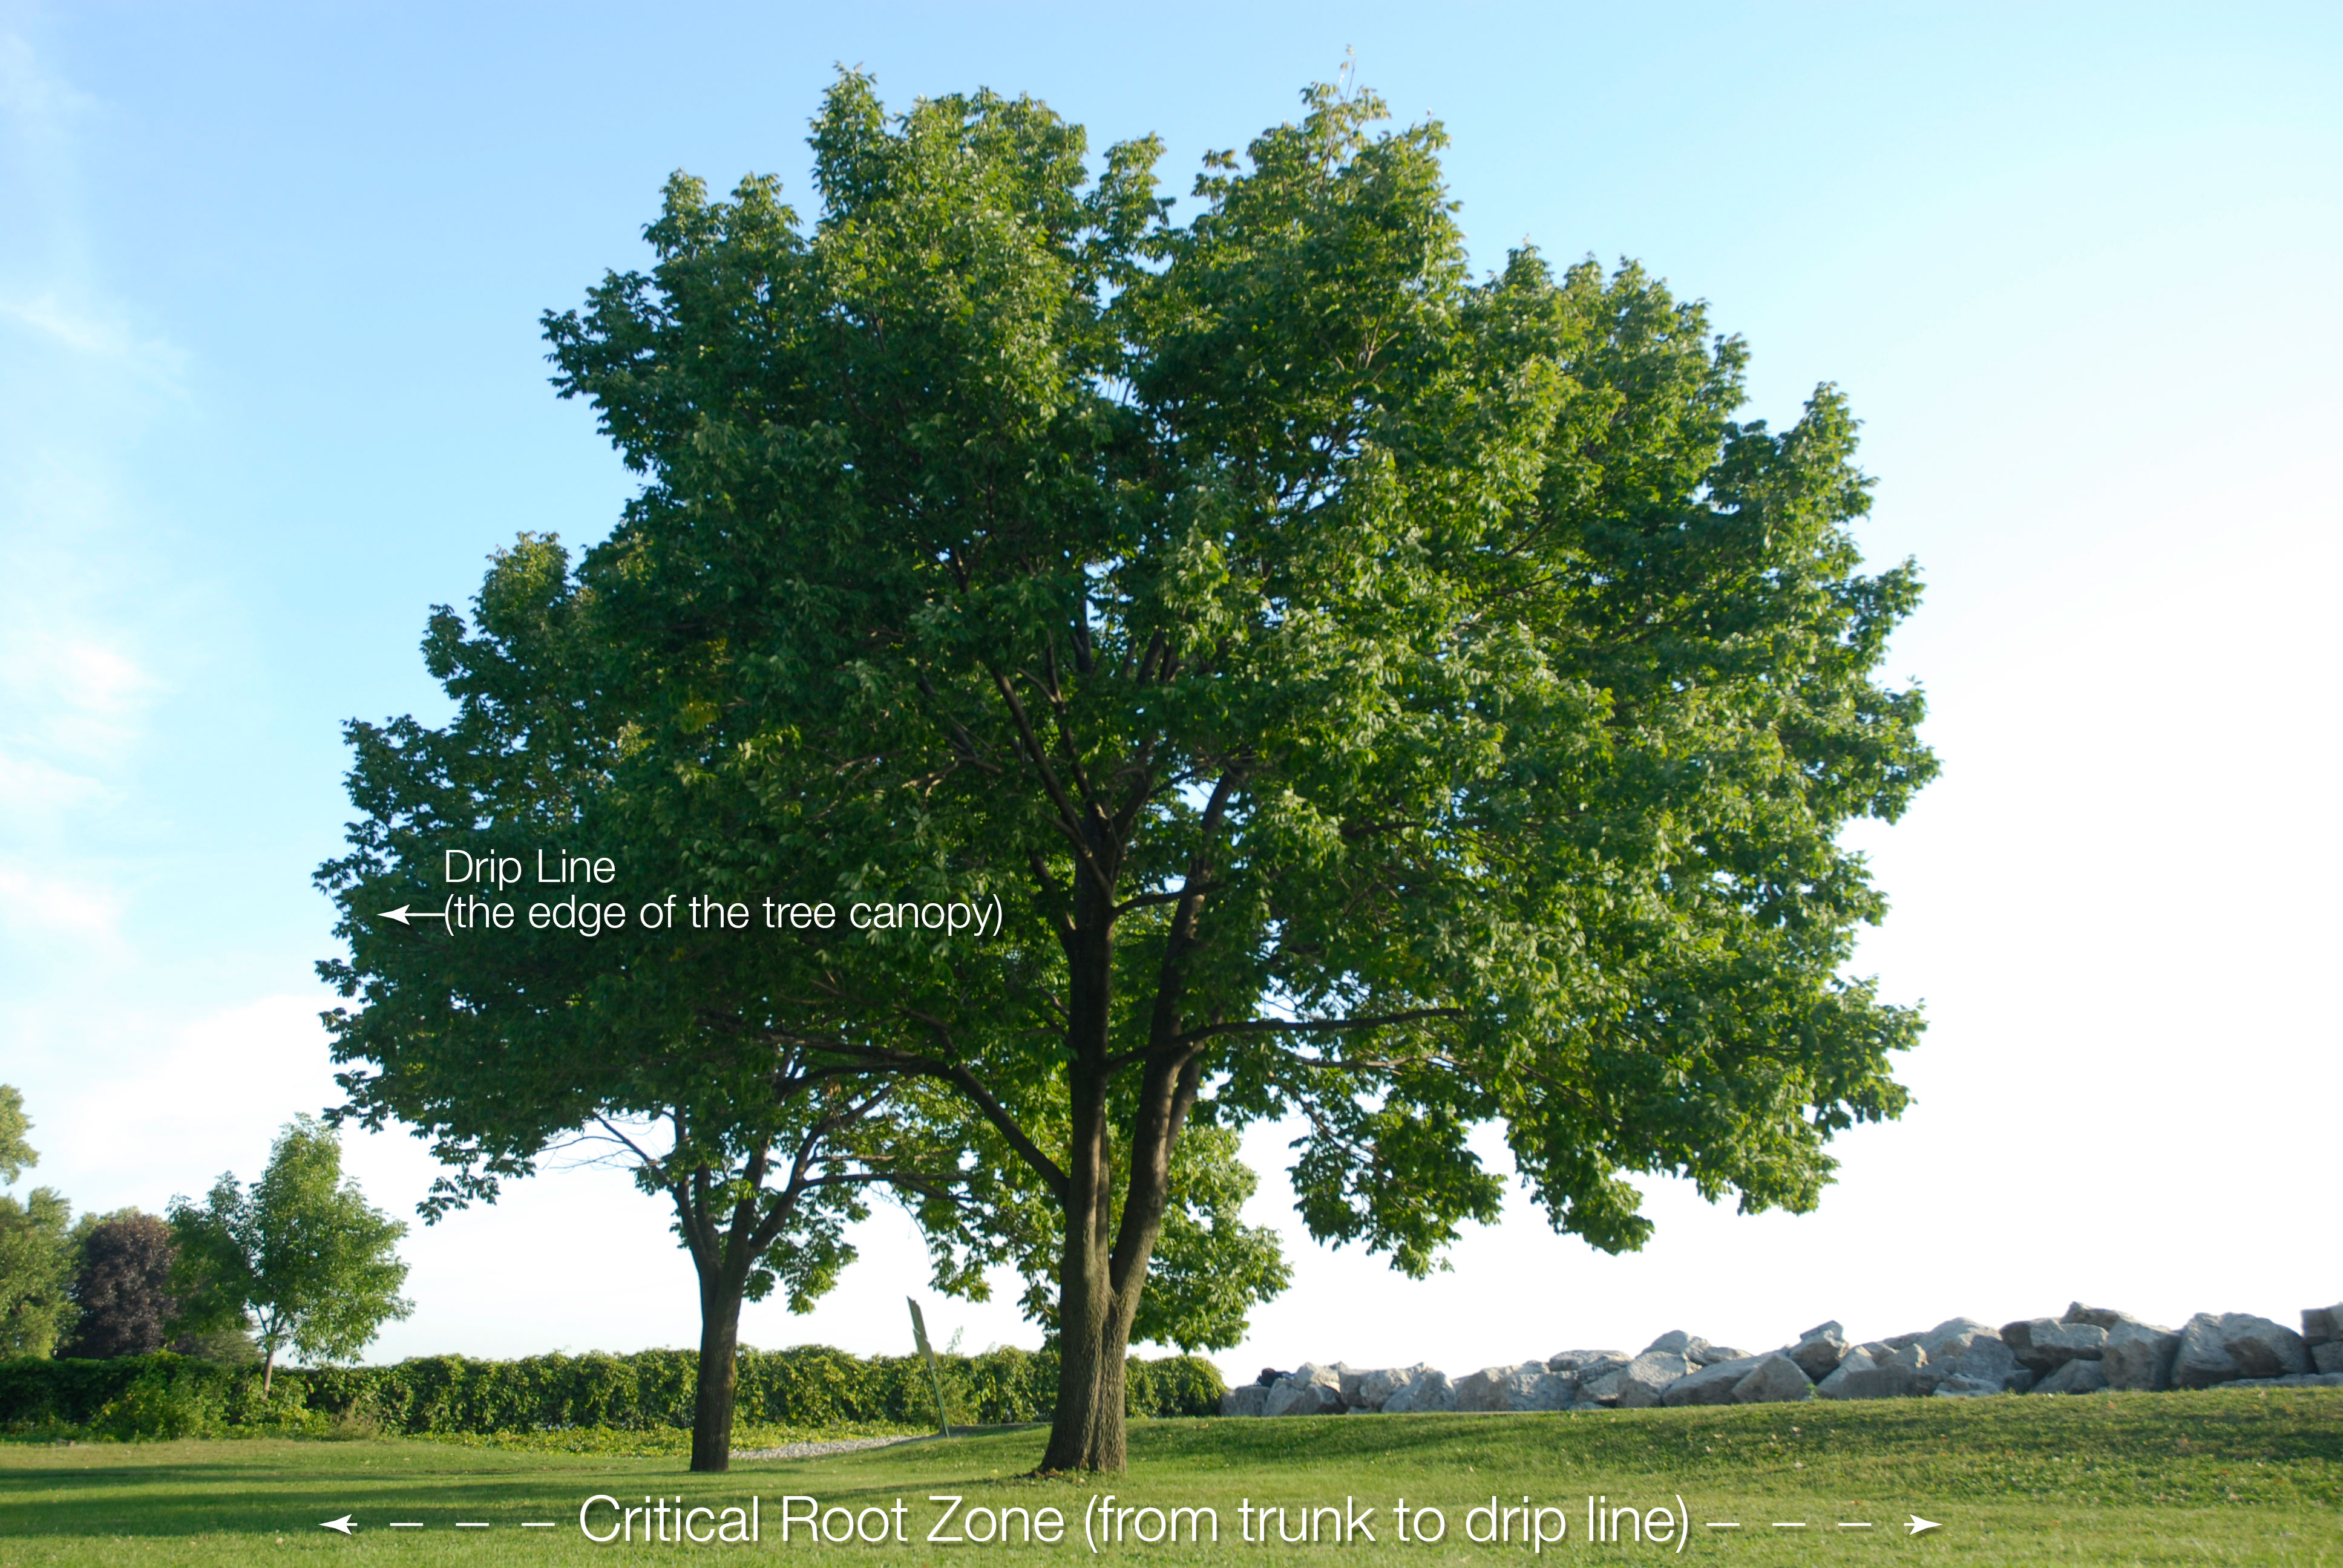
What’s a drip line? Imagine the tree’s canopy of leaves to be the protective canopy of an umbrella, and the handle is its trunk. The point on the ground directly below the canopy edge where the rain drips off of the umbrella is its drip-line. The circle on the ground which this area describes encompasses the tree’s primary root zone, and this is the area from which the tree derives its greatest benefit from proper mulching. Typically, this ground area consists of turf. How many grass roots do you imagine this to contain? For smaller trees, this would number in the hundreds of thousands; larger trees would count in the millions. Like the tree’s roots, each of these grass roots is also searching for water, air, and nutrients; and, since they’re closest to the surface, guess which roots are going to capture the most of these essentials? Correct: turf will hog it all first. Therefore, to better serve the deeper needs of the more significant plants—trees and shrubs—it’s best to eliminate the competition. And let’s face it, the garden has its hierarchy of plants, and it’s best to sacrifice the smaller for the sake of the grand.

Once removed, the former turf area now can receive a 2 to 4-inch (thumb-deep; no more!) layer of organic mulch to stabilize the soil and allow for the unrestricted passage of air, water, and nutrients through the soil and into the tree’s root zone. With the root zone de-turfed, the repetitive visits of mowers and accompanying foot traffic reduces soil compaction in this area, which is significant, because the air spaces between the soil particles are very important for the health of the roots, as they serve as a conduit for the movement of air and water through the soil. Additionally, with mowers and weed whips relegated to the drip line, there are far fewer opportunities for damaging contact with the bark, which, if injured, can threaten the health and longevity of the tree, depending upon the extent of the damage.

Nothing lasts forever, and good organic mulch continues to compost down to nothing. Well, nothing that you can see, but something that amends the soil over time, and improves the overall friability—the “crumbliness” and breakdown of the adhesion of clay. It’s a continuing investment; not a waste of money. With the proper addition of organic mulch over time, you don’t even need to consider the addition of chemical nutrients. Yes, shredded rubber mulch will last until the end of time, but trust me, your plants won’t like it. An annual good feeding of organic mulch will prove to become a pillar of your overall garden quality and success.

Protecting the trunk, stems, and bark

PHOTO: Mulch piled up in a volcano around the base of a young tree.
A tree-killer: the “mulch volcano” (Image courtesy Casey Trees)

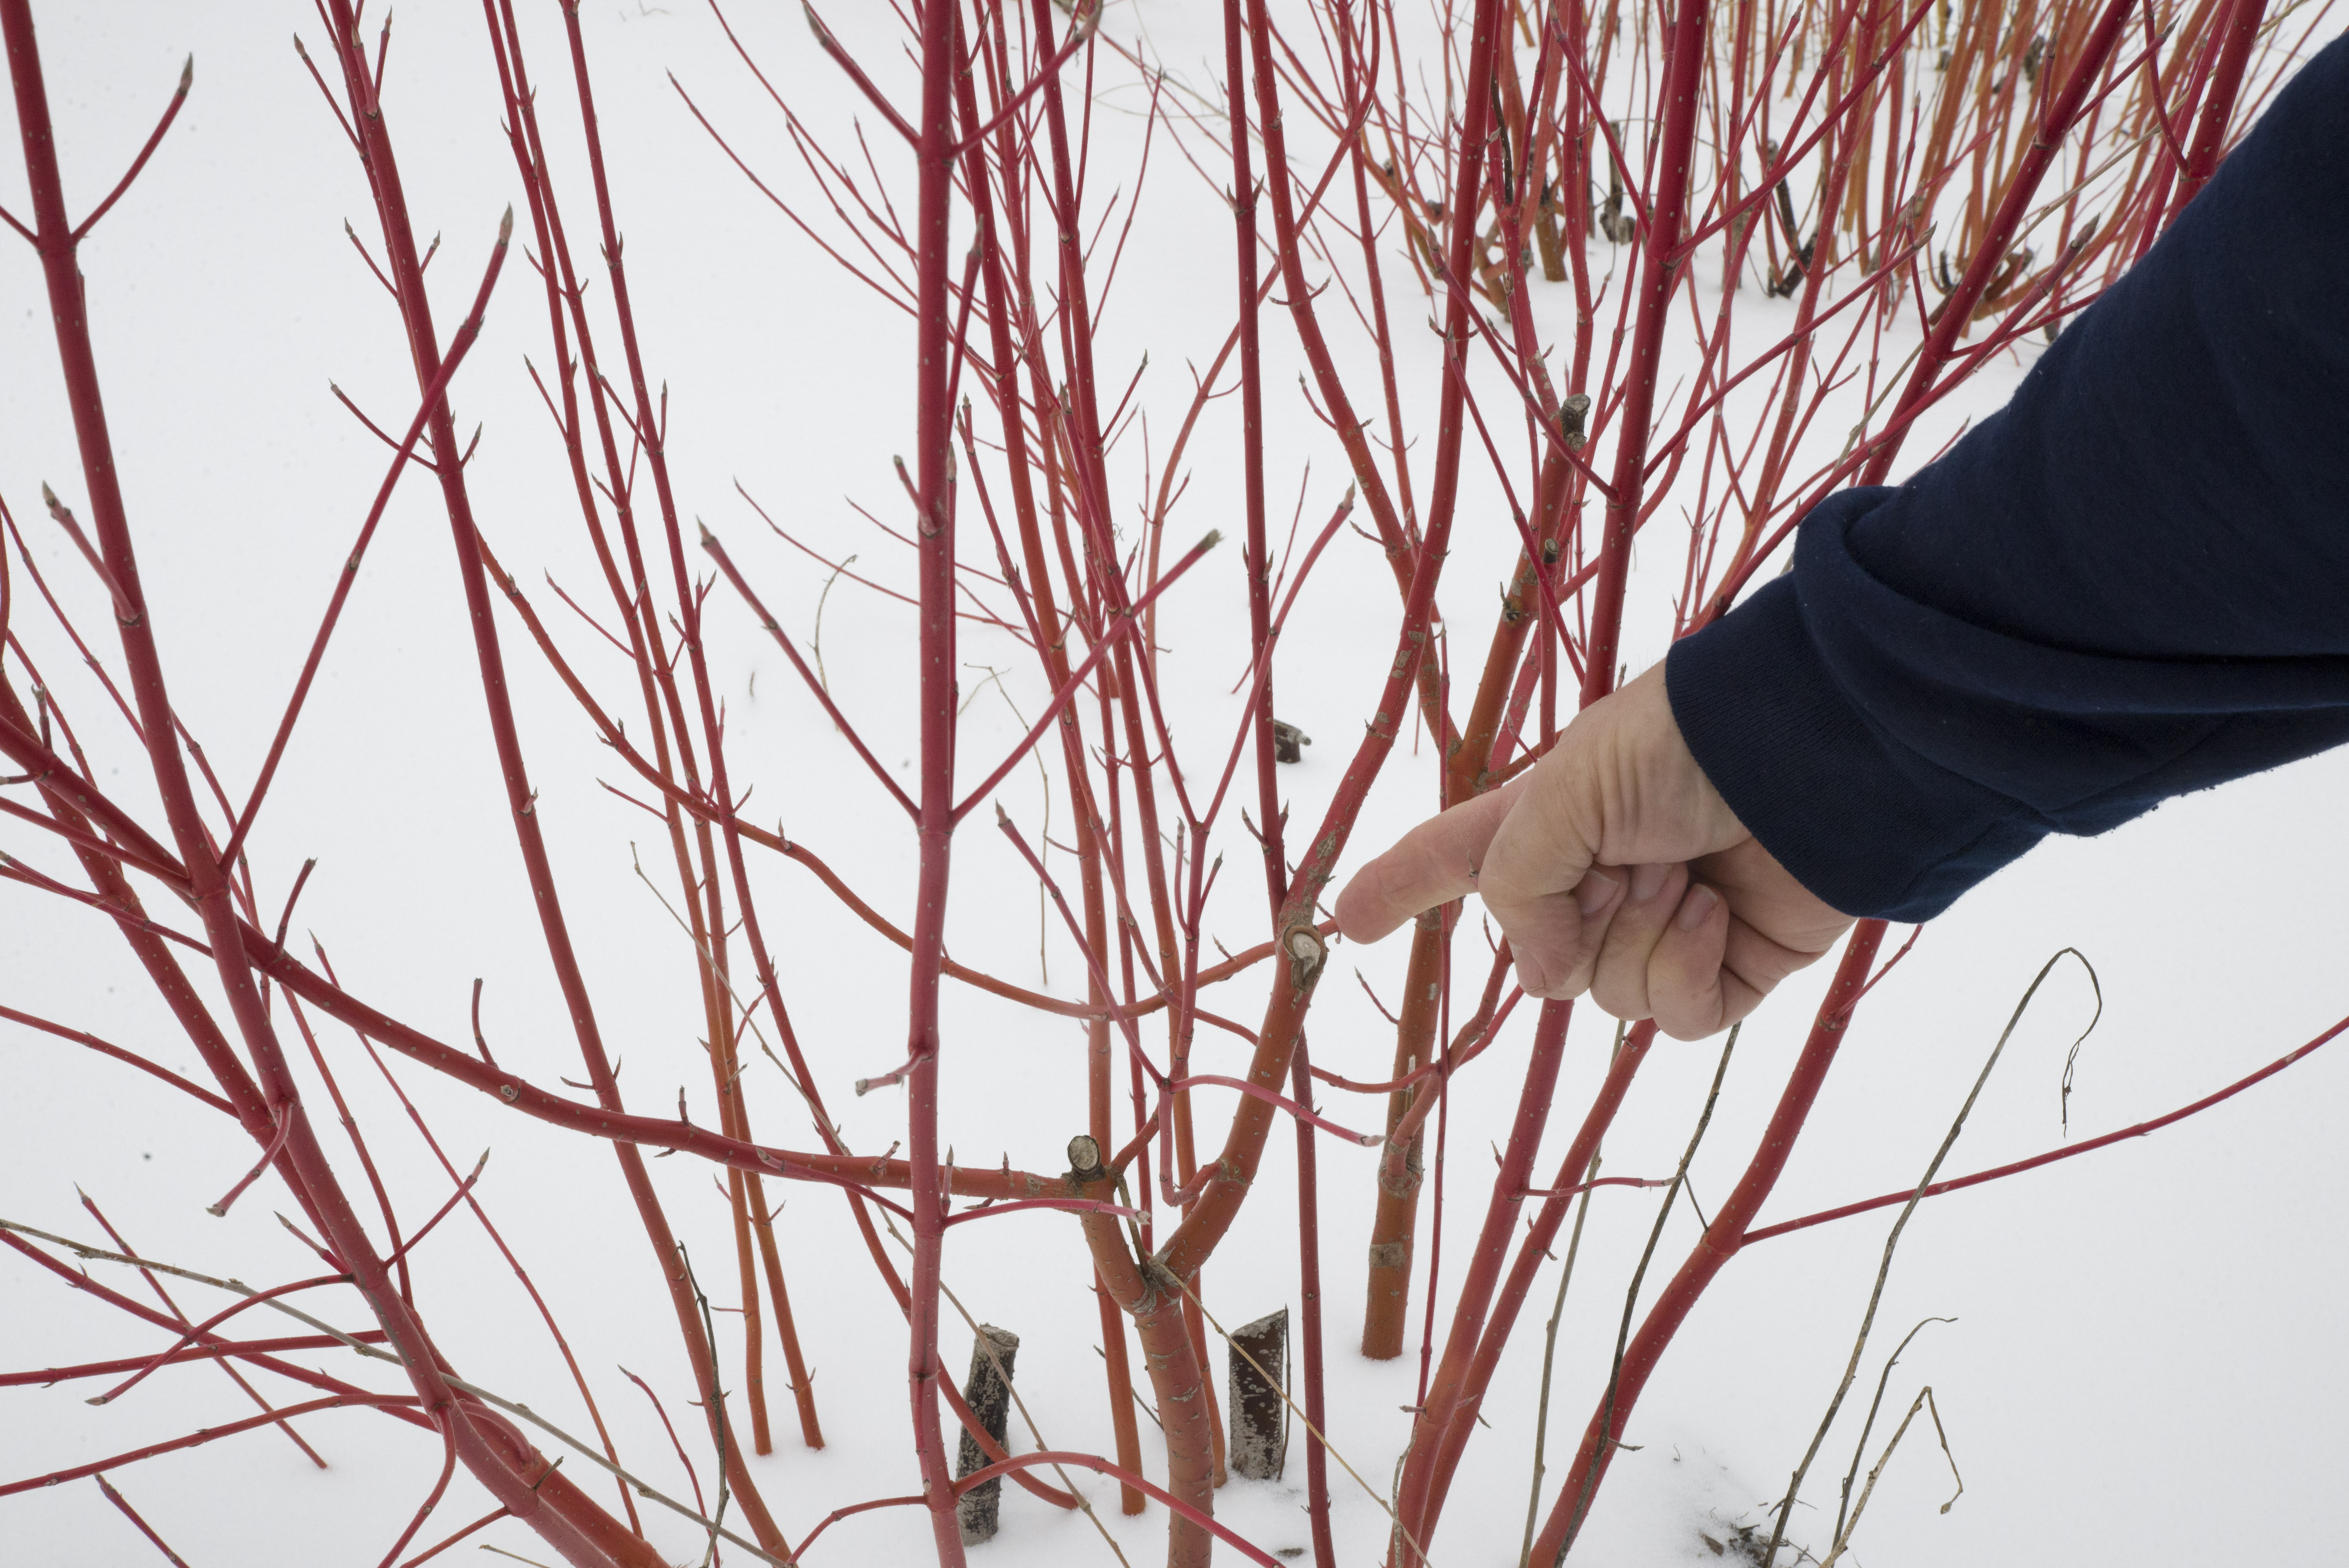
Another way tree bark can be damaged is—believe it or not—mulch itself! You’ve likely seen it widely practiced by landscapers and homeowners alike: the piling up of mulch around the base of the tree into a conical mound that sometimes reaches depths of a foot or more: the dreaded “mulch volcano.” Considering that there are none to very few “working roots” located this close to the base of a mature tree, this pile of mulch serves no horticultural benefit to the tree (and likewise with shrubs). For a young, newly-planted sapling, this pile can easily cover the total root mass, and the mulch volcano can actually shed water away from the roots!

The detriments are many, as this mulch pile will retain whatever moisture content exists in the mulch against the bark, which, over an extended period of time, can soften and begin to rot because of this continuous moisture. In this compromised state, molds, blights, bacteria, bugs, vermin, and more can gain entry otherwise prevented by dry, healthy bark; it’s an even more egregious intrusion with thin-barked trees and shrubs. This is an easily avoidable mistake. Gardeners, remember that mulch should NEVER touch the bark! Think of mulch as being the same as soil: you would never plant a tree or a shrub too deep; placing the bark under the soil, would you? After all, that’s the roots’ job, right? Despite occasional rain or snow, the bark remains dry in the open air while the roots do their job under the soil. When these factors get reversed, the plant loses.

Defining the turf edge

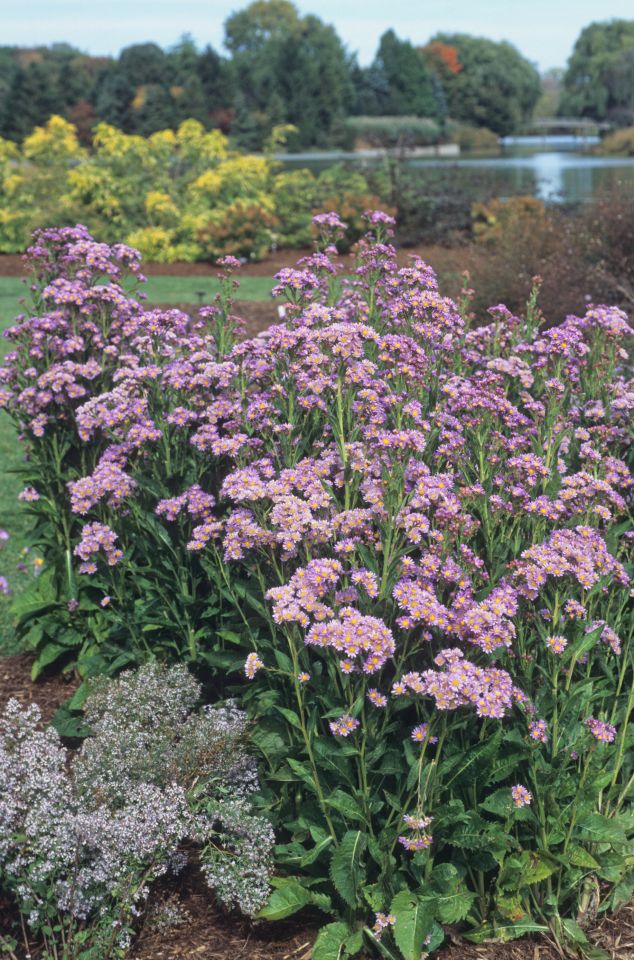
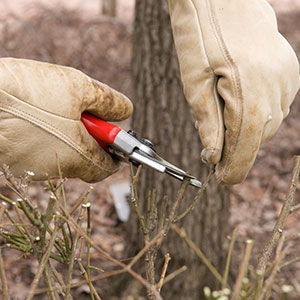
Defining the planting bed with a cut-turf edge is the most naturalistic, economical, and efficient method that you can use. Yet some folks over-do this edging and create such deep cuts that they can be ankle-twisters more resembling irrigation canals than their intended purpose requires. The best edge is cut with a sharpened spade with the top of the blade angled out 15 degrees from vertical, and cut only 2 to 3 inches deep. If viewed in profile, the resulting wedge of soil proves to be a strong-enough “foot” to support the turf (and its root mass) from the weight of foot traffic and lawn mowers while resisting erosion. Coupled with mulch properly in-filled immediately adjacent to this edge, you have in place an edging system that requires little maintenance through the season, and you’ll find that the mulch will handily support the lawn mower wheels, which will eliminate the turf scalping commonly occurring when the wheels drop lower into the bed; placing the blades at a sharp, downward angle, rather than keeping them optimally parallel to the turf. And because the mulch is very airy compared to the soil, the grass roots tend to not grow out into the mulch. It’s truly a win-win situation: a sharp, clean edge derived from a modest investment of time and effort. (Watch our edging how-to here.)

PHOTO: The birch walk in fall, leaf-mulched, with white birch trunks providing contrast.
Emulate what happens in nature: use leaf mulch from the trees that are in the area to keep your soil’s pH constant.

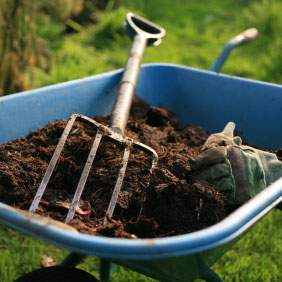
Choose the right mulch for the job

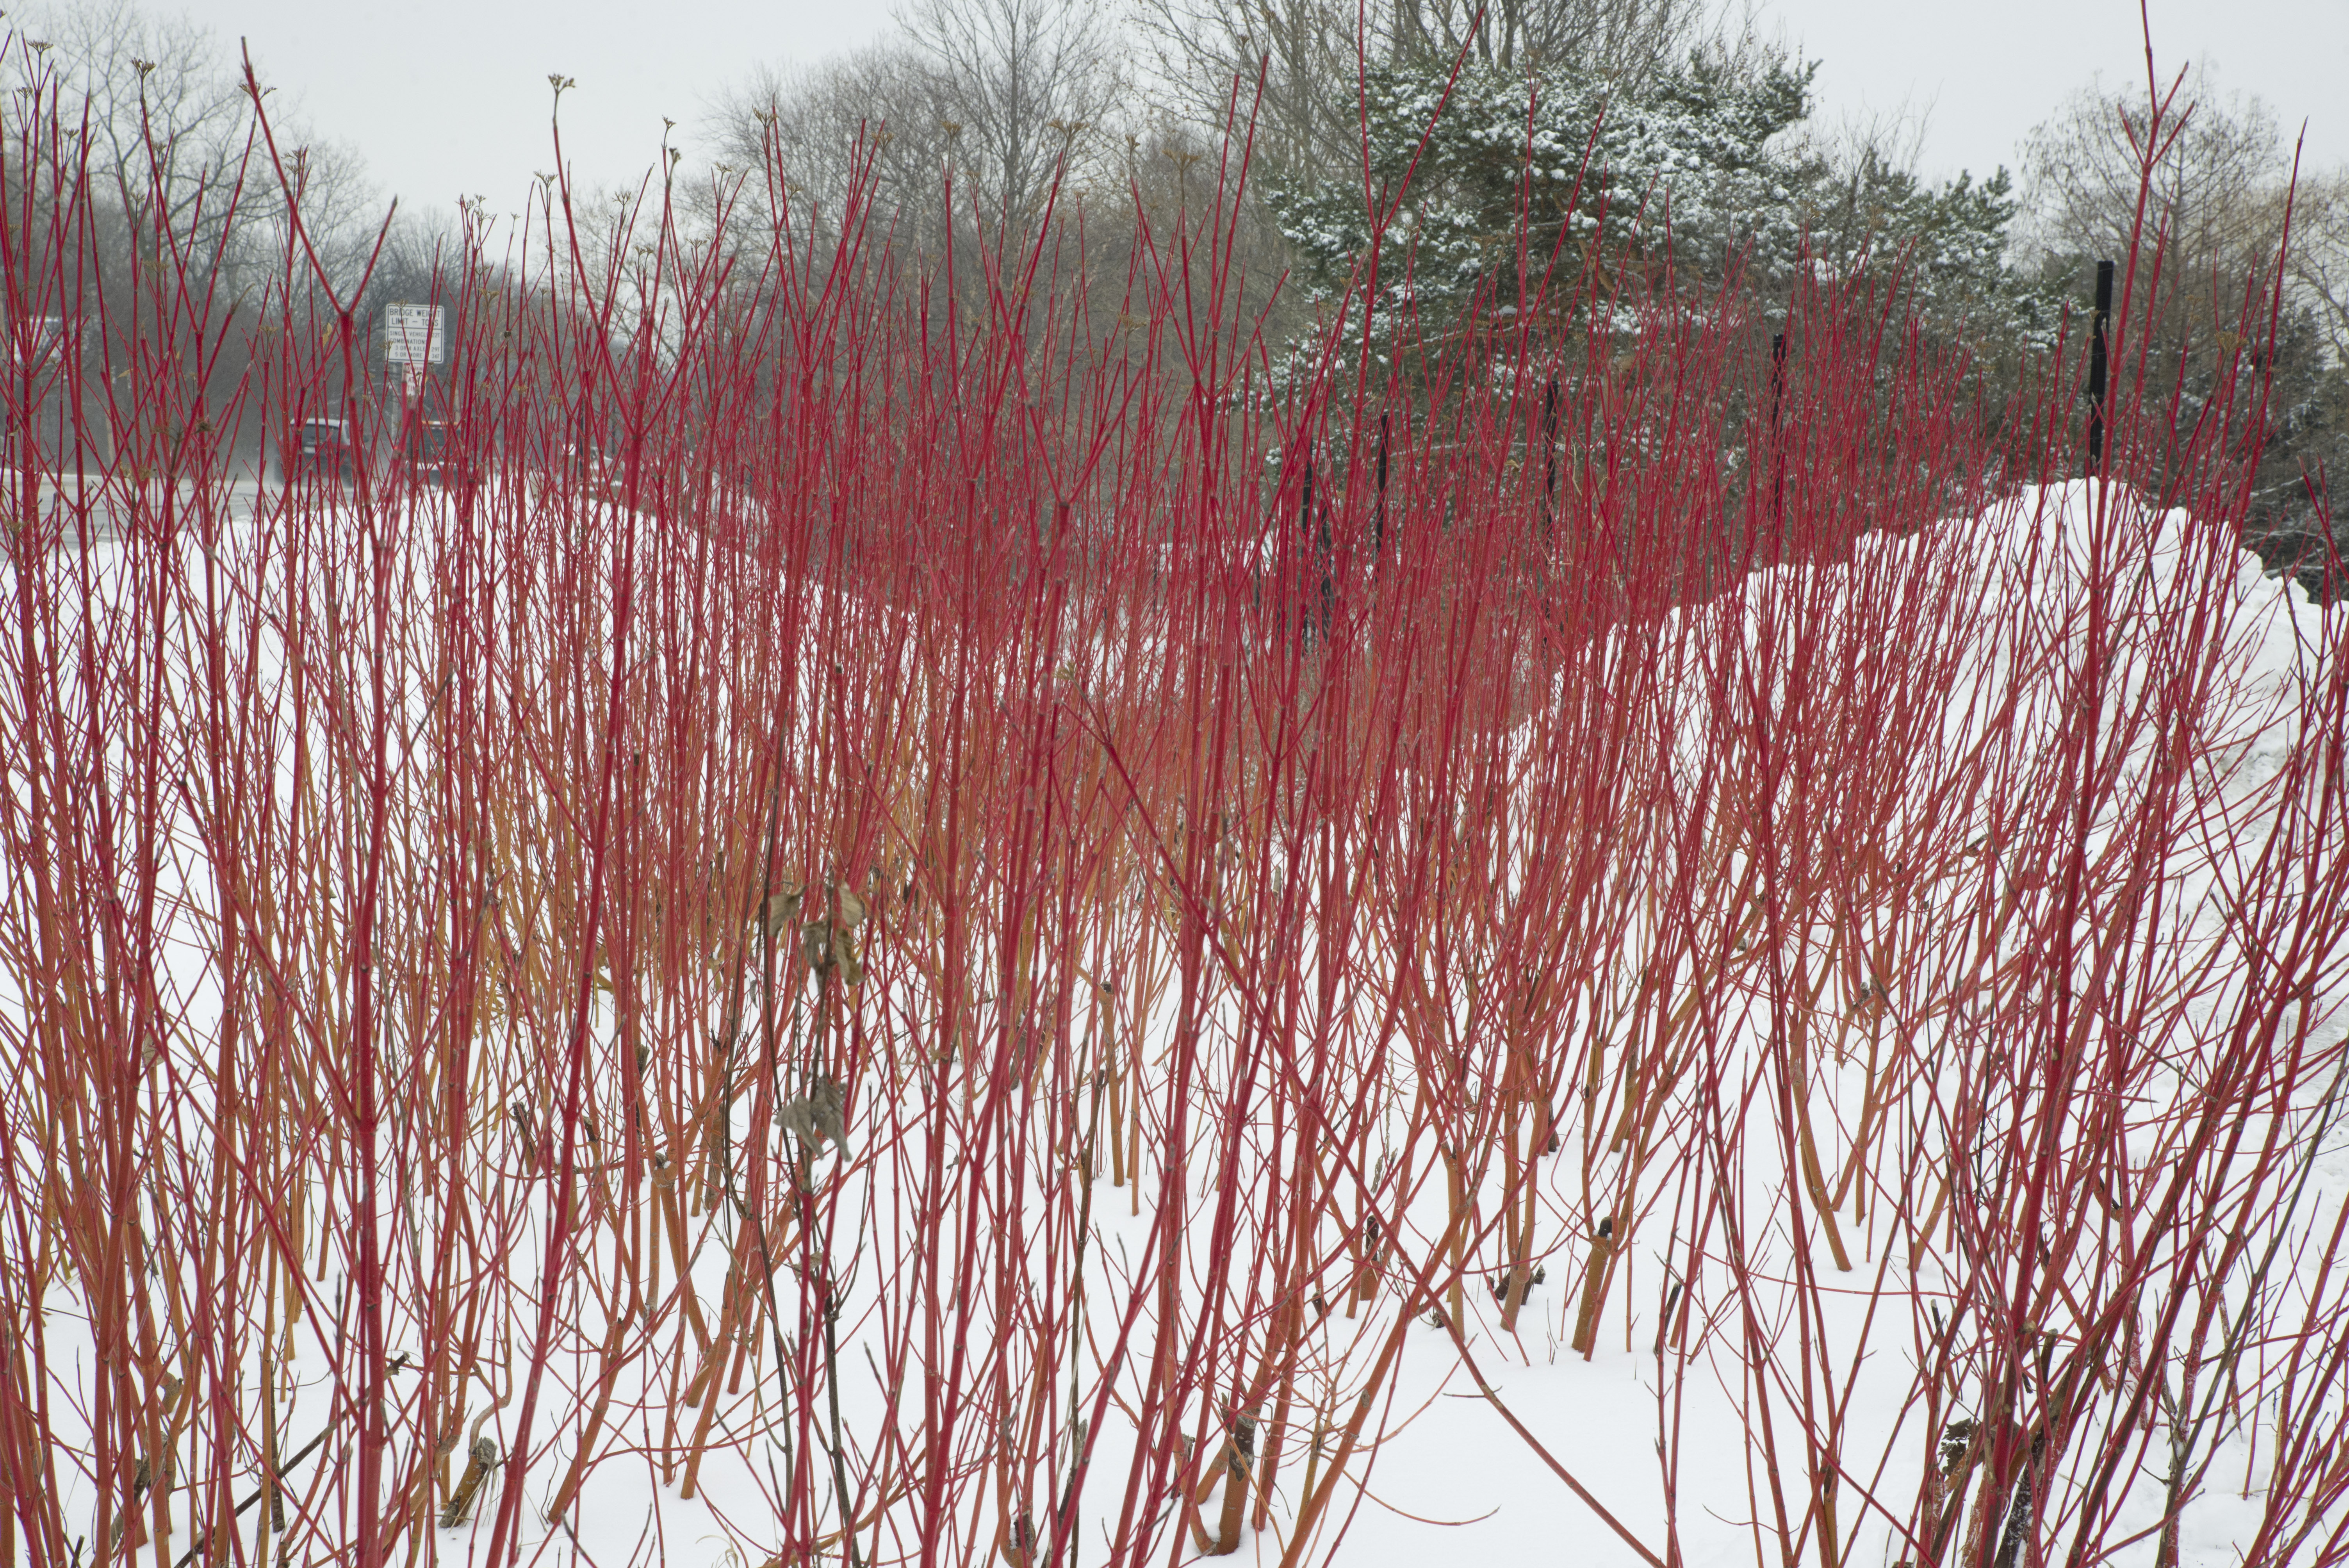
As for the mulch itself, look for the most organic, pH-compatible material that you can find. The Garden uses leaf mulch for that very reason—the leaves collected are from a virtually identical range of plants, with the same, cumulative pH. Buying bags of cypress mulch at the gas station and piling it up under your beech tree just won’t work. You would use the cypress mulch for your cypress trees. Likewise, you wouldn’t pile up acid-pH pine needle mulch underneath a maple tree. (Note: please rethink the artificial coloring, too. Red mulch might add color to the landscape, but the chemicals that make it red are not natural.)

Stick with the basics and emulate what happens in nature: trees in the woods drop their leaves to the ground below, where they remain relatively close to their parent plant, compost naturally, and provide the optimum benefits of mulch. This has worked well without human assistance for eons. Why mess with success? Save the shredded tire mulch for the playground. And save the free wood chips municipalities provide for things that begin with the letter “P,” such as pathways (they make a great barrier against mud!), playgrounds, picnic grounds, and parking areas. Wood chips are not composted, easily wash away with a hard rain, and frankly, look out of scale with smaller trees, shrubs, and perennials. Remember, those wood chips are free because it’s cheaper to give them away than to haul them away and pay for disposal.

So do your trees a favor, and treat them the way that nature does—they’ll be the better for it!


©2013 Chicago Botanic Garden and my.chicagobotanic.org

Heptacodium Miconioides, the Seven-Son Flower

PHOTO: Image of bark
The gorgeous, exfoliating bark of Heptacodium miconioides looks stunning year-round.

Are you looking for a plant that offers some “wow” at the end of the season? That particular something that offers color, and maybe even more? Here’s something on steroids: Heptacodium miconioides.

This large shrub or small tree (15 to 20 feet tall on average), native and rare in the wild in China, was successfully reintroduced to western horticulture in the 1980s, and its popularity has come to span the globe for good reason: this is not just a brilliant autumn performer—it’s a year-round beauty! I suppose we can start the story when this ornamental shrub is dormant in the winter, with its striking exfoliating bark peeling off of nearly every branch in tan, cream, or light brown ribbons or patches, revealing the underlying tissue that has developed into a wash of many colors: vertical striations of creamy white, deep yellow, green, tan, bluish-green, olive green, brown, ochre, and even rust; more so as the plant ages. But that’s just the beginning of the show.

PHOTO: Heptacodium miconioides in flower
The Latin Heptacodium means “seven flowers,” hence its common name “seven-son flower”— though that’s just the average number of flowers on each shoot.

Heptacodium are among the first to sprout leaves in the spring, and their light green color is especially attractive. Should they break dormancy in an early thaw and the leaves succumb to a return of the cold, do not fret, because they’ll start over again. This plant likes to grow. Once the leaves fill in and the warm weather settles in, you’ll have a beautiful, irregularly umbrella-shaped, dense canopy of long, shiny, deep green leaves. And suckers. Be sure to catch them in late May and cut them off, as they can easily and rapidly form straight whip-like vertical branches that mess up the plan. You may even need to revisit the suckering scene in late summer, as it simmers down and readies to bloom.

Let your Heptacodium establish for a couple of seasons into a V-shaped, multistem plant, then select three to seven sturdy stems for the plant to stand on, and cut off the rest of the stems, including the suckers. (As we’ve mentioned, this plant likes to sucker. Profusely. Even if it gets run over by an off-road vehicle—and some of ours have—it will sucker back into a strong and proper plant in one or two seasons.) They really like to grow, and with few natural (nonautomotive) pests to disrupt their progress, they’re reliably hardy in the Chicago area’s Zone 5 climate.

PHOTO: Heptacodium miconioides in fruit
It looks like it’s blooming, but this is the fruiting stage. After pollination, the sepals elongate and change from green to dark pink, becoming part of the incredibly showy fruit.

In late summer the plants begin to set up for their flower display, developing whorls of buds at the tips of the branches; these structures form bracts of seven, hence its common name, “seven-son flower.” These open progressively, until the entire plant is covered in a cloud of tiny white blooms that smell somewhat like jasmine or alyssum—a sweet scent, to be sure. As amazing as this display can be, it changes even more. As the small dark fruits (or seeds, or berries) form, the white petals fade, and the corollas (flower petals) form sturdy calyces (a calyx is a specialized petal that wraps around the fruit) that color up into reds ranging from rose to nearly purple; some are even bluish in color, which can last as late as November, when the birds will find these treats and finish them off.

But wait—there’s even more! We’ve come full-circle back to the amazing winter display of that colorful, textural, exfoliating bark. With all of this to enjoy, seriously consider placing one (or more) of these beauties in a highly visible, year-round spot in your garden.


©2013 Chicago Botanic Garden and my.chicagobotanic.org

Workin’ the Berm: Aster Management

Selecting perennials to look good year-round and weather the seasons outside our wall (and next to the freeway) has been a challenge! With its own group of microclimates and an often-harsh growing climate—including high winds and both flooding and drought conditions—cultivating the garden along the Garden Wall and Berm has been a learning experience.

PHOTO: Panoramic shot of the garden visible through and behind our sign on the Edens expressway.
The Garden section in question, located by the big Edens Expressway (northbound lanes) sign.

Originally, the design for the perennial border—which you can see trailing up and down the hill behind the big Chicago Botanic Garden sign—included Tatarian aster (Aster tataricus ‘Jindai’), which stands tall in the fall and produces clouds of small lavender-blue flowers well into late October and even November. The problem with this particular plant choice was its aggressiveness. It’s not exactly invasive, but it’s a bully: its roots spread out and then shoot up a new plant every few inches, which produce a forest of these plants. Unfortunately, they soon encompassed pretty much everything in their path. Even the hearty feather reed grass (Calamagrostis acutiflora ‘Karl Foerster’) began to succumb to this persistent tide of plants, strangling down into mere wisps of their former glory.

PHOTO: Aster tataricus 'Jindai'
A dense grouping of our problematic asters.

Manual removal of the asters was only part of the solution; we needed to find a replacement for these bad boys. In the process, we revisited the vision for this border, and decided to mix drifts of purple coneflower (Echinacea), blazing star (Liatris), and several varieties of ornamental grasses with a replacement for the original Tatarian asters.

The chosen replacement was a smooth aster cultivar, Aster laevis ‘Bluebird’, which is new to the Garden’s plant collection. It bears flowers nearly identical in color to ‘Jindai’ and can grow to the same height as well.

PHOTO: Bluebird smooth aster (Aster laevis 'Bluebird')
Bluebird smooth aster (Aster laevis ‘Bluebird’) is getting along nicely with its neighbor plantings.

Furthermore, this cultivar is more well-behaved and doesn’t spread as aggressively. Bluebird smooth aster simply grows bushier in successive seasons—a win/win situation, to be sure. The replanting process took staging and preparation that began with the removal of any grasses that would need to be relocated or divided, and these were heeled into a well-mulched bed located immediately at the site, and watered generously. Additional EchinaceaLiatris, and grasses were delivered and staged for installation. Once all of the ‘Jindai’ had been removed, it was time to plant the new group. 

The new Bluebird asters came in 2-inch pots and were notably small compared to the 4-foot-tall plants they were replacing; to top it off, these were beginning to bloom in June, so the top half of these small plants needed to be trimmed off, making them even smaller. But we were confident that these plants would be well-sited in full sun, so their potential growth was a slam-dunk.

Once the grasses were in place—Panicum virgatum ‘Rotstrahlbush’, Calamagrostis acutiflora ‘Karl Foerster’, and Sorghastrum nutans ‘Sioux Blue’—the rest of the perennials were planted, with the idea of pulling the taller Liatris more toward the middle or back of the border and allowing the Echinacea to fill toward the front. The new asters would eventually stand toward the middle and back of the bed, as tall as most of the grasses. It was important to maintain the colors placed well among the grasses, as they would be the last to bloom. Planting and mulching happened simultaneously to avoid damage to the new asters.

PHOTO: Panoramic shot of the new plantings in full bloom.
This thriving section of the replanted Garden Wall and Berm has a prairie theme: blazing star (Liatris), coneflower (Echinacea), Bluebird asters, and a variety of grasses.

That was a year ago, and the border looked fine in the fall, but the question remained—how will it look this year? We’re happy to report that the Bluebird asters are rocking it: they were already as tall in July as their neighboring grasses, and they’re filling out and ready for a spectacular fall display. Of the 3,200 plants that were either moved, divided, or planted anew, the survival rate is exceptionally high: fewer than 1 percent of the plants were lost! It’s mid-August at this writing, and the colors are popping. So, the next time you drive by, carefully check it out, and enjoy this part of a lengthy border of native beauty.


©2013 Chicago Botanic Garden and my.chicagobotanic.org

The Frugal Gardener: Winter Pruning, Part 1

“When’s the best time to prune?”
“Anytime!”

It doesn’t matter what season you’re in because there’s always something that can be pruned. You just have to know the plant, its growth characteristics, its best time for pruning, and what your intentions are for that plant as it plays into the whole of your garden design.

“Well, I don’t have a design. I just plant stuff. If it lives, great. If not, then what?”

It all starts with your vision for your garden. You’ve likely seen countless photographs of gardens, viewed television programs, and taken garden tours of your own. And each time you did that, something stuck with you and you want your garden to “look like that.” Maybe it was a particular plant, a color combination, or just realizing that, “Hey! This stuff actually grows in the shade!” These elements get stored in your mind — adding up to what you would want your garden to look like or feel like.

PHOTO: The Garden Wall in winter, looking south towards Dundee entrance ramp.
Willows and red twig dogwoods along the Garden wall next to the Edens Expressway

Maybe it’s a garden that provides a shady respite from the summer heat. Or an open garden theater that celebrates the hot, sunny days of summer. It can be loose and informal, or very tightly clipped into a classic formal garden. Whatever your style, the plants need to grow within the parameters of that design, and after the initial design and build phases, pruning is the most important tool that will keep your garden spot-on with what you envisioned.

The Basic Rules of Common Sense Planting

It’s important to remember that gardening happens in four dimensions — height, width, depth, and time. Plan for what the plants will be doing over time, like growing larger, taller, and deeper. Then, don’t plant something that will grow to 60-feet tall under a power line that’s 30-feet up. Do the math. And if the tag on the plant — assuming, of course, that it’s the correct tag — says that this tree will grow to 15 feet in diameter, don’t plant it 5 feet from something — like your house or driveway. Really. Yes, it looks nice and cute sitting there fresh out of the pot, and you take a picture of your toddler standing taller than the plant. Come back in ten years when the toddler is a kid and the plant is a real tree. Avoid the disappointment and frustration at the beginning — I’m talking about the tree. You’re on your own with the kid.

One overarching word of advice for your pruning technique is not to leave stubs or flush-cut. Most branches have a visible collar of folded bark at their base where the branch grows out from the supporting structure — a trunk, limb, or branch. This collar is all that needs to remain when the cut is complete. Leaving more than that, a bit of the branch for example, is a stub. You have a stub if you can hang your hat or your jacket from it. The plant will waste energy shedding this (plant’s version of a hangnail), and as it unevenly sloughs off over time, the site becomes an entry point for rot, disease, and pests. You don’t want that. And by flush-cutting this material, you make it even more challenging for the plant to close the wound. That’s what that little collar of material is — the plant’s built-in bandage. No need for petroleum products to close the cuts — these plants were created with their own internal first-aid system. Let them do their own thing. Just give them a good start and leave them alone.

Coppicing

So now it’s winter — dormant time. This is the best season of the year to perform the most radical cuts of all, short of cutting the thing down. But then again, you may want to do just that!

A willow before coppicing
winer pruning Dave Cantwell 20130222_0988
After coppicing a willow
Pruning willow

There comes a time in the life of some plants when cutting them down is exactly the right thing to do!

Coppicing is the horticultural practice of whacking down younger trees, virtually to the ground, leaving short stubs sticking out of the soil (it’s not dirt — you wash dirt off of your car or your dog or your kids). No need for them to be any longer than your finger. And be sure to use clean, sharp saws and pruners. Ragged cuts and tears only invite pests and disease by offering an easy port of entry. Life is tough enough — you don’t want that.

Primarily, coppicing is a technique used on trees to alter their growth habits from single-stem trees into multi-stemmed ornamentals, or more shrublike plants. Willows lend themselves handily to this practice, wherein a healthy, established young willow (Salix alba ‘Britzensis’) regrows over successive seasons into a more shrublike plant resembling a red twig dogwood. It works well when you want that look in an environment that’s too harsh for dogwoods, but in which willows can survive, such as winter salt spray from a road, or drying, frigid winter wind.

Rejuvenation

We can coppice shrubs, too. Take, for instance, the red twig dogwood, an old favorite. Over the years, the red becomes gray, the stems become overgrown and brittle, and trimming with shears or hedge trimmers over successive seasons creates a dense thicket of twigs on top with leggy, open stems at the bottom. It looks like an umbrella with extra handles and nothing like those pictures in the gardening magazines. There is good news — you can have a shrub that looks like it came straight out of a gardening magazine by midsummer this year! If it’s properly sited (sufficient sun, water, and drainage), and the roots are established and healthy, then this is the winter to coppice the shrub when it’s the most dormant. My general rule is to cut between Super Bowl Sunday and St. Patrick’s Day (yes, you can do this later, even after buds break — just not too long after). The healthy new stems will all grow back straight, shiny, and colorful — an exciting and welcome bright spot for next winter, which is the primary reason for planting red twig dogwoods — winter interest!

winer pruning Dave Cantwell 20130222_0951
Red twig dogwood in need of rejuvenation pruning
winer pruning Dave Cantwell 20130222_0947
Red twig dogwood pruning
winer pruning Dave Cantwell 20130222_0949
Note the darker stubs from last year’s rejuvenation pruning and how many stems have grown back.

When you opt for this process of going medieval on the plant, it actually spurs the complete, new regeneration of the entire plant above ground. Yes, at first it will just sit there, apparently doing nothing, and looking like a goner. But give it time. What you don’t see is the plant figuring out that it needs to develop new shoots, which will bud right out of the stubs you left behind. Just leave them alone and water the shrub if rainfall drops below 2 inches per week. And it’s always best to give it a couple of good, deep waterings per week rather than spotty, shallow daily passes with the hose or sprinkler.

You want the water to penetrate down into the root zone. If you had x-ray vision, you’d see the dense, rounded mass of roots extending beneath and around the shrub, and each root fiber poking around in the soil looking for water, nutrients, and oxygen. The spaces within the soil allow for the passage of these elements to the roots. Seeing the water percolating through the soil and into this zone may help you to better understand how plants grow, and enable you to more successfully address the plant’s watering requirements — especially now that you’ve cut it down! Forget what the neighbors might think, because you can rest assured that by the end of summer they’ll be envious of the new; perfectly shaped red twig dogwoods in your garden.

Stay tuned for more Frugal Gardening Tips on pruning next week.


©2013 Chicago Botanic Garden and my.chicagobotanic.org