It’s finally starting to feel like spring in Chicago, which means it’s time to get those home gardens up and running.
In the Horticultural Therapy Department, we’re in the process of setting up our off-site gardens at facilities all over the greater Chicago area. These gardens come in all shapes and sizes and fall on a wide spectrum of costs. For today, we’re focusing on how to create your very own home horticultural therapy garden—or perhaps more accurately—your own home horticultural therapy containers.
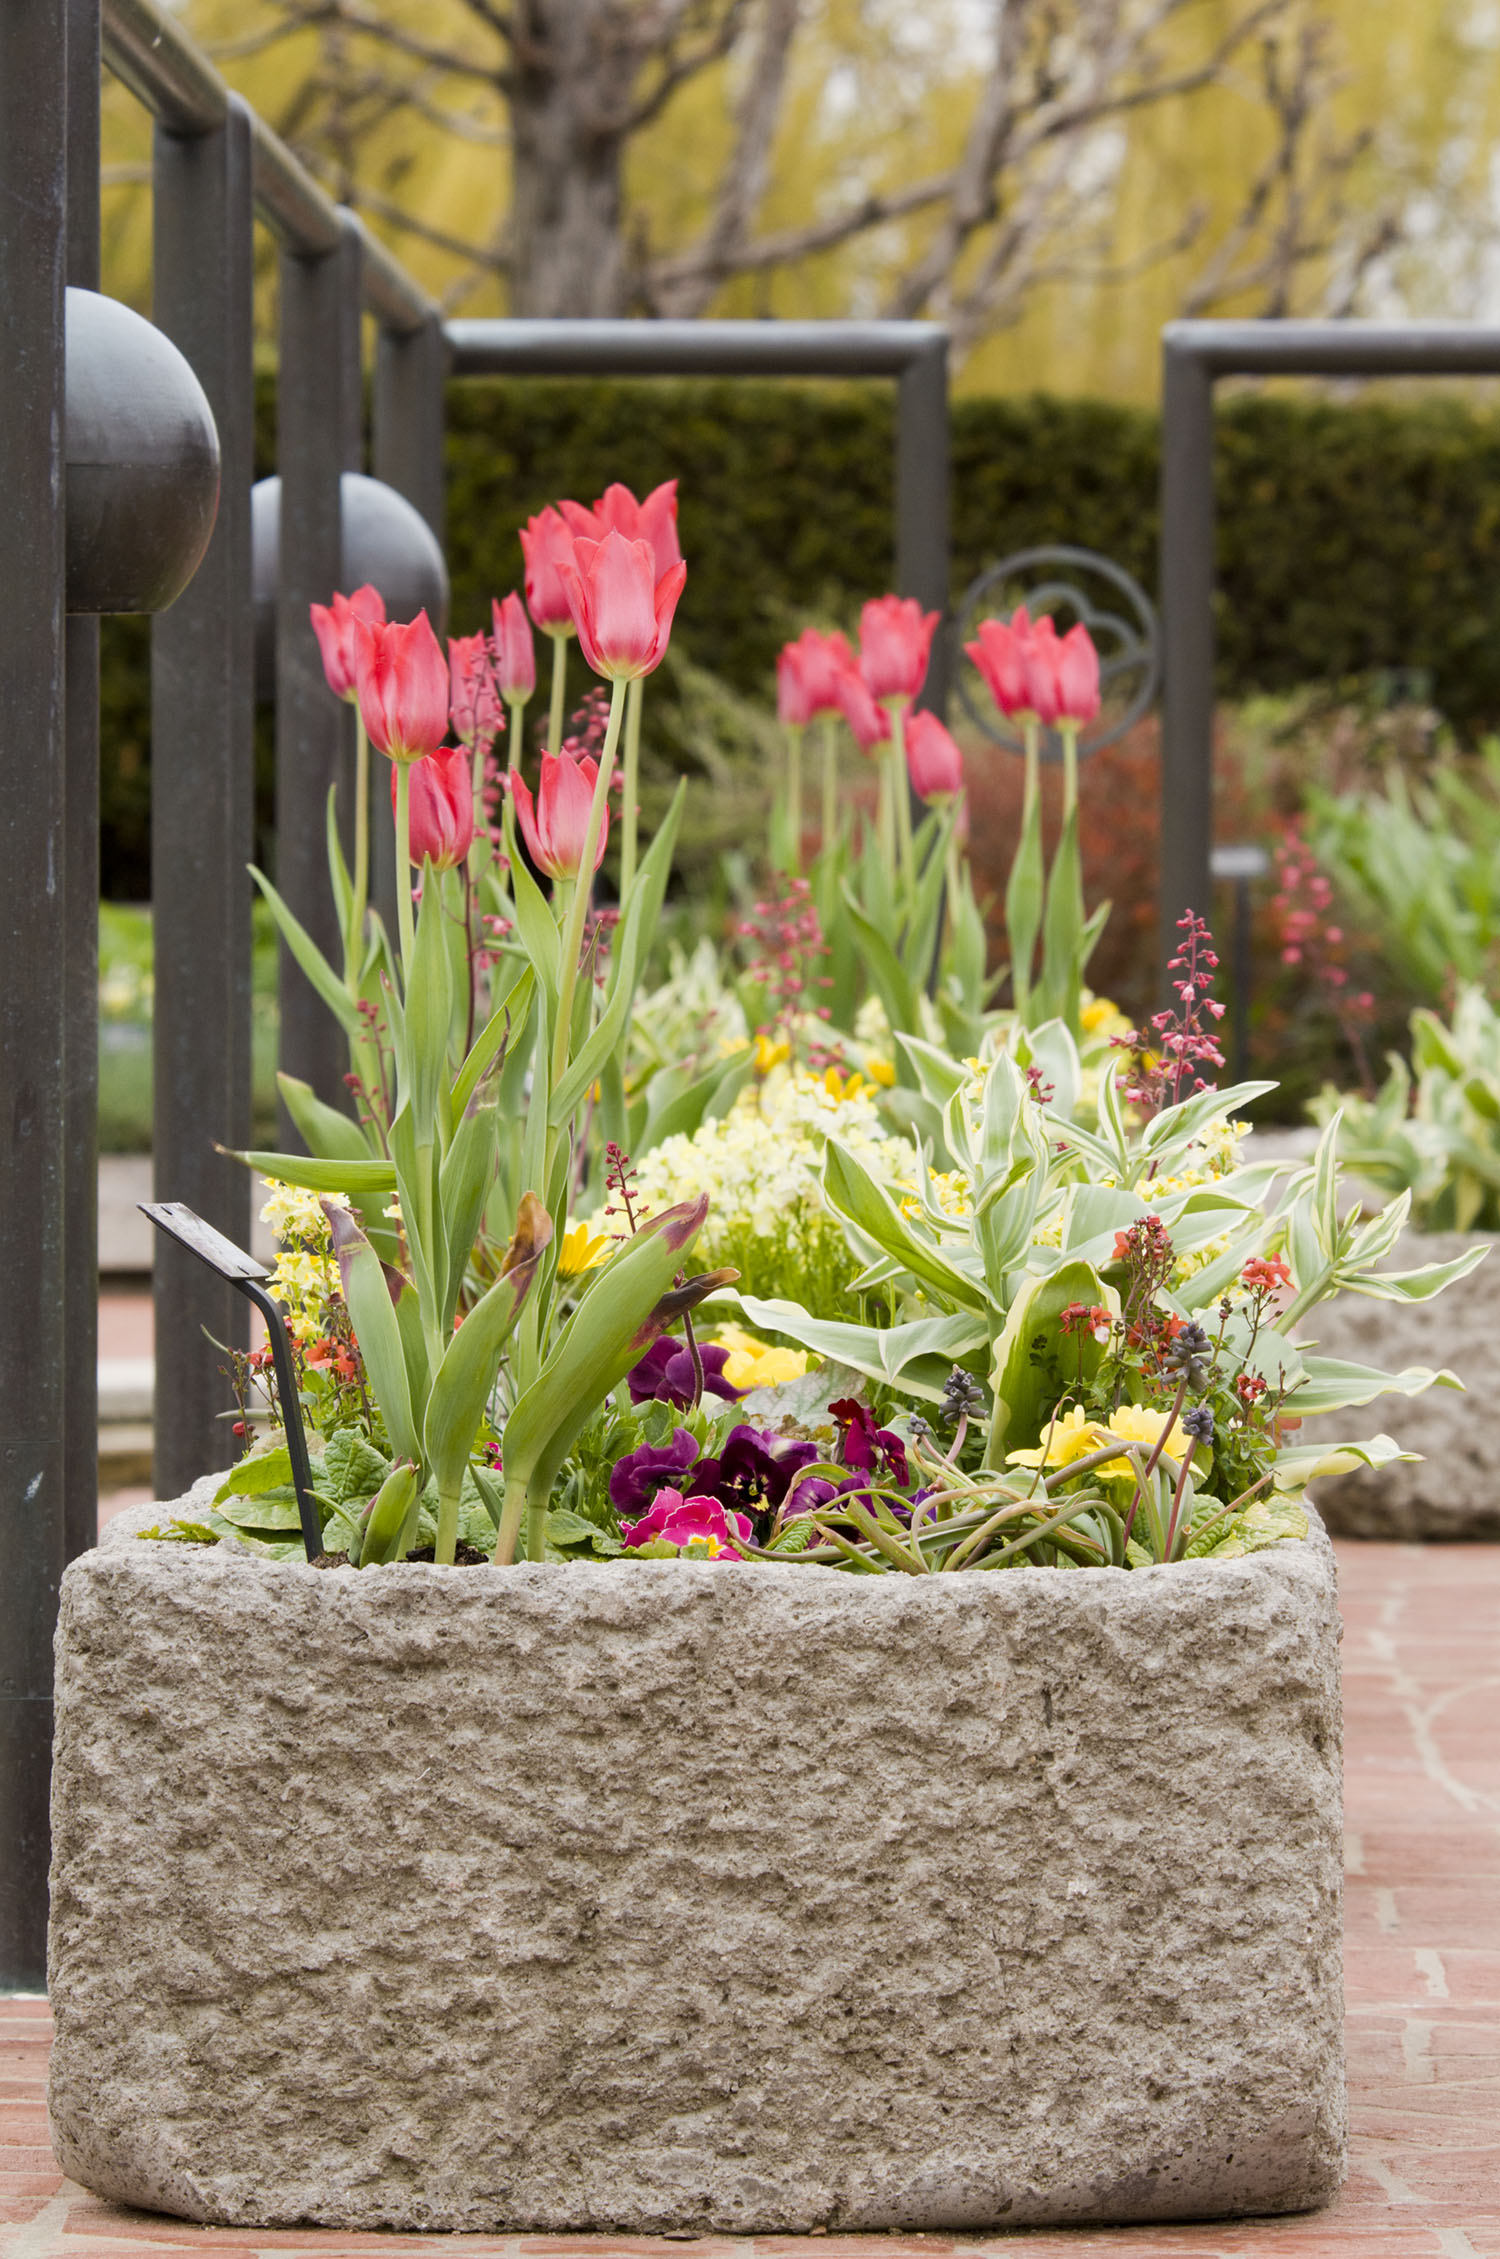
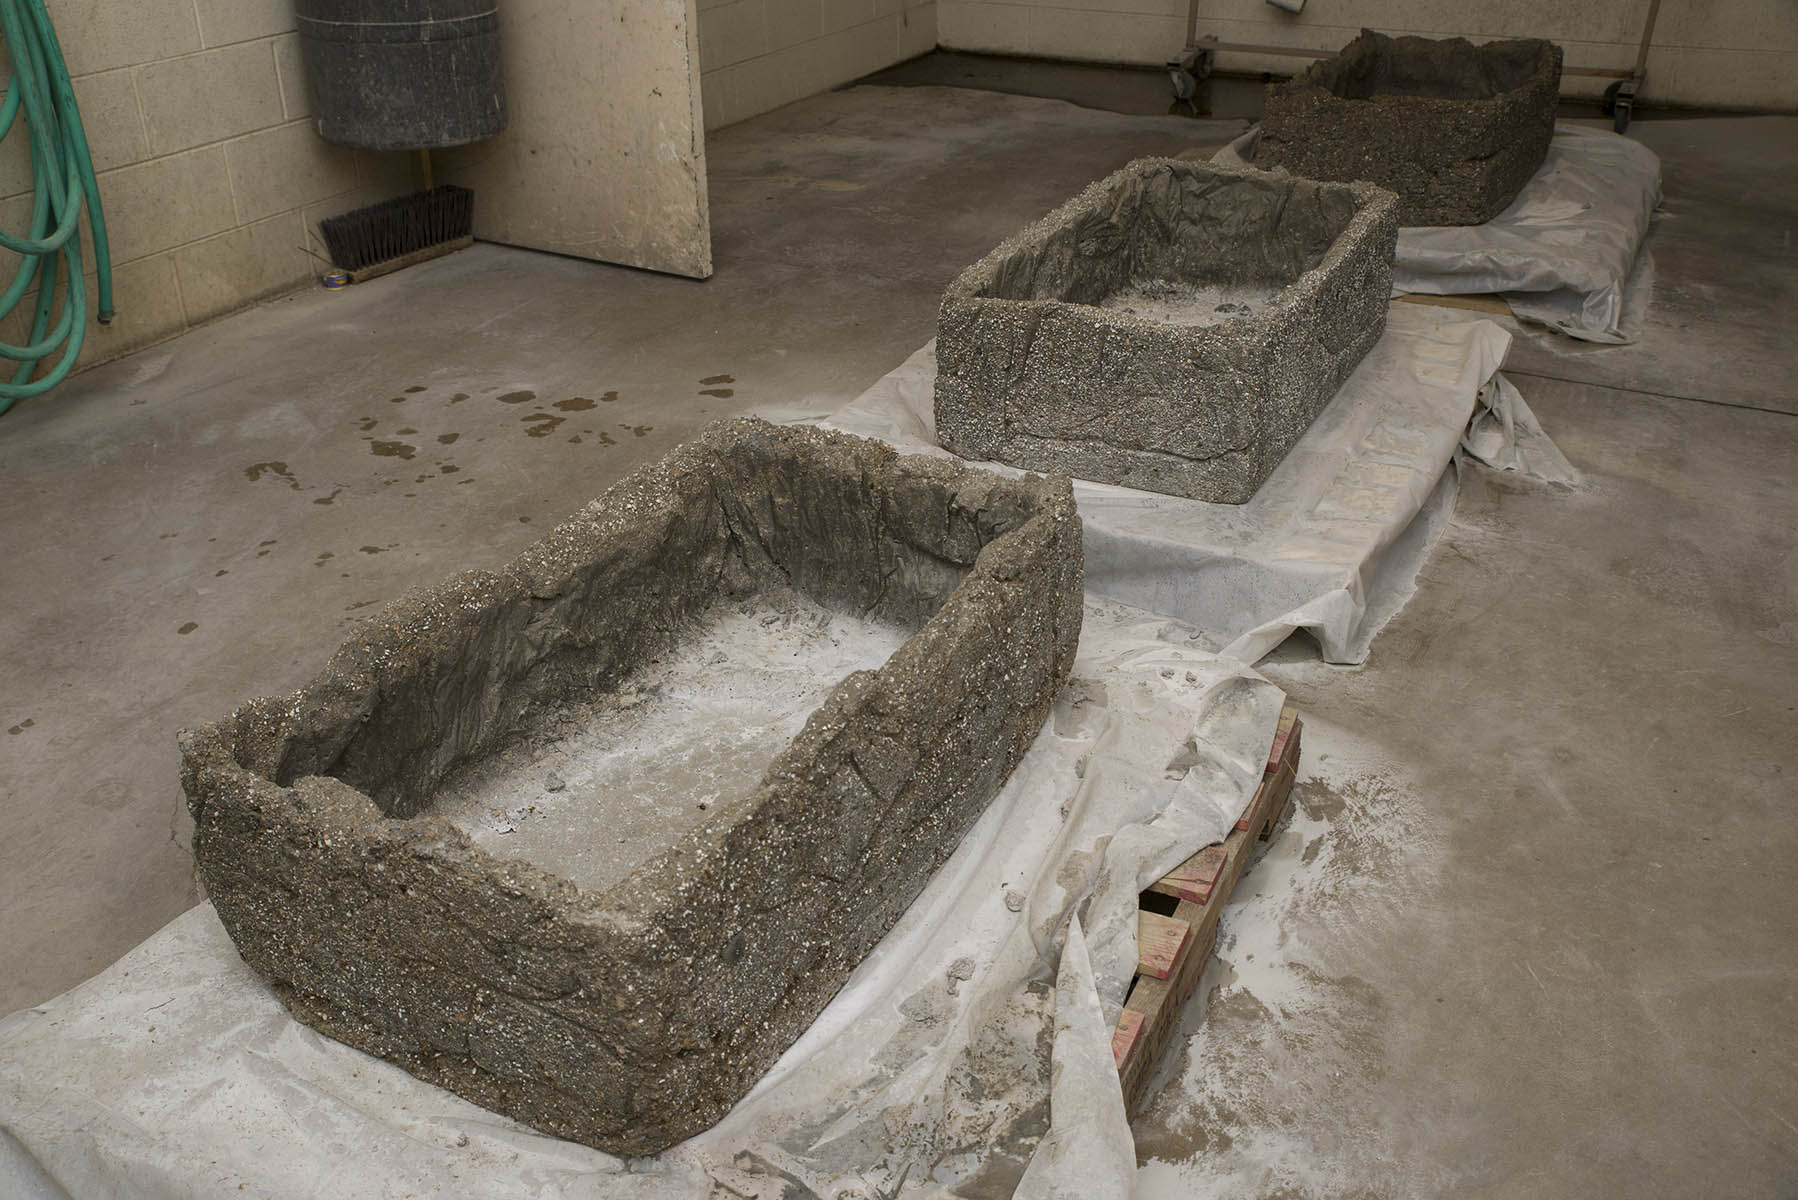
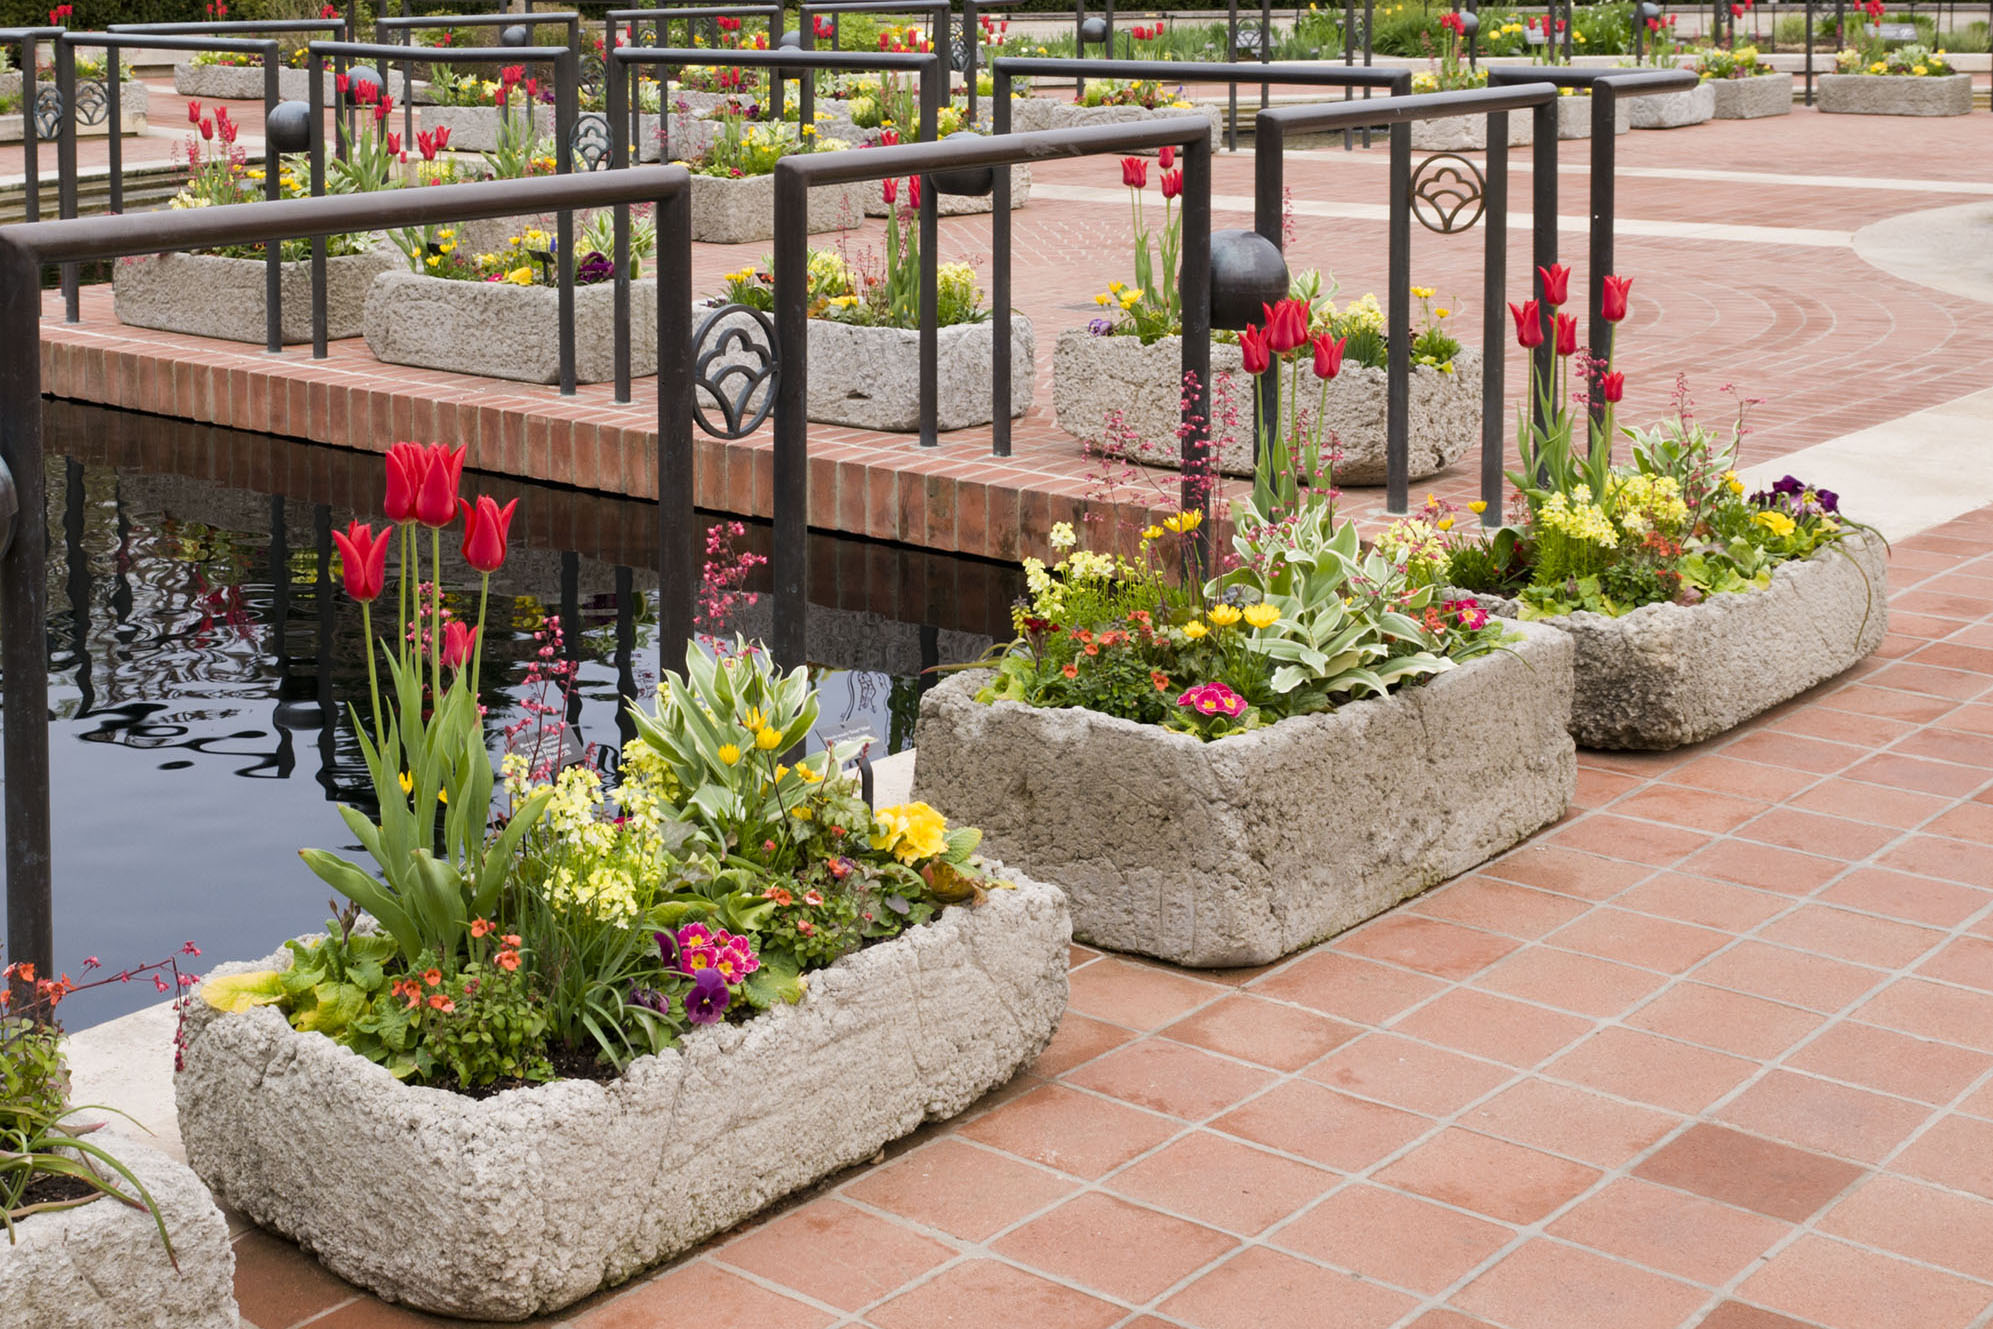
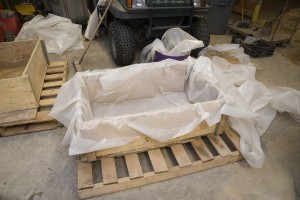
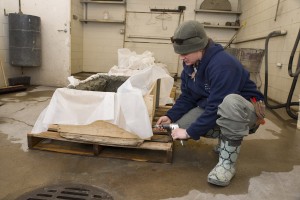
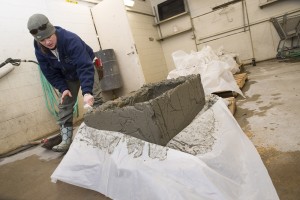
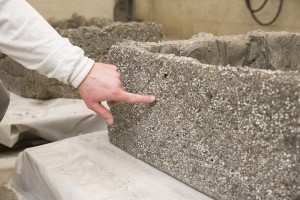
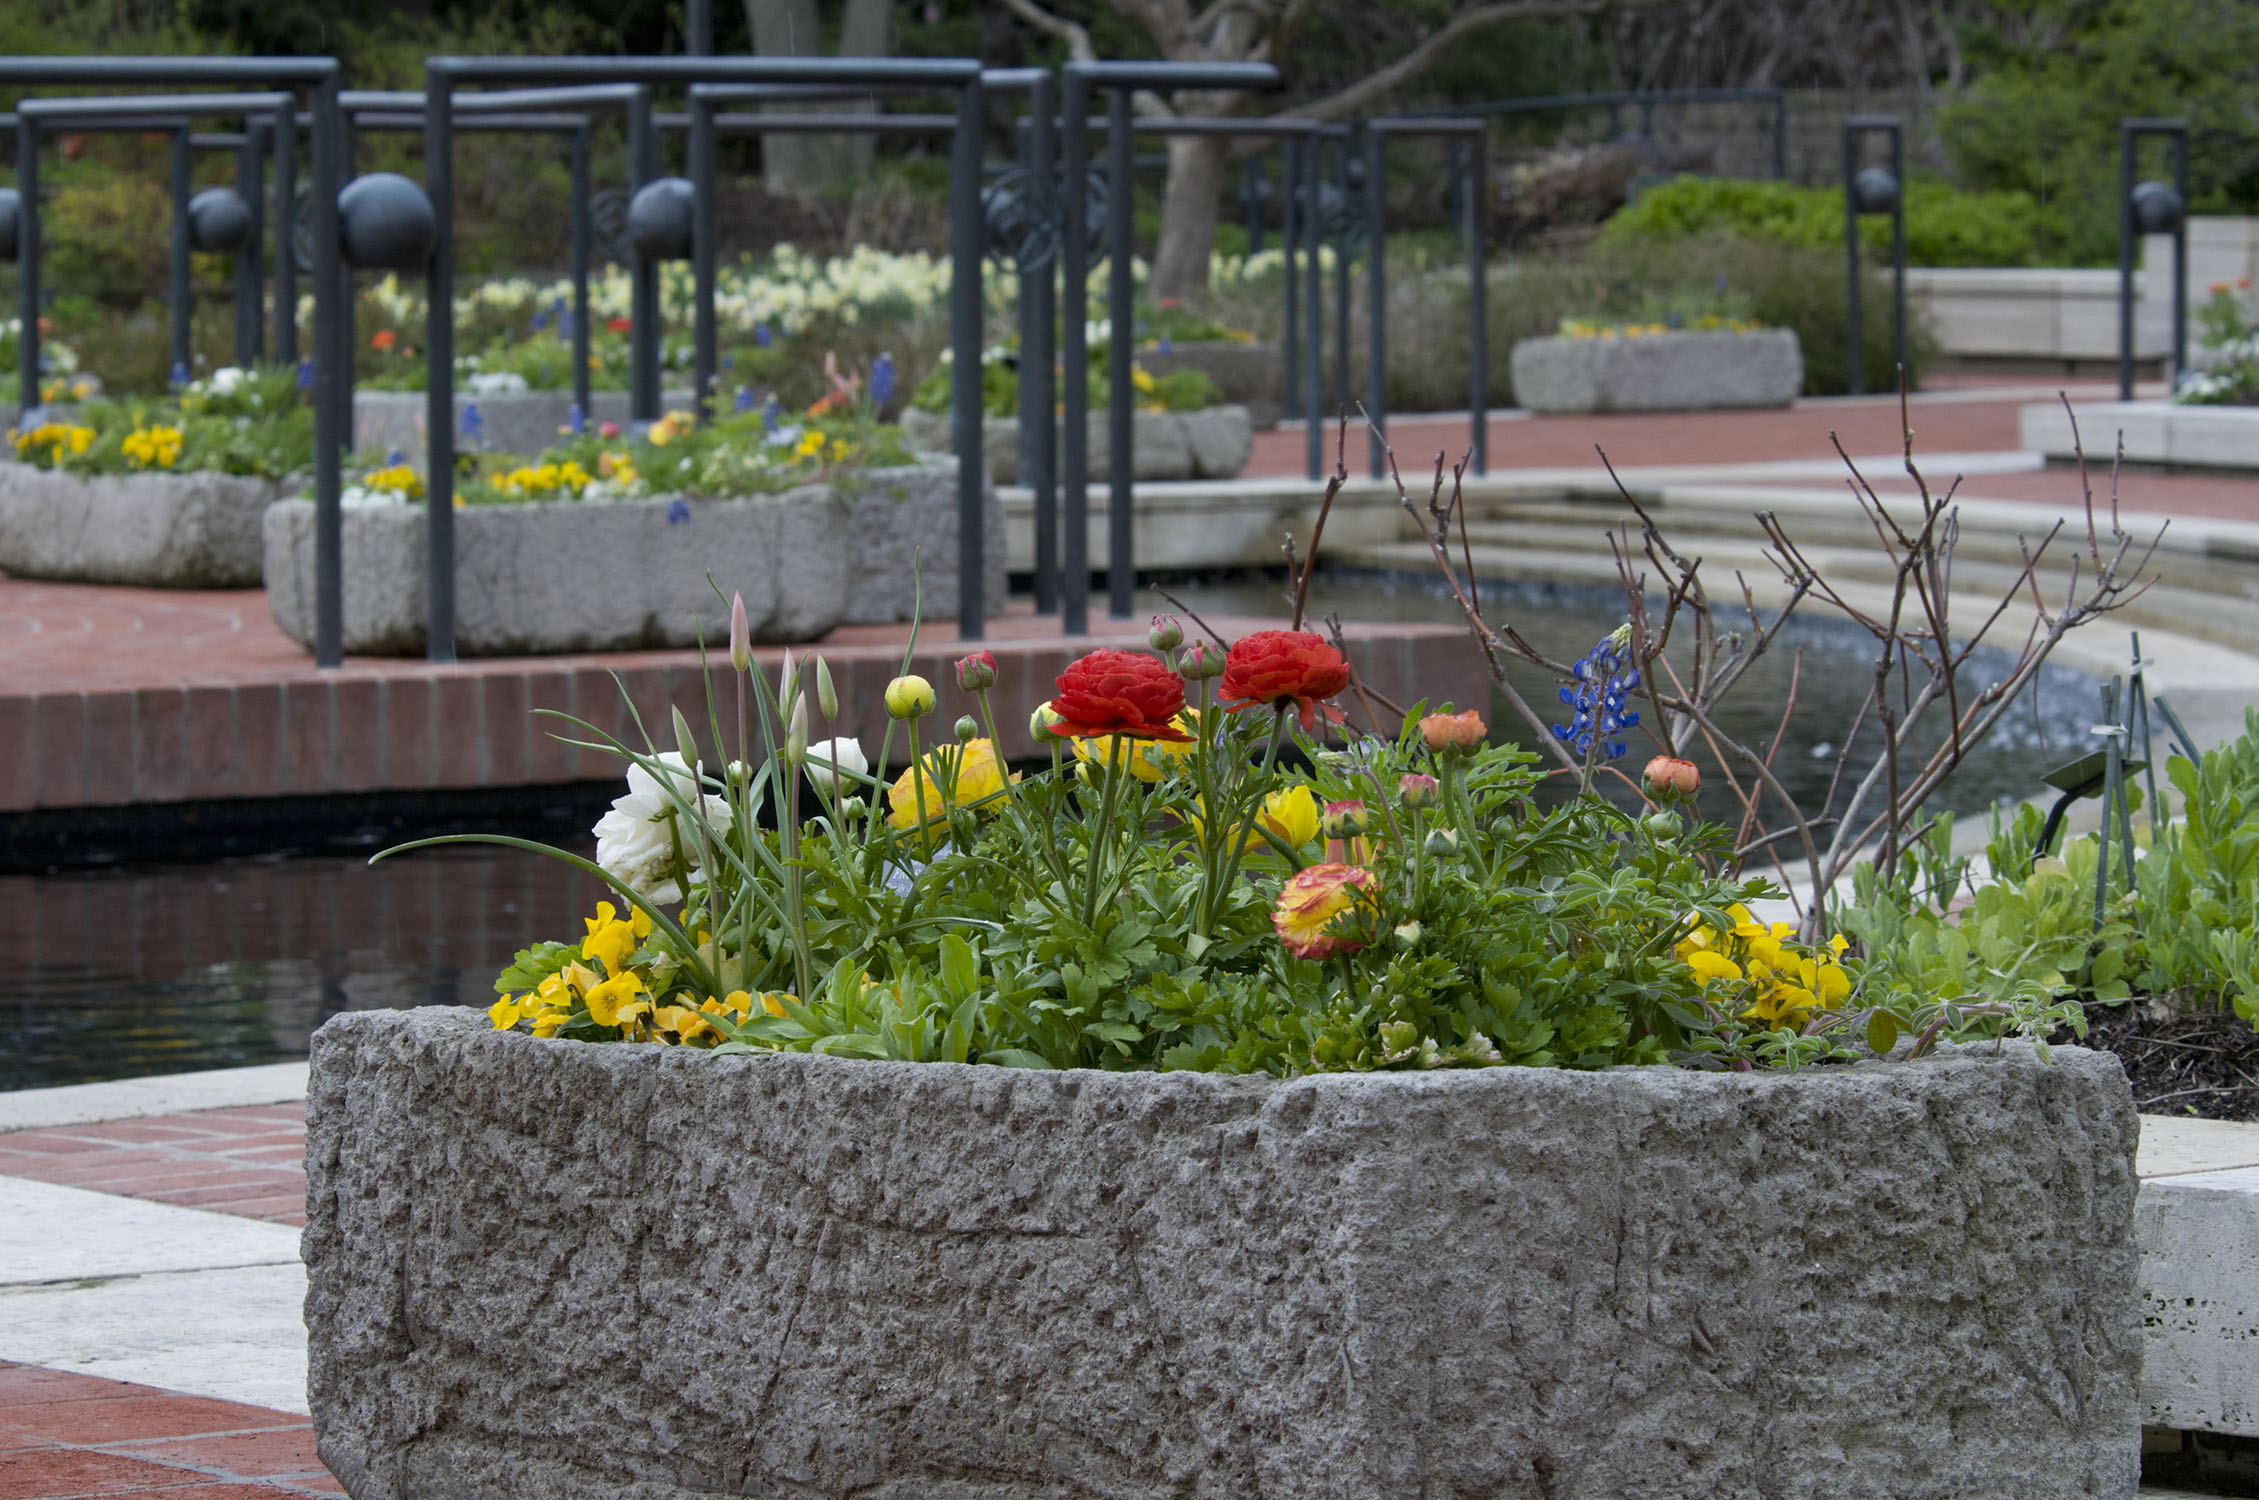
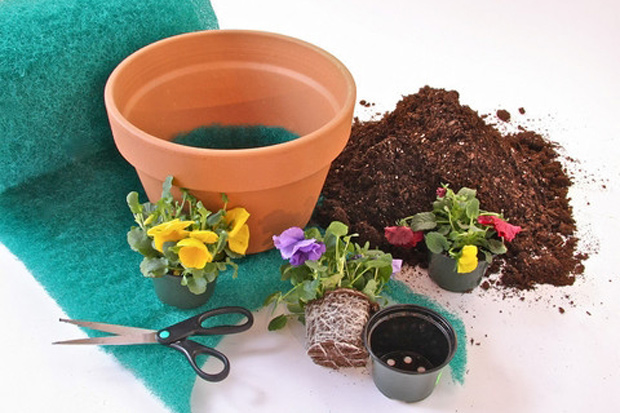
To start your own home horticultural therapy garden, the first thing you need is a good container. At the Buehler Enabling Garden, as well as off-site gardens, horticultural therapists utilize raised, round containers for planting.
We recommend that you purchase a planter of decent size (24 to 28 inches in height and diameter) or a few slightly smaller ones. This will enable you to plant a wide variety of plant materials—from grasses to small perennials, herbs to large vegetables. Also, be sure to use a container with drainage holes to avoid root rot and water logging.
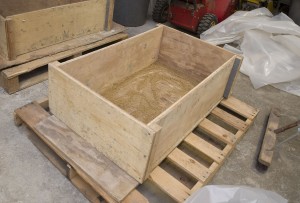
The next item you’ll need is a rich, nutrient-filled, potting soil. If you’re using a large container, filling the entire container with soil will make it heavy and difficult to move. Placing light, mesh landscape materials in the base, such as Better Than Rocks drainage medium (sold in rolls of bright green mesh), or household items like empty water bottles and landscape fabric, will help keep your container light and decrease the amount of unnecessary soil.
With the container(s) set and filled, we are now ready to plant our home horticultural therapy garden.
Gardens planted with a horticultural therapy intent often consist of plant materials that are engaging to the senses and good for programming. When I refer to “programming,” I’m speaking to the desired slate of uses for the garden. Your “program” may be to provide yourself or a loved one with an easily accessible personal garden to tend to and enjoy. It may also be to grow edibles that can be picked, prepared, and shared with friends and family.
Being in a garden facilitates therapeutic outcomes and interacting with plant material enhances the therapeutic experience that much more. By selecting plants that will encourage activity, you are increasing the likelihood for therapeutic outcomes.
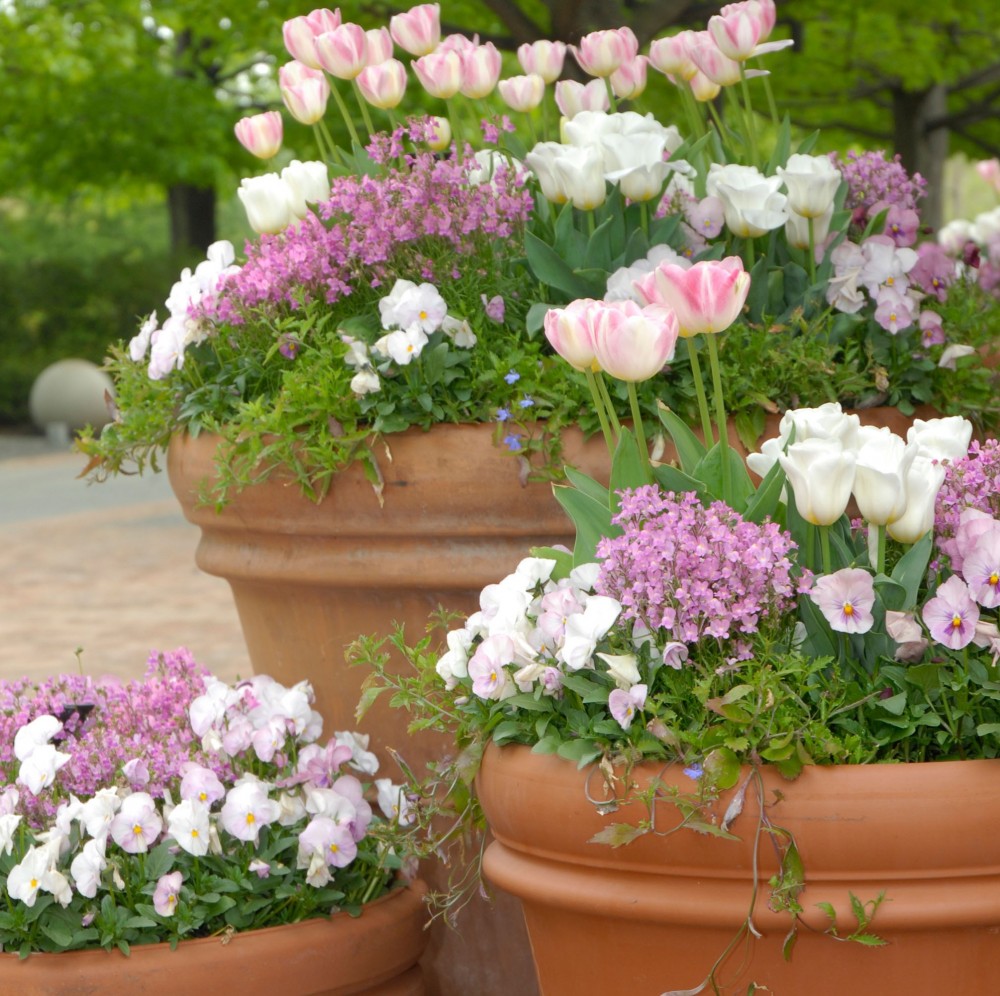
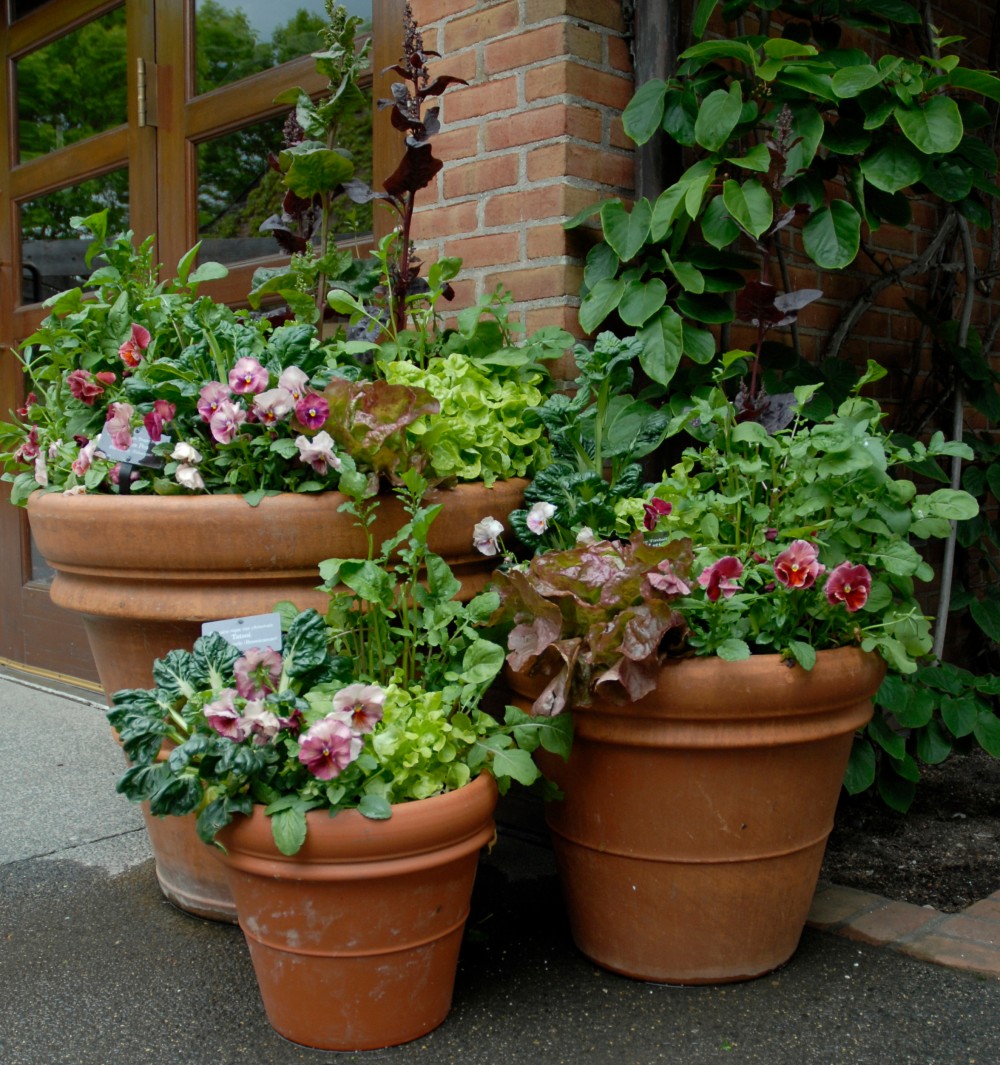
Some of my favorite horticultural therapy-inspired plant pallets are those with a variety of textures and sensory qualities as well as pallets that bring about seasonal harvest.

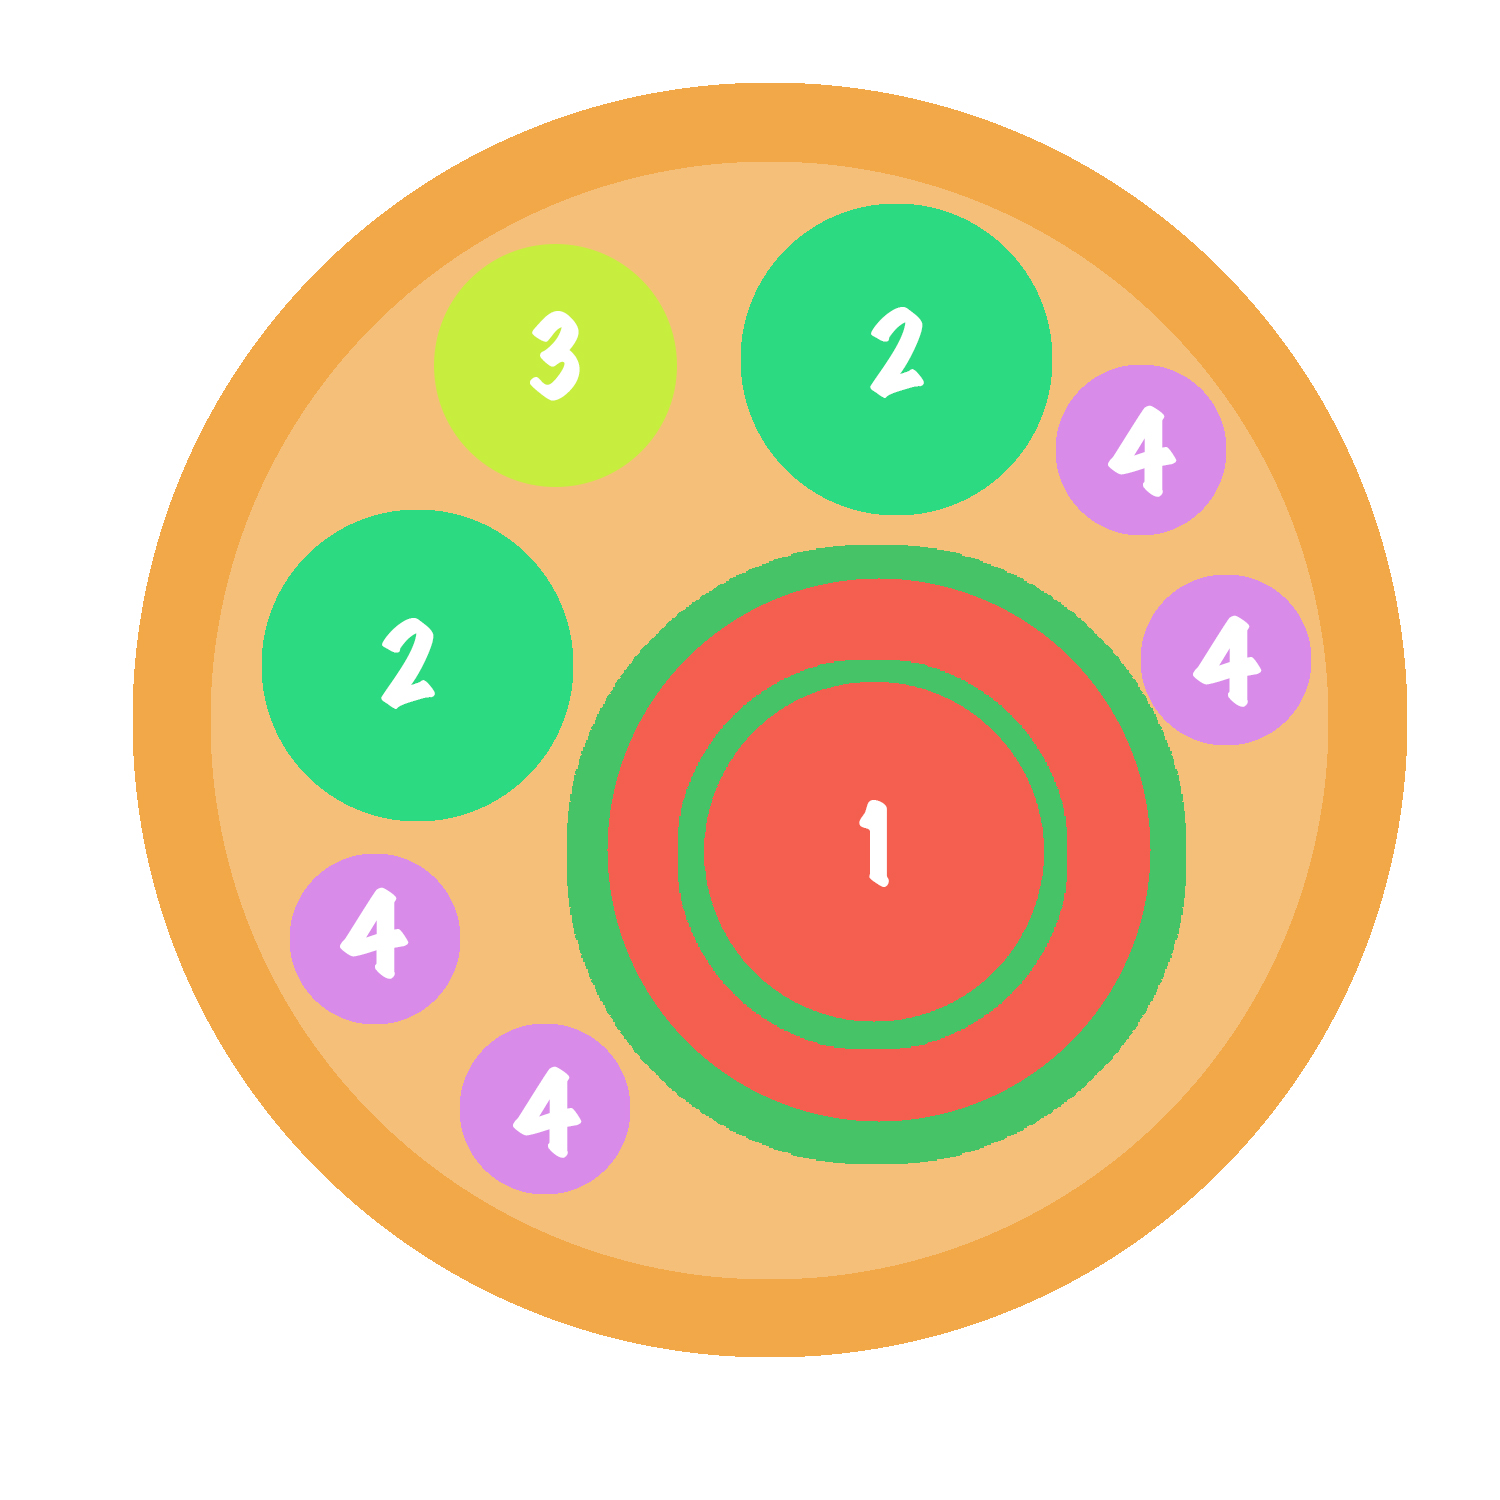
In the first sample illustration, I’ve laid out a container of sensory-rich plant material as one option for your garden. Start with a “thriller” or focus plant such as a Pennisetum rueppelianum grass or Caladium X hortulanum (1). This plant can be placed along the side or in the middle. I like to place my focus plant slightly off center in my containers. Next, add some filler sensory plant materials such as Solenostemon scutellarioides ‘Kong Red’ coleus (2) and perhaps an edible plant such as a Stevia rebaudiana (3). Stevia is one of my favorite horticultural therapy plants; the super-sweet leaf makes for a fun treat when maintaining your garden. The final plants are your trailing or spilling plants. This will bring added visual interest to the outside of your container and give your garden that extra pop. I love to use Ipomoea batatas ‘Margarita’—Sweet Potato Vine (4) and/or Calibrachoa x hybrida—trailing petunias (5).
Each of these plants has wonderful sensory qualities. The grass stalks or large caladium leaves provide soft fascination as they rustle in the wind. The coleus and stevia add visual texture and color while also lending themselves to programming. The coleus plants can be picked and used for flower pounding, pressing, or for propagation. The petunias can be used for pressing flowers, and at the end of the season, you can dig out your sweet potato vine and eat the tuber/potato at the root.
The second illustration—and container—has been laid out to focus on edible plant material. This planter would be ideal for a household that would like to have fresh harvest for cooking activities and experiences. A cherry tomato plant such as Solanum lycopersicum ‘Sun Gold’ (1) can easily be grown in a container. This variety performs very well in our climate (USDA Zone 5) and produces delicious, orange-colored cherry tomatoes. Tomato plants will get leggy as the season goes on, but certain plant material can be placed next to a tomato without interfering with or overpowering it. I enjoy placing a few varieties of herbs in my edible planters. In this example, I placed Ocimum basilicum ‘Super Sweet Genovese’ basil (2) and Thymus vulgaris, or garden thyme, (3) with my tomato, so that I could make delicious items such as fresh pizza, bruschetta, and tomato-basil-mozzarella paninis throughout the summer. Lastly, because it’s an absolute favorite, I snuck in a few Lavandula angustifolia ‘Mini Blue’ lavender (4) plants. These can be used for pressing, drying for sachets, and pure sensory enjoyment.
A horticultural therapy garden is about enjoyment and interaction. At the end of the day, you want it to be something that you enjoy caring for.
During this time of year, local nurseries and stores are chalk full of garden experts who will be happy to help set you up with all the materials you need. And remember, staff and volunteers are always available at the Chicago Botanic Garden to instruct you on fun and simple gardening basics; just come visit us and ask!
Happy gardening!
©2014 Chicago Botanic Garden and my.chicagobotanic.org