Fight your Winter Blues!

As I stepped out of my house this morning, I thought: “I can smell winter.” It’s that subtle shift that you feel as the days click on, and we are led farther away from the beloved fall season.

The days continue to get shorter, and the sun doesn’t seem to shine quite as bright so naturally; moods shift, and energy becomes muted. I have a number of friends and family members who suffer from Seasonal Affective Disorder, or SAD. Its abbreviation says it all: lackluster moods, low energy, and even mild depression.

Seasonal Affective Disorder is defined as depression associated with late autumn and winter, thought to be caused by a lack of light. Most people with seasonal affective disorder have symptoms that start in the fall and continue through the winter months, which in the Midwest, can seem endless. Lucky enough, there are many ways to remedy this SAD state of mind. 

HT ‘Simmering Spices’ supply list for 15 participants

Let’s begin by talking about a few winter-themed Horticultural Therapy (HT) activities that will fill your home or office with the sights and smells of the season.

One of my favorite HT activities to do this time of year is our ‘Simmering Spices’ project. During this activity, participants mix together a wide array of spices to create a holiday sachet to use in their home or office, or give as a gift. This activity serves as therapy on multiple levels. It encourages participants to engage their fine motor skills as they measure, mix, and create the sachets. Perhaps more meaningful, however, are the vivid and wonderful memories that are brought forth with the smells of the spices. 

Scent triggers the area of the brain that is connected to the experience of emotion as well as emotional memory. I see this time and time again in my sessions; a participant smells a spice such as rosemary and become engulfed with memories of his or her mother’s roast turkey during the holidays. Socialization plays a large role in horticultural therapy, and it’s a joy to share in the memories with my many participants; young and old.

Holiday greens ornament
Holiday greens ornaments example

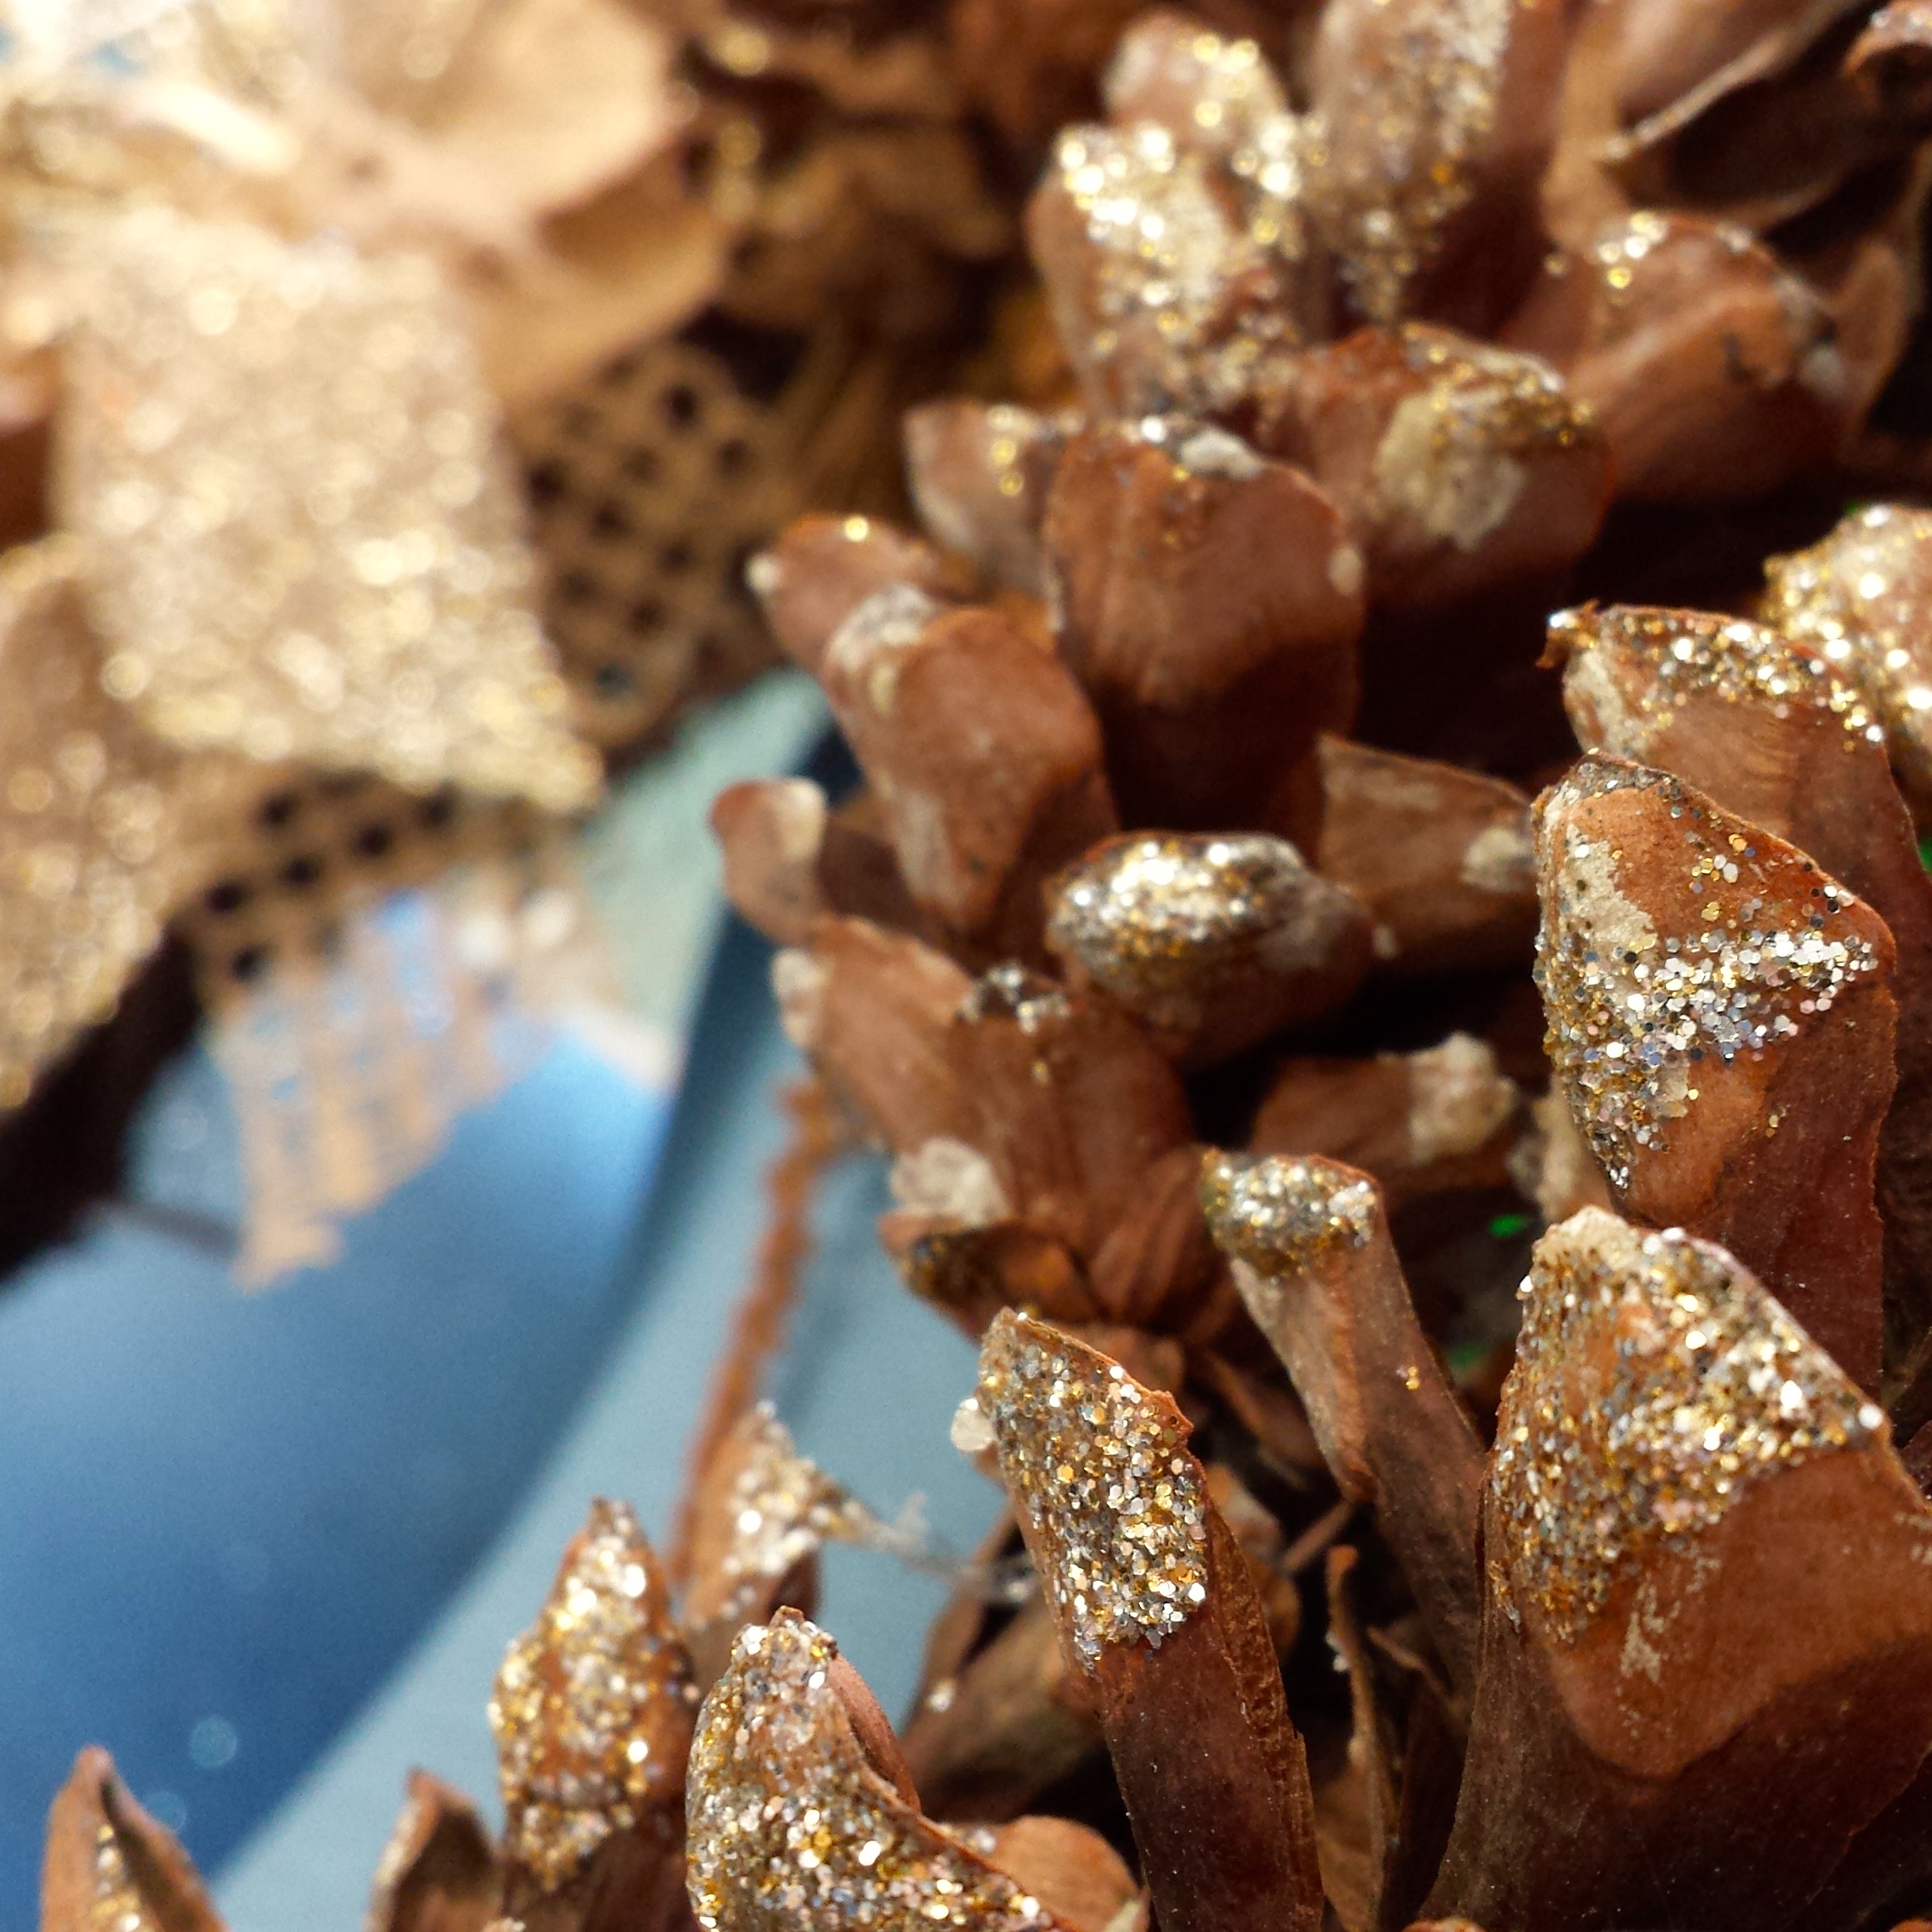
Another fun, and inexpensive, activity is our ‘Holiday Greens Ornament’ project. For this activity, participants get the opportunity to create a beautiful ornament out of fresh, seasonal greens. When I bring this activity to one of my school classrooms, I like to incorporate a garden walk as part of the session. The students, teachers, and I take a quick (and if it’s cold, very quick) walk around the school gathering small acorns and pine cones to add more interest to the ornaments. 

Most of the craft supplies for the activity can be found at your local craft store. I use clear, plastic ornaments, fake snow, and ribbon to add additional visual appeal to the greens. These ornaments make a beautiful addition to any tree or gift to a loved one. 

My final recommendation to combat those winter blues is to fully embrace the beauty of the season. Winter is not always the easiest season to get along with; that much I’ll admit. It’s cold and gray and seemingly endless, but it’s also fascinating and full of unique beauty. 

If you’re feeling blue, bundle up and take yourself on a walk around your neighborhood, and appreciate our region and its four distinctly different and beautiful seasons. As you walk, gather some pine cones, and create a fresh wreath using natural supplies. Activities like these will turn a SAD state of mind to a glad one, with just a bit of effort. And of course, if all else seems gray, a nice hot cup of hot cocoa (which always tastes better in the winter) and some whipped cream will surely add a bit more enjoyment to any activity or winter’s day. 

Happy holidays!

Egg-cellent adventure

Dye-ing for nature-based fun? Forgo the food coloring and kits, and go for naturally safe, naturally kid-friendly, and naturally beautiful “homemade” egg dyes instead. Dyes can be used on hard-boiled or fancy blown-out eggs. Most of what you need is probably already in your own kitchen and pantry.

PHOTO: The vegetables we use, and their accomanying egg colors.
What colors will you get? Beets = purple, yellow onions = yellow, red cabbage = pale blue.
PHOTO: the tools you'll need to create your own egg dyes
The tools you’ll need to create your own egg dyes.

Step 1: Gather your supplies.

Stainless steel utensils and glass containers won’t stain; always rinse utensils as you go from color to color, so there’s no contamination.

  • Pint and half-pint Ball jars or heat-safe glass bowls (the better to watch stuff happen!)
  • Non-reactive stainless steel or enamel saucepans
  • Strainer
  • Tongs

Step 2: Gather your ingredients.

Vegetables, fruits, and spices can all create lovely, earthy colors. We hard-boiled large, white eggs and used plain white vinegar, which helps to set the color. Here are the dozen dyes and “recipes” we tried, in order of color intensity (after about 20 minutes of steeping):

Chopped and simmered fresh carrot tops create a pale yellow dye.
We used a straightened paperclip to poke holes in an egg for blowing.
Rinse blown-out eggs thoroughly inside and out.
  • Beets = Purple. 1 large beet (cut into chunks) + 4 cups boiling water + 2 tbs. vinegar. Cool and strain.
  • Yellow onions = Yellow-orange. Skins only of 6 medium yellow onions + 2 cups water; simmer for 15 minutes. Strain and add 2 tsp. vinegar.
  • Grape juice = Magenta. 1 cup all-natural grape juice + 1 tbs. vinegar.
  • Coffee = Gold. ½ cup ground coffee + 2 cups boiling water. Steep, strain, and add 1 tbs. vinegar.
  • Red onions = Blue. Skins only of 6 red onions + 2 cups water; simmer for 15 minutes. Strain and add 3 tsp. vinegar.
  • Green tea = Light green. 6 green tea bags + 1 cup boiling water. Steep 5 minutes and strain.
  • Red cabbage = Pale blue. ½ head red cabbage (cut into chunks) + 4 cups boiling water + 2 tbs. vinegar. Cool and strain.
  • Turmeric = Yellow. 2 tbs. turmeric + 1 cup boiling water + 2 tsp. vinegar.
  • Paprika = Orange. 2 tbs. paprika + 1 cup boiling water + 2 tsp. vinegar.
  • Blueberries = Blue/Gray. 1 cup frozen blueberries + 1 cup water. Let stand ‘til room temperature and strain.
  • Carrot tops = Pale yellow. 2 cups chopped carrot greens + 1½ cups water; simmer for 15 minutes. Strain and add 2 tsp. vinegar.
  • Orange peels = Palest yellow. Peels of 6 oranges + 1 ½ cups water; simmer for 20 minutes. Strain and add 2 tsp. vinegar.

Step 3: Gather your family.

Kids love to color eggs. Guided by the recipes above, experiment with veggie/spice quantities and steep times. The longer you steep, the deeper the color—steeping eggs can even be left overnight in the refrigerator. Hardboil eggs or blow them out:

Beets, green tea bags, and orange peels all make gorgeous natural dyes.
  • Use a heavy needle or bent paperclip to poke holes in each end of a fresh egg.
  • Wiggle the needle around inside to pierce the yoke.
  • Blow strongly through one hole, collecting the contents from the other in a small bowl.
  • Rinse eggs thoroughly inside and out.
  • Don’t waste your egg contents—scramble them or use in baking.

Kids with the urge to decorate can:

  • Wrap rubber bands around eggs before dyeing for striped designs.
  • Wrap onion skins around eggs and secure with rubber bands for marbled looks after coloring.
  • Write names, etc. in wax crayon on eggs before dyeing: magic!

Step 4: Embrace the imperfect!

Naturally dyed eggs sometimes splotch or dye unevenly—we had great success with beets and green tea, but our paprika-dyed egg looked marbled and our orange peel dye gave up just a tinge of color. Nonetheless, all looked beautiful in white baskets with shredded kraft paper.

The finished product: gorgeous colors, all "homemade."
The finished product: gorgeous colors, all “homemade.”

©2013 Chicago Botanic Garden and my.chicagobotanic.org