Our Scientist Takes on Thomas Jefferson

Hear “vanilla” and what’s the first thing that comes to mind?

Ice cream, right?

While we were researching vanilla for our annual Orchid Show, we kept discovering new scoops on vanilla ice cream.

PHOTO: Plain vanilla ice cream cone.First we learned that one-third of all the ice cream that Americans eat is vanilla.

Next, we learned about vanilla beans’ different flavors—at a tour of the Nielsen-Massey Vanillas facility in nearby Waukegan. (Who knew that vanilla extract was produced right here in Chicago?)

And then we came across Thomas Jefferson’s handwritten recipe for vanilla ice cream at the Library of Congress—such a beautiful document that we included a copy of it in the Orchid Show. (The knowledgeable staff at the Library of Congress pointed out that there’s a second recipe on the back of Thomas Jefferson’s vanilla ice cream notes—for the Savoy cookies to accompany it.)

All those moments dovetailed nicely when our own orchid expert, Pati Vitt, Ph.D., got inspired to make her own homemade vanilla ice cream. Naturally, as a scientist, she set herself a bigger challenge: to tackle Jefferson’s thorough (albeit old-fashioned) recipe, using three different types of vanilla beans kindly provided by Nielsen-Massey.

We had to document Dr. Vitt’s ice cream-making adventure: see how she interpreted Jefferson’s recipe—and what three guest chefs/tasters had to say about the flavor—in our video (view on YouTube).

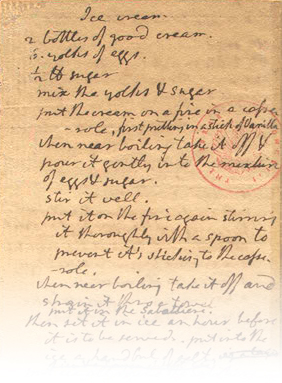
PHOTO: Jefferson's vanilla ice cream recipe: Holograph, 1780s. Manuscript Division, Library of Congress.
Holograph recipe, 1780s. Manuscript Division, Library of Congress Bookmark this item

Thomas Jefferson’s Ice Cream

(Jefferson’s lovely script can be hard to decipher, so here’s the recipe’s text in full.)

2 bottles of good cream
6 yolks of eggs
½ pound sugar

  • mix the yolks & sugar
  • put the cream on a fire in a casserole, first putting in a stick of vanilla.
  • when near boiling take it off & pour it gently into the mixture of eggs & sugar.
  • stir it well.
  • put it on the fire again stirring it thoroughly with a spoon to prevent it’s [sic] sticking to the casserole.
  • when near boiling take it off and strain it thro’ a towel.
  • put it in the sabottiere*
  • then set it in ice an hour before it is to be served. put into the ice a handful of salt.
  • put salt on the coverlid of the Sabottiere & cover the whole with ice.
  • leave it still half a quarter of an hour.
  • then turn the Sabottiere in the ice 10 minutes
  • open it to loosen with a spatula the ice from the inner sides of the Sabottiere.
  • shut it & replace it in the ice
  • open it from time to time to detach the ice from the sides
  • when well taken (prise) stir it well with the Spatula.
  • put it in moulds, justling it well down on the knee.
  • then put the mould into the same bucket of ice.
  • leave it there to the moment of serving it.
  • to withdraw it, immerse the mould in warm water, turning it well till it will come out & turn it into a plate.

*Footnote from the Library of Congress: A “sabottiere” is an ice cream mold (“sorbetière” in modern French).

Vitt’s notes:

  • You can use the recipe without modification, just cooling the mixture in an ice bath and then in the refrigerator overnight.
  • Freeze according to your ice cream maker’s instructions.
  • One tablespoon of vanilla extract may substitute for the vanilla bean.
  • The recipe makes about 4 pints (2 quarts, or one ½ gallon).

BONUS RECIPE!

Ice cream wasn’t the only vanilla treat on Vitt’s mind: she also canned a batch of vanilla spice apple butter (we shared it in a meeting—delicious!) and made her own vanilla sugar. Vitt agreed to share her recipe—and presented it all so charmingly, with handcrafted labels, trims, and tags, that we had to include a photo, too. 

Vanilla Spice Apple Butter
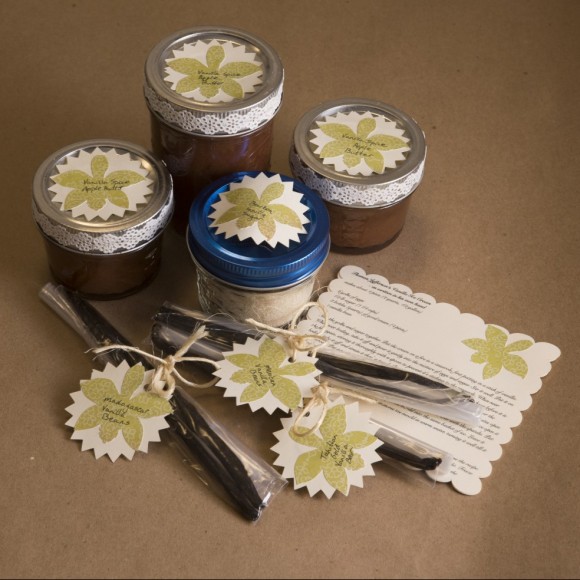
PHOTO: Pati Vitt's vanilla apple butter.
Vitt not only agreed to share her recipe for vanilla apple butter with us—but presented it all so charmingly, with handcrafted labels, trims, and tags.

Wash, core, and slice 8 to 12 apples (Granny Smiths, or a mix of varieties) to fill a 6-quart crockpot to about 1½ inches from the top; add ½ cup of apple cider. Cook until completely soft—about the consistency of apple sauce.

Using a food processor, sieve, or Foley mill, puree the sauce. Put the mixture back into the crockpot, along with half of a fresh vanilla bean. Cook several hours on the “low” setting of your crockpot until the extra liquid cooks off and the mixture begins to thicken. (Place the lid of your crockpot slightly off kilter to allow steam to escape. This will speed up the evaporation and thickening of the mixture.)

After the apple butter begins to thicken, add ½ cup sugar and the juice of one lemon. Cook an additional 30 minutes. Stir in cinnamon to taste, plus a pinch each of ground cardamom and cloves. 

Pour into hot, sterilized jars and place in a canning bath according to your canner’s recommendations for applesauce—usually about 10 minutes.

For more ideas—sweet and savory—for cooking with vanilla, check out our February issue of the Smart Gardener.


©2015 Chicago Botanic Garden and my.chicagobotanic.org

Photographing Orchids

Compared to photographing flowers outside, photographing in the Greenhouses will be much more challenging and darker than you think.

Photograph the Orchid Show through March 13, 2016.
 
Tripods and monopods are allowed in the Orchid Show on Wednesdays during public exhibition hours. Enter your photos in our digital photo contest here.

It may be bright outside, but the light in the greenhouses is being filtered through glass and other plant material; be aware that it will be even darker on overcast days. Most people will be hand-holding cameras, so getting shots that are sharp will take some adjustments. Here are a few things you can try:

Use a shorter lens.

This will be a bit of a compromise, as many of the orchids are up high or hard to reach. It would be nice to use a longer lens to get photographic access to more of the flowers in the Greenhouses. However, a shorter lens—100mm or less—is easier to hand-hold, and has a better chance of capturing sharp images at a slower shutter speed. (Typically, you want to have at least 1/400th of a second for a 400mm lens, or 1/100th of a second for a 100mm lens, etc., so the shorter lens will gain you two stops in this example—a significant benefit when taking hand-held shots.)

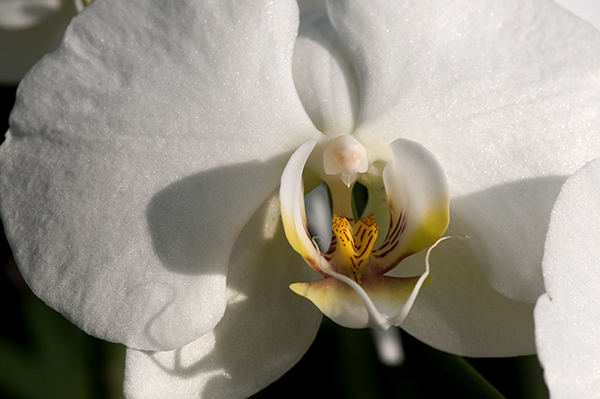
PHOTO: Orchid.
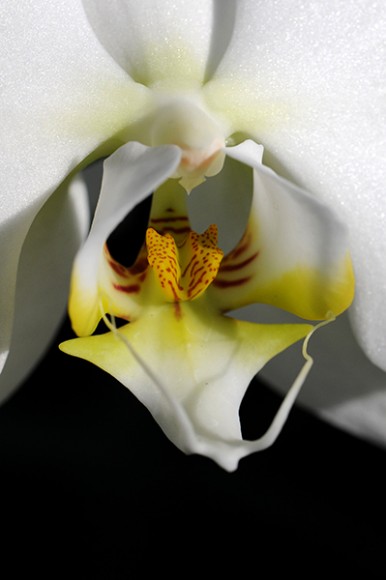
With a limited depth of field, I chose to focus on the “face” I saw in this orchid. Photo ©Carol Freeman

Watch for what is in the background.

It is easy to be distracted by the beauty of the orchids and then get home and realize there are many unwanted elements in your photos. One easy option is to move in closer. When you get closer to the flower, you will get less background around the flower. Find flowers that are near the edge of an aisle—you will then be able to move your camera slightly up or down, or left to right, to get a pleasing background. Sometimes just an inch of movement can make all the difference.

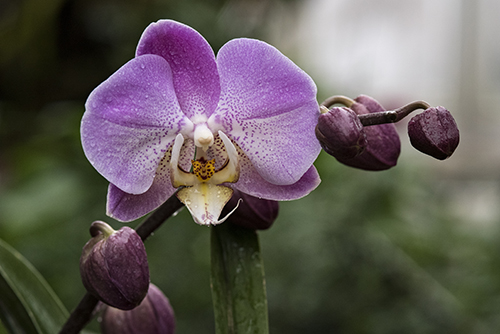
PHOTO: Orchid.
Note the distracting window in the background. Photo ©Carol Freeman
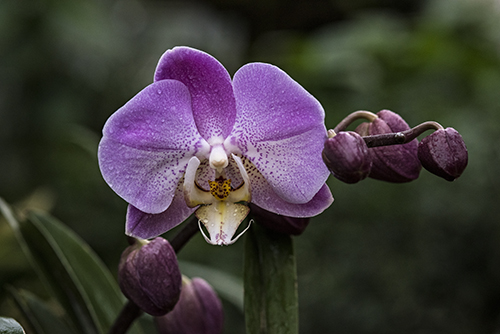
PHOTO: Orchid.
By moving just a few inches to my left, I was able to get a more pleasing background for this orchid. Photo ©Carol Freeman

Increase your ISO.

Many of the newer cameras have improved sensors that let you increase the ISO and still get clean images with little noise. I like to do an ISO test before going out to shoot to see just how far I can push the ISO and still get images I find pleasing. It’s best to do this before you are on site so you will be able to review the images on a large screen and know what will be acceptable to you on the day of your visit. Every camera is different, and what may work for me may be too grainy for you. Most cameras will provide nice images in the 400 to 800 ISO range, and some can go much higher.

PHOTO: Orchids.
I was able to get a nice shot of these orchids—in a dark area—by upping my ISO to 1000. Photo ©Carol Freeman

Use your flash.

I much prefer natural lighting, but in the Greenhouses on a cloudy day, there may be no other option for getting that shot of “the most beautiful orchid you have ever seen” that is hiding in the shadows.

PHOTO: Orchids.
When using my flash, I can add some extra depth of field. Here I was able to get most of the flower sharp. Photo ©Carol Freeman
PHOTO: Orchids.
Sometimes using a flash is the only way to get a shot. Here I found orchids that were away from other elements, limiting the distracting effects of the flash. Photo ©Carol Freeman

Increase your depth of field.

Orchids are tricky to photograph, even in ideal conditions. Many of them are deep flowers and require a large depth of field to get a pleasing amount of the flower in focus. Increasing the depth of field, however, comes with a price, as the increased depth will often allow much of the background to be in focus as well. And in the greenhouses, you may not want what is in the background to be in focus, especially windows, people, or other parts of the building. Hand-in-hand with depth of field is plane of focus. Many orchids have very interesting centers, almost like faces. Be sure to get those features in focus to make the whole photo look sharper.

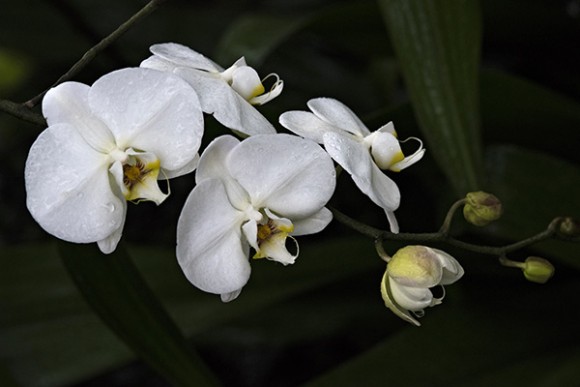
PHOTO: Orchids.
By moving closer, you can eliminate the distracting elements from your shot. Photo ©Carol Freeman
PHOTO: Orchids.
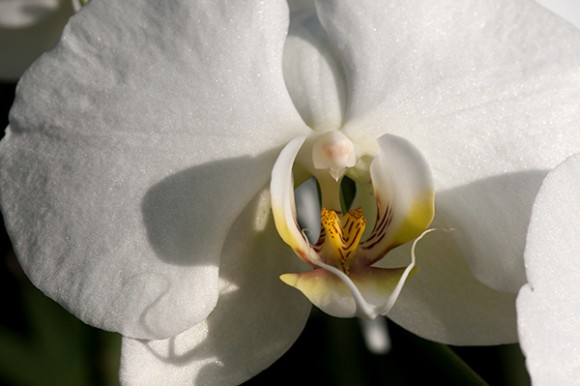
Here I moved in even closer. I love capturing the intricate details of the orchids. Photo ©Carol Freeman

Have fun, experiment with different apertures, and get creative with composition! There is no right or wrong way to photograph these amazing flowers. They are here for your enjoyment and all that is needed is your appreciation.


©2015 Chicago Botanic Garden and my.chicagobotanic.org
Behind the Scenes at the 2015 Orchid Show

It’s a sneak peek behind the scenes of our annual Orchid Show! (Purchase tickets here.)

All hands are on deck as the last orchid shipments have been delivered, the ladders are lowered, the final moss gets tucked in, the lights get positioned, and the delicate task of watering and caring for 10,000 orchids begins.

Behind the scenes, it’s been quite a production, and staff have been documenting it all. Their “befores” and “afters” give you an idea of the complex and wildly creative infrastructure that supports all those gorgeous orchids. 

Looking forward to seeing you there—and don’t forget your camera!

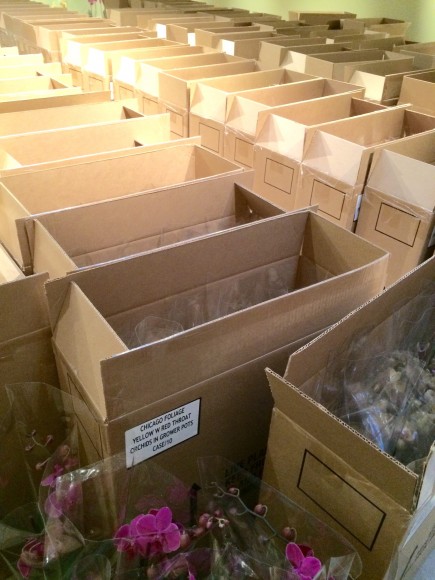
PHOTO: Boxes of orchids lined up for unpacking.
Organized orchids: as boxes and boxes of orchids from warm-weather nurseries arrived, they were staged in Joutras Gallery…
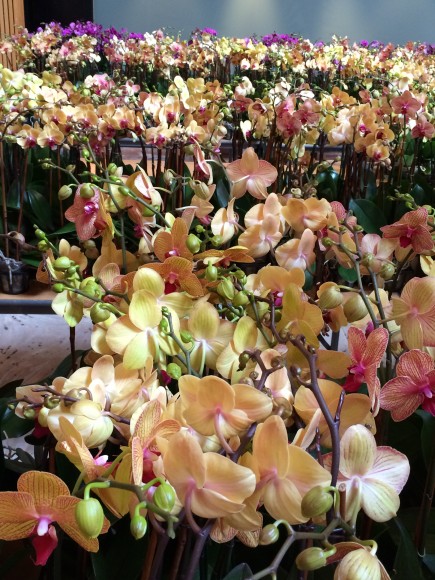
PHOTO: Unpacked orchids await final placement on rows of tables in Nichols Hall.
Unpacked orchids line tables as they await placement in the exhibition.
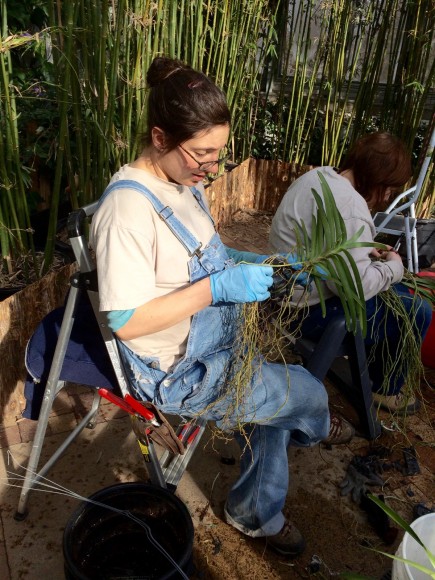
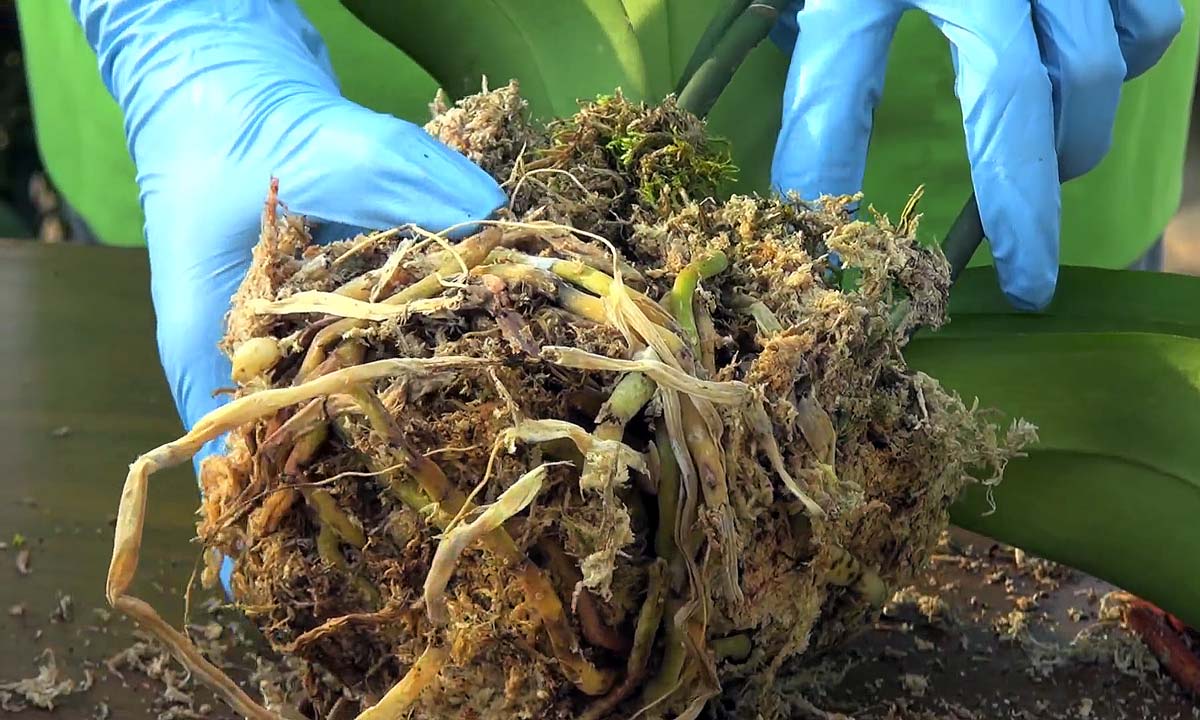
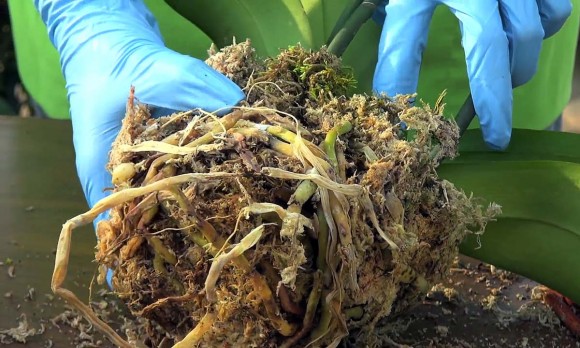
PHOTO: Horticulturist Liz Rex unravels Vanda roots.
Patience and a horticulturist’s touch: root-bound Vanda orchids had to be teased out of not one, but two pots each, root by root.
PHOTO: Vanda orchids in the greenhouse.
Each Vanda is then tucked into the displays in the Tropical Greenhouse.
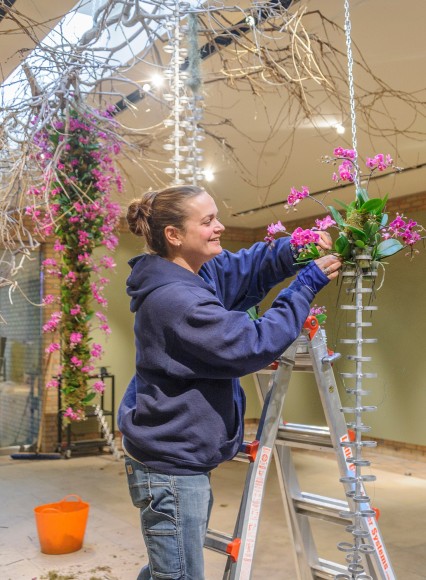
PHOTO: Horticulturist Heather Sherwood creating orchid chain.
Upcycling at its best: horticulturist Heather Sherwood trimmed ten years of wisteria vine growth from the English Walled Garden…
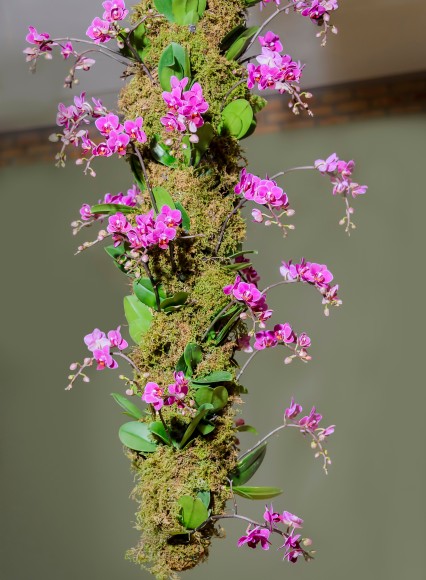
PHOTO: Finished orchid chain.
…then hung it inside the skylight as a backdrop for these “waterfall” chains of mini Phalaenopses.
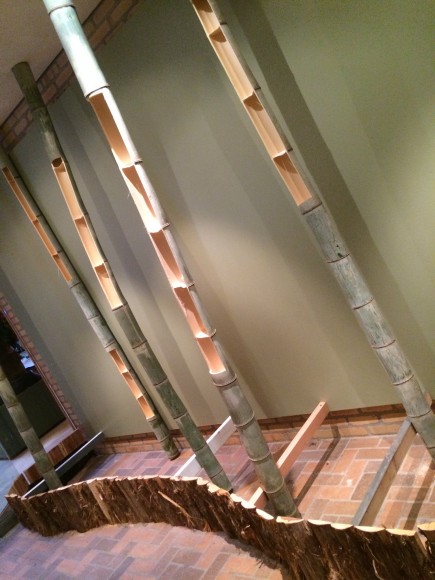
PHOTO: Notched bamboo supports await orchid plantings.
What a difference a week makes! Last Friday, bamboo supports in the Bridge Gallery looked like this.
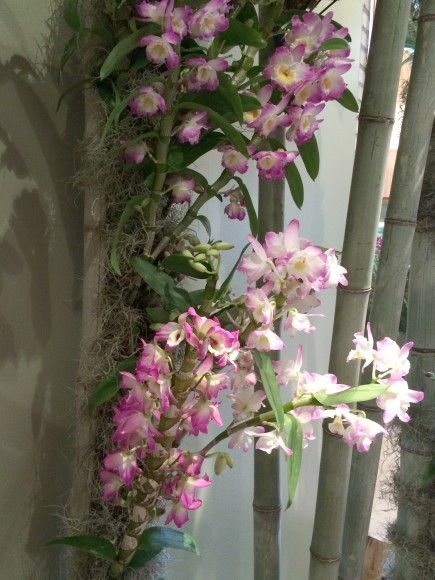
PHOTO: Dendrobium orchids fill bamboo supports.
This week, Dendrobium orchids are being layered in, transforming the entrance to the Orchid Show.
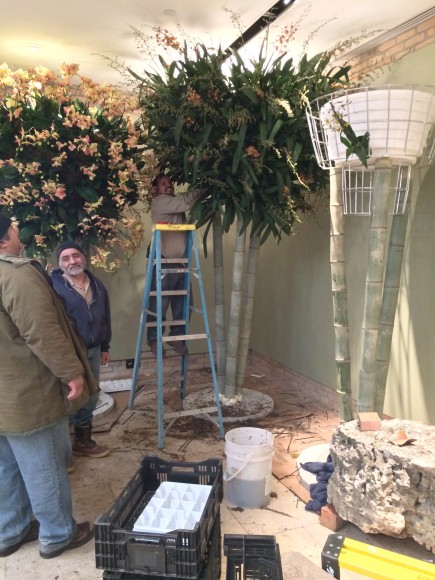
PHOTO: Staff plant up the bamboo trees and wire baskets to create orchid trees.
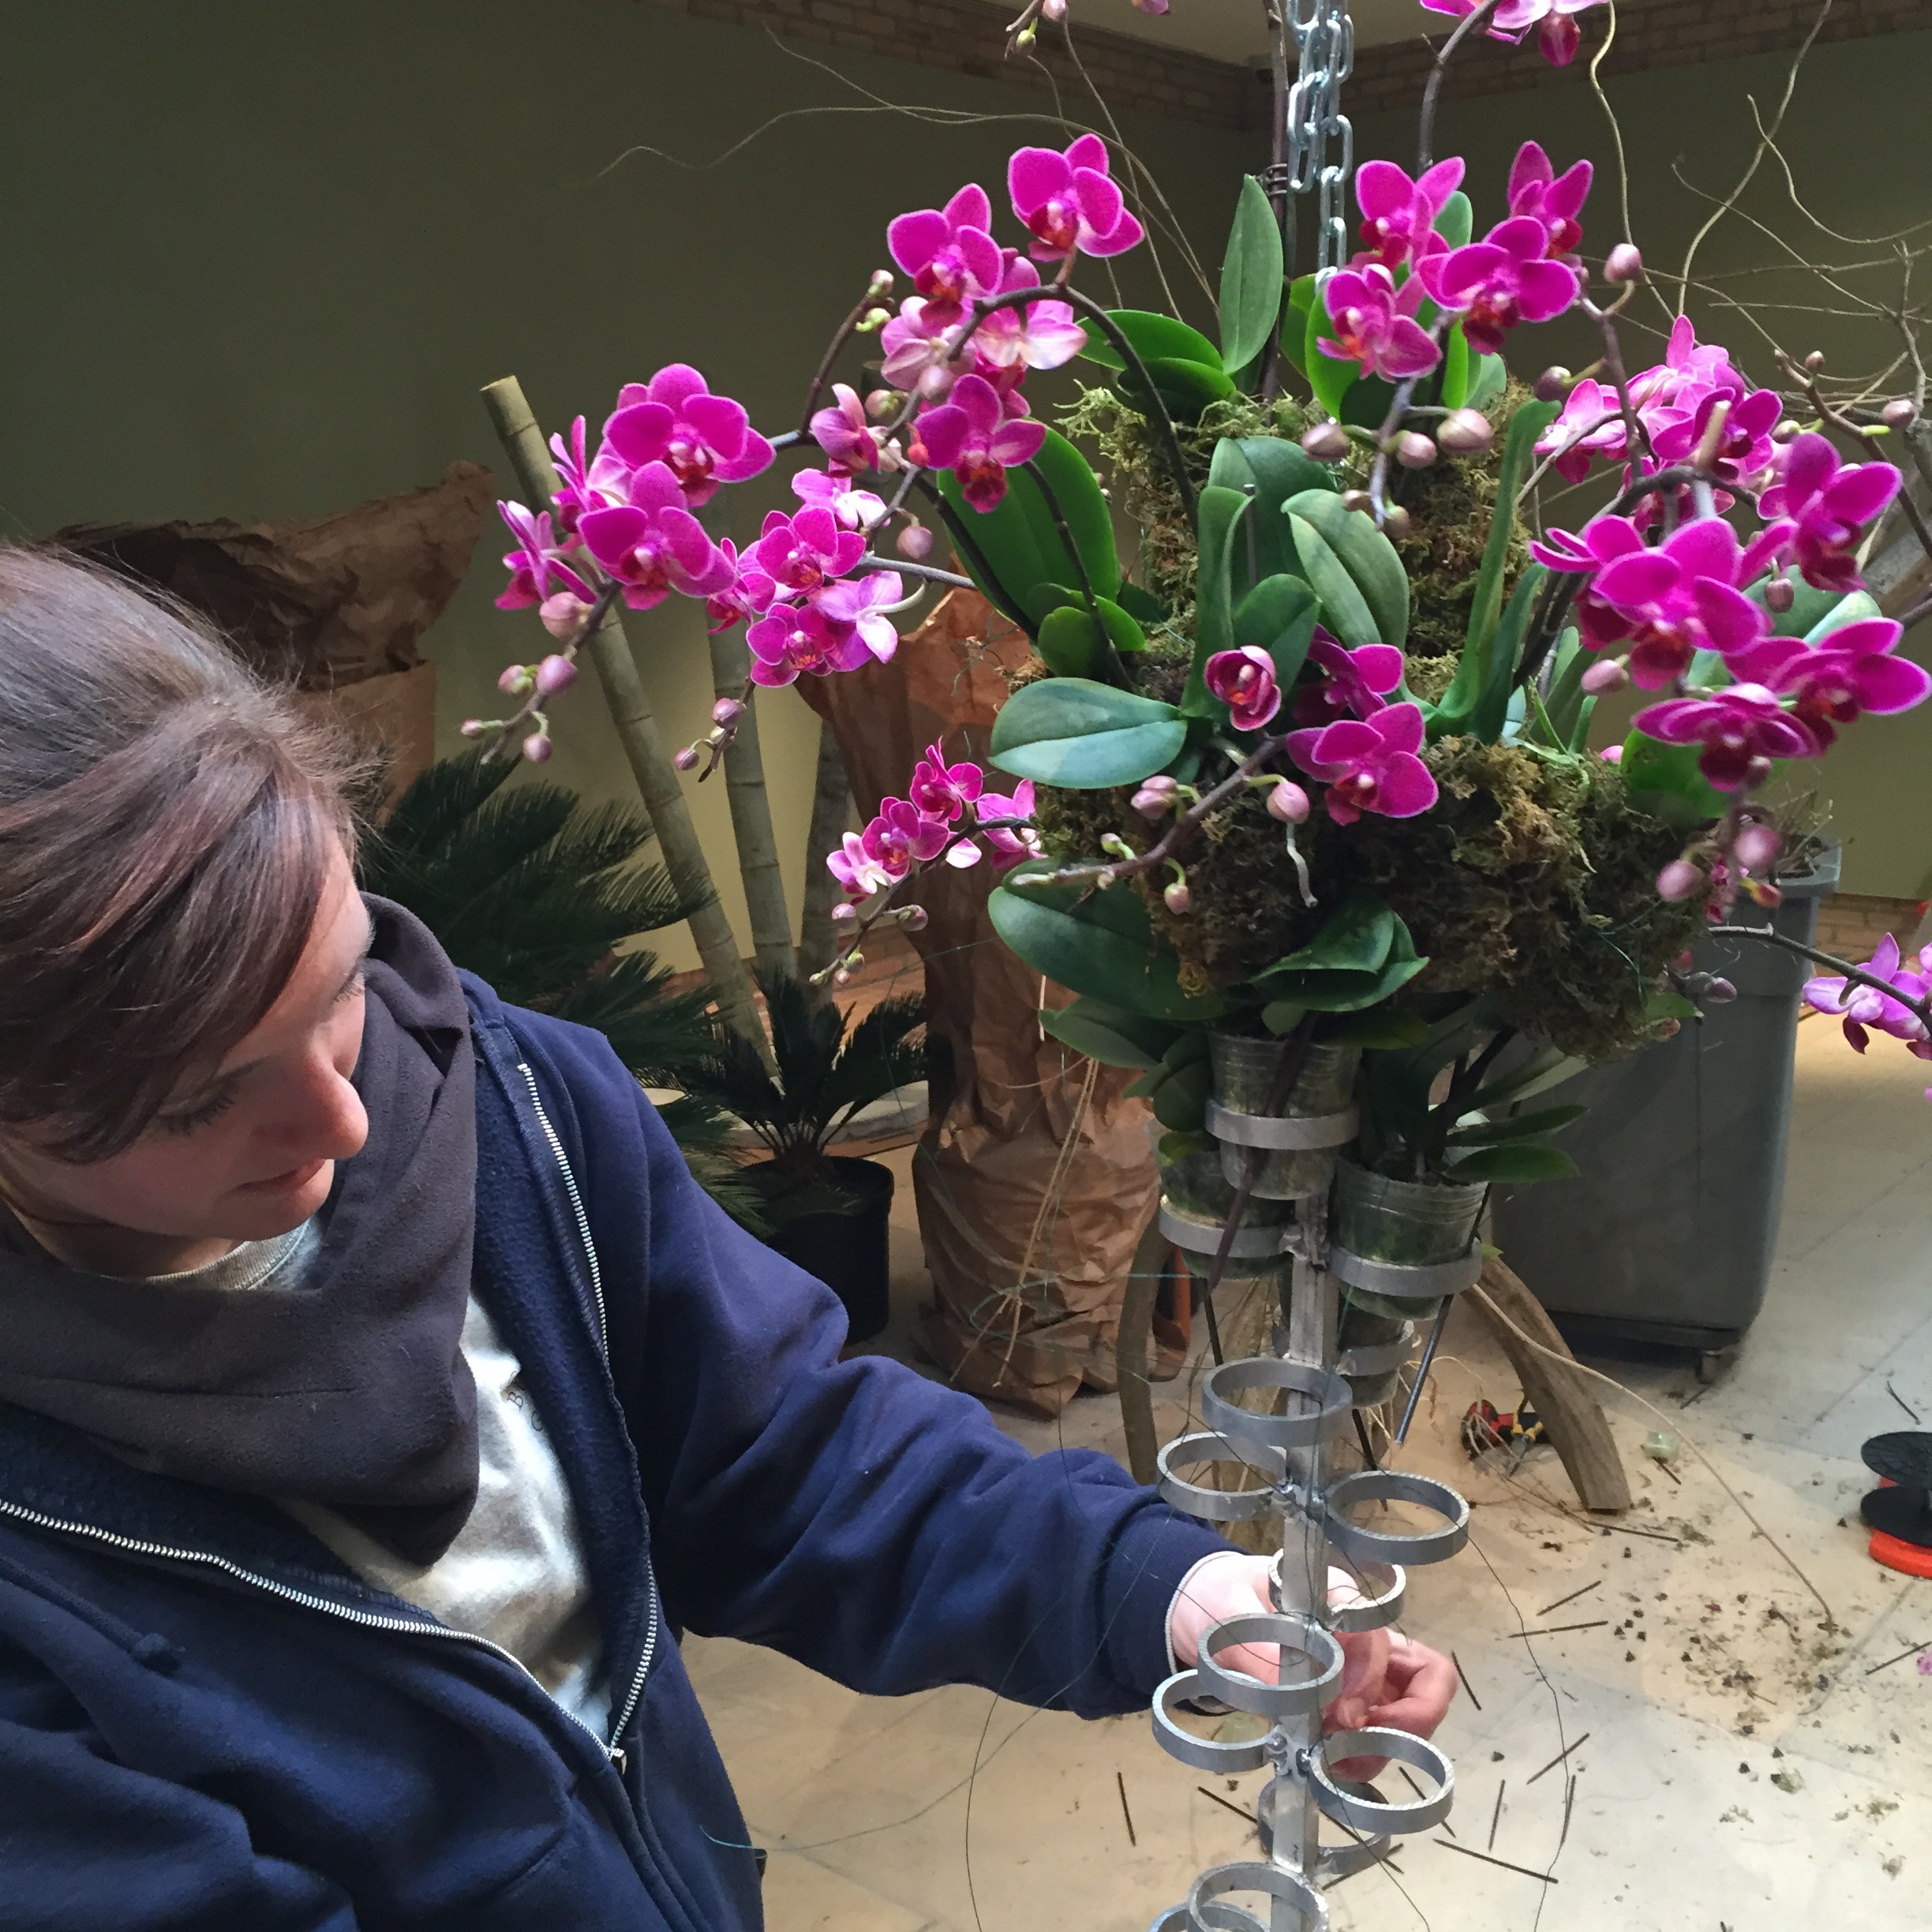
Building orchid nests: the size of a small tree, each orchid “nest” holds 175 to 200 brightly colored orchids.
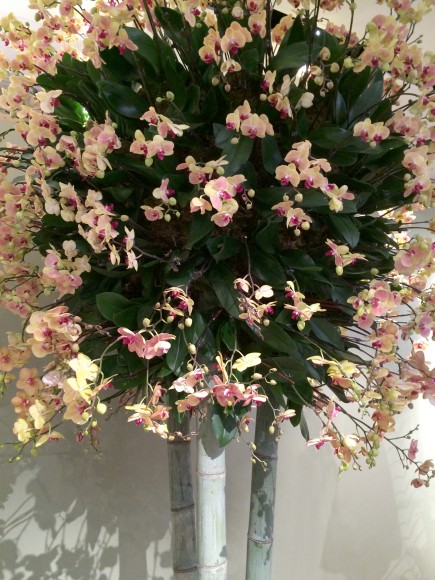
PHOTO: A blooming Phalaenopsis orchid tree in the exhibition.
Finished “trees” in both bud and bloom ensure peak blooms throughout the show.

©2015 Chicago Botanic Garden and my.chicagobotanic.org
Top Gardening Trends for 2015

The start of a new year prompted us to ask experts here at the Chicago Botanic Garden what they expect to see in 2015. Their predictions might help you anticipate problems, promote pollinators, and add interest to your own patch of green.

What’s likely to trend? Rainwater management, cumulative stress problems, corresponding color schemes, new compact hybrids, and heightened concern for butterflies, birds, and bees.

“Two fundamental issues will drive gardening trends in 2015—erratic weather patterns and a growing concern for the environment,” said Tom Tiddens, supervisor of plant health care. Additionally, gardeners will move away from contrasting color schemes and increase their use of outdoor spaces for entertaining and relaxing. Here’s a closer at what our experts anticipate for the coming season:

Cumulative Stress

Several years of erratic weather—drought followed by prolonged, record-breaking cold—have had a cumulative stress effect on many plants, especially evergreens. “I think we will be seeing more stress-related problems in 2015,” Tiddens said. Stress causes a lack of plant vigor, increasing plants’ susceptibility to pests and diseases.

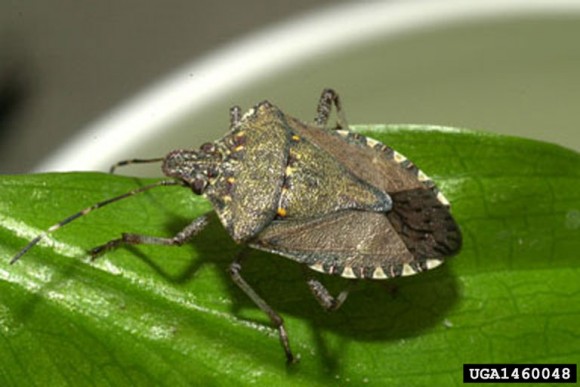
PHOTO: Brown marmorated stink bug.
Be on the lookout for brown marmorated stink bug ( Halyomorpha halys ). Photo by David R. Lance, USDA APHIS PPQ

Give your plants extra TLC and be on the lookout for viburnum leaf beetle, expected to hit the Chicago region soon. Other high-consequence plant pests and pathogens to watch for include brown marmorated stink bug, lantern fly, and thousand cankers disease. Emerald ash borer and Asian longhorn beetle remain threats.

Rainwater Management

More home gardeners will take steps to either improve or prevent the lake that seems to form in their yard every time it rains, said Heather Sherwood, senior horticulturist. Rain barrels and rain gardens will be two increasingly popular solutions. Rain gardens temporarily hold rainwater and rely on specialized native plants to wick water into the soil. Rain gardens offer many environmental benefits, soaking up 30 percent more water than a typical lawn, and minimizing the pollutants that flow into storm drains. The native plants used in rain gardens provide habitat for birds, bees, and beneficial insects. To learn more, go to: chicagobotanic.org/conservation/rain_garden or chicagobotanic.org/library/spotlight/raingardens.

Corresponding Color Schemes

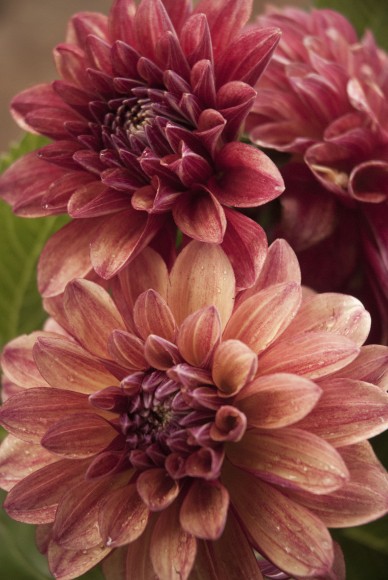
PHOTO: Dahlia 'Gitt's Crazy'.
Monochromatic color schemes are in! Experiment with the 2015 Pantone Color of the Year: “Marsala.” (Shown: Dahlia ‘Gitt’s Crazy’)

Gardeners will move toward more monochromatic displays, such as using shades of oranges alone, or shades of purples and blues together in the same design, according to Tim Pollak, outdoor floriculturist. Increased use of leaf interest will provide texture and shades of green. Sherwood sees red: from the earliest tulips to azaleas, dahlias, Japanese maples, large maples in the fall, and lastly, the red twigs of dogwood for seasonal interest.

Pollak also predicts home gardeners will use their outdoor spaces more and more for relaxing and entertaining, increasing the demand for outdoor décor. The Antiques, Garden & Design Show, April 17–19, 2015, will offer ideas and one-of-a-kind garden elements.

Less Is More

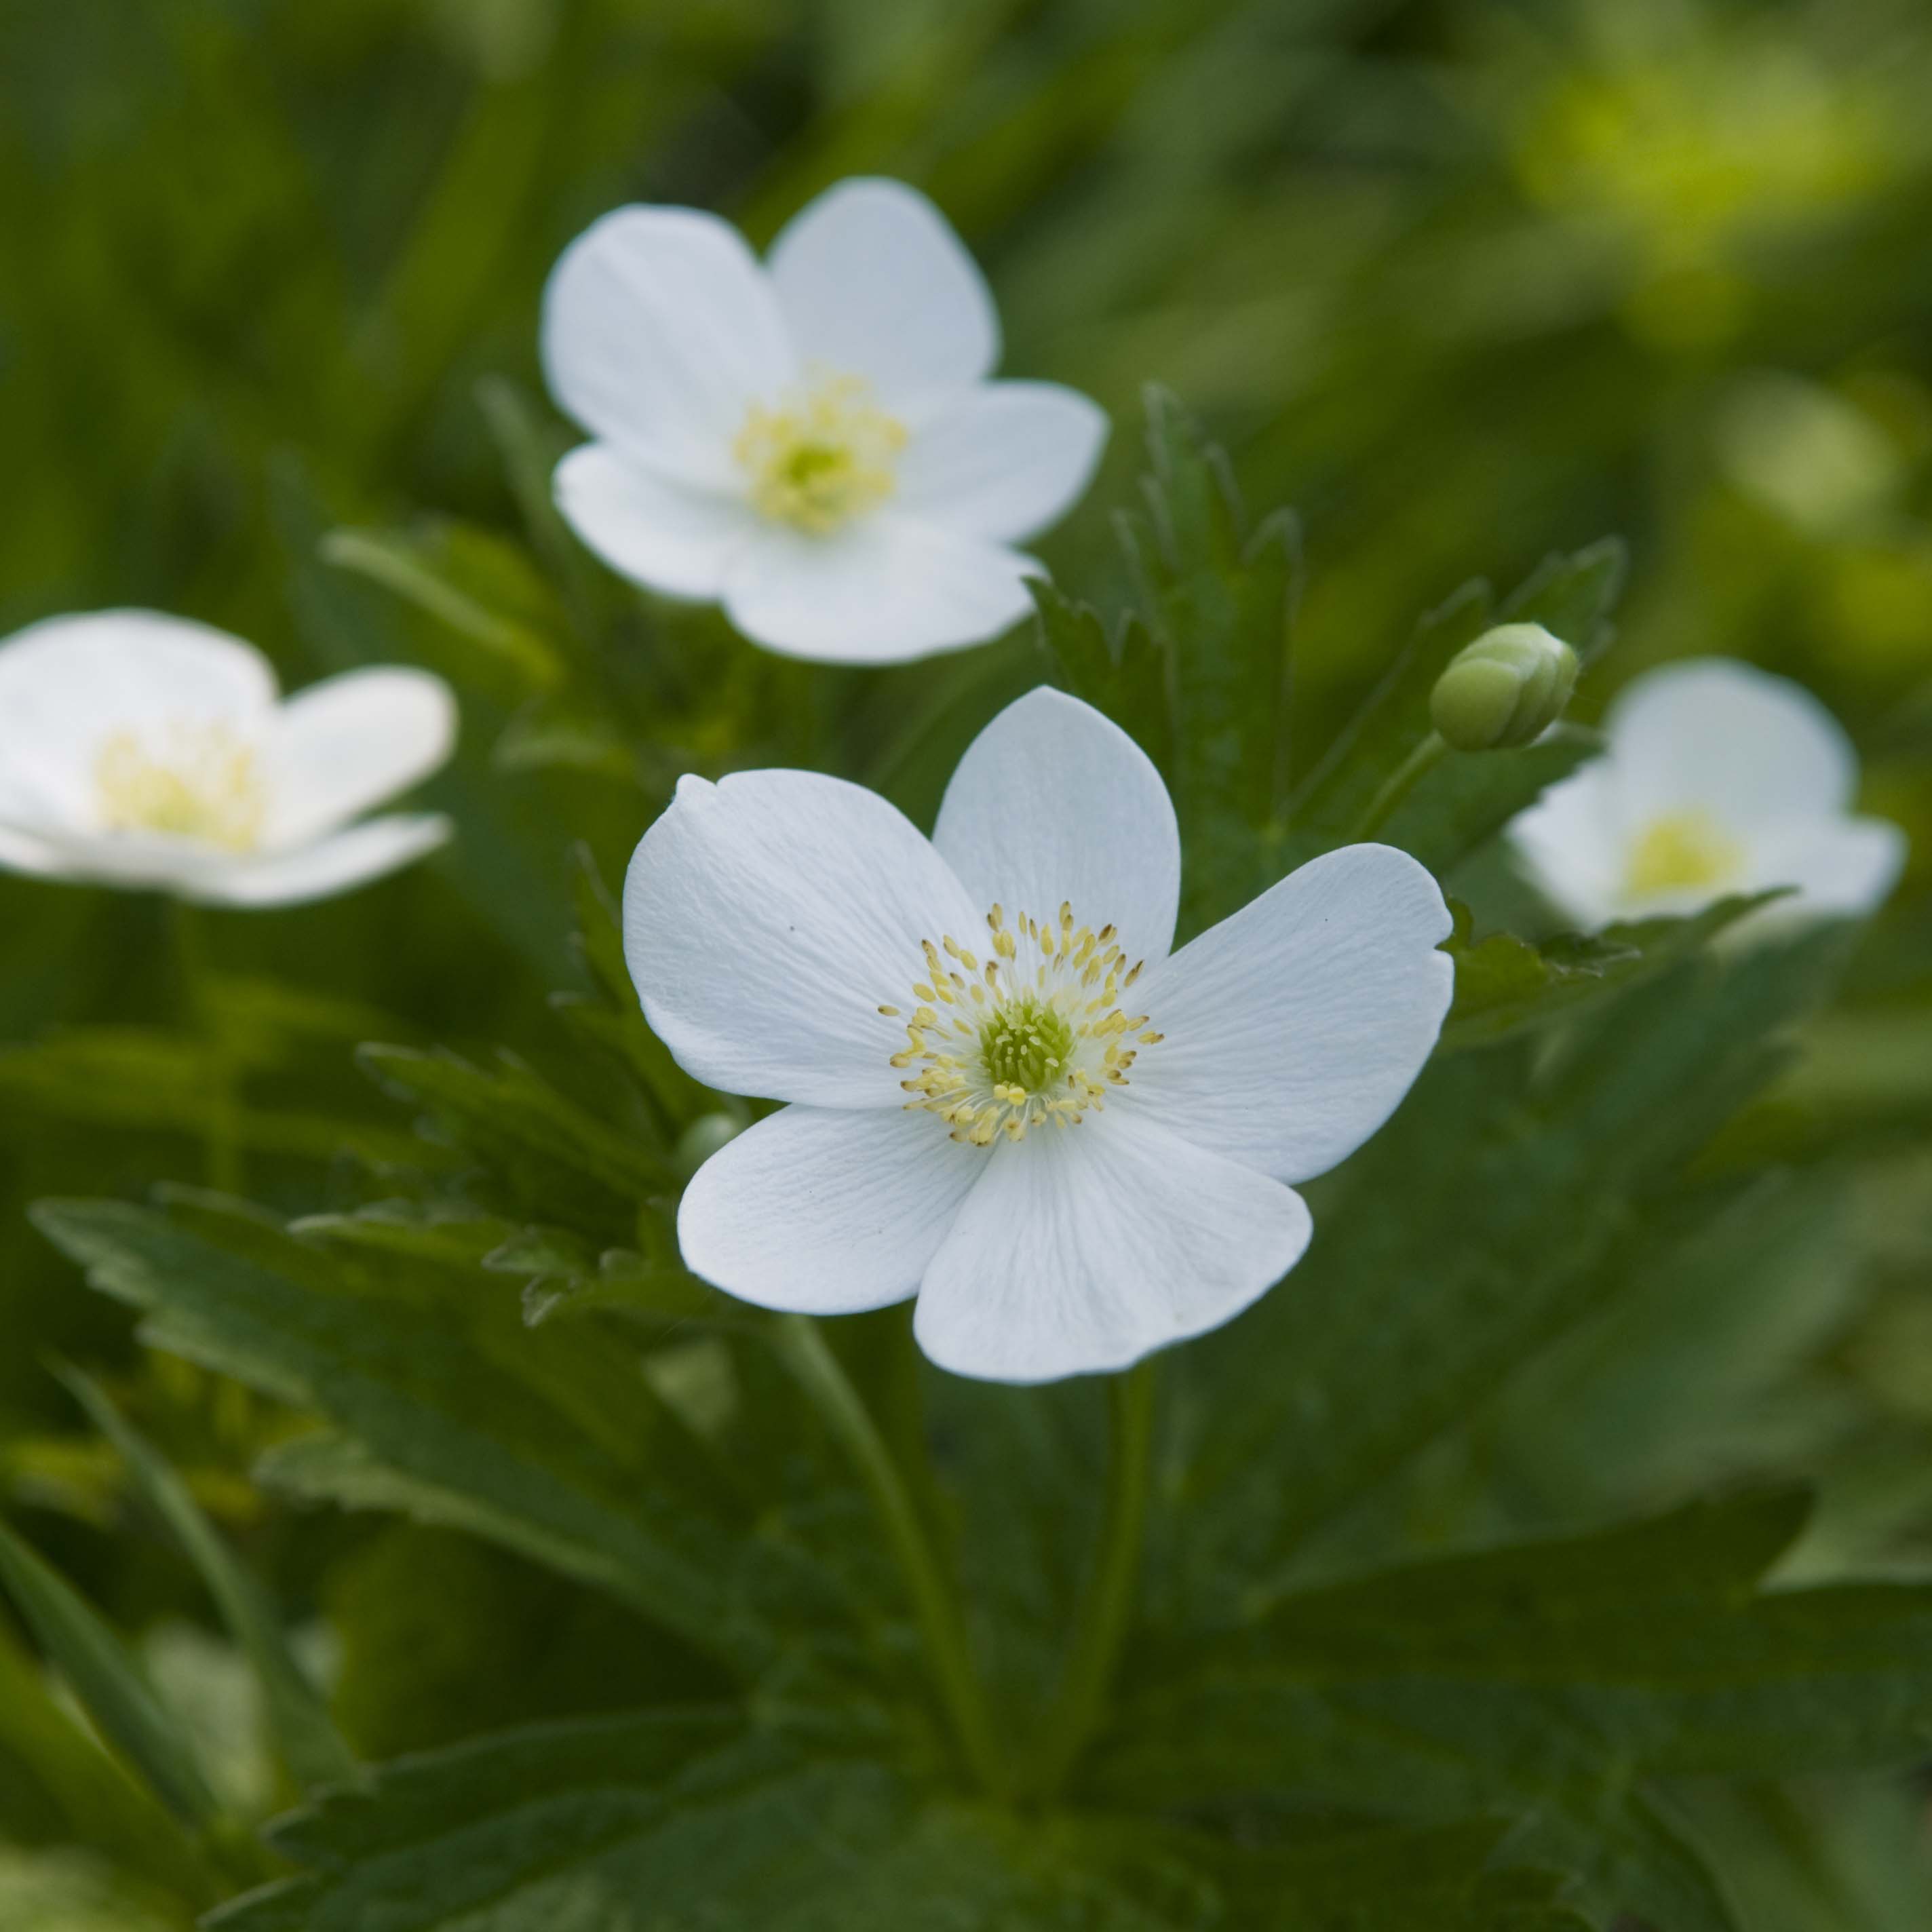
Jacob Burns, curator of herbaceous perennials, is excited to see new compact hybrids to make their way into the U.S. market next year, and expects them to catch on with home gardeners. New breeding efforts have produced dwarf versions of Japanese anemones (Anemone x hybrida) that are perfect for containers, or the front of the border. Rare among these fall-blooming windflowers is Anemone ‘Wild Swan’, which produces white blooms with a beautiful blue backing. Burns also welcomes new compact cultivars of little bluestem (Schizachyrium scoparium) available in 2015. ‘Cinnamon Girl’ reaches a height of just 28 inches, and transitions to red-purple foliage by late summer. Also on his list are cultivars ‘Twilight Zone’ and ‘Smoke Signal’.

Birds, Bees, and Butterflies

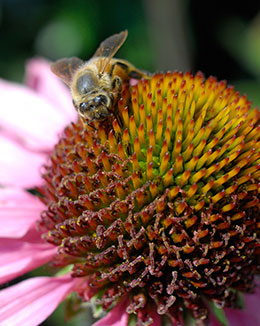
PHOTO: A honeybee from the Fruit & Vegetable Garden hives pollinates some Echinacea purpurea
A honeybee from the Fruit & Vegetable Garden hives pollinates some Echinacea purpurea.

The increased availability of equipment and support—both online, and at better garden centers and the Chicago Botanic Garden—will help boost the number of backyard beekeepers, said Lisa Hilgenberg, horticulturist, Regenstein Fruit & Vegetable Garden. Hand in hand with the hives will be the continued rise of bird- and pollinator-friendly gardens filled with nectar-rich and native host plants. Pollak predicts a continued upward trend in demand for organic, pesticide-free and non-GMO (genetically modified organisms) plants and products. Gardeners looking for more information may be interested in attending a Beginning Beekeeping Workshop on February 7, 2015.

©2015 Chicago Botanic Garden and my.chicagobotanic.org