Meet Naranjilla

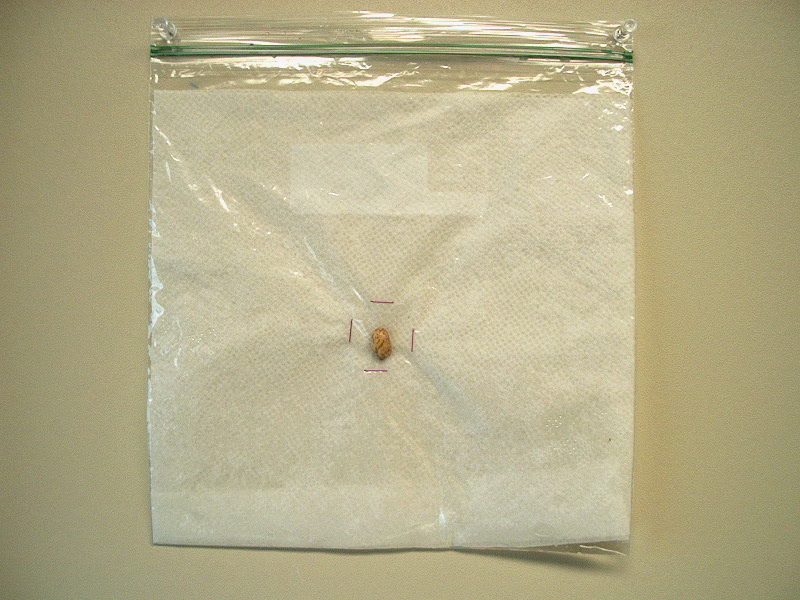
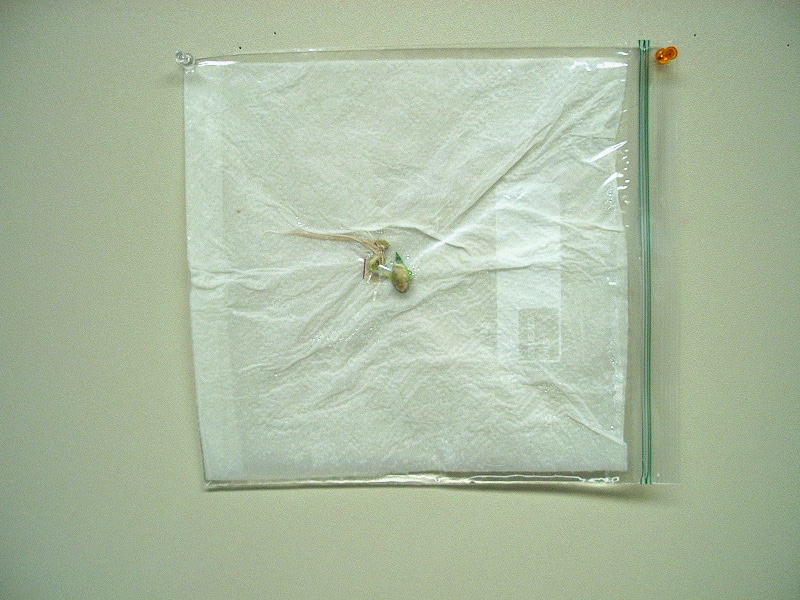
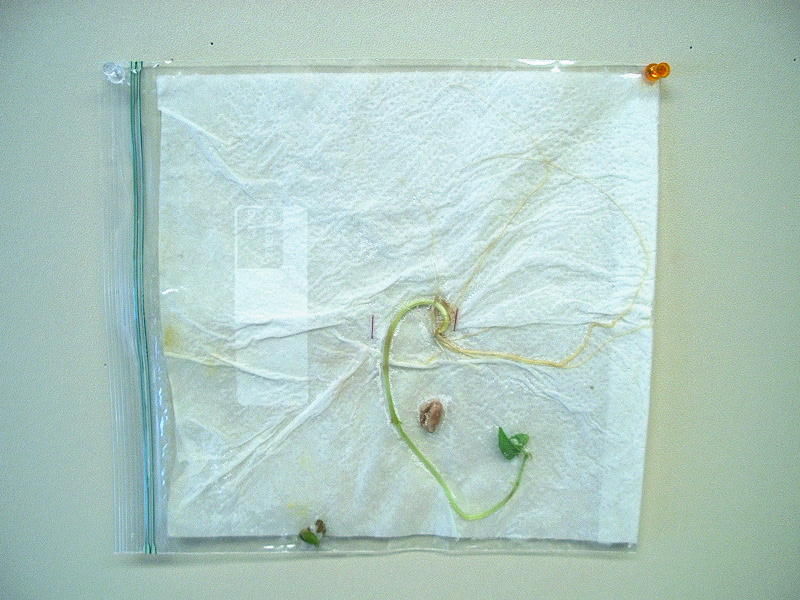
We get a lot of questions about one particular plant in the Grunsfeld Children’s Growing Garden: Naranjilla (pronounced nahr-ahn-HEE-yah). It’s easy to see why.

PHOTO: The naranjilla plant has thick green leaves that are about 10-12 inches long, 8-10 inches wide, with deeply serrated edges. Leaves have dark purple hairs on the veins and petioles.
You can find this naranjilla (Solanum quitoense) in Bed #10 in the Growing Garden.

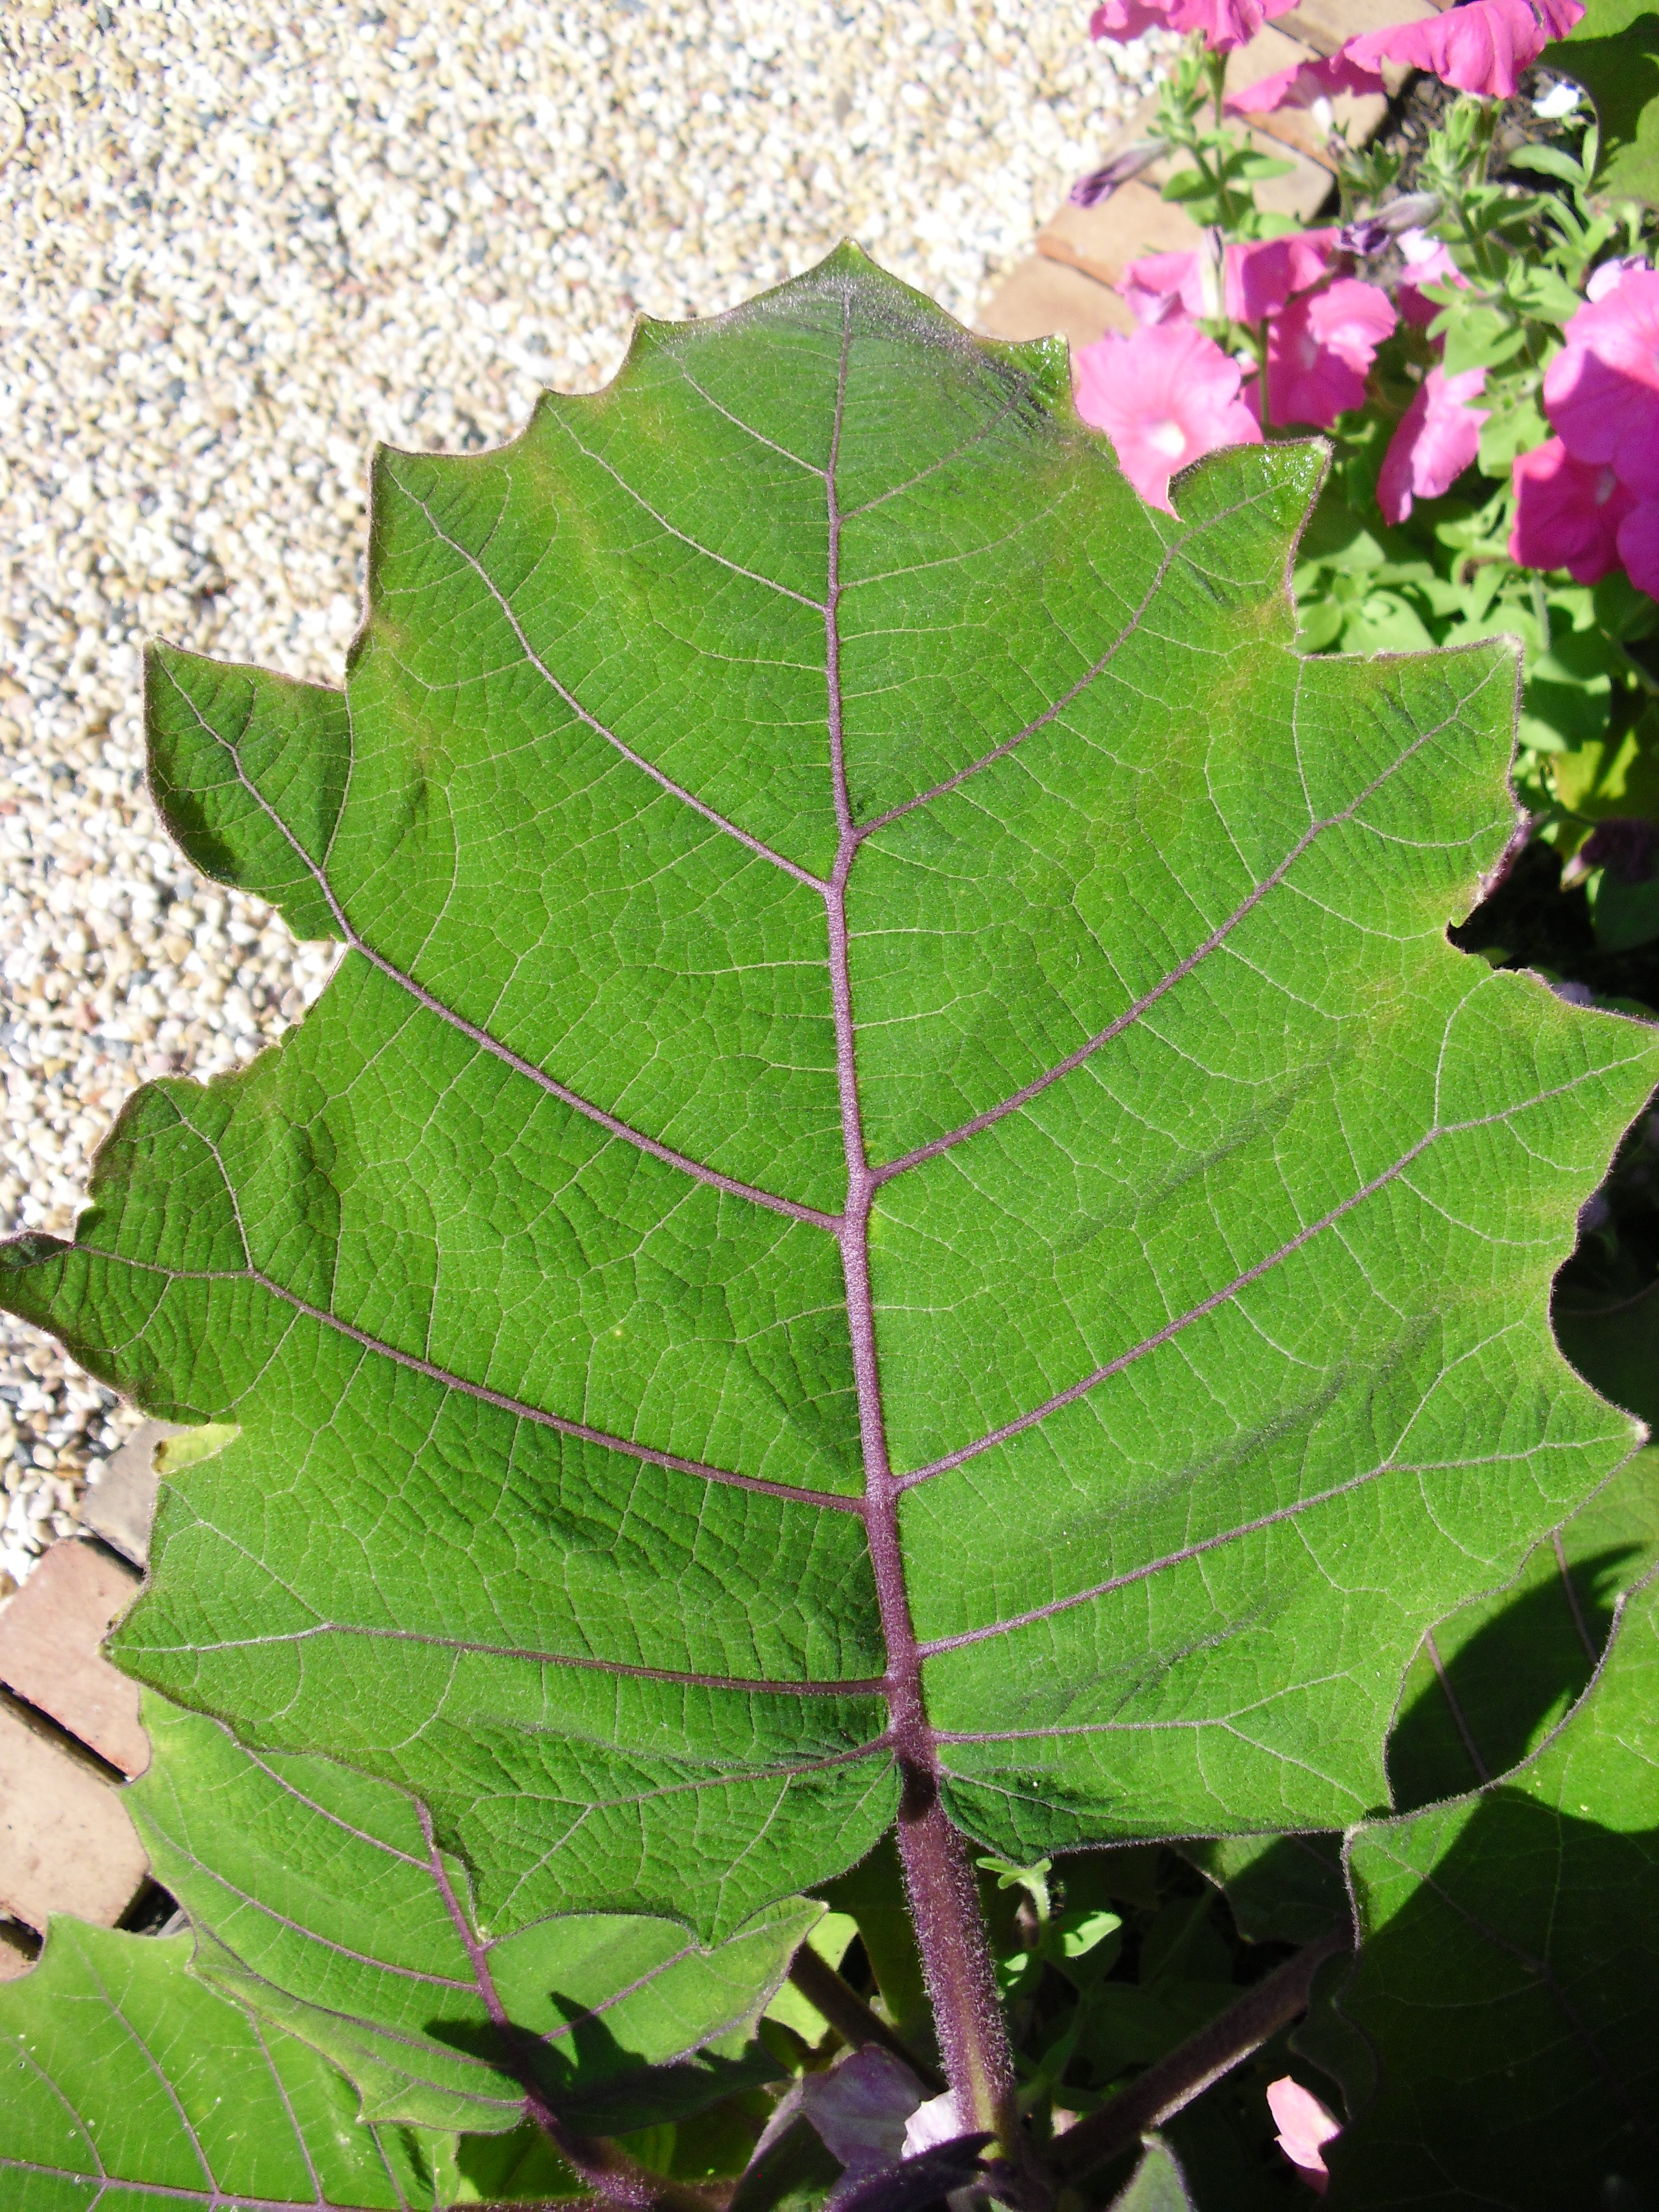
This attractive plant has large, thick, green leaves, is about 10–12 inches long and 8–10 inches wide, with deeply serrated edges, and is completely covered in tiny, purple hairs (which are not really hairs—in the botanical world they are called “tricomes”). It is native to Ecuador and other South American countries.

There is more to notice about this intriguing plant than its gorgeous coloring, interesting texture, and striking presence. First, the naranjillas in this small garden bed, number 10, were put there for a reason. All but one of the plants in this bed are in the nightshade family, Solanaceae. This family includes tomato, eggplant, potato, and petunia. Naranjilla is cousin to these more familiar plants.

CIMG0876
Upon closer inspection, it’s easy to see how these plants are related.

When you’re in the garden, take a look at the flowers on these plants. You will see the similarities that characterize plants in the nightshade family. Notice that they all have five petals that are fused so that they look like a funnel with five lobes. You’ll easily be able to pick out the one plant that does not belong in the family.

PHOTO: close-up of a bright pink petunia.
See how this ‘Pink Dreams Fuseable’ petunia (Petunia x hybrida ‘Pink Dreams Fuseable’) has five petals fused together, so it is like one continuous petal? You’ll find the same bloom design on tomato and other nightshade flowers.

The naranjilla won’t bloom until much later in the summer, and when it does you’ll recognize the similar flower shape. Naranjilla means “little orange” in Spanish, because the fruits are small, yellow, and spherical like little oranges. Unfortunately, our growing season in Chicago is not long enough for naranjilla plants to produce the sweet fruits, which are juiced for beverages in Ecuador.

Another interesting thing about the naranjilla—a detail that separates it from other members of the family—is that the leaves look soft and fuzzy, but they can grow sharp thorns along the veins. As you might expect, the thorns discourage large animals from eating the leaves. They are not as sharp and menacing as rose thorns, but you wouldn’t want to stroke a naranjilla leaf that bears thorns.

PHOTO: this close up of a naranjillo leaf shows sharp thorns sticking up from the veins of the leaf.
This naranjilla leaf, which is growing in a container on the Learning Center deck, is covered in thorns. There are no thorns on the plants in the Growing Garden. (The white things on this leaf are stamens fallen from the nearby “bunny tail” grass.)

Stop by the Growing Garden at the Learning Campus from noon to 4 p.m. Monday through Friday, and 10 a.m. to 4 p.m. on weekends this summer to see our naranjilla plants and enjoy free family drop-in activities.

Please note: the Growing Garden is closed on weekday mornings while Camp CBG is in session.


©2013 Chicago Botanic Garden and my.chicagobotanic.org

How to Train Your Plant II

Blog followers will remember that in the first “How to Train Your Plant” post, we demonstrated how plants respond to the gravitational pull of the earth. Geotropism is difficult to overcome, but that didn’t stop me from trying to make a plant grow sideways through a maze. You can try this activity at home.

You will need these items:

  • a shoebox (or any kind of box)
  • cardboard to make dividers
  • duct tape (or any opaque tape)
  • soaked bean seeds—I used different beans from a soup mix
  • a container with soil
PHOTO: The materials for the maze are displayed.
You’ll need a shoe box, cardboard dividers, seeds, a pot with soil medium, and of course scissors and tape for constructing the maze.

Stand the box on its side. Then cut two pieces of cardboard to fit in the box and make divisions. You’ll want these to fit as snugly as possible inside the box, but they don’t have to be perfect. The tape will fix that. Cut a large window in each divider. Cut a window on one end of the box. Tape the dividers in place as shown in the picture.

PHOTO: The maze assembly is shown in the shoebox. There are two dividers with cut out windows and a whole in the side of the box for light to shine sideways on the sprouting bean seeds.
Pardon the crude appearance of this maze. I wasn’t going for style points.

Plant the seeds in the soil and put the container on the side opposite of the hole you cut. Just for fun, I used several different seeds from a bean soup mix to see if one kind would get through the maze better than the others. It was like a bean-seed “race.” You can try whatever you like.

Make sure the holes in the divisions are big enough to allow lots of light in from the side, and don’t vary the height too much. Remember, we are fighting the plant’s tendency to grow up—if it’s too challenging, it won’t work. Trust me, I learned this the hard way.

When the maze is complete, give your beans a last bit of water, and maybe a kiss, and then close the box. Apply tape along the top edge, to secure it and reduce light. Then put it next to a window and wait.

And wait.

It’s going to take a few weeks. Remember, horticulturists are very patient. Open the box every few days or so to be sure it has not dried out. Add a little water, but only enough to moisten the soil if it is very dry.

When you see the bean plant emerging through the open window in the box, open it and take a look. How long this will take will depend on the kind of beans you use, how far the plant has to grow, and how warm the room is.  

The beans have sprouted and are moving toward the light

 It took my beans about five weeks to grow through the second window.


PHOTO: all of the bean sprouts are leaning toward the light.
The beans were definitely torn between growing up and growing in the direction of the light.


The winning sprouts, which I believe were lentils, did not actually make it through to the last window when I took this picture, and I’m not sure it has enough “umph” to do it. Still, notice how all of the plants leaned toward the light and most of them grew through the first window. That is a positive result!

What is going on here?

This activity demonstrates phototropism. Photo is the Latin word for “light,” and you will remember that a tropism refers to an organism’s response to stimulus, so that phototropism means plants grow toward the light.

It makes sense for plants to reach for the light because they need light to make sugars, their source of energy. Normally, growing up against the pull of gravity is also growing toward the light. In this activity, we changed that condition, forcing the beans to deviate from their normal course to get the light they needed.

The sprouts that grew the farthest and were closest to completing the maze had leggy stems that would not support growth upward to the last window. If I leave them a few more weeks, they could possibly grow along the bottom and then up the side of the box. I’ll have to wait and see.


©2013 Chicago Botanic Garden and my.chicagobotanic.org

How to Train Your Plant

Since it’s winter, and we’re all stuck looking at leafless plants outside, why not try growing some plants indoors? Better still, why not experiment with your plants to understand them better?

In this activity, you will confuse a bean sprout and train it to grow in any direction you want. Sound like fun?

You will need:

  • a gallon-size zip-top bag
  • paper towels, preferably 2-ply (if they are single-ply, double them)
  • a pinto, lima, or kidney bean (try whatever you have) soaked in water overnight
  • a stapler
  • water
  • tape

Lay the paper towel flat inside the plastic bag. If it doesn’t fit exactly, fold the edge of the paper towel.

Put a staple in the middle of the bag, and place the bean just over the staple. Add two staples that are separated by more than the length of the bean. 

IM000700

The staples hold the bean in place, but should give enough room for the bean to grow between the staples. Watch to see how the bean grows and needs the space. Add just enough water to the bag to wet the paper towel. Take care not to have a pool of excess water in the bag.

Now tape the bag to a wall, or your refrigerator, or a window if it’s not cold. That’s right, put it right on a vertical surface. Don’t close the bag, because it’s good to allow water and air to move in and out. The picture shows you what it should look like. (Ignore the four staples, only put three on yours. I discovered that four staples trap the seed and ruin the activity.)

IM000624

As soon as your plant has grown a root and a stem that is 1-2 inches long, turn the bag one quarter turn and put it back. You may have to wait a week – less if your bean is warm, more if your bean is in a cooler location, like my office.

This is what it may look like at this stage after I turned it.

IM000679

Now wait. When the sprout has grown another inch or so, turn the bag again in the same direction. Since the opening of your bag will now be on the bottom, you should seal it. Then wait.

Yes, I know, you have to wait a while to get results. The timing will depend on the level of light and the temperature. That’s the way it goes with growing plants. Horticulturists – the people who grow plants – are some of the most patient people you will ever meet!

Here are the results of one bag I started in early January, about three weeks ago. Since I turned the bag clockwise, the roots and stem appear to be going around counter-clockwise.

IM000701

From here on it’s up to you.  Let the plant grow and turn the bag when you want to change the direction of growth, let it go for as long as you like.  Can you make it grow in a full circle around the middle of the bag? 

What is Going On Here?

Plants are affected by the gravitational pull of the earth. When you turn the bag, you change the direction of the force and the plant responds by changing direction of growth. This phenomenon is called geotropism. A tropism describes an organism’s response to a stimulus. In this case, the “geo” refers to the Earth, and it is the scientific way of saying that the earth makes leaves grow up and roots grow down. This phenomenon may also be called gravitropism.

The Garden’s horticulturists play with gravitropism. Look at this picture of the Visitor Center bridge in fall. Notice the gorgeous pink mums hanging from the trellis.

i-ZST28XH-L

Left alone, the stems of these plants would naturally grow up like the mums planted on the sides of the bridge. Our horticulturists train the stems to grow down, cascading over the sides of their container, by tying small weights on the stems while the plants are growing in the greenhouses. They actually use metal nuts from a hardware store! The weights are removed before the planters go on display, and they look fabulous, thanks to the horticulturists’ success in playing with the plant’s response to gravity.


©2013 Chicago Botanic Garden and my.chicagobotanic.org

Dwarf Irises Begin to Bloom


Meet Katharine Hodgkin, a dwarf iris that is blooming now in the rock garden area of the Landscape Garden. The ethereal powder blue of this 4- to 8-inch-tall hybrid of Iris winogradowii and Iris histroides is beautifully etched with darker blue markings and shows a splash of lemon yellow on the “falls” — the three lower petals of the iris flower that may either hang down or flare out. Learn about this plant and more on our weekly bloom highlight page. http://www.chicagobotanic.org/inbloom/highlight.php

Spring Garden Display Preview

We stopped by the Production Greenhouses to see what they are growing for the upcoming spring garden displays. Tim Pollak, Outdoor Floriculturist, said we are growing 66,000 spring annuals and vegetables onsite this year for displays in the ground, in hanging baskets and containers.

Tim explained that the foxgloves you will see in the Circle Garden and Rose Garden were started from seed in October, grown at 42 degrees F for six weeks and brought into the greenhouse in January to grow with long days and warm temperatures to get them to bloom earlier than usual. The lupines you will see in the Heritage Garden and English Walled Garden are two years old and we plan to return them to the greenhouse for many years so they will continue to grow in size. The penstemon you will see in the Circle Garden have been growing for one year to get them to size, then overwintered in a nursery quonset and brought into the greenhouse in January to grow with long days and warm temps to get them to set flowers. Now, they are back in a quonset to slow their flowering until they are planted outside.

We are growing several species of echium (tower of jewels) for displays outside the Visitor Center as well as in the Heritage Garden and English Walled Garden. Most of the plants shown here were started from seed 18 months ago to get them to flower this spring. Echium fastuosum will grow 5-6 feet tall outside the Visitor Center, whereas Echium pininana will grow 12-14 feet tall in the Heritage Garden.

What are you most looking forward to seeing this spring?

View the video on YouTube here.