Eleven Experiments with Radish Seeds

It’s that time of year again—time for student science fair projects. Many students I know struggle to find a good idea, and sometimes wait until the last minute to do their experiments. We in the Education Department of the Chicago Botanic Garden are committed to helping make science fair a painless and even fun learning experience for students, parents, and teachers by offering some simple ideas for studying plants.

A no-brainer botany project is testing germination of radish seeds in different conditions. Radish seeds are easy to acquire, inexpensive, large enough to see and pick up with your fingers, and quick to germinate under normal conditions. Testing germination does not take weeks, doesn’t require a lot of room, and is easy to measure—just count the seeds that sprout!
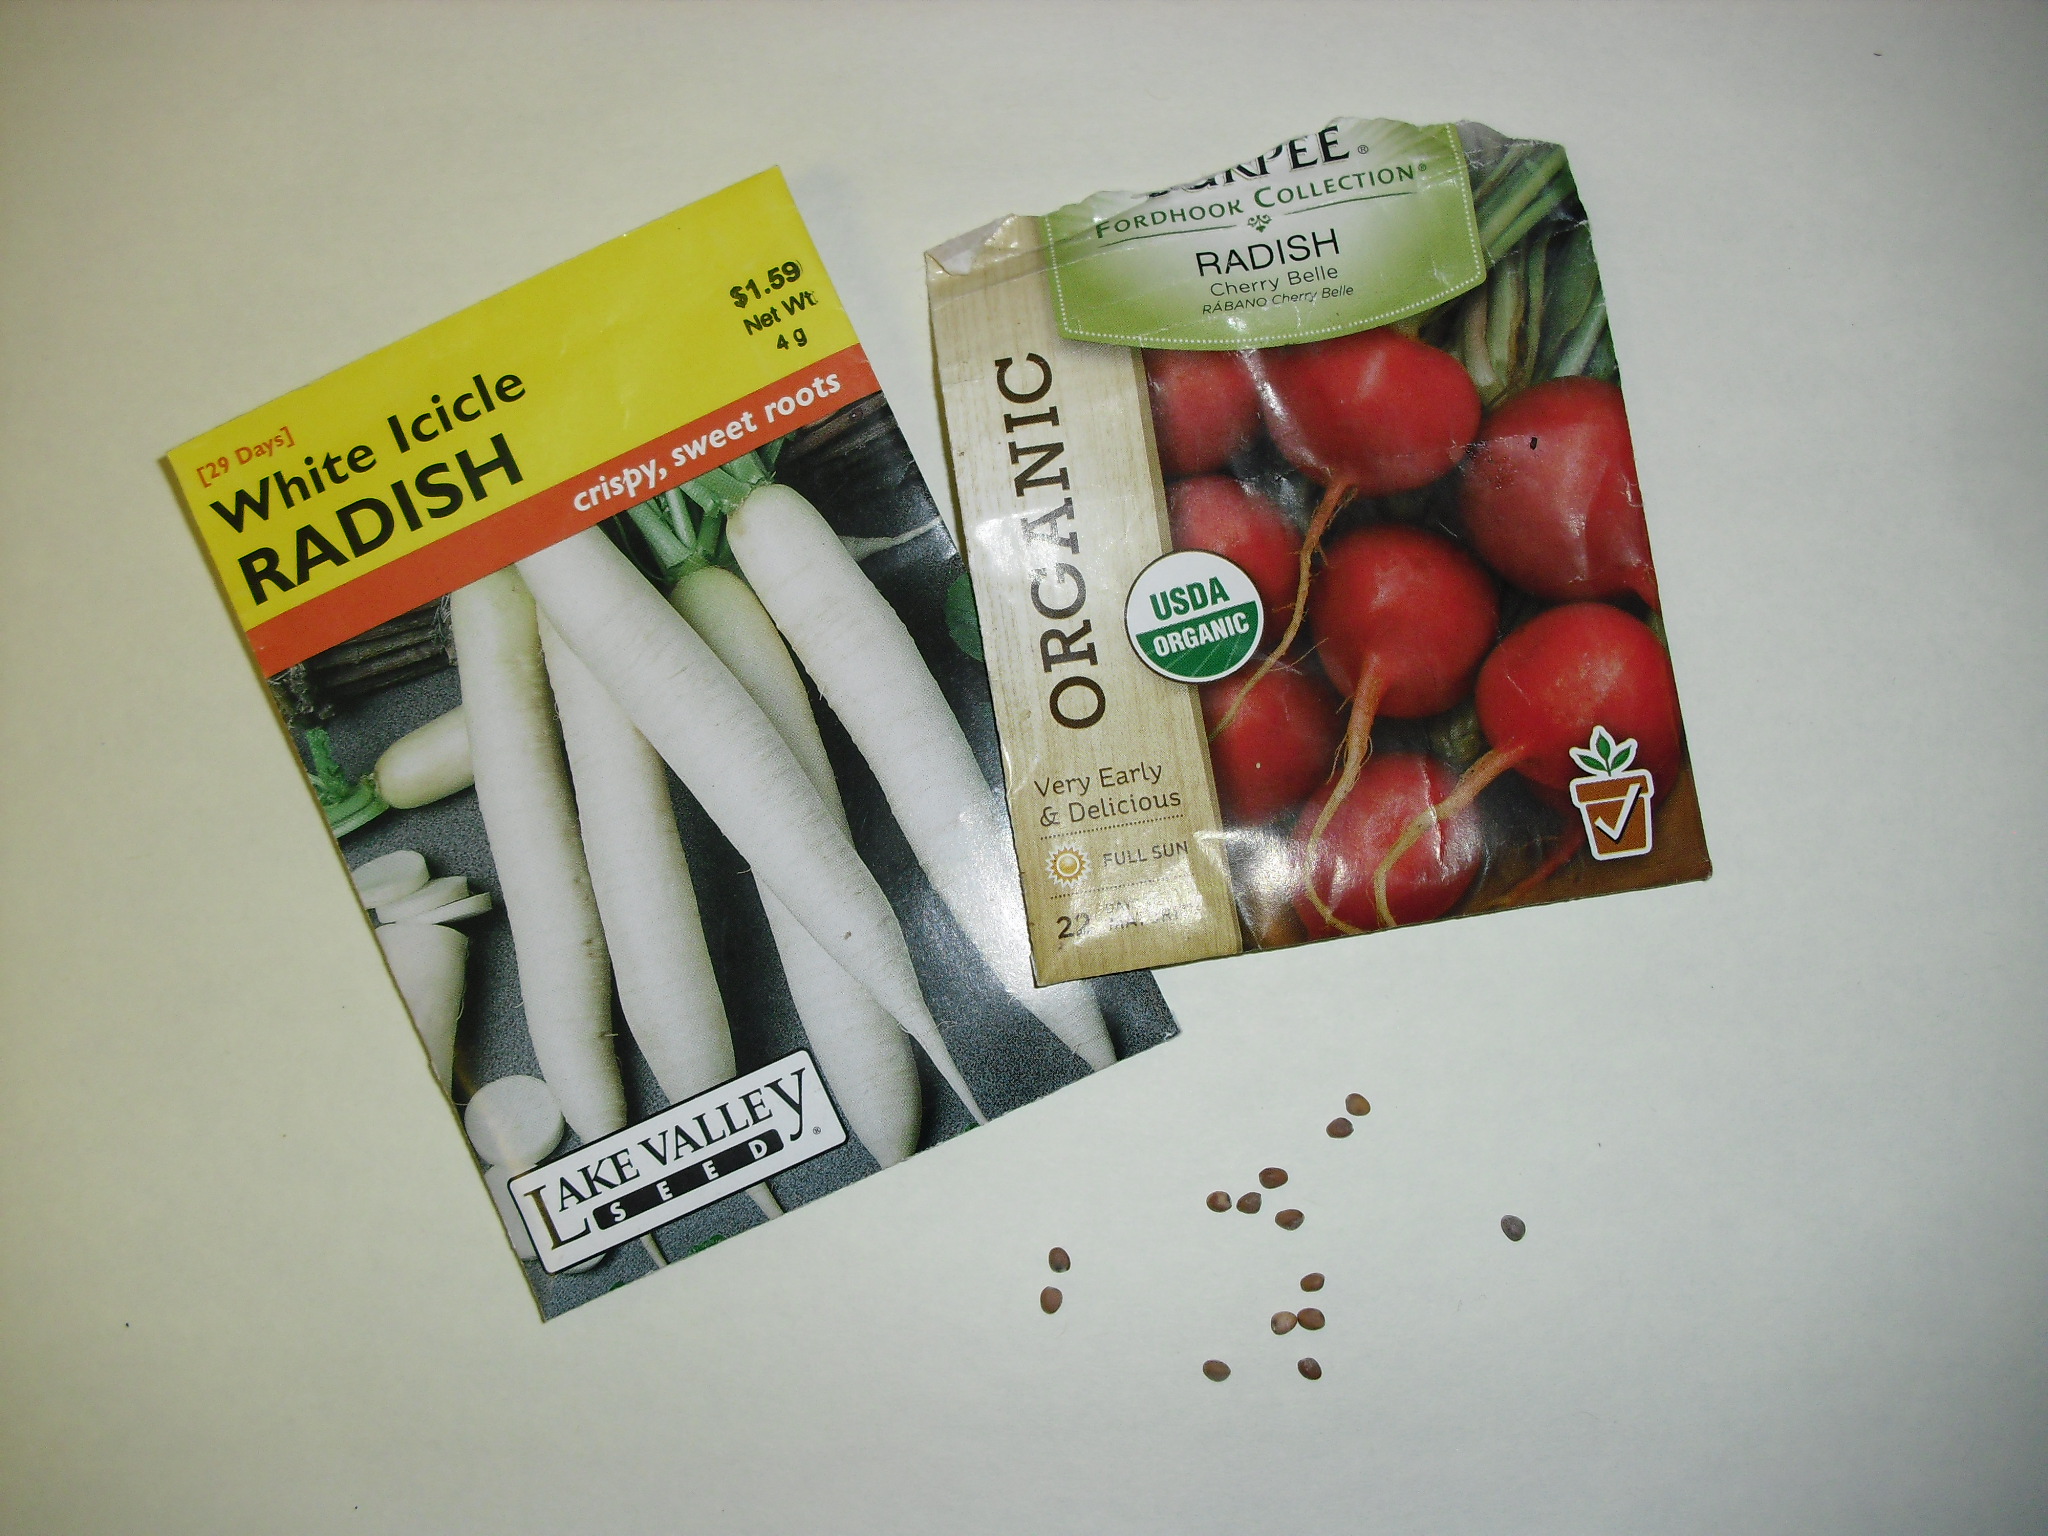
PHOTO: Seed packets for White icicle radish and an organic red radish are shown, next to about a dozen scattered radish seeds from the open package.
Radishes come in different varieties—here are two very different kinds. They all work for germination experiments.

To set up a seed germination experiment, use this basic procedure:

  1. Gather three or more small plates, depending on how many ways you will be treating your seeds.
  2. Place a folded wet paper towel on the plate.
  3. Place ten seeds on the wet paper towel. You can use more seeds—the more you have, the more reliable your results will be—but using multiples of ten makes it easier to calculate percentages.
  4. Cover with a damp paper towel; label the plates.
  5. Treat the seeds the same way in every respect except for one thing: the condition you are testing. That condition is your “independent variable,” which may also be called the “experimental variable.” No matter what you are testing, one plate should be set up with the basic directions and no treatment. That plate is the “control” that all the other plates can be compared with.
  6. When the seeds sprout root and leaves, remove the top paper towel. Compare the number of seeds that germinate and the time it takes for seeds in each condition. You should be able to wrap this up in less than a week.
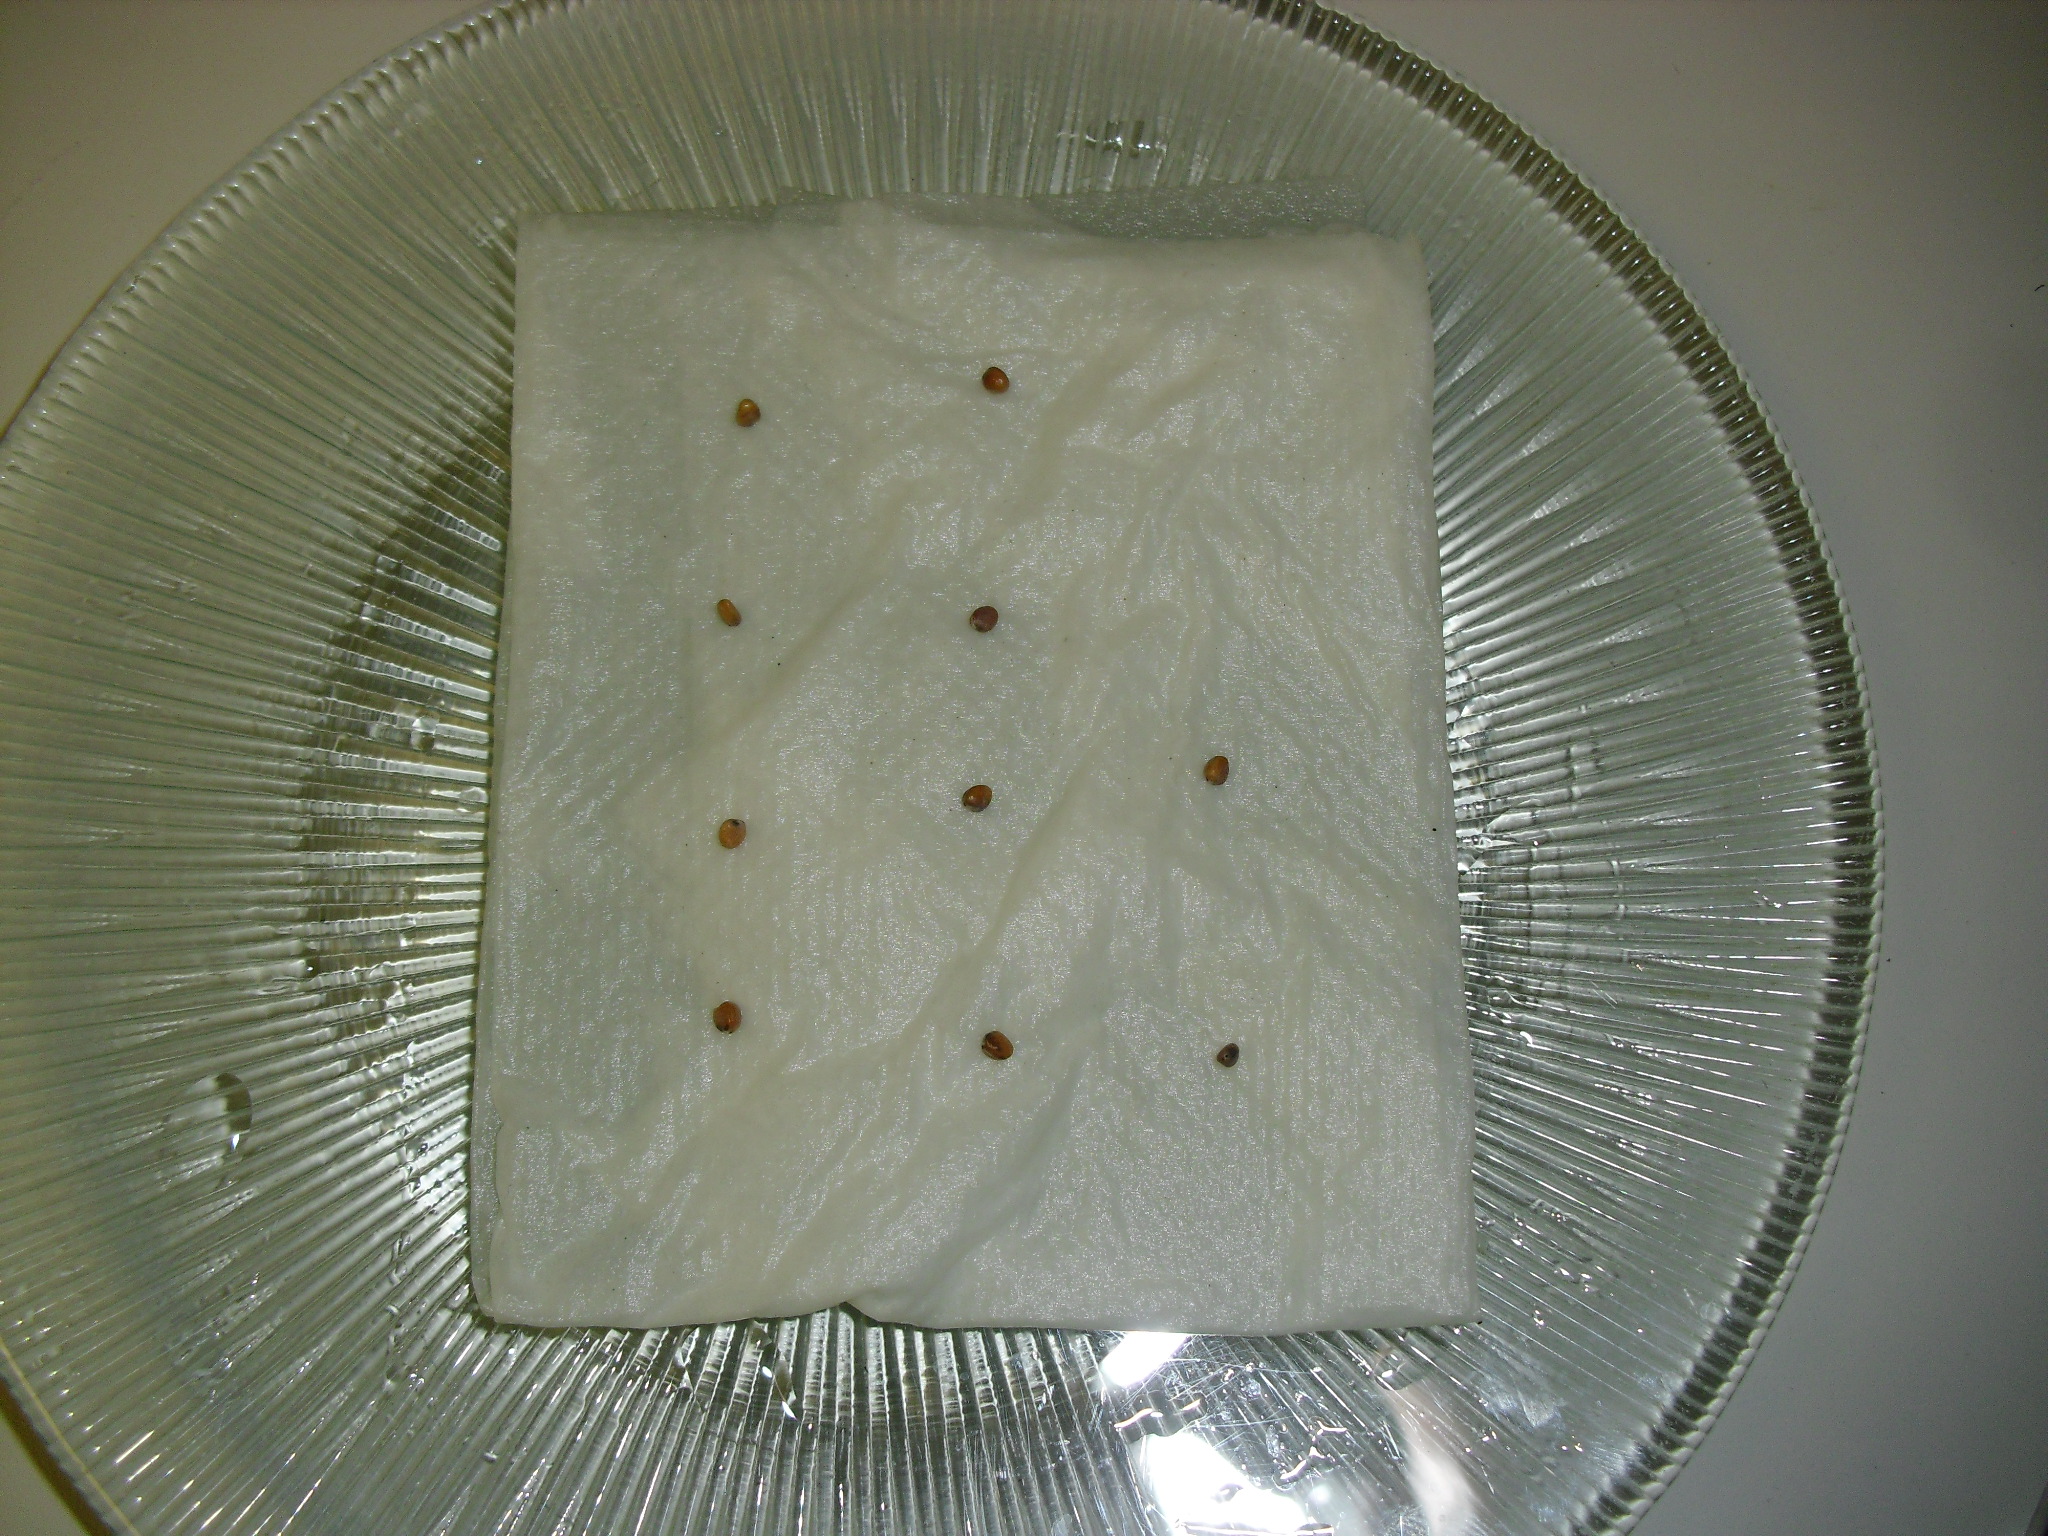
PHOTO: ten radish seeds are arranged in three rows, half inch apart, on a wet folded paper towel.
These seeds are ready to be covered with a damp paper towel and tested.

Now all you need are some ideas for conditions to test. Here are eleven questions you can investigate at home or school using the same basic proceedure:

1. Do seeds need light to germinate?

Place your plates of seeds in different light conditions: one in no light (maybe in a dark room or a under a box), one in indirect/medium light (in a bright room, not near the window), and one in direct light (by a south-facing window). Compare how well the seeds germinate in these conditions.

2. Do seeds sprout faster if they are presoaked?

Soak some seeds for an hour, a few hours, and overnight. Place ten of each on a germination plate, and and compare them with ten dry seeds on another plate.

3. Does the room temperature affect germination rate?

You’ll need a thermometer for this one. Place seed plates on a warming pad, in room temperature, and in a cool location. Monitor temperature as well as germination rate. Try to ensure that the seeds have the same amount of light so it’s a fair test of temperature and not light variation.
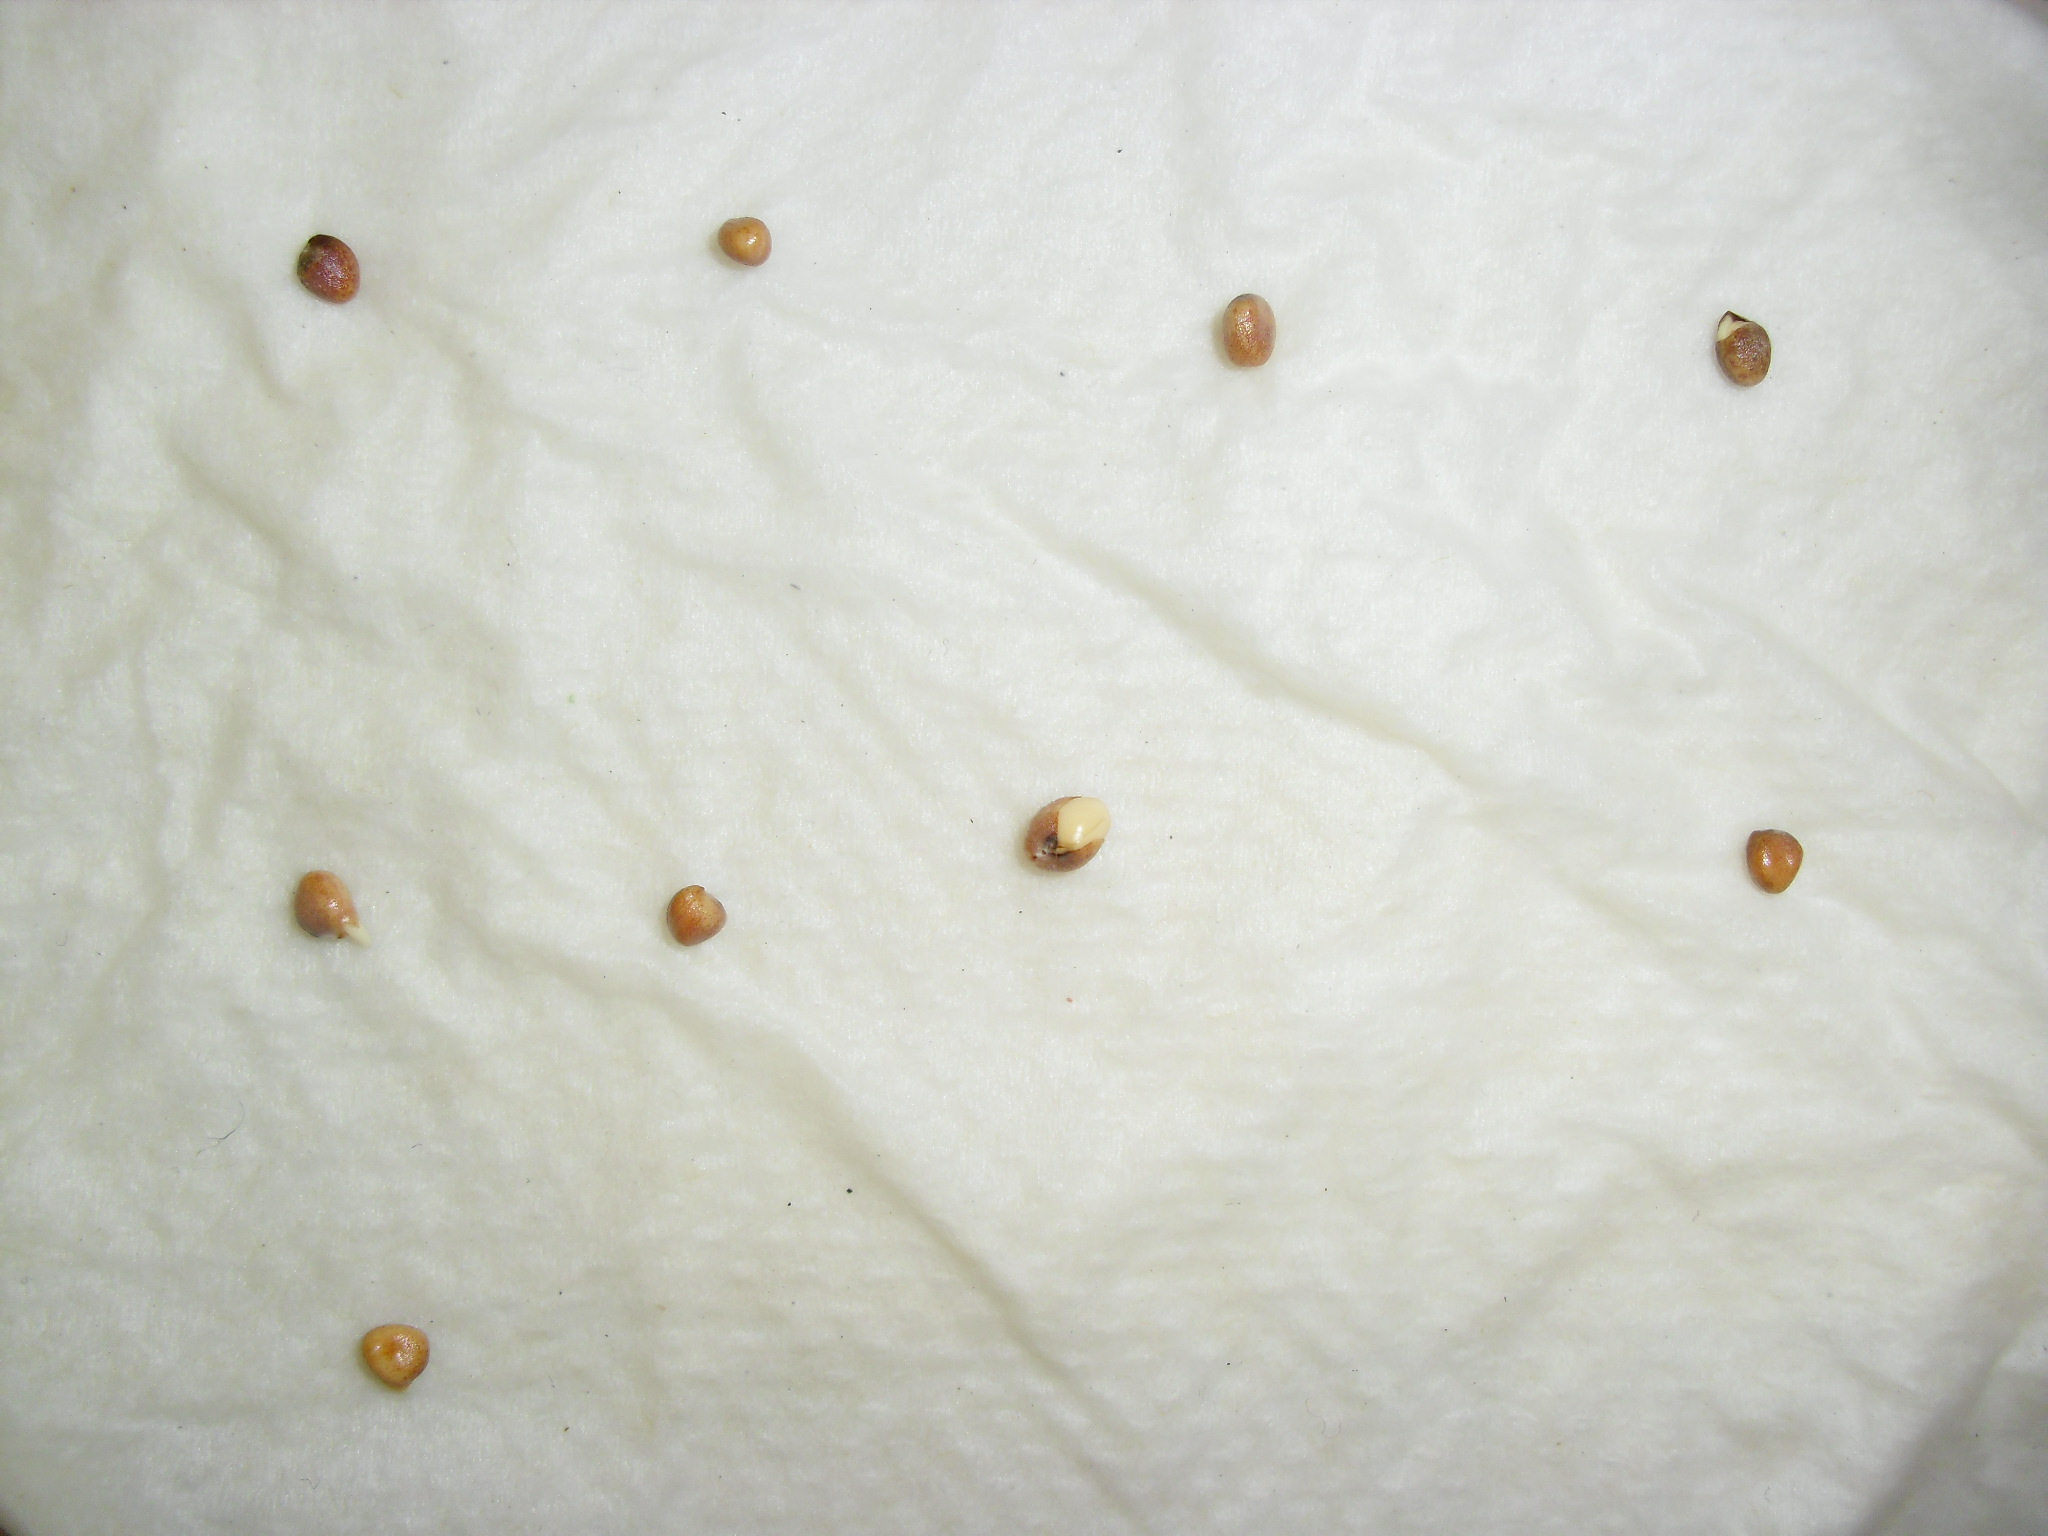
PHOTO: ten radish seeds on the wet paper towel overnight all show signs of germination, including swelling and the beginnings of tiny roots
Like magic, after just one day, these seeds are swollen and beginning to germinate. Notice the tiny white nubs on some seeds, which shows they are starting to grow.

4. Do microwaves affect germination?

Put seeds in the microwave before germinating and see if this affects them. Try short bursts, like one and two seconds as well as ten or 15 seconds, to see if you can determine the smallest amount of radiation that affects seed germination.

5. Does pH affect germination rate?

Wet the paper towels with different solutions. Use diluted vinegar for acidic water, a baking soda or mild bleach solution for alkaline conditions, and distilled water for neutral.

6. Does prefreezing affect the seed affect germination?

Some seeds perform better if they have been through a cold winter. Store some seed in the freezer and refrigerator for a week or more before germinating to find out if this is true for radishes or if it has an adverse affect.
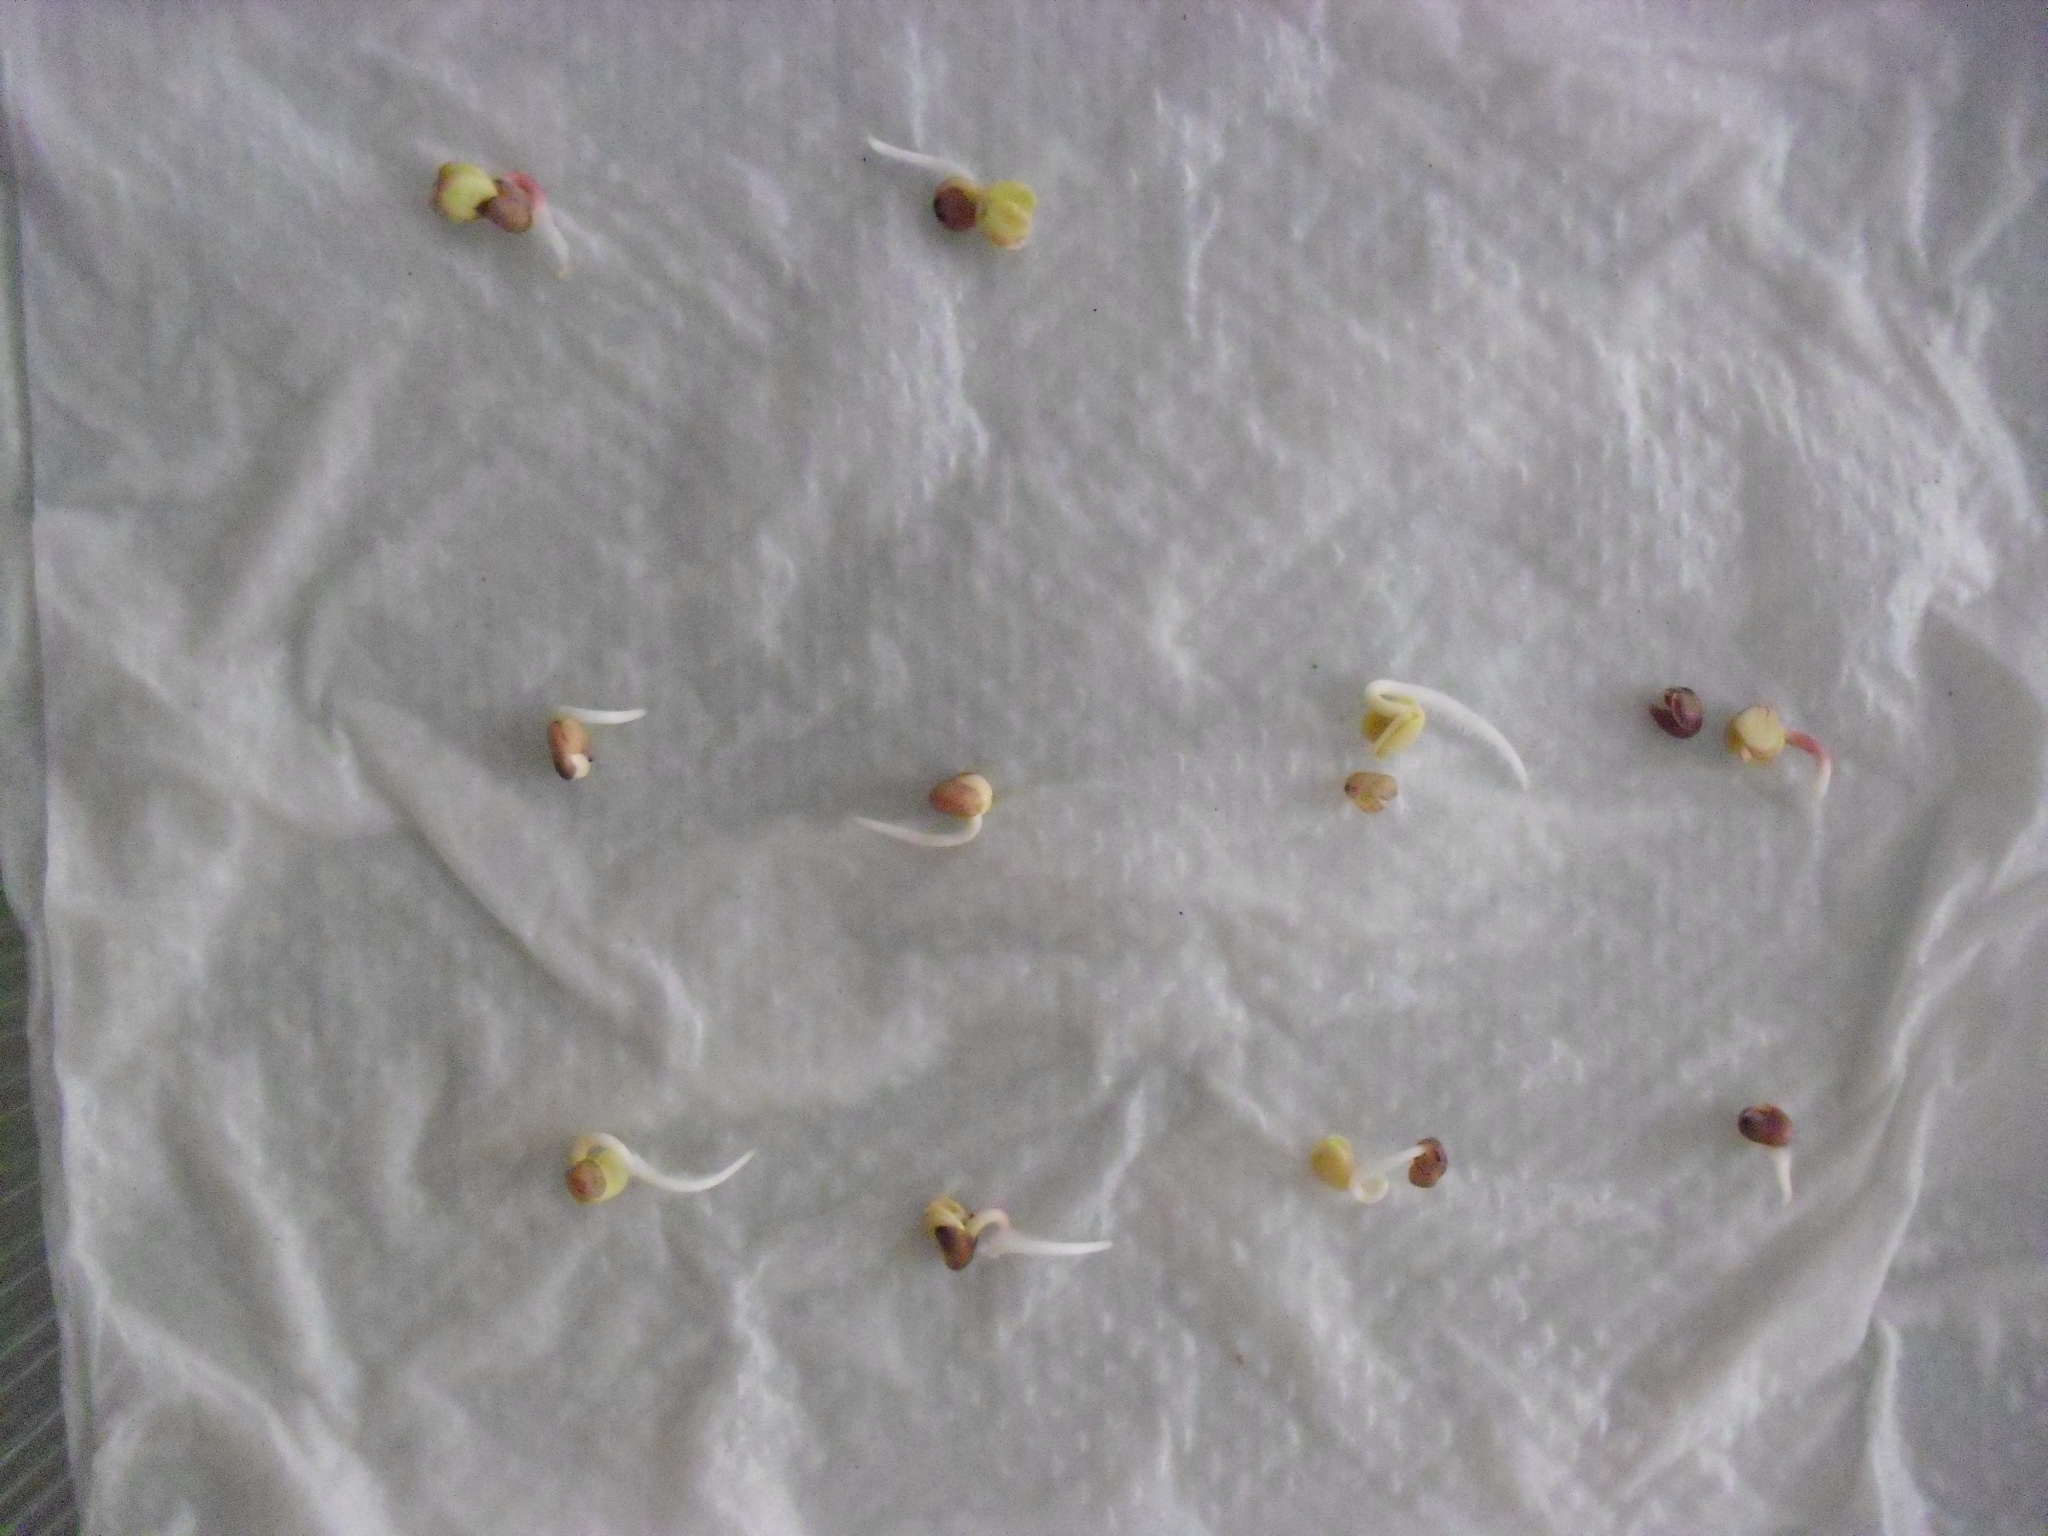
PHOTO: Ten sprouting radish seeds, each with root and seed leaves.
After about three days, all ten seeds have grown roots and early leaves. That’s 100 percent germination!

7. Does exposure to heat affect germination rate?

Treat your seeds to heat by baking them in the oven briefly before germinating. See what happens with seeds exposed to different temperatures for the same amount of time, or different amounts of time at the same low temperature.

8. How is germination rate affected by age of the seeds?

You can acquire old seeds from a garden store (they will be happy to get rid of them), or maybe a gardener in your family has some old seeds hanging around. Find out if the seeds are any good after a year or more by germinating some of them. Compare their germination rate to a fresher package of the same kind of seed.

9. Do seeds germinate better in fertilized soil?

Instead of using the paper-towel method, sprout seeds in soils that contain different amounts of Miracle-Gro or another soil nutrient booster.
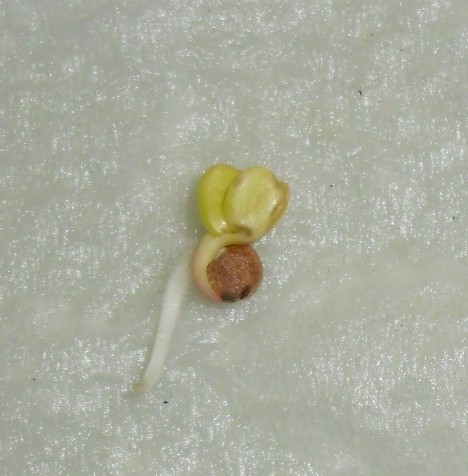
CIMG0951
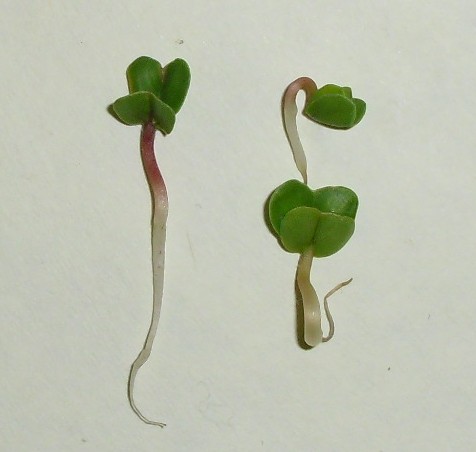
Speaking of seeds, this sprout is about a half-centimeter long, complete with testa, radicle, and first leaves. Now go look up those terms for your report! While you’re at it, look up hypocotyl, cotyledon, and plumule.

10. Does scarification improve germination rate?

Some seeds need to be scratched in order to sprout—that’s called “scarification.” Place seeds in a small bag with a spoon of sand and shake for a few minutes and see if roughing them up a bit improves or inhibits their germination.

11. Does talking to seeds improve their germination rate?

Some people claim that talking to plants increases carbon dioxide and improves growth. Are you the scientist who will show the world that seeds sprout better if you read stories to them? Stranger discoveries have been made in the plant world.

That eleventh idea may seem silly, but sometimes science discoveries are made when scientists think outside the seed packet, so to speak. Students should design an experiment around whatever question interests them—from this list or their own ideas—to make the research personal and fun. As long as students follow the scientific method, set up a controlled experiment, and use the results of the experiment to draw reasoned conclusions, they will be doing real science. The possibilities for botanical discovery are endless, so get growing!


©2013 Chicago Botanic Garden and my.chicagobotanic.org

Planter Puzzler

Looking for a fun and novel table decoration for a special event? Here’s an idea. We turned our table decorations into a game for the School Gardening Conference.

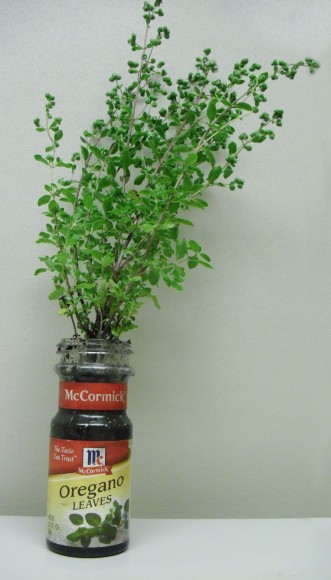
PHOTO: Oregano sprigs in an oregano spice jar.
Oregano in its namesake jar was our Planter Puzzler example.

We paired unusual plant containers with plants that had some relationship to those planters and asked teachers to guess the connections. We provided an easy example to start. You can duplicate this game using our examples or invent your own combinations. Start with a plant that has a fun name that lends itself to ideas for containers based on the shape, color, or function of the container. You can also start with a container and then select a plant or seeds to match.

If you have one or the other and can’t think of good pairing, do an internet image search for related words. We had a gumball machine, so we tried “gum plant,” “ball plant,” and other ideas just to play around with the idea before we decided to fill it with sweet gum tree seeds. (Sorry, I did not get a good photo of it.)

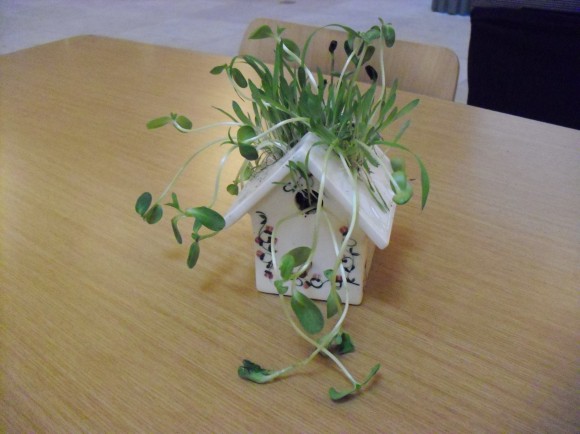
PHOTO: birdseed growing in a birdhouse.
I had a ceramic birdhouse, so I filled it with soil and planted birdseed (actually, millet and sunflower seeds).
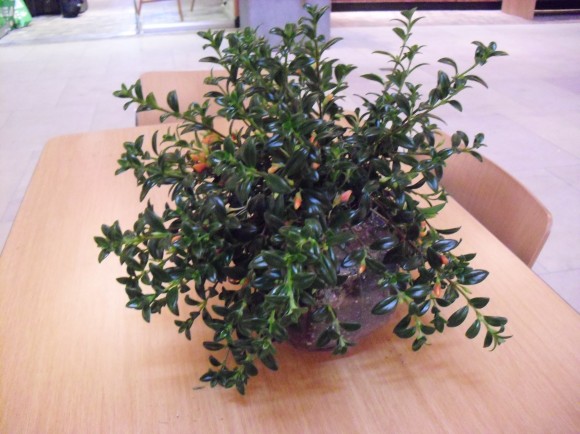
PHOTO: Goldfish plant growing in a fish bowl.
It was easy to find the right container for this goldfish plant (Hypocyrta glabra)—a fish bowl!
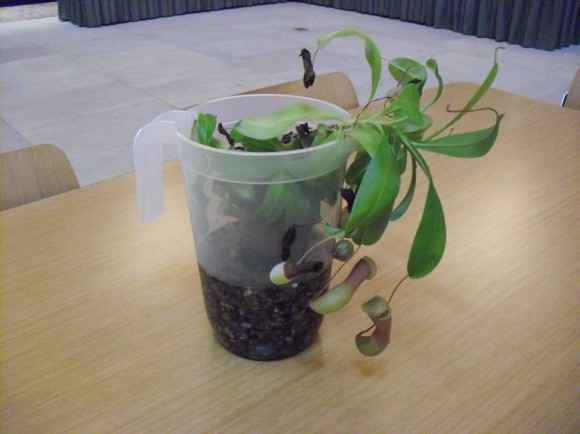
PHOTO: A pitcher plant growing in a pitcher.
A pitcher plant growing inside a beverage pitcher was a favorite table display. (This pitcher is a species of Nepenthes.)

Here are a few practical tips for doing this at home:

Since these containers were not made for plants, you may need to line them with a plastic bag or insert a plastic cup or pot. If you want to keep the plants in this container for any length of time, you’ll need to provide drainage or the roots will rot. Follow directions from Tim Pollack for planting a terrarium in this YouTube video.

You may have to alter the container to make it work. I had to take apart a toy drum to turn it into a planter for beets. (Beets in a drum—get it? If you want to impress, don’t shy away from puns, references to popular stories, or inside jokes.)

In addition to the ideas mentioned above, we also used these plant-container pairings:

  • chamomile in a Peter Rabbit teapot
  • radishes in a Peter Rabbit ceramic bowl
  • mint in a teacup
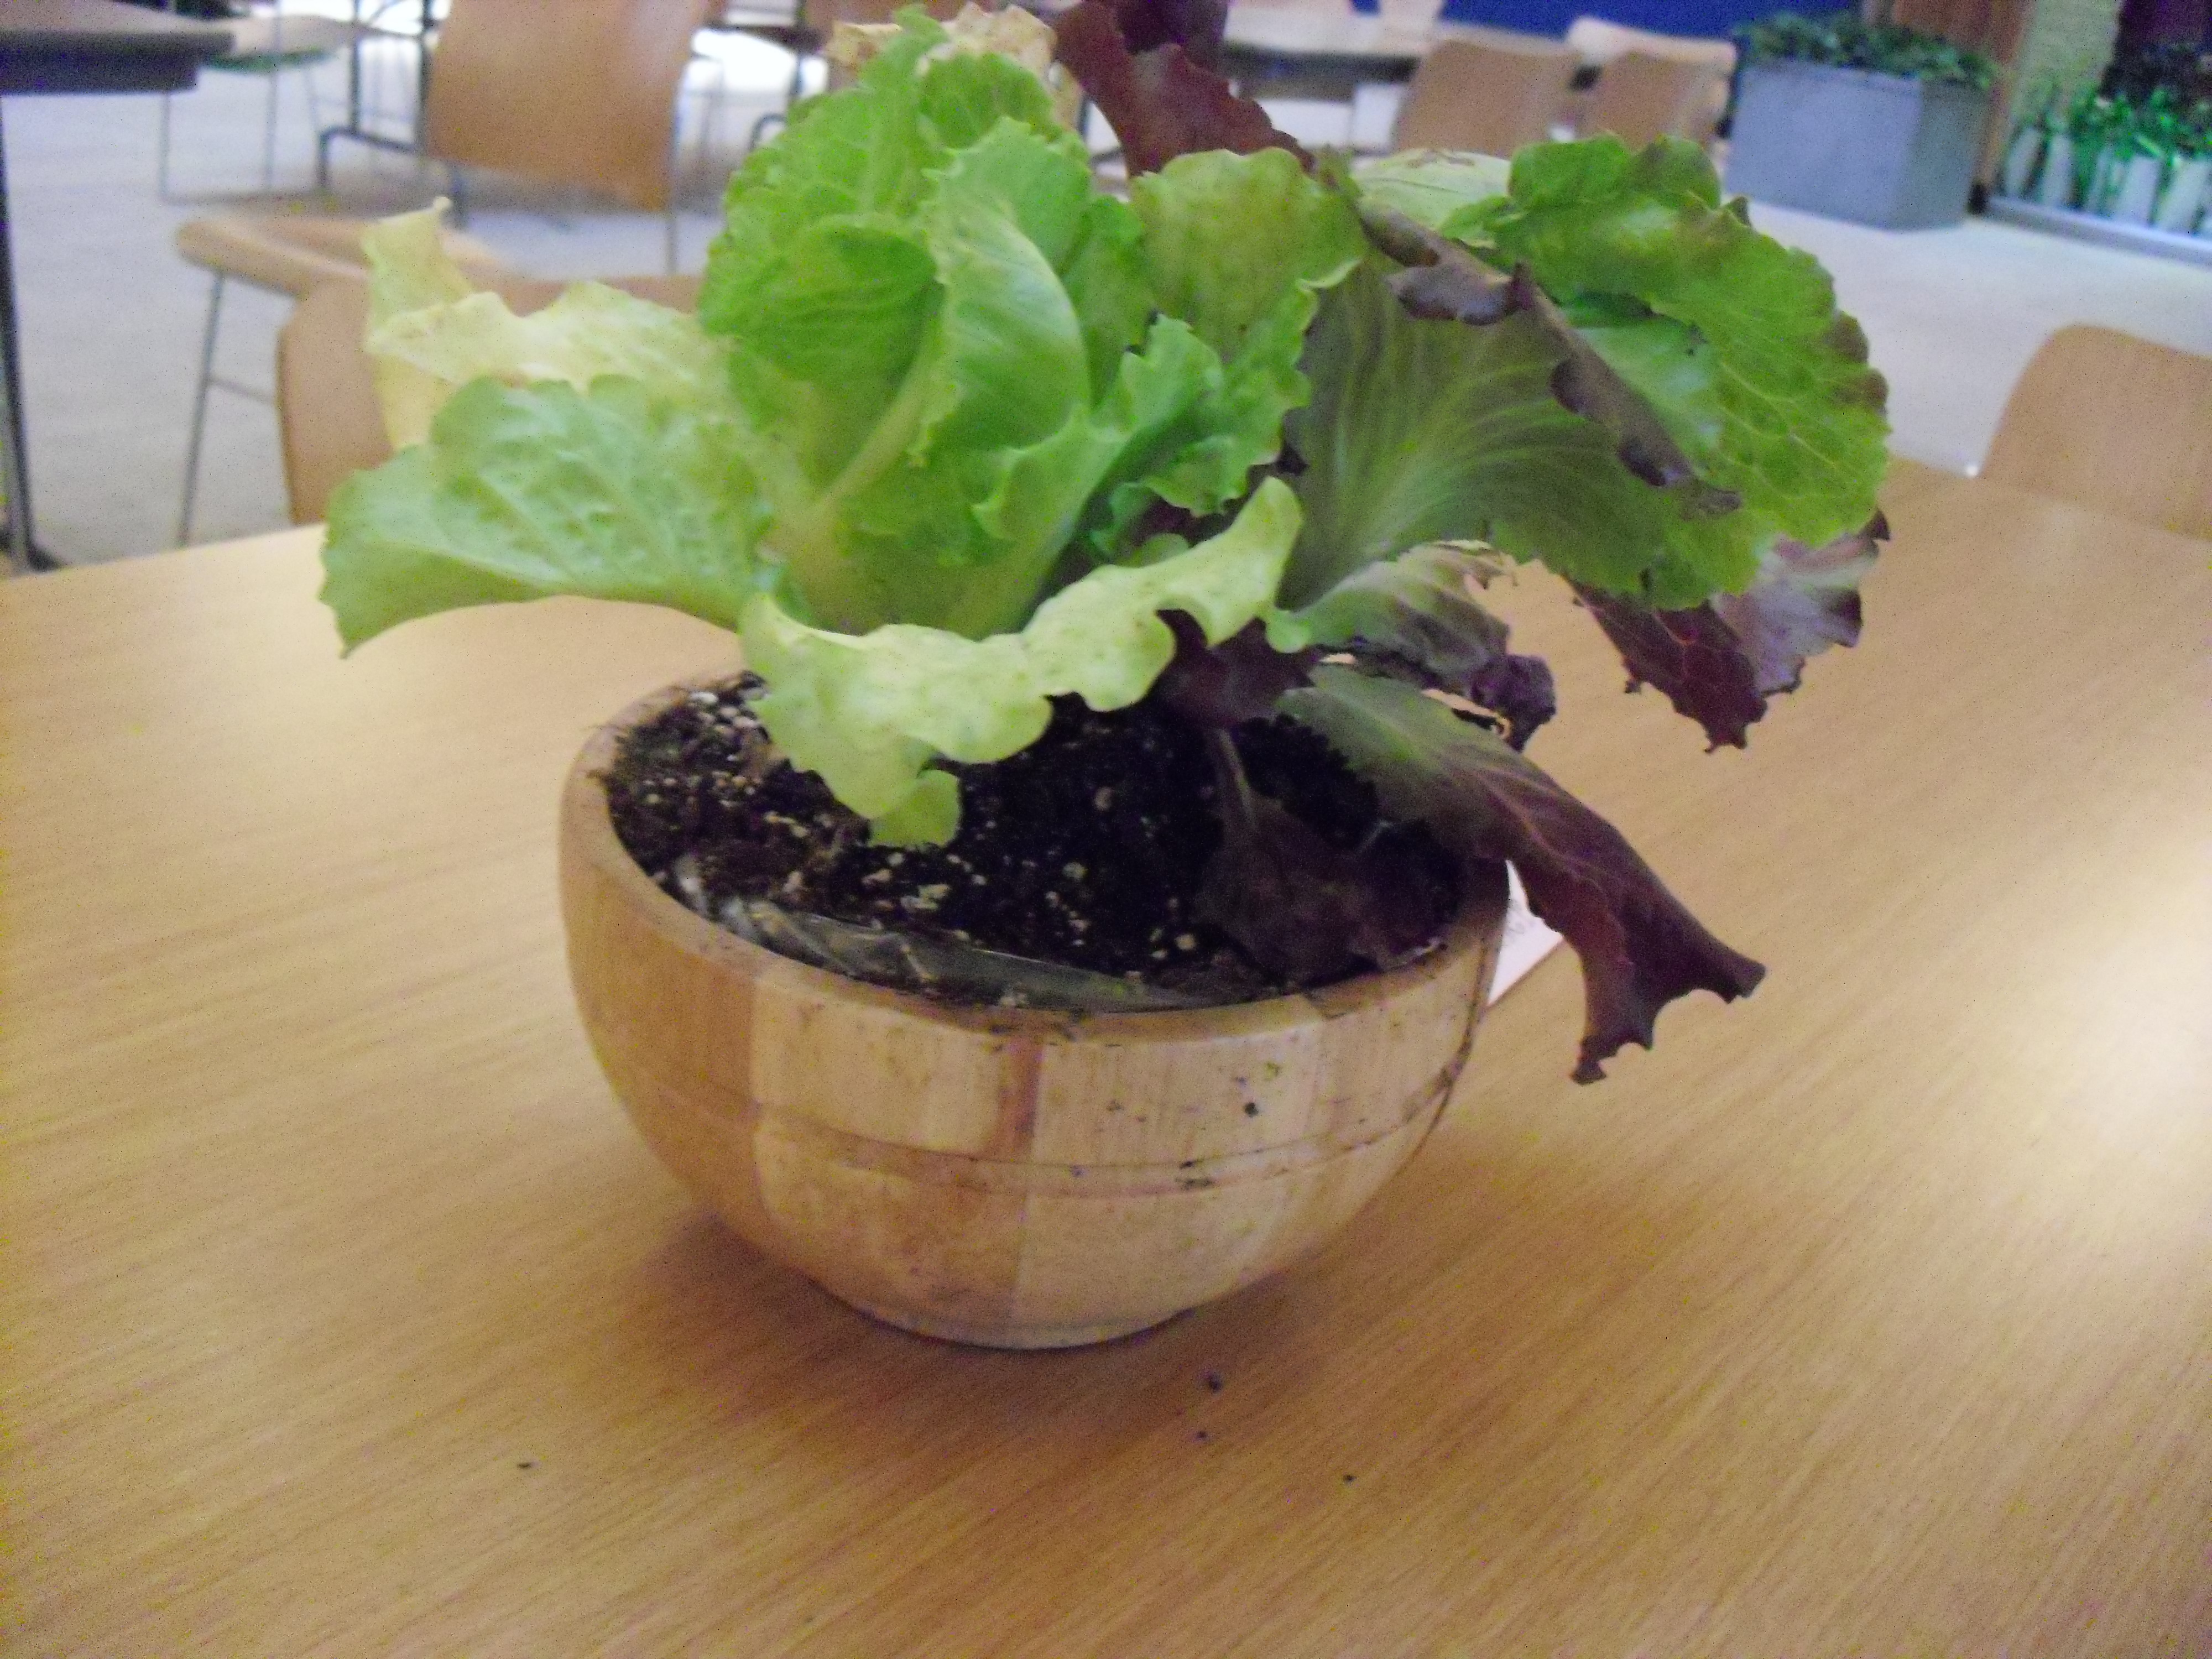
  • lettuce in a wooden salad bowl
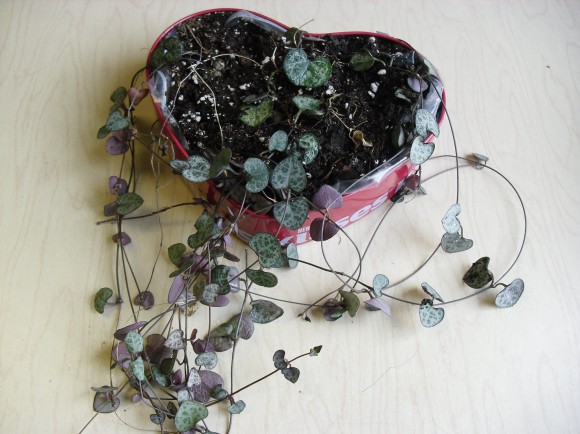
  • chain of hearts in a valentine chocolate box
  • spider plant in a “Big Bugs” coffee mug
  • herbs in a recipe box
PHOTO: Chain of Hearts plant grows in a Valentine's Day chocolate tin.
A heart-shaped chocolates tin from Valentine’s Day—the perfect home for a string of hearts plant (Ceropegia woodii)

©2013 Chicago Botanic Garden and my.chicagobotanic.org
Kids Get Crafty

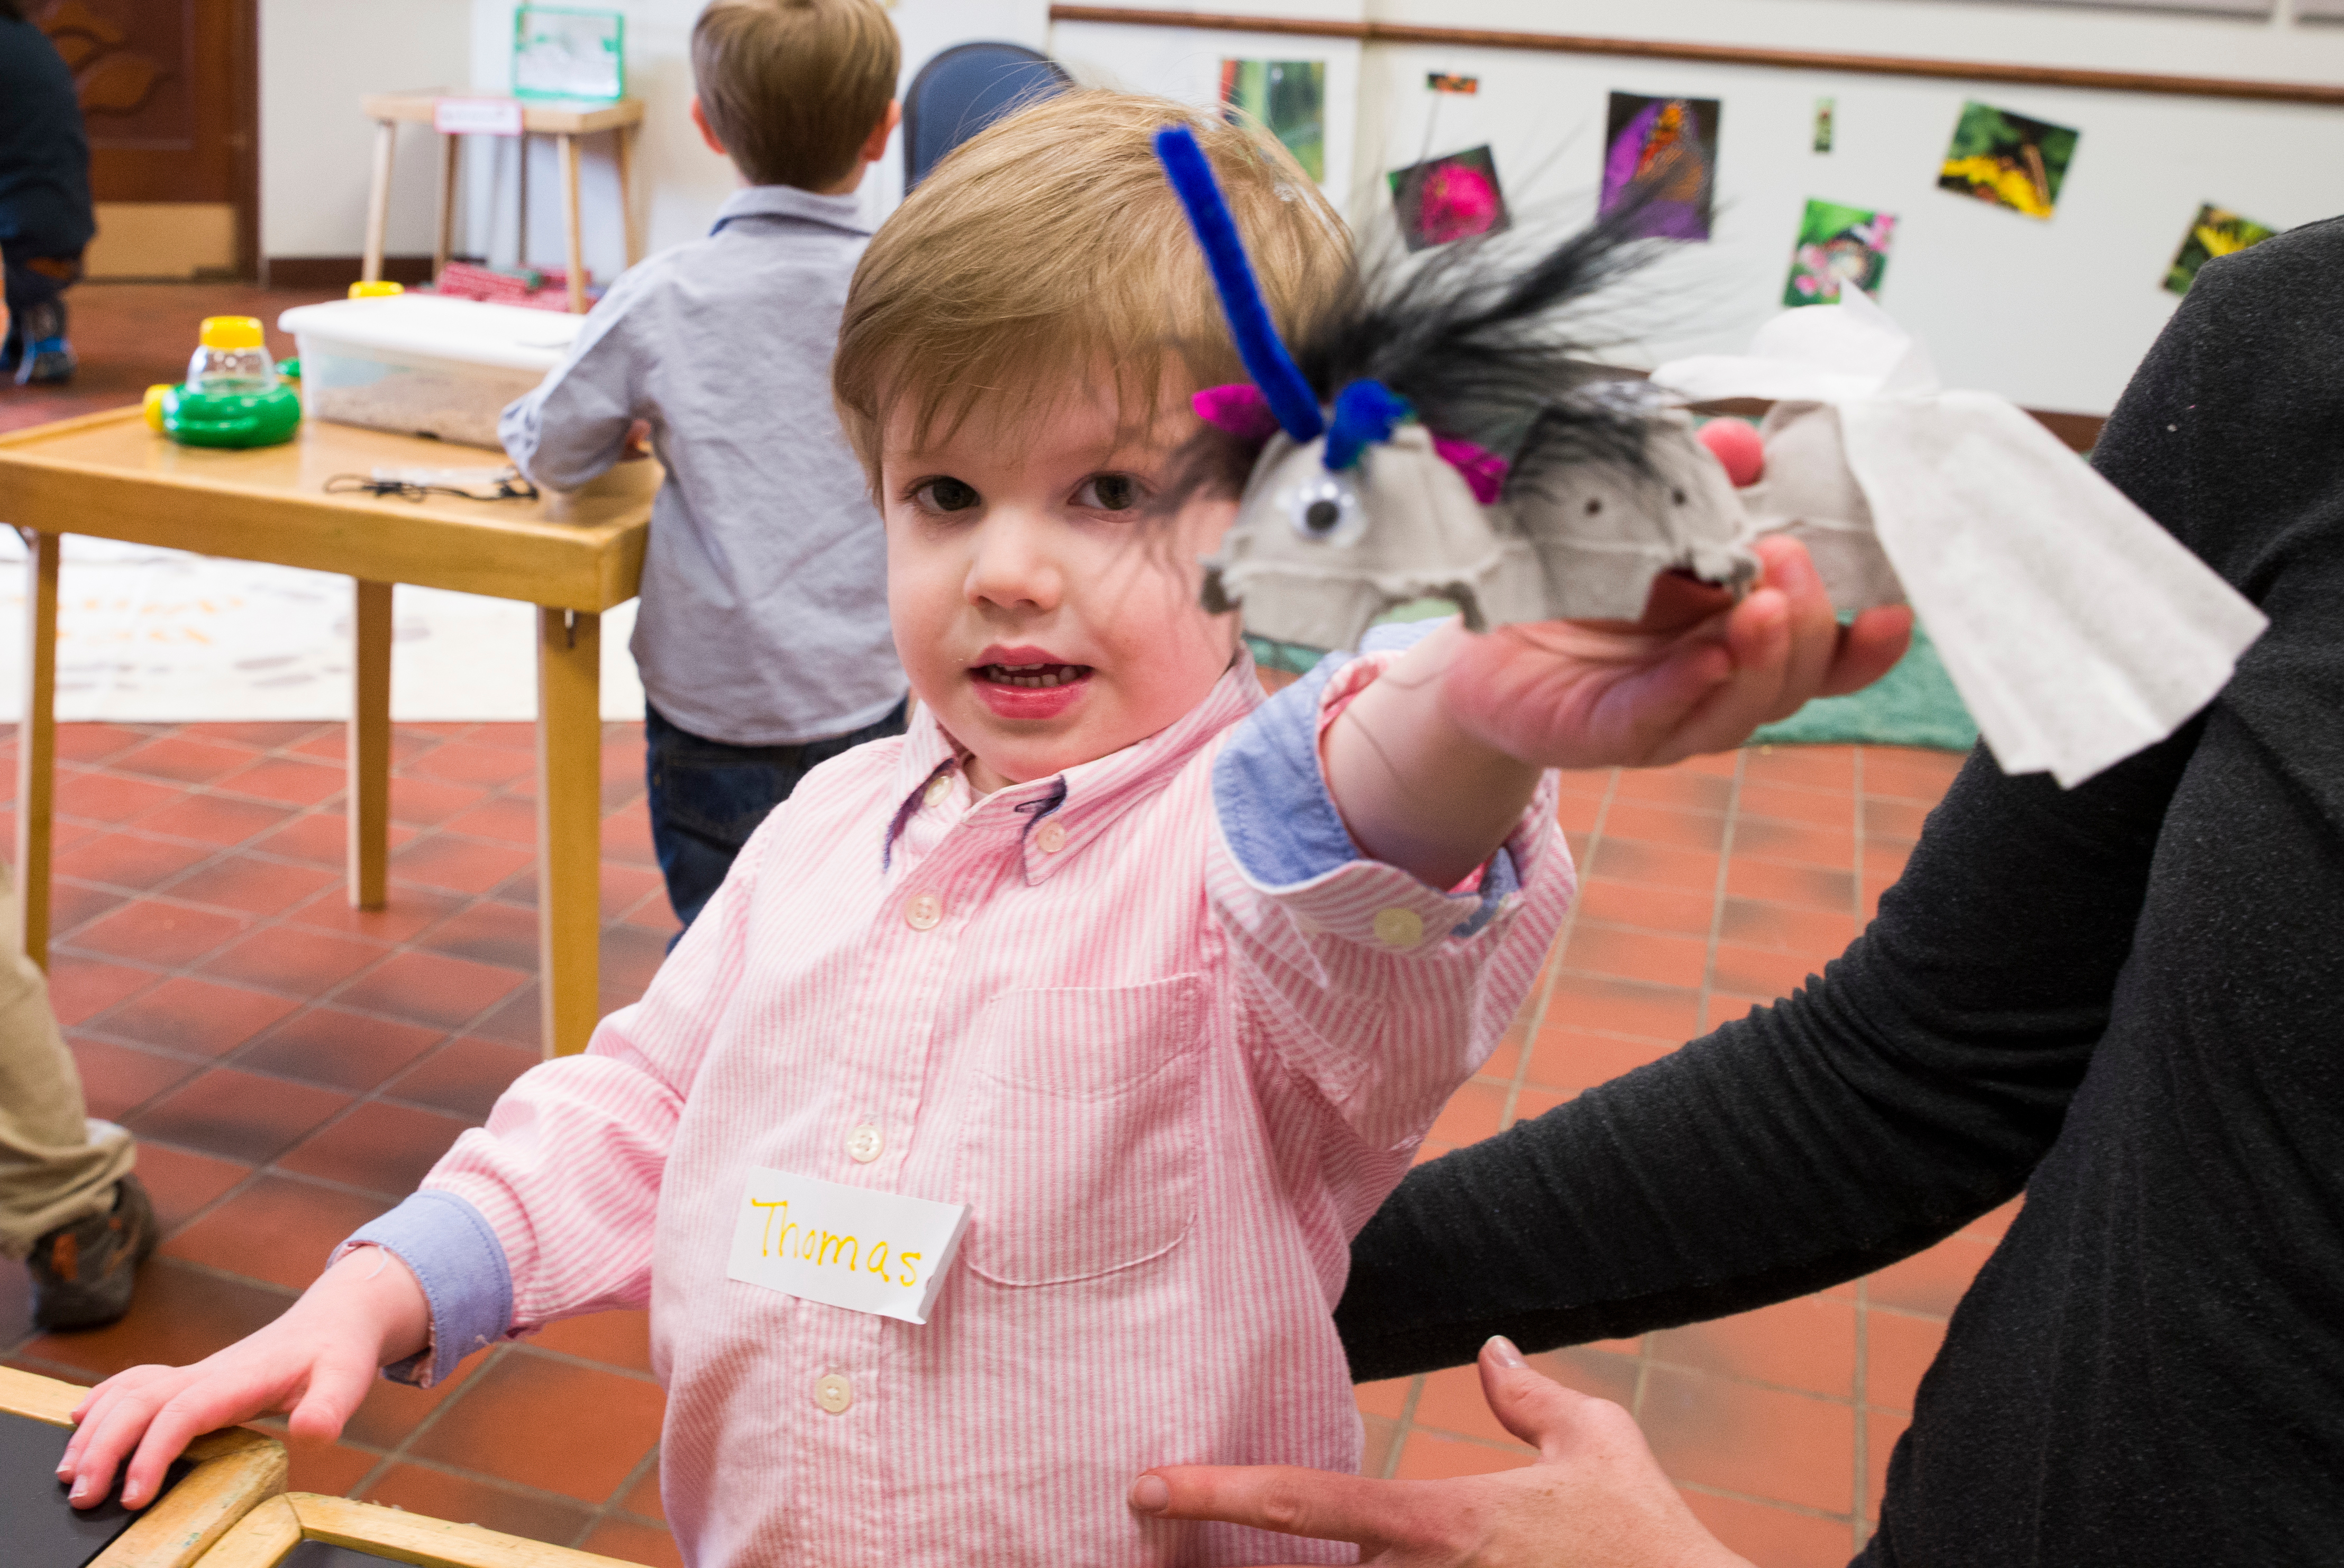
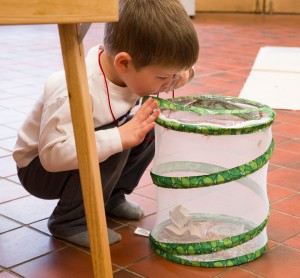
My 3-year-old son and I have enjoyed many seasons of Little Diggers. We have learned new things together and have had a lot of fun with the projects—one of our favorite projects was with insects. We got up close and personal with ants, butterflies, grasshoppers, and ladybugs. The instructor set up habitats in mesh containers where we could look at each group of insects with magnifying glasses and two-way viewers—the same tools real scientists use every day.

A friend investigating grasshoppers.

After looking at all the insects up close, we talked about all the different body parts an insect has, and why that makes an insect an insect and not a spider or another bug (even though they have a lot of the same body parts). All insects have three body parts (head, thorax, and abdomen), six legs, antennae, eyes—and sometimes wings! We remembered what the body parts were and where they go by building our own model insect. It was really easy—a fun and funny way to teach our kids about the different parts.

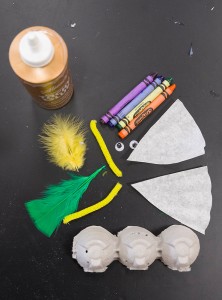
You can build your own model insect at home, too. Here’s what you’ll need:

  • An egg carton—Cut into strips of three eggs-worth. You can get four insect bodies out of one egg carton, so you can explore and make more than one kind of insect.
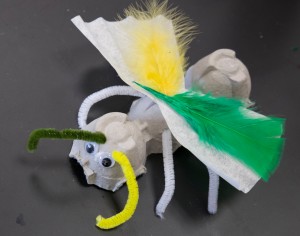
  • Coffee filters—Cut these each into six pieces for wings. You can see how to cut them from the photo of our completed insect below.
  • Pipe cleaners—Cut these into 3-inch pieces for legs.
  • Craft supplies to decorate and color your insect—Use feathers, googly eyes, crayons, gems, and tacky glue. Insects come in all shapes and sizes from simple black ants to very colorful, shimmery beetles. Have fun creating!
PHOTO: egg carton, crayons, googly eyes, coffee filters, feathers, pipe cleaners and glue.
Use these materials to build your own insect.

As we built our insect and decided what it should look like, we talked about the different parts of our particular insect. We put antennae and one eye on the head, a feather and another eye on the thorax, and wings on the abdomen—and this was fine by me! While he was hesitant to put parts where they should go, he said “head,” “thorax,” and “abdomen” out loud as we built and talked about our insect. He was very proud of this final specimen.

Every class we go to uses different activities to explore a different theme. We’ve used play dough, enjoyed circle time with great books, gone on Garden walks, and let’s not forget our favorite activity, planting! (This time we planted some Mexican heather as part of the insect theme. Butterflies and bees love the nectar from the flowers of this plant.) 

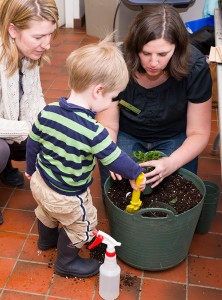
PHOTO: a small boy potting up a plant.
A friend plants some Mexican heather to take home.
The finished egg carton insect.
Our finished project!

We can’t wait until the fall season of Little Diggers, but if you don’t want to wait, you can sign up for My First Camp for 3-year-olds, and enjoy more hands-on science, art, food, and gardening.


©2013 Chicago Botanic Garden and my.chicagobotanic.org
Make a Bird-Nesting Bag

Spring is here, and the birds are returning from their winter homes. Some birds fly through the Chicago area to their nesting habitats up north, while others return and stay in the area.

Spring is the season for laying eggs, because it gives the juvenile birds all summer to mature and become strong before they need to migrate in the fall. Also, as spring turns to summer, the growing chicks require more food. The trees grow leaves, insects hatch, fruits ripen, and other food sources become more plentiful. The birds’ habits are perfectly synchronized with the seasons. 

At this time of year, recently returned birds will be looking for material to build a nest and lay eggs. You can provide some bling for a lucky bird family with a few things you have around your home.

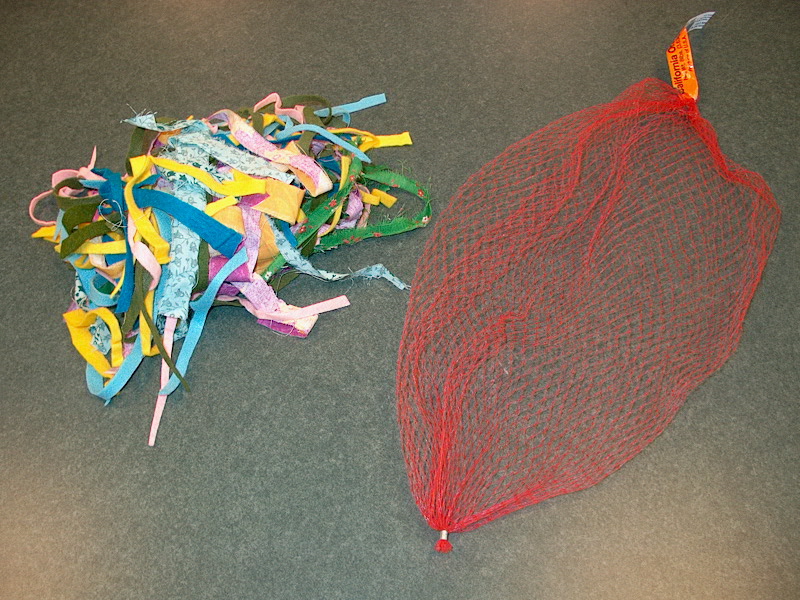
You will need items including these:

  • A plastic netting or mesh bag, like the kind oranges and apples are sold in
  • Scraps of yarn or strips of fabric cut 1/4 inch wide and at least 6 inches long (longer is fine)
  • Optional — dryer lint, metallic thread, any other attractive loose materials
PHOTO: supplies to build a nesting bag
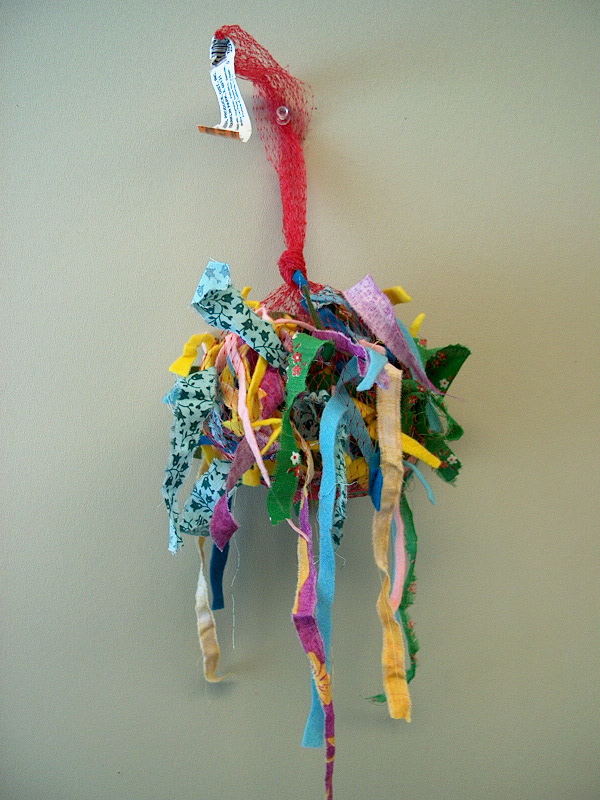
Let’s put this empty apple bag and some leftover fabric scraps to good use!

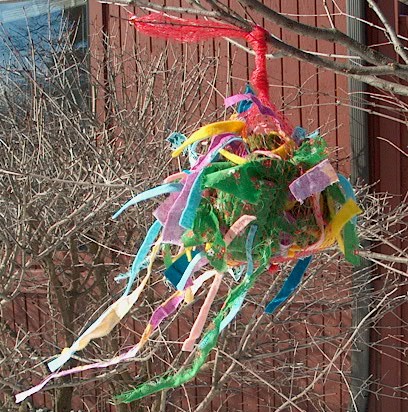
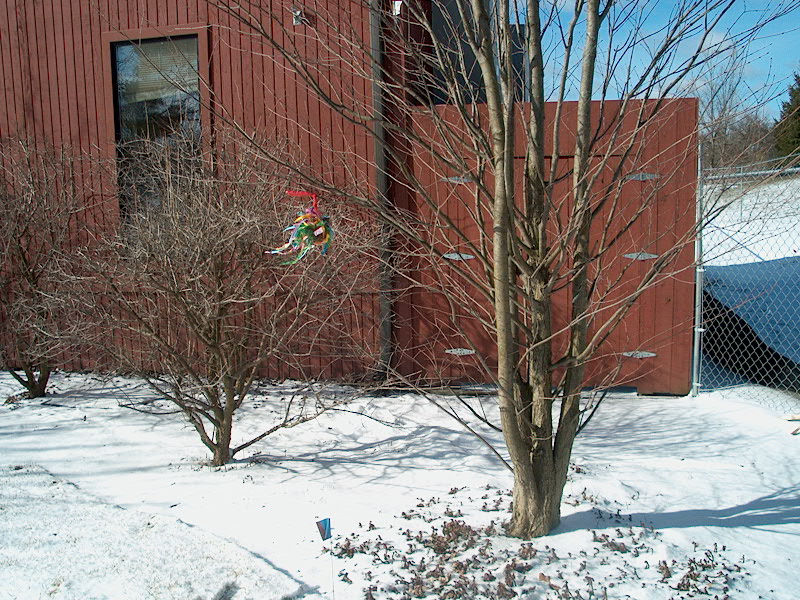
Put all of the scrap materials into the mesh bag. Tease out the ends of the material through the holes in the netting all around the bag so it looks like a bundle of loose stuff. Tie the top of the bag. Hang the bag securely on a tree branch where a bird can perch and pluck pieces of material from the bag.

PHOTO: The finished nesting bag
Wall art or condo furnishings? Hang your bag outside and watch for birds!

Watch the bag for signs that a bird is using the material. Look around your neighborhood for nests to see if any bird used the materials to build its nest. And have a happy bird day!

PHOTO: our bird nesting bag in situ
Let’s see where our fabric scraps end up this spring…

©2013 Chicago Botanic Garden and my.chicagobotanic.org