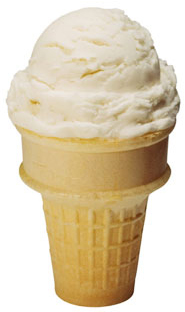
Hear “vanilla” and what’s the first thing that comes to mind?
Ice cream, right?
While we were researching vanilla for our annual Orchid Show, we kept discovering new scoops on vanilla ice cream.
 First we learned that one-third of all the ice cream that Americans eat is vanilla.
Next, we learned about vanilla beans’ different flavors—at a tour of the Nielsen-Massey Vanillas facility in nearby Waukegan. (Who knew that vanilla extract was produced right here in Chicago?)
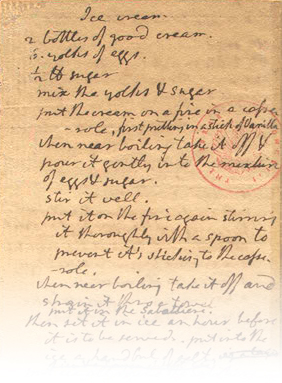
And then we came across Thomas Jefferson’s handwritten recipe for vanilla ice cream at the Library of Congress—such a beautiful document that we included a copy of it in the Orchid Show. (The knowledgeable staff at the Library of Congress pointed out that there’s a second recipe on the back of Thomas Jefferson’s vanilla ice cream notes—for the Savoy cookies to accompany it.)
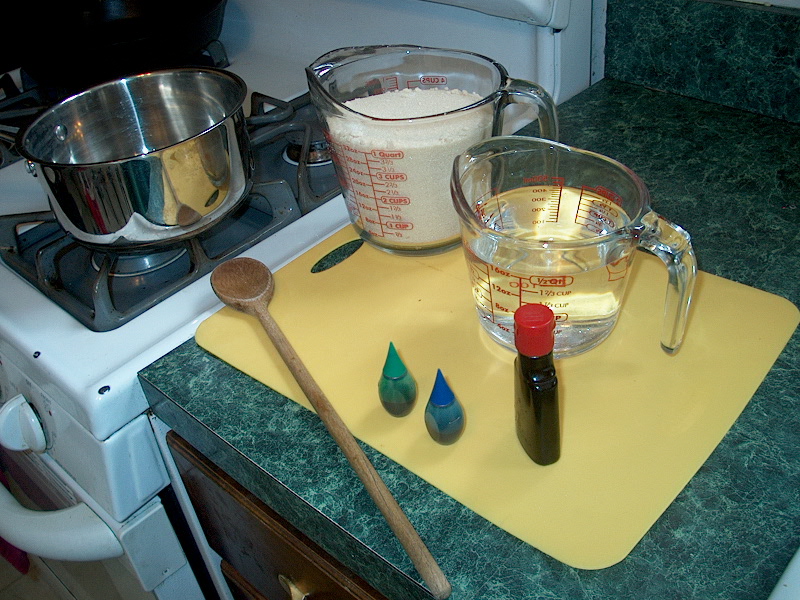
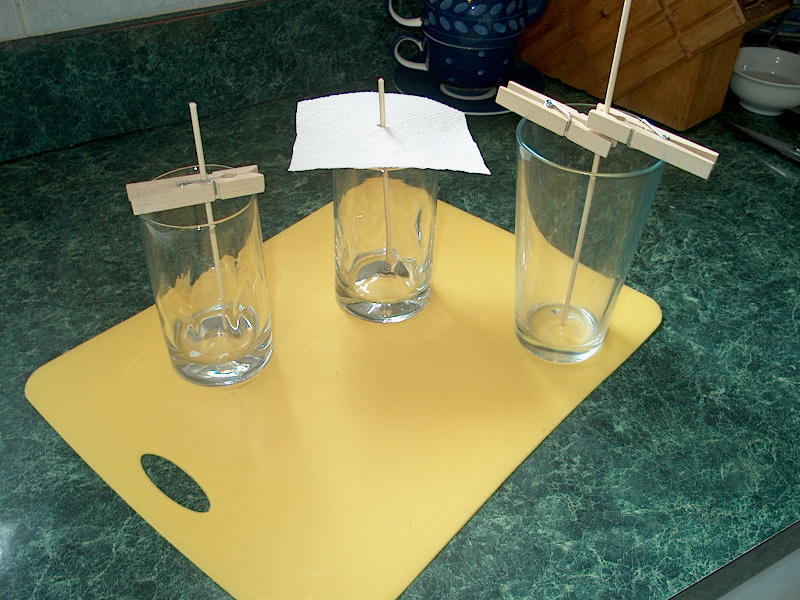
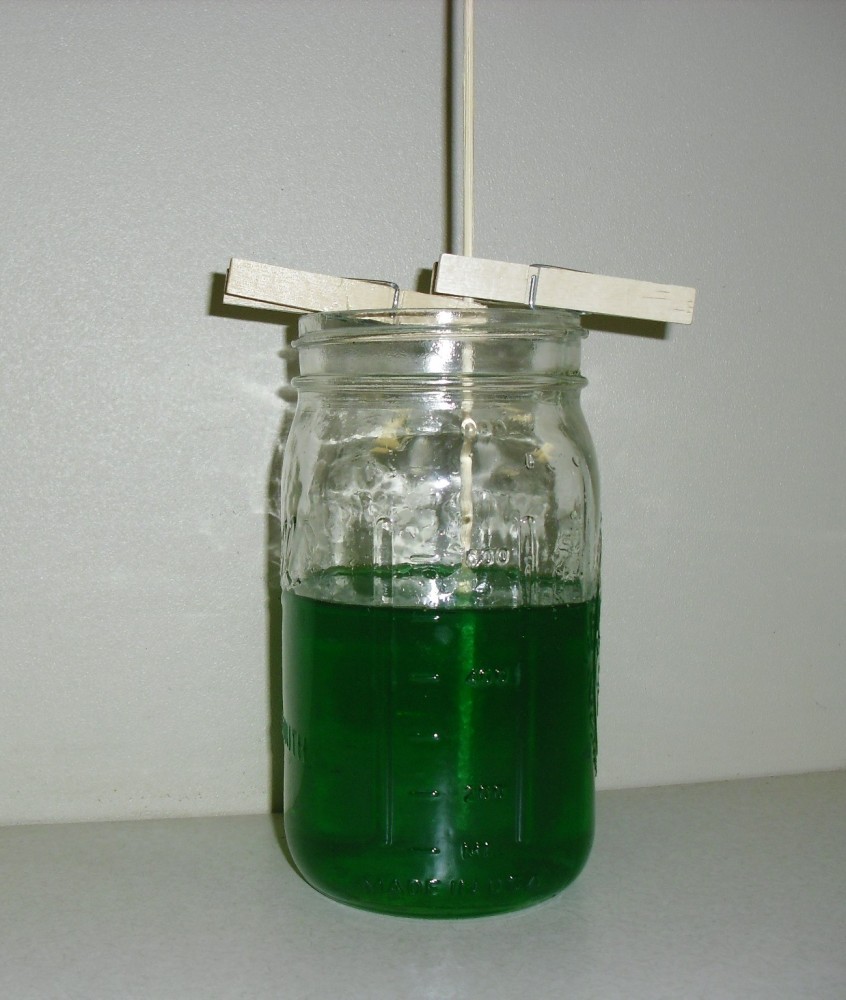
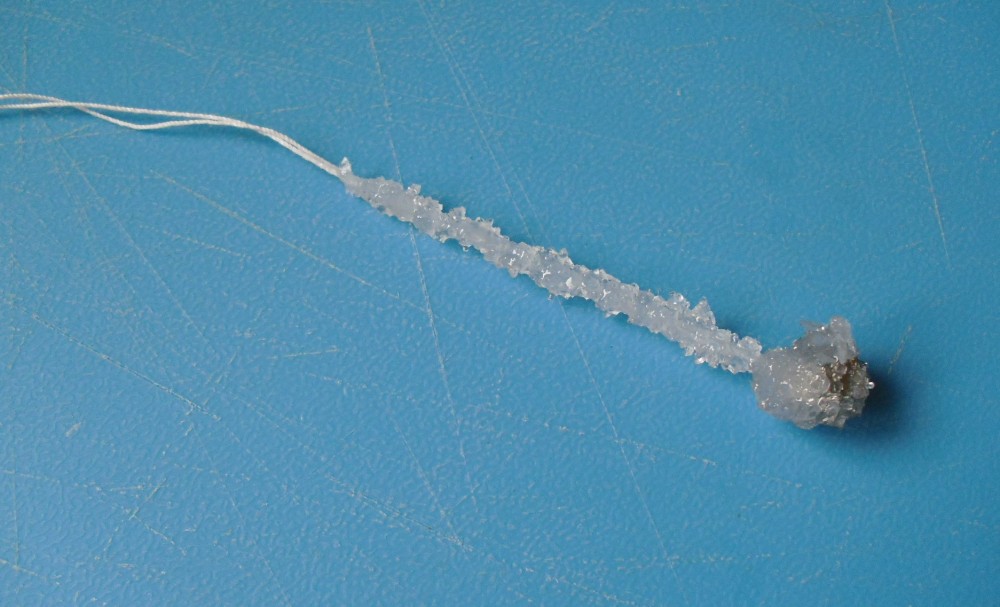
All those moments dovetailed nicely when our own orchid expert, Pati Vitt, Ph.D., got inspired to make her own homemade vanilla ice cream. Naturally, as a scientist, she set herself a bigger challenge: to tackle Jefferson’s thorough (albeit old-fashioned) recipe, using three different types of vanilla beans kindly provided by Nielsen-Massey.
We had to document Dr. Vitt’s ice cream-making adventure: see how she interpreted Jefferson’s recipe—and what three guest chefs/tasters had to say about the flavor—in our video (view on YouTube).

Thomas Jefferson’s Ice Cream
(Jefferson’s lovely script can be hard to decipher, so here’s the recipe’s text in full.)
2 bottles of good cream
6 yolks of eggs
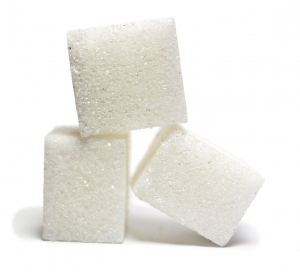
½ pound sugar
- mix the yolks & sugar
- put the cream on a fire in a casserole, first putting in a stick of vanilla.
- when near boiling take it off & pour it gently into the mixture of eggs & sugar.
- stir it well.
- put it on the fire again stirring it thoroughly with a spoon to prevent it’s [sic] sticking to the casserole.
- when near boiling take it off and strain it thro’ a towel.
- put it in the sabottiere*
- then set it in ice an hour before it is to be served. put into the ice a handful of salt.
- put salt on the coverlid of the Sabottiere & cover the whole with ice.
- leave it still half a quarter of an hour.
- then turn the Sabottiere in the ice 10 minutes
- open it to loosen with a spatula the ice from the inner sides of the Sabottiere.
- shut it & replace it in the ice
- open it from time to time to detach the ice from the sides
- when well taken (prise) stir it well with the Spatula.
- put it in moulds, justling it well down on the knee.
- then put the mould into the same bucket of ice.
- leave it there to the moment of serving it.
- to withdraw it, immerse the mould in warm water, turning it well till it will come out & turn it into a plate.
*Footnote from the Library of Congress: A “sabottiere” is an ice cream mold (“sorbetière” in modern French).
Vitt’s notes:
- You can use the recipe without modification, just cooling the mixture in an ice bath and then in the refrigerator overnight.
- Freeze according to your ice cream maker’s instructions.
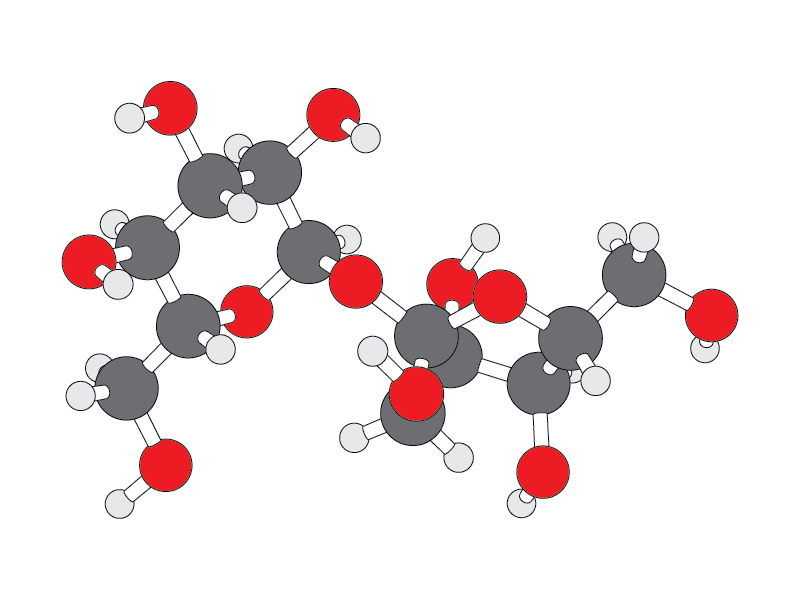
- One tablespoon of vanilla extract may substitute for the vanilla bean.
- The recipe makes about 4 pints (2 quarts, or one ½ gallon).
BONUS RECIPE!
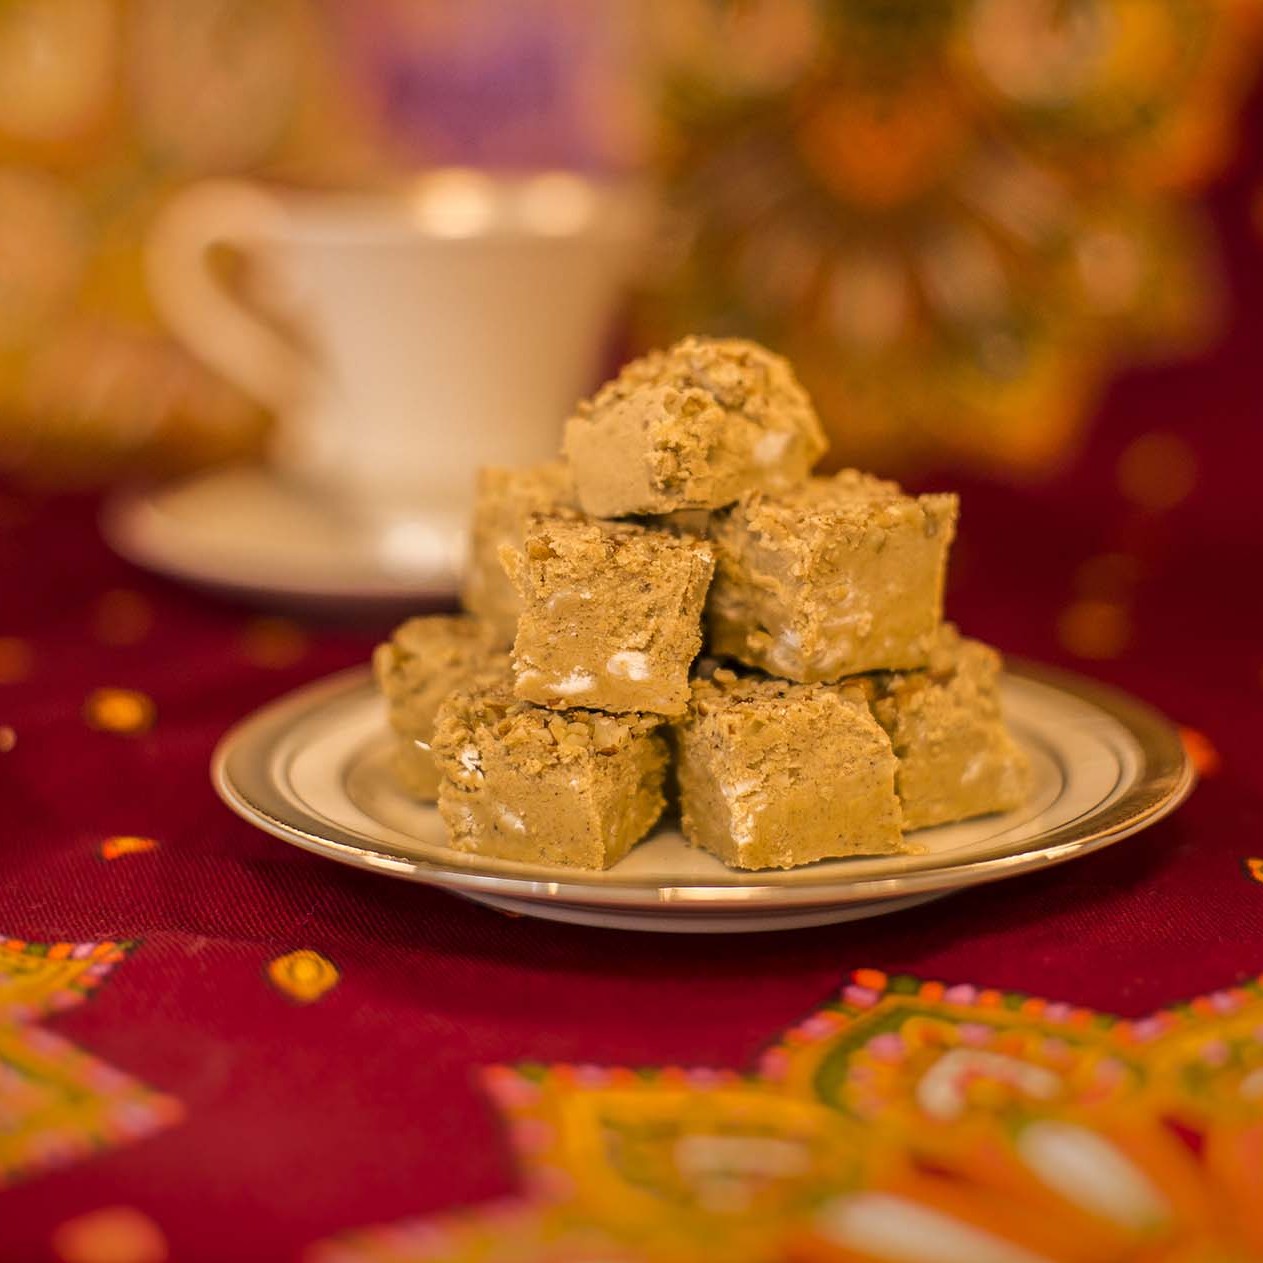
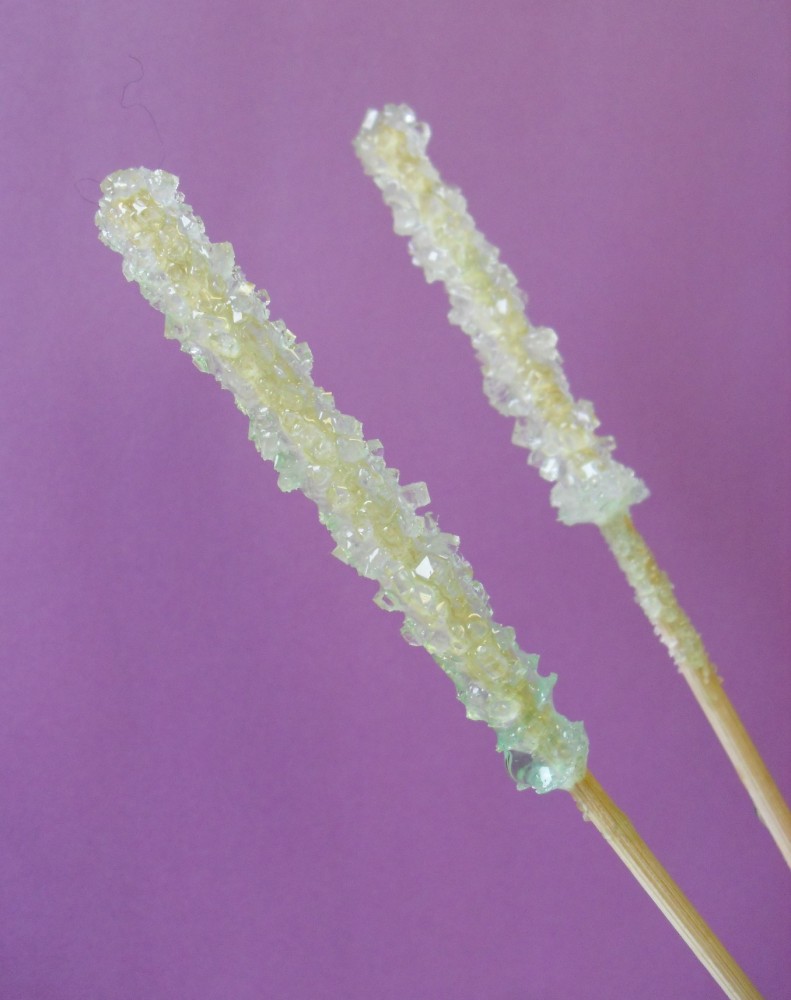
Ice cream wasn’t the only vanilla treat on Vitt’s mind: she also canned a batch of vanilla spice apple butter (we shared it in a meeting—delicious!) and made her own vanilla sugar. Vitt agreed to share her recipe—and presented it all so charmingly, with handcrafted labels, trims, and tags, that we had to include a photo, too.
Vanilla Spice Apple Butter

Wash, core, and slice 8 to 12 apples (Granny Smiths, or a mix of varieties) to fill a 6-quart crockpot to about 1½ inches from the top; add ½ cup of apple cider. Cook until completely soft—about the consistency of apple sauce.
Using a food processor, sieve, or Foley mill, puree the sauce. Put the mixture back into the crockpot, along with half of a fresh vanilla bean. Cook several hours on the “low” setting of your crockpot until the extra liquid cooks off and the mixture begins to thicken. (Place the lid of your crockpot slightly off kilter to allow steam to escape. This will speed up the evaporation and thickening of the mixture.)
After the apple butter begins to thicken, add ½ cup sugar and the juice of one lemon. Cook an additional 30 minutes. Stir in cinnamon to taste, plus a pinch each of ground cardamom and cloves.
Pour into hot, sterilized jars and place in a canning bath according to your canner’s recommendations for applesauce—usually about 10 minutes.
For more ideas—sweet and savory—for cooking with vanilla, check out our February issue of the Smart Gardener.
©2015 Chicago Botanic Garden and my.chicagobotanic.org

")