Growing Plants in Martian Soil

The Martian: Many of us watched and loved the movie. Some of us read the book. A few of us got inspired to use the story to teach plant science to students.

PHOTO: Book cover art for The Martian: a novel
If you are a science enthusiast, I highly recommend reading the book.

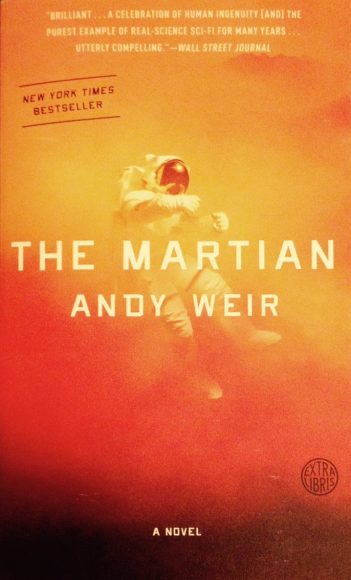
The Martian by Andy Weir tells the fictional story of NASA astronaut and botanist Mark Watney, who becomes stranded alone on Mars and has to figure out how stay alive until the next NASA mission returns to rescue him. He plants six potatoes and successfully propagates a crop of potatoes in Martian dirt fertilized with human poop.

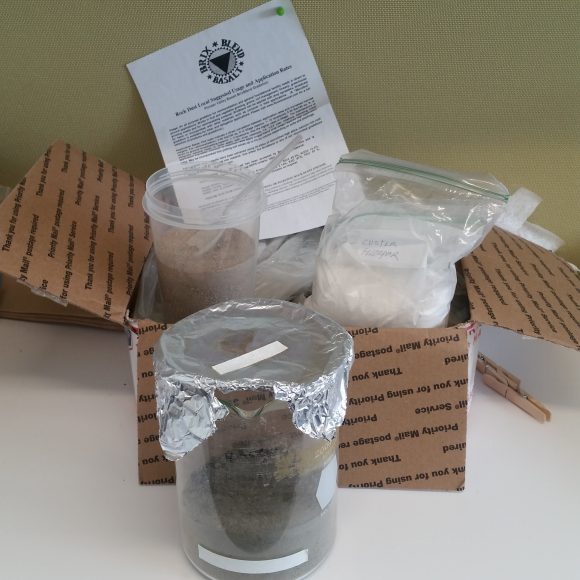
The story got me wondering if we could replicate Martian soil with local ingredients and use it for plant experiments. So I contacted the Garden’s soil scientist, Louise Egerton-Warburton, and asked her if this was possible. She responded with a recipe:

  • Mix two parts crushed volcano rock, two parts basalt dust, one part sand, plus 0.2 parts feldspar
  • Autoclave (heat to very high temperature) three times to kill microbes
  • Experiment away!

You know you work in a great place when you can ask a colleague for directions for making Martian soil and you get an immediate, enthusiastic response with suggestions for how to use it. I acquired the materials and cooked up a batch.

PHOTO: a box of basalt, a cup of sand, a bag of feldspar, and a glass beaker containing the Martian soil mixture
I keep the ingredients for Martian soil in my office, in case Mark Watney drops by. Because you just never know. Matt Damon and Andy Weir are also welcome, but I hear they have both moved on to other projects.

One important thing I must mention: technically speaking, this mixture is not truly “soil.” Soil is the upper layer of material on the Earth that serves as an ideal medium for growing plants. It contains inorganic minerals from weathered and broken rocks combined with organic material from the decomposed remains of dead plants and animals. Real soil hosts microscopic bacteria and fungus that facilitate a cycling of nutrients through the ecosystem and convert minerals to a form plants can absorb and use. Soil also supports many little macroscopic critters, like worms and mites, that increase the porosity and affect other properties of the mixture.

The substance we would find on the surface of Mars is called regolith, which is mineral particles that result from weathering of rocks. Since my mixture is an approximation of what might be found on Mars, but made from Earth-sourced ingredients, it should actually be called simulated Martian regolith. But that’s a mouthful, so from here on I’m going to call it Martian soil and ask you, dear readers, to accept the inaccuracy for the sake of simplicity. OK?

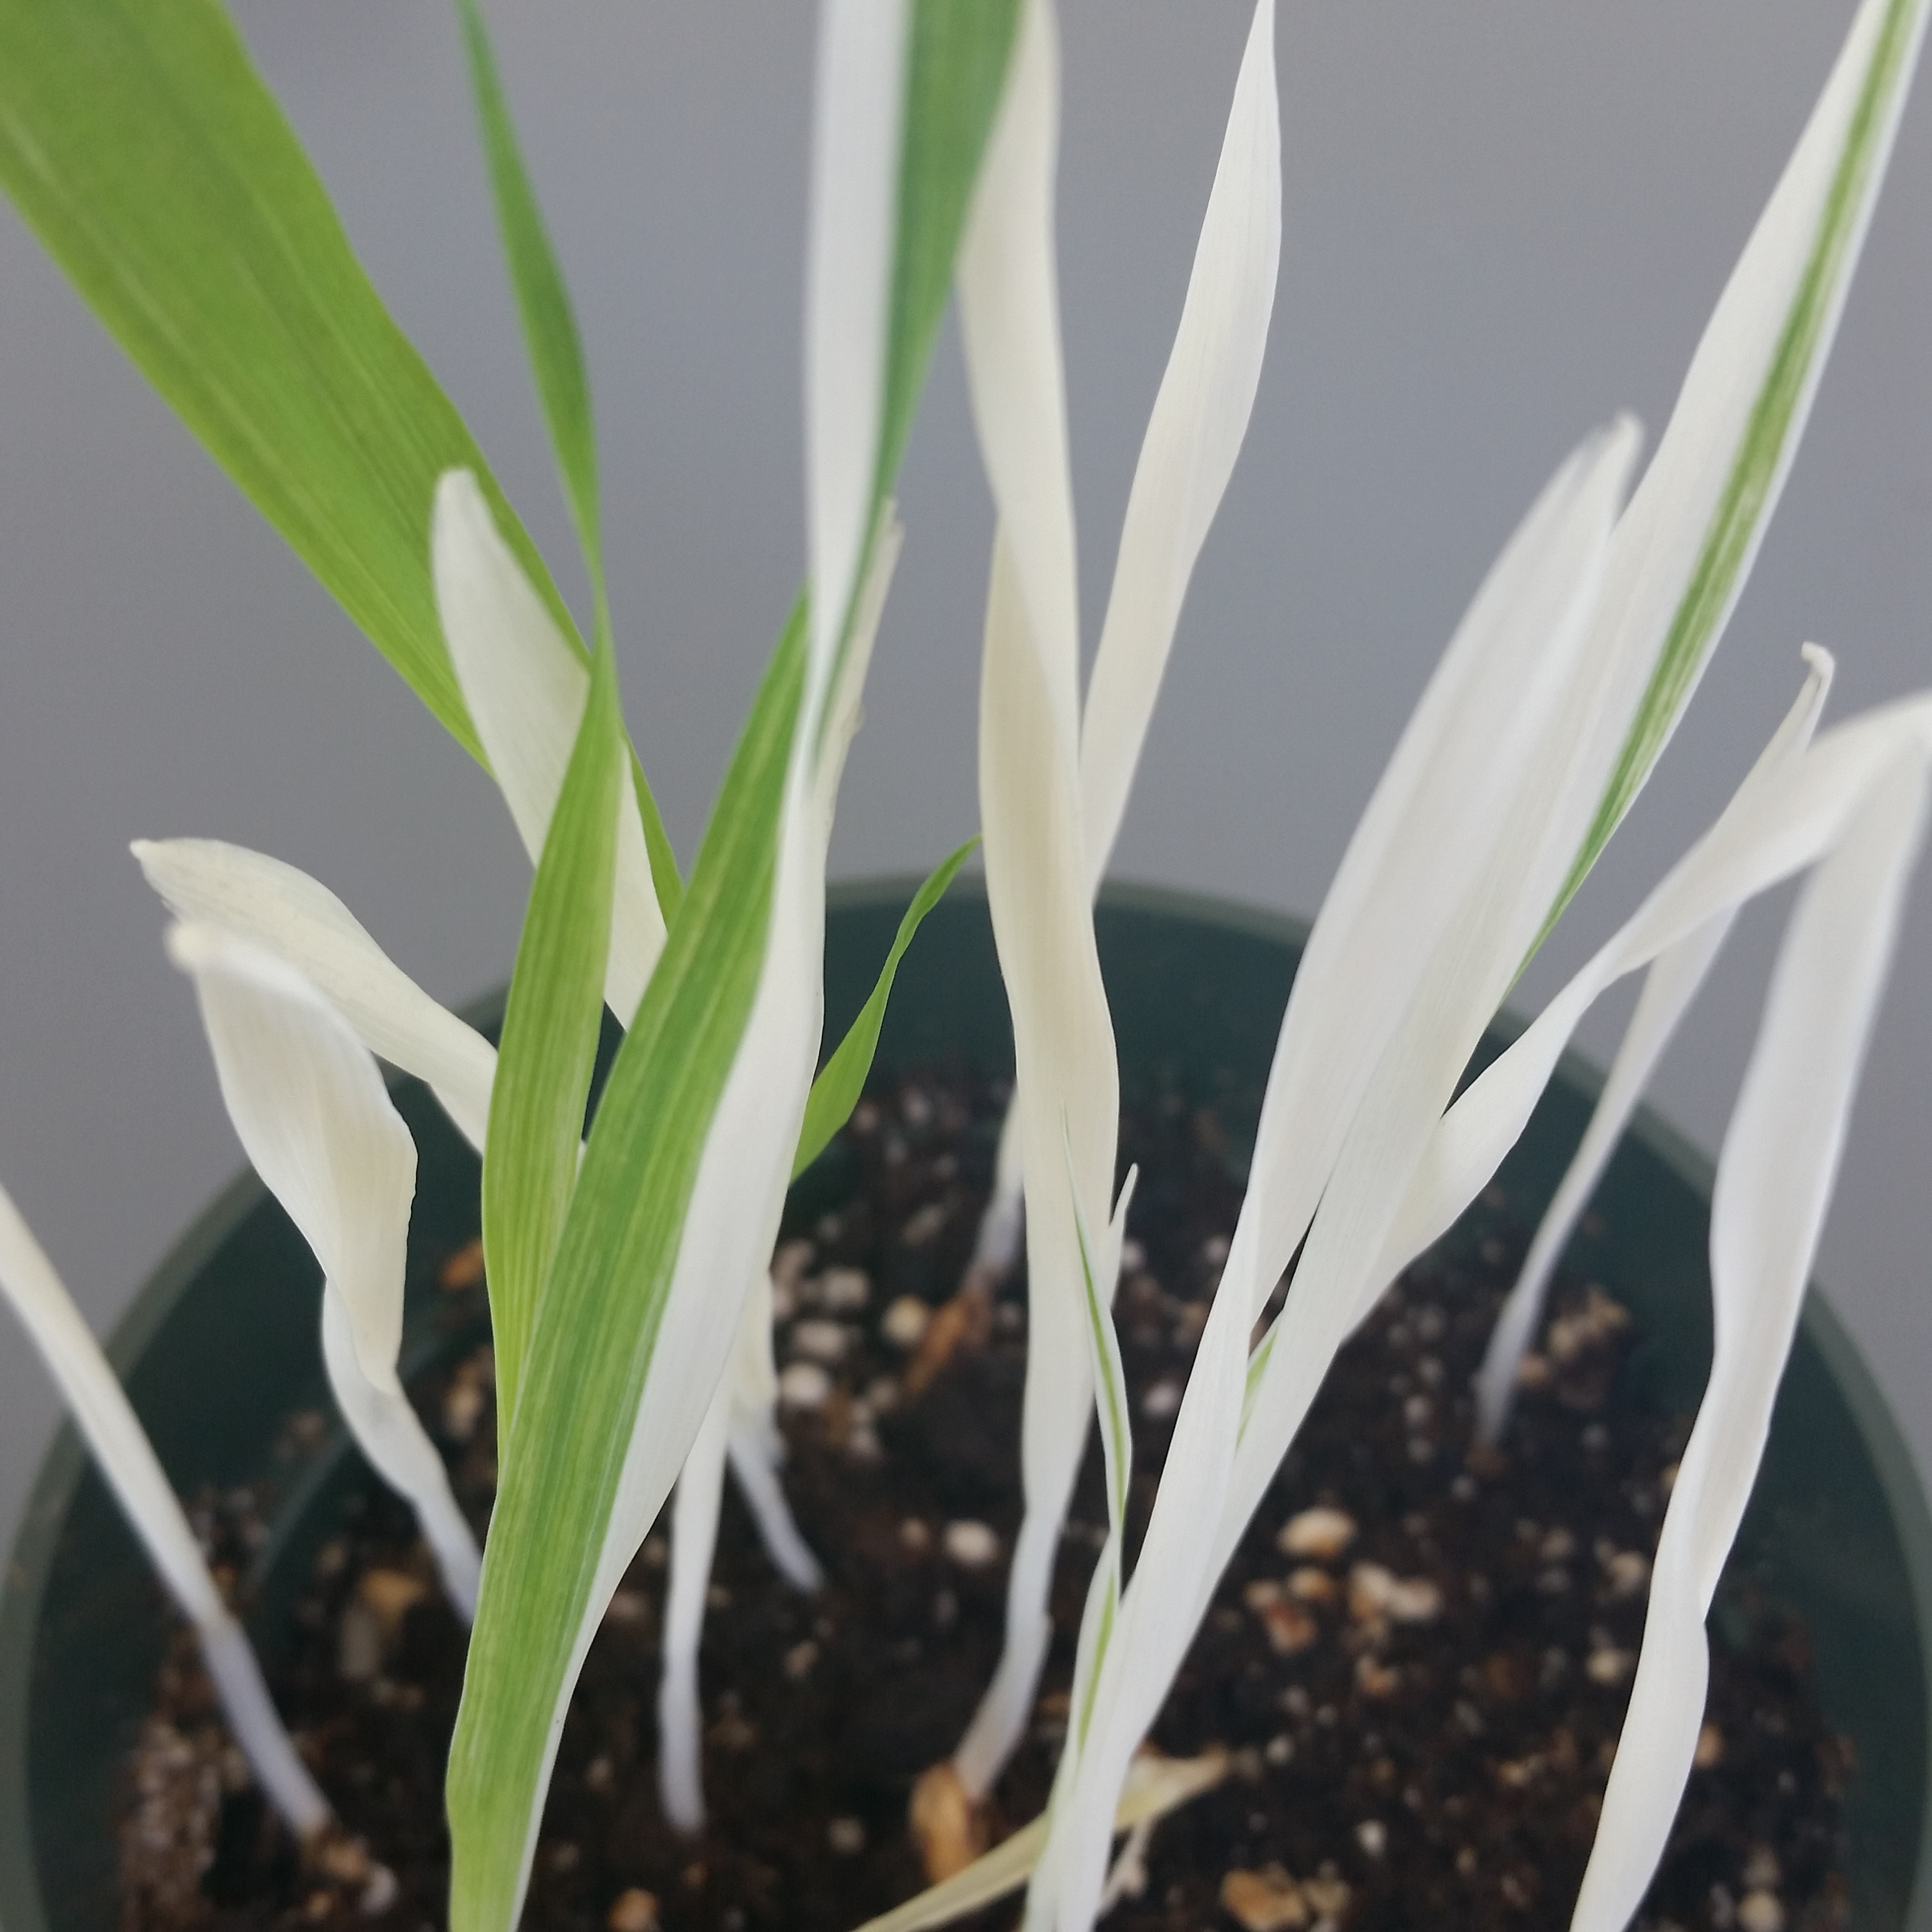
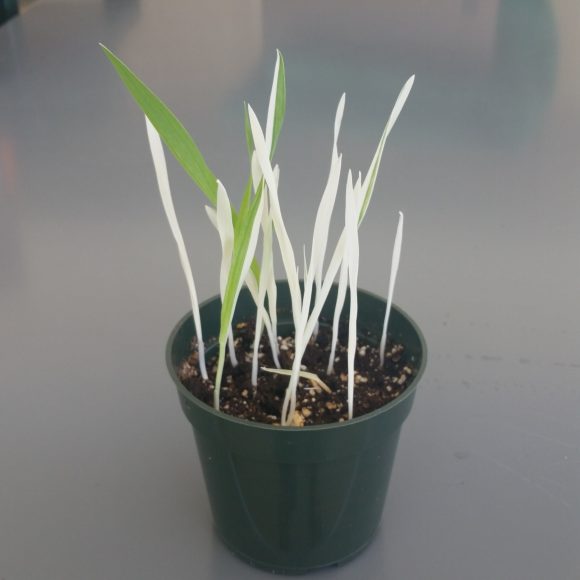
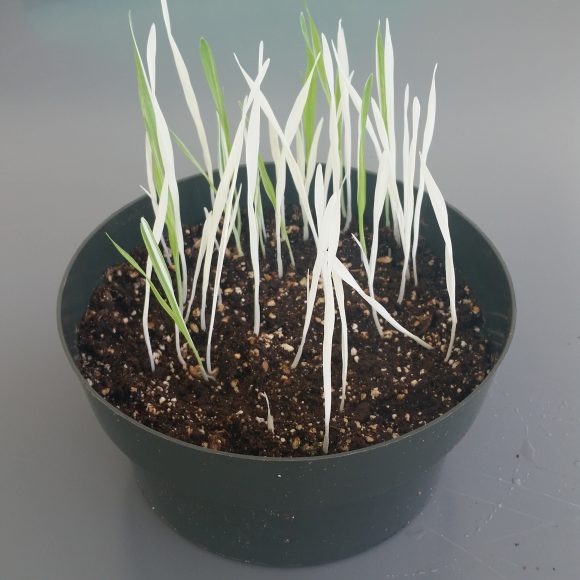
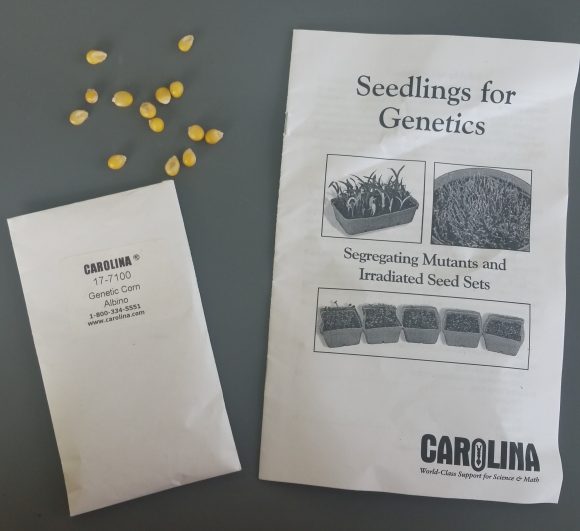
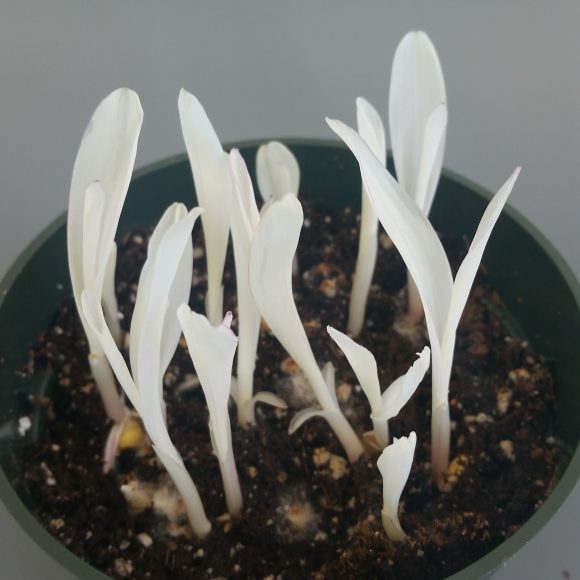
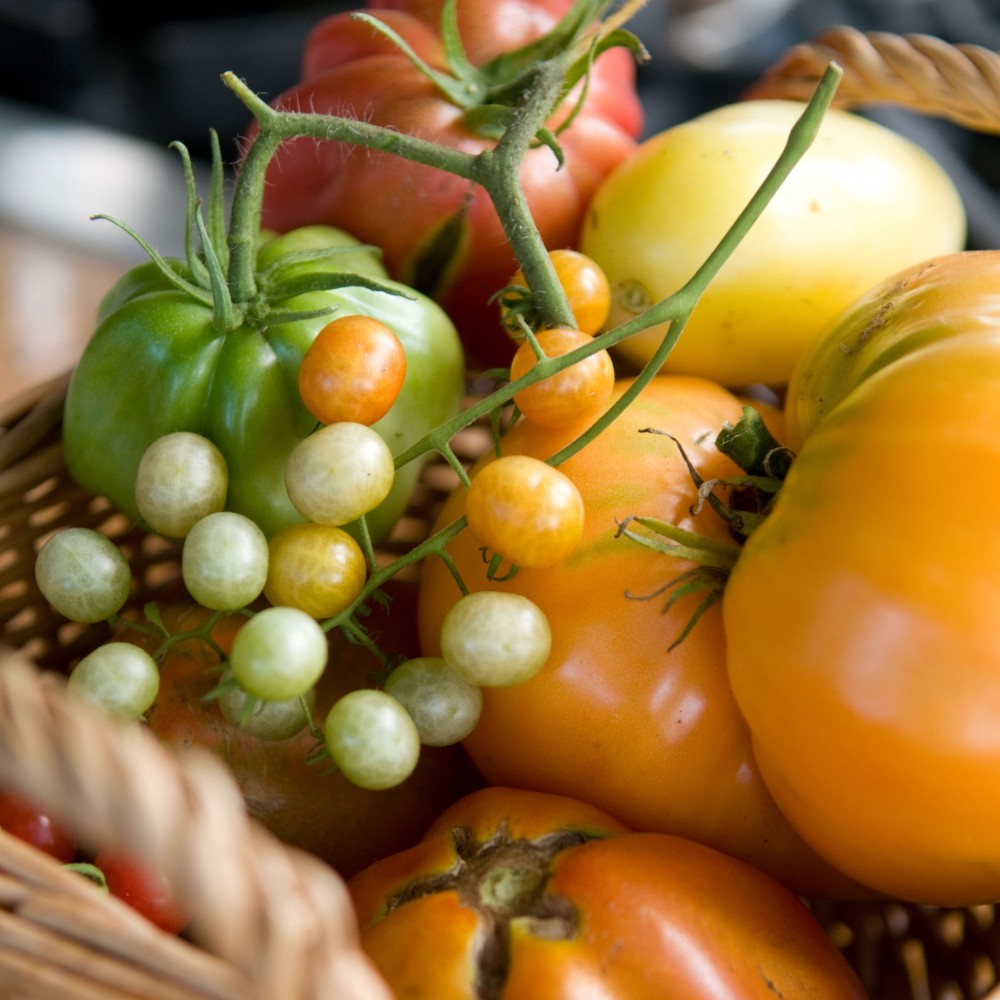
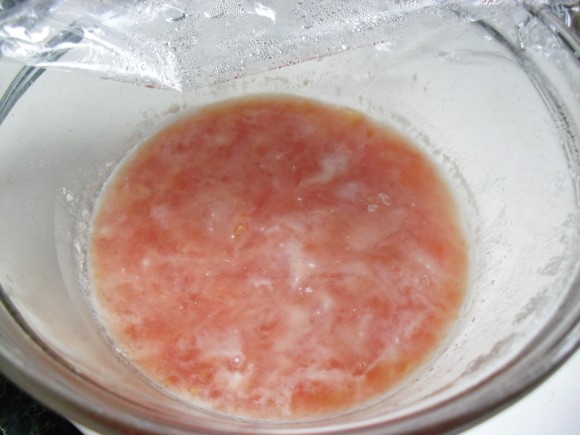
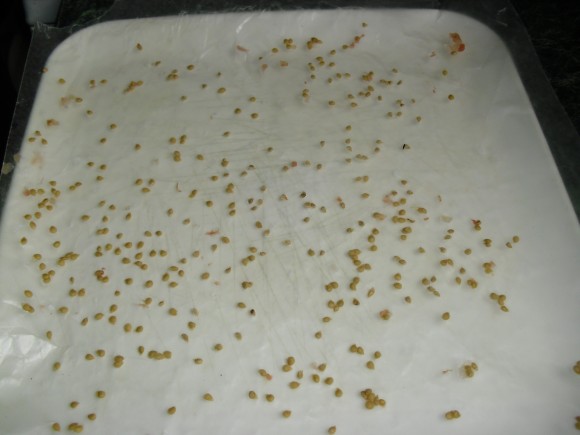
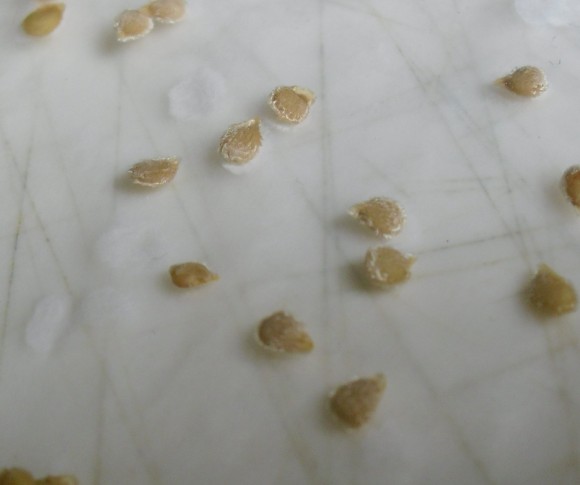
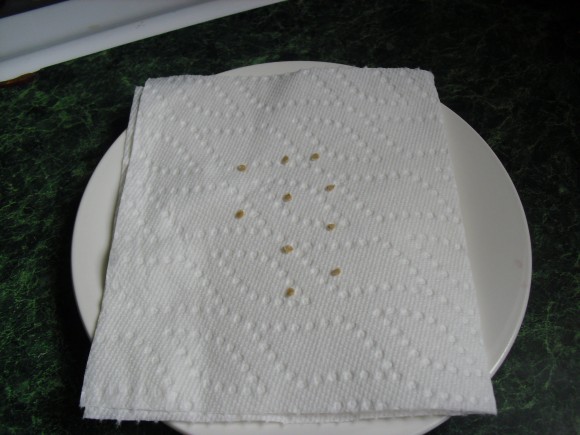
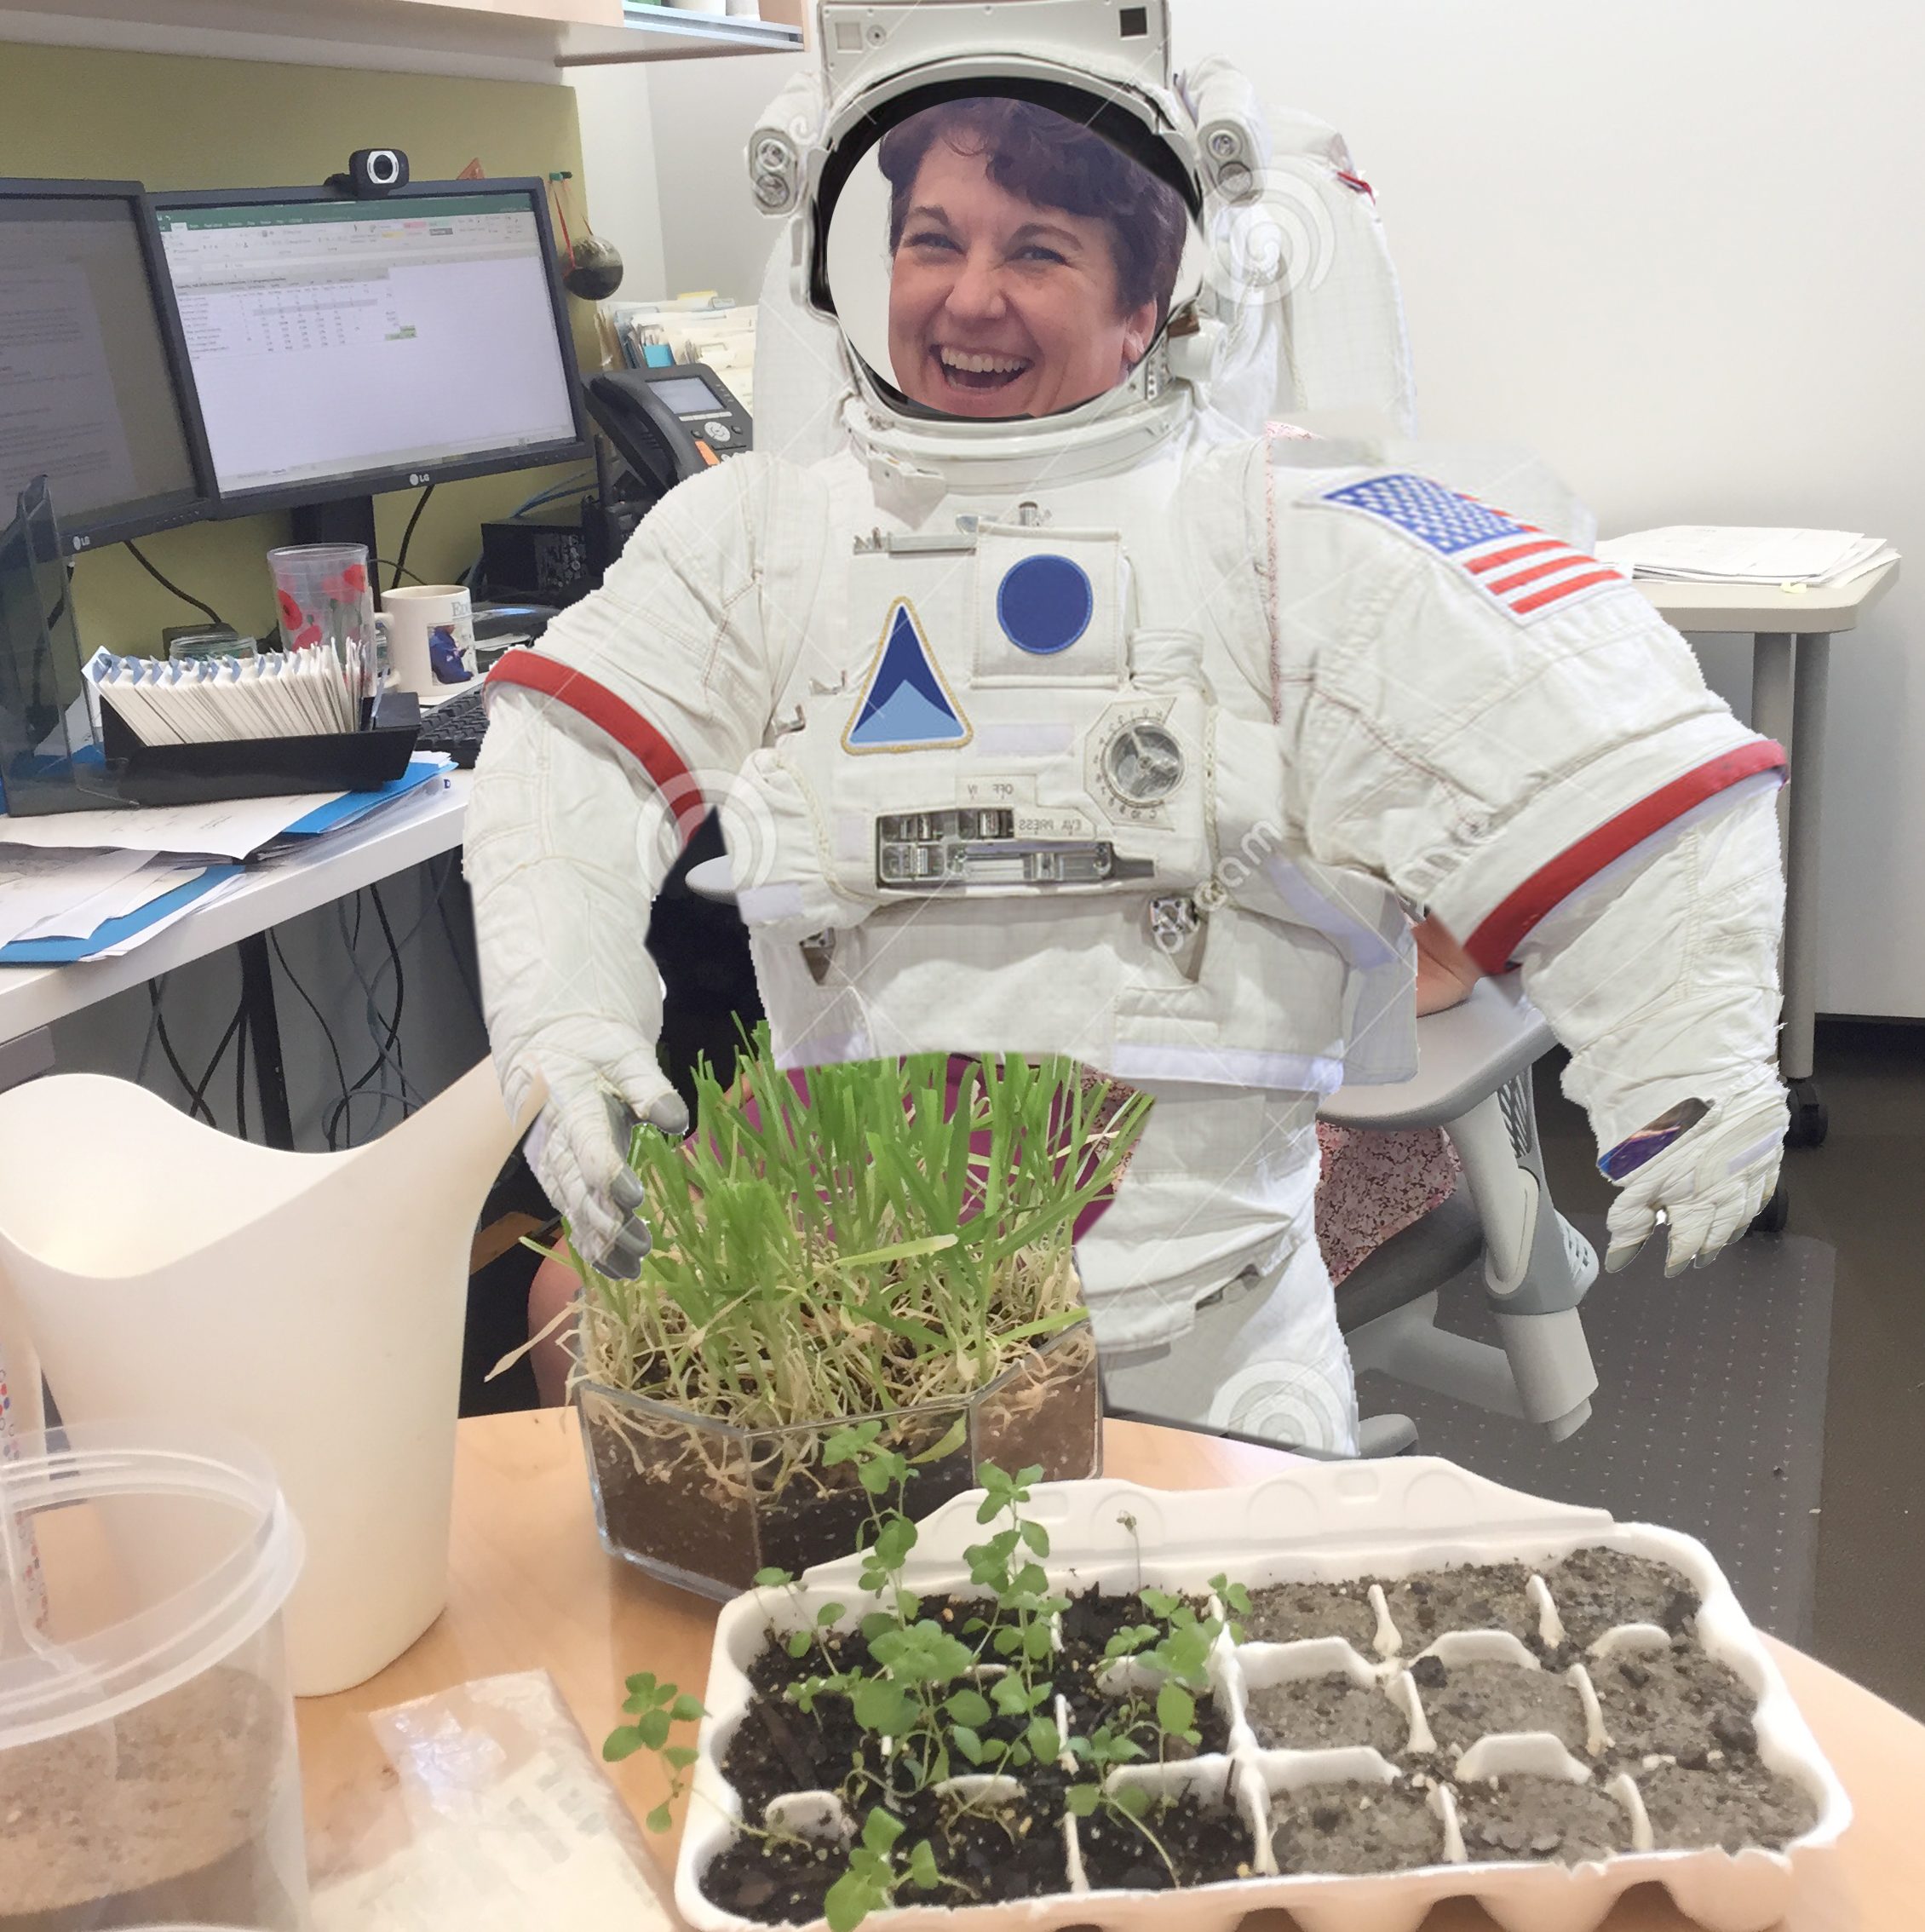
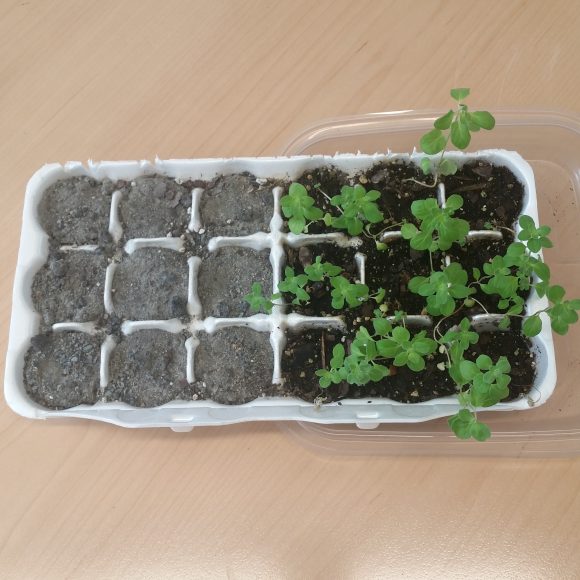
I took my Martian soil and set out to answer my first question: what happens if we try to plant seeds in this stuff? Put another way, is it possible to grow plants in Martian soil without adding anything? To answer this question, I took a polystyrene egg carton and planted marjoram seeds (because I had some laying around) in my Martian soil and in some Earth potting soil for comparison.

PHOTO: an 18 egg egg carton that has the 9 cells on the left planted with Martian soil and the nine cells on the right planted in earth potting soil; marjoram has sprouted in all 18 cells.
It was overcast outside when I took this picture in the greenhouse—you’ll have to look closely to see that the marjoram seeds sprouted in both Martian and Earth soils. So far, so good.

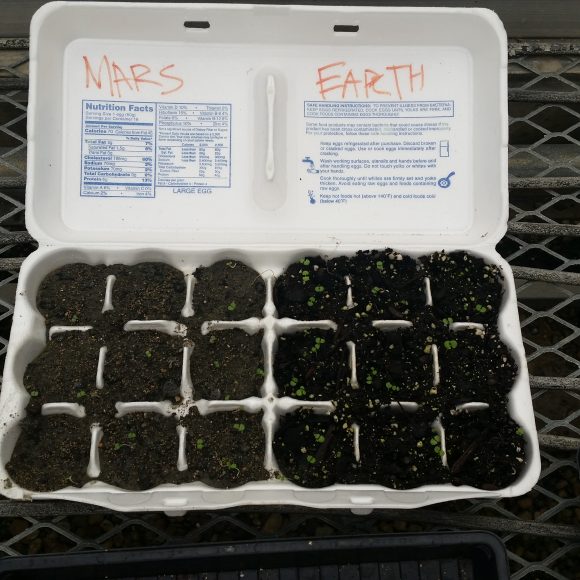
The Martian soil is completely different from the potting soil in appearance and texture, and it responds differently when watered. Shortly after the seeds germinated in all of the cells, the Mars side went south. It didn’t hold water very well; it dried out and became hard, almost like concrete. It was no surprise that all of the seedlings on the Mars side died soon after germination. Plants on the Earth side continued to grow and thrive.

PHOTO: The same 18 cell egg carton now has nine Martian soil cells with no plants and nine cells with healthy marjoram growing in Earth potting soil.
It is clear from this test that the Martian soil needs to be amended to grow plants. We were told this in The Martian, but now I know it from personal experience. We can use our observations to understand why Martian soil is not a good medium for plants. That’s real science learning!

In the book, Watney used a bucket of Earth soil and human waste to amend the Martian soil for his potato crop. The book and the movie differ on this part—likely because the process required to make Martian soil suitable for growing potatoes was long and tedious. It wouldn’t make for riveting cinema. Instead of cultivating the soil over time, movie-Watney planted a spoonful of rehydrated human poop next to each piece of potato. 

While movie-Watney’s actions remind us of stories about the Pilgrims teaching the indigenous people to place a piece of fish next to each kernel of corn to improve the crop yield, there are some problems with applying this method to our Martian soil. The Martian soil would still lack sufficient organic materials and therefore not be able to hold water (as I demonstrated with my marjoram seed experiment). There would be an insufficient population of microbes to break down the human waste. Furthermore, the fecal matter might be so concentrated in nutrients that it could actually be toxic to the potato plants. I don’t believe it would actually work.

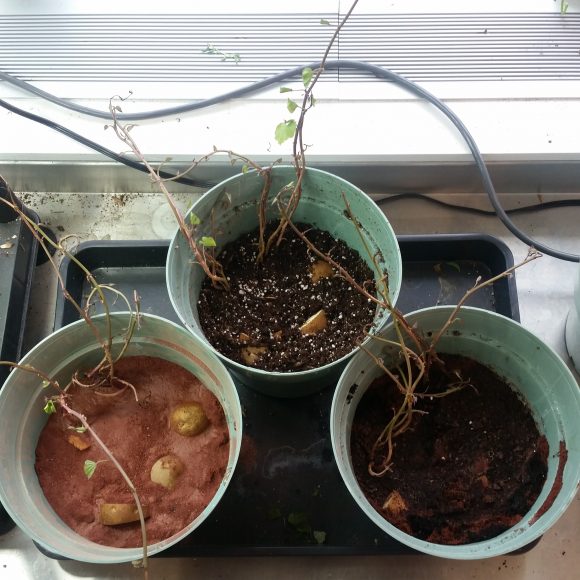
This compelled me to do some myth busting for my next experiment: since “humanure” would be unsafe—and gross!—I used worm poop, or vemicompost, which I have in plentiful supply from worm bins in our Learning Center nature laboratory. Also, I discovered that you can order “Martian Regolith Simulant” from a company online (who knew?). Although it’s expensive, it saved me the effort of crushing rocks, so I’m using it from now on.

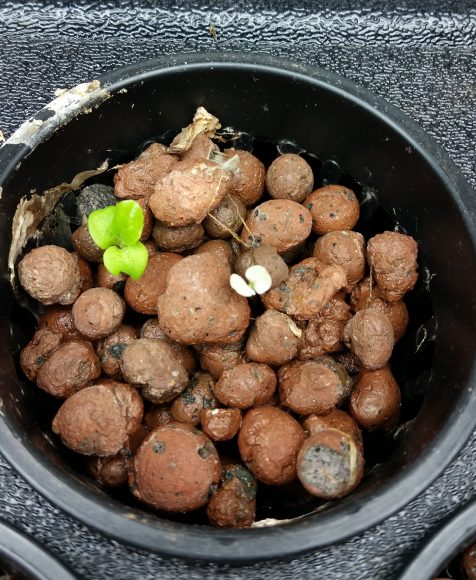
This time I planted russet potato pieces and some sweet potatoes that had sprouted in my pantry at home (oops!) in azalea pots. I set up three conditions: Martian soil, Martian soil plus vermicompost, and Earth potting soil for comparison. 


PHOTO: Three 10-inch pots with potatoes planted in each of the soil conditions: Martian soil, potting soil, and mixture of Martian soil with vermicompost
In spite of my doubts, I’m actually hoping that the potatoes in Martian soil plus vermicompost out-perform the potatoes in plain Martian soil, because bringing worms on a space voyage could prove to be a good solution for future colonists on Mars! But we’ll have to wait and see.

Underlying these experiments (and few other I have tried) is a basic investigation of what plants need to survive. By testing to find the right combination of Martian soil and amendments, and limiting solutions to those that could be transported by a spaceship to another planet, we are using engineering practices because we are trying to solve a problem. This is real-world science and engineering that students could do in the classroom. 

PHOTO: Kathy J. sitting in her office wearing a space suit.
Here I am, working on my next astro-botany experiment, for myself, for teachers, and for science!

Besides satisfying my personal curiosity, these experiments are paving the way for some science lessons we are writing for teachers and students.

If you are a teacher interested in learning more about how to teach NGSS-aligned life science lessons using Martian soil, sign up for our workshop, STEM: Growing Plants in Martian Soil on Saturday, December 2, 2017. And watch for other Martian soil training opportunities in the future. 

We may never need to grow crops in Martian soil. But as we investigate the challenges of colonizing another planet, we can learn more about what plants need to thrive and also develop a genuine appreciation for how amazing our Earth soil is.


©2017 Chicago Botanic Garden and my.chicagobotanic.org

Science Activity: Albino Plants

Leaves are green. There are very few exceptions in healthy living plants, and most of the exceptions are partially green with red, yellow, orange, or white patterns; or they look white, but upon closer inspection they are actually whitish, bluish-green, and not pure white. The pigments that give all leaves their color are essential for the plant’s ability to harness energy from the sun and make sugars in the process we know as photosynthesis.

But every once in a while, a completely white seedling sprouts from a seed. This happened with some basil I grew a few years ago. 


PHOTO: this picture shows two seedlings, one has two green seed leaves and the other is white and only half as big.
The green and albino seedlings came up at the same time, but the albino seedling never grew true leaves, and eventually withered and died.

My albino basil survived only a few days. Without any chlorophyll—the green pigment necessary for photosynthesis—this seedling was doomed. That is the case with all albino plants. The gene mutation that gives rise to albino plants is fatal to the plant, because without the ability to make sugars, the plant runs out of energy to live.

So when I was perusing the online Burpee seed catalog and came across “variegated cat grass” I was curious. VERY curious, and perhaps you are, too.

PHOTO: a potted plant of white grass leaves.
How can this albino plant survive? (Photo permission from W. Atlee Burpee Company)

I had several questions: 

  • The term “variegated” implies that the leaves would be striped or multicolored, but in the picture it appears that there are all white leaves. What will this grass actually look like?
  • How long will it take to sprout?
  • How easy it to grow?
  • Is there enough green on those leaves for the grass to survive or will it die off like my basil?
  • If it does survive, how long can I keep it growing?

And most importantly:

  • Would this make an awesome science activity for students in the classroom and at home to investigate the importance of chlorophyll in plants?

There was only one way to find the answers. I ordered the seeds and grew some variegated cat grass in our nature lab at the new Learning Center. You can do this in your classroom to find answers to my questions and your own. 

Before I give you directions for growing cat grass, you may be wondering:

What IS cat grass?

The cat grass you may have seen sold in pet stores is usually a type of wheat, or Triticum. Our “variegated cat grass” is a type of barley (Hordeum vulgare variegata). Both are cereal grains that have been cultivated as food for hundreds of years. Both are sold commercially as cat grass because some cats like to chew on the leaves. Not being a cat owner, I don’t know if cats actually like this stuff, but apparently it sells.

Variegated barley was the result of science experiments on genetic mutations in barley seeds in the 1920s. The hybrid barley seeds have been packaged and sold by different seed companies because…well, they’re attractive and intriguing—they caught my attention.

How to plant cat grass, barley, wheat, or any grass seeds

You need:

  • A container that will hold soil at a depth of at least 2 inches; drainage holes are best, but not necessary
  • Variegated cat grass seeds (sold as “cat grass, variegated” and available at Burpee and other seed suppliers)
  • Potting soil
  • Water
  • A warm, sunny location for your plants


PHOTO: Twelve plants have sprouted, one green, three green and white striped, and the rest all white.
In less than a week, a few more than half of the twenty variegated cat grass seeds planted in this 4-inch pot grew to 4 – 6 inches tall. The taller plants are ready for a trim.

Fill the container with moist potting soil. Spread seeds on the surface of the soil. Cover seeds with a thin layer of moist soil and tamp the soil down so that most of the seeds are covered. It’s all right if you can see some of the seeds through the thin layer of soil. Place in a warm, bright location. The seeds will sprout in a few days, but may take a week depending on the room temperature.

If students plant their own individual pots, have them place 20 – 30 seeds in each 3-inch container. The seeds I bought came 300 to a pack, so that means you need at least two (maybe three) packs to have enough for everyone in the class.

PHOTO: most of the grass is all white, but there are nine or ten all or partially green leaves.
Half of the 100 seeds planted in this 8-inch pot have sprouted, and more should be coming up soon.

You can also use the whole pack in a 8- to 10-inch container, or even spread more seeds in a foil baking pan filled with soil to grow a carpet of grass. The more densely you plant the seeds, the closer the plants will grow together and it will look and feel more like a healthy lawn. A sparser planting makes it easier to observe individual plants. It’s up to you how you want to do it, really.

Keep the grass in a warm, sunny location. Water when dry, but do not allow it to dry out. When the grass leaves are more than 3 inches tall, use a sharp pair of scissors to trim them to a uniform height just as you would mow a lawn. This will prevent the grass from going to seed and keep it alive longer. You can plant new seeds in the same planter to revitalize in two to three weeks when it starts looking a little tired.

Now the REAL science part: 

Whether you make a single classroom planter or have each student plant her own pot, observe your variegated cat grass for the next four to six weeks, or even longer. Keep it watered and trimmed. Measure its growth. Take photos or sketch it to record how it grows and changes. Ask your own questions and try to find answers, and ultimately reach a conclusion about what happens to white plants. If you and your class are really interested, plant some more cat grass and change the procedure to test your own ideas. It’s that easy to do plant science in your classroom.

Want more albino plant science? Read on.

More activities for inquiring minds

You can experiment with other genetically modified albino seeds available through science supply companies.

PHOTO: A packet of genetically modified corn seeds and instruction booklet
Seed kits enable you to investigate different genetic traits, including the albino mutation.

Carolina Biological Supply Company sells hybrid corn that will grow white leaves and stems. I have planted these seeds and they work pretty well, but require a bright window or light and a warm environment to sprout successfully. A classroom kit contains soil, planting trays, and 500 seeds for a classroom investigation, and costs about $100. You can order just the seeds in packs of 100 genetic corn seeds that are all albino (90 percent of the seedlings will grow to be albino) for $18.50, or a green/albino mix—which means about 75 percent of seedlings will be green and 25 percent white, for $10.50. The latter enables you to compare the mutation to the normal strain. 

PHOTO: Ten white corn seedlings are a few inches tall.
Five days after planting, albino corn seedlings are beautiful, but ill-fated.

Nasco sells seeds and kits to investigate albino plants. Their “Observing the Growth of Mutant Corn Seeds” kit serves up to 40 students and costs $62.50. Nasco also has albino tobacco seeds with 3:1 green to white ratio, 1,200 seeds for $12.05. Tobacco seeds are smaller, and therefore more difficult for little fingers to handle than corn or barley. I have never tried growing them, but that might be my next science project this fall.

PHOTO: eight inch glass planter with green grass and label that says: Cat Grass (Barley).
After a two months, my densely planted variegated cat grass is thriving at the nature lab, even though it no longer resembles the catalog photo.

The answer to my question? Yes! This is an awesome science activity for students because it’s easy and demonstrates something really important—in fact, something essential to our existence!

You don’t need to purchase the fancy kits to investigate why plants are green. You can get a lot of good science learning out of a pack of variegated cat grass. All you really need to do is look around you and notice the colors in nature. Do you see white leaves anywhere? If you do, then there is probably a science investigation waiting for you.


©2016 Chicago Botanic Garden and my.chicagobotanic.org

You Say Tomato, I Say Science Project

Here’s a science project students can do at home! Try tomato seeds.
tomato project

As I’ve stated before, we in the education department of the Chicago Botanic Garden are committed to helping parents and teachers find great projects that teach students how plants sustain and enrich life. Last year we talked about using radish seeds; this year, it’s tomato seeds. And like last year, this project can be done by an individual student, a small group or ecology club, or an entire class.

Let’s begin by thinking about tomato seeds. Cut open a tomato and try to pick out a single seed. Go ahead and try it, I’ll wait.

PHOTO: This close up of a tomato seed shows the transparent coating that surrounds the tomato seed.
These tomato seeds glisten and mock me when I attempt to pick them up with my fingertips. The little brats also resist sliding off the cutting board.

 
As you will discover (if you didn’t already know) the seeds are coated in a gelatinous substance that makes them slippery and difficult to handle. So the first question is, what purpose does the slimy coating serve?

This is not the kind of blog post where I give you all the answers. That would not be good science teaching. I will tell you that tomato seeds can pass through the digestive tract of an animal and still germinate. Not all seeds can do that. It is possible that in nature, the coating protects the seeds on their journey from the mother plant through the hostile environment of a hungry animal’s gut and on to wherever that animal relieves itself.

Another theory is that the coating prevents premature germination of the seeds while they are inside the warm, moist, ripening fruit. Whatever the true reason—and there may be several—seed savers find it’s better to remove that coating after the seeds are harvested, because they become easier to handle and store.

The natural way to remove the coating is to ferment the seeds in a jar or bowl. It’s a simple procedure.

1. Scoop or squeeze the seedy pulp out of the tomatoes and put it into a bowl. (I prefer glass, but some people use plastic.) Add water equal to the volume of tomato pulp. Cover the bowl with plastic wrap and poke a few holes in the top.

PHOTO: glass bowl about a third full of tomato pulp, covered with plastic wrap, sitting on the windowsill.
Here are the seeds from three medium-sized tomatoes, sitting by the window on the back porch, waiting to ferment.

2. Place the bowl in a warm location such as a sunny window. It is going to smell bad, so don’t put it in your dining room, unless you’re trying to reduce your appetite. You will also want to avoid fermenting your seeds next to bananas and other fruit ripening in your kitchen, because it can attract fruit flies. Leave it there for three to five days, depending on the conditions. Natural “beasties” in the air (yeast) will settle on the sugary goodness of the tomato. They will gorge themselves and reproduce, resulting in a yucky mess floating on top of the mixture. This is exactly what you want.

PHOTO: the bowl of tomato seeds is covered in white stuff.
In four days, my tomato seeds were ready, with a thin layer of white scum floating on top. Be very glad odors are not transmitted over the internet.

3. After you have grown a nice head of gunk on your seeds, remove that film and throw it away. (Unless you’d like to keep it for some reason.)  If you can’t skim all of it, no worries, the remaining goo will rinse off in the next step. Remove any floating seeds, too—they are not viable.

4. Pour the mixture into a sieve or wire strainer with fine mesh and rinse well, shaking the seeds gently to remove any remaining pulp and seed coatings.

PHOTO: The tomato seeds are spread out on a wax paper so they do not touch.
The most tedious part of the process is spreading out the seeds so they do not touch each other.

5. Dump the seeds onto wax paper. Poke at the seeds with a toothpick or other clean utensil to separate them. Remove any dark seeds that don’t look right. They are not viable. Let the seeds air dry on the wax paper in a protected place for about a week.

6. Store the completely dried seeds in an envelope until you are ready to use them.

PHOTO: close up of several tomato seeds - you can see the fuzzy outer layer of the seeds.
The cleaned and dried seeds are coated with tiny white hairs. These hairs were holding the gooey coating on the fresh seeds and now they will help the seeds soak up moisture when they are planted.

Now comes the science question: Do tomato seeds really need this kind of abuse to germinate?

The only way to find out is to experiment. Collect seeds from some ripe tomatoes—two or three tomatoes will do. Ferment half of the batch using the directions above. Rinse the remaining half with water in a sieve (to remove any attached tomato pulp), and then dry them on wax paper without any other treatment. When you have dried all the seeds, use the same procedure from Eleven Experiments with Radish Seeds to measure and compare germination rates.

PHOTO: Ten tomato seeds are arranged on a paper towel in three rows; the towel is on a plate.
These ten fermented and dried tomato seeds are ready for germination testing.

Since you’re curious and kind of into this now, see if you can figure out if there are other ways to remove the seed coating that result in equal or better germination success. Some seed savers skip the fermentation and instead clean their tomato seeds with a solution of Oxi Clean. You can add this treatment to your experiment by dividing your batch of tomato seeds into three parts for: untreated, fermented, and Oxi Clean treatments.

The Oxi Clean method goes like this:

  1. Put the tomato seeds in a measuring cup and add water to make 1 cup of liquid.
  2. Add 1 tablespoon Oxi Clean power to the mixture and stir to dissolve.
  3. Let the seeds soak for 30 minutes.
  4. Rinse thoroughly in a sieve and dry on wax paper, just as you would with the other treatments.

As you will see, the Oxi Clean method is faster and there is no offensive odor, but is it better for germination?

PHOTO: A 16 ounce container of Oxi Clean Versatile Stain Remover
This product contains sodium percarbonate and sodium carbonate, no bleach, and will work for your experiment.

Note: if you Google information about this, you will find articles that discuss Oxiclean (one word) vs. Oxi Clean (two words). The two commercial products are made of different chemicals. The former is a liquid that contains sodium hypochlorite (chlorine bleach), the latter, promoted by Billy Mays, does not. For the purposes of this experiment, the less caustic, powdered Oxi Clean pictured in this blog post works perfectly well. Students should report the actual chemical names in the materials list, not just the product name. It’s just like using the scientific name of a plant instead of the common name—it’s more accurate and less confusing for someone who wants to replicate the experiment.

If you are ambitious, try a treatment of your own. After all, three tomatoes are going to give you a lot of seeds to test. My daughter tried soaking some of her seeds in vinegar. Perhaps regular dish soap or ordinary laundry detergent will remove the seed coating. Or you could try a cleaner that contains chlorine bleach. It’s up to you. Please remember to wear goggles and plastic or latex gloves while handling any chemicals because, like the tomato seeds, your eyes and hands may need a protective coating to escape harm.

I’d like to tell you what is going to happen, but then I would totally lose street cred and face ridicule from my science teacher peeps. One hint, though: be sure to measure the timing of germination as well as the number of seeds that germinate in each condition. If you want to know what happens, you’ll just have to cut open some tomatoes and try it yourself.


©2014 Chicago Botanic Garden and my.chicagobotanic.org

Eleven Experiments with Radish Seeds

It’s that time of year again—time for student science fair projects. Many students I know struggle to find a good idea, and sometimes wait until the last minute to do their experiments. We in the Education Department of the Chicago Botanic Garden are committed to helping make science fair a painless and even fun learning experience for students, parents, and teachers by offering some simple ideas for studying plants.

A no-brainer botany project is testing germination of radish seeds in different conditions. Radish seeds are easy to acquire, inexpensive, large enough to see and pick up with your fingers, and quick to germinate under normal conditions. Testing germination does not take weeks, doesn’t require a lot of room, and is easy to measure—just count the seeds that sprout!

PHOTO: Seed packets for White icicle radish and an organic red radish are shown, next to about a dozen scattered radish seeds from the open package.
Radishes come in different varieties—here are two very different kinds. They all work for germination experiments.

To set up a seed germination experiment, use this basic procedure:

  1. Gather three or more small plates, depending on how many ways you will be treating your seeds.
  2. Place a folded wet paper towel on the plate.
  3. Place ten seeds on the wet paper towel. You can use more seeds—the more you have, the more reliable your results will be—but using multiples of ten makes it easier to calculate percentages.
  4. Cover with a damp paper towel; label the plates.
  5. Treat the seeds the same way in every respect except for one thing: the condition you are testing. That condition is your “independent variable,” which may also be called the “experimental variable.” No matter what you are testing, one plate should be set up with the basic directions and no treatment. That plate is the “control” that all the other plates can be compared with.
  6. When the seeds sprout root and leaves, remove the top paper towel. Compare the number of seeds that germinate and the time it takes for seeds in each condition. You should be able to wrap this up in less than a week.
PHOTO: ten radish seeds are arranged in three rows, half inch apart, on a wet folded paper towel.
These seeds are ready to be covered with a damp paper towel and tested.

Now all you need are some ideas for conditions to test. Here are eleven questions you can investigate at home or school using the same basic proceedure:

1. Do seeds need light to germinate?

Place your plates of seeds in different light conditions: one in no light (maybe in a dark room or a under a box), one in indirect/medium light (in a bright room, not near the window), and one in direct light (by a south-facing window). Compare how well the seeds germinate in these conditions.

2. Do seeds sprout faster if they are presoaked?

Soak some seeds for an hour, a few hours, and overnight. Place ten of each on a germination plate, and and compare them with ten dry seeds on another plate.

3. Does the room temperature affect germination rate?

You’ll need a thermometer for this one. Place seed plates on a warming pad, in room temperature, and in a cool location. Monitor temperature as well as germination rate. Try to ensure that the seeds have the same amount of light so it’s a fair test of temperature and not light variation.

PHOTO: ten radish seeds on the wet paper towel overnight all show signs of germination, including swelling and the beginnings of tiny roots
Like magic, after just one day, these seeds are swollen and beginning to germinate. Notice the tiny white nubs on some seeds, which shows they are starting to grow.

4. Do microwaves affect germination?

Put seeds in the microwave before germinating and see if this affects them. Try short bursts, like one and two seconds as well as ten or 15 seconds, to see if you can determine the smallest amount of radiation that affects seed germination.

5. Does pH affect germination rate?

Wet the paper towels with different solutions. Use diluted vinegar for acidic water, a baking soda or mild bleach solution for alkaline conditions, and distilled water for neutral.

6. Does prefreezing affect the seed affect germination?

Some seeds perform better if they have been through a cold winter. Store some seed in the freezer and refrigerator for a week or more before germinating to find out if this is true for radishes or if it has an adverse affect.

PHOTO: Ten sprouting radish seeds, each with root and seed leaves.
After about three days, all ten seeds have grown roots and early leaves. That’s 100 percent germination!

7. Does exposure to heat affect germination rate?

Treat your seeds to heat by baking them in the oven briefly before germinating. See what happens with seeds exposed to different temperatures for the same amount of time, or different amounts of time at the same low temperature.

8. How is germination rate affected by age of the seeds?

You can acquire old seeds from a garden store (they will be happy to get rid of them), or maybe a gardener in your family has some old seeds hanging around. Find out if the seeds are any good after a year or more by germinating some of them. Compare their germination rate to a fresher package of the same kind of seed.

9. Do seeds germinate better in fertilized soil?

Instead of using the paper-towel method, sprout seeds in soils that contain different amounts of Miracle-Gro or another soil nutrient booster.

CIMG0951
Speaking of seeds, this sprout is about a half-centimeter long, complete with testa, radicle, and first leaves. Now go look up those terms for your report! While you’re at it, look up hypocotyl, cotyledon, and plumule.

10. Does scarification improve germination rate?

Some seeds need to be scratched in order to sprout—that’s called “scarification.” Place seeds in a small bag with a spoon of sand and shake for a few minutes and see if roughing them up a bit improves or inhibits their germination.

11. Does talking to seeds improve their germination rate?

Some people claim that talking to plants increases carbon dioxide and improves growth. Are you the scientist who will show the world that seeds sprout better if you read stories to them? Stranger discoveries have been made in the plant world.

That eleventh idea may seem silly, but sometimes science discoveries are made when scientists think outside the seed packet, so to speak. Students should design an experiment around whatever question interests them—from this list or their own ideas—to make the research personal and fun. As long as students follow the scientific method, set up a controlled experiment, and use the results of the experiment to draw reasoned conclusions, they will be doing real science. The possibilities for botanical discovery are endless, so get growing!


©2013 Chicago Botanic Garden and my.chicagobotanic.org