
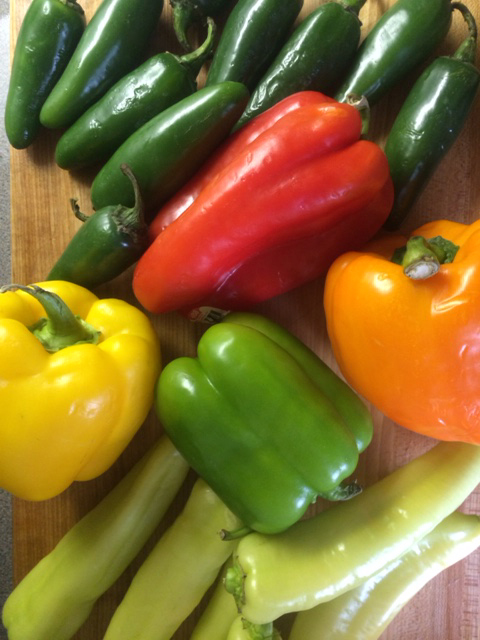
Are you staring at the glorious color wheel of peppers at your local grocer or farmers’ market and salivating over your peppers growing at home?
If so, you are a pepper lover, and while you hold yourself back from buying every type you see on the shelf, you also know that this feeling is fleeting.

Those beautiful colors and unusual varieties are in their prime now, when the hot summer days and good strong rains are perfect support for a fruiting pepper plant. In just a month or two, the number of varieties will start to dwindle and your hot spicy recipes will taste bland again.
Fear not! You can preserve that color and flavor easily with pickled peppers! But even Peter Piper couldn’t pick a peck of them. You have to pickle them yourself. Luckily, pickling peppers is perfectly painless.

Note: Be careful when handling hot peppers; don’t rub your eyes as the capsaicin will migrate and can really irritate them (and be detrimental to contact lenses). One way to avoid this is to use disposable gloves. Wash your hands thoroughly after removing the gloves as well.
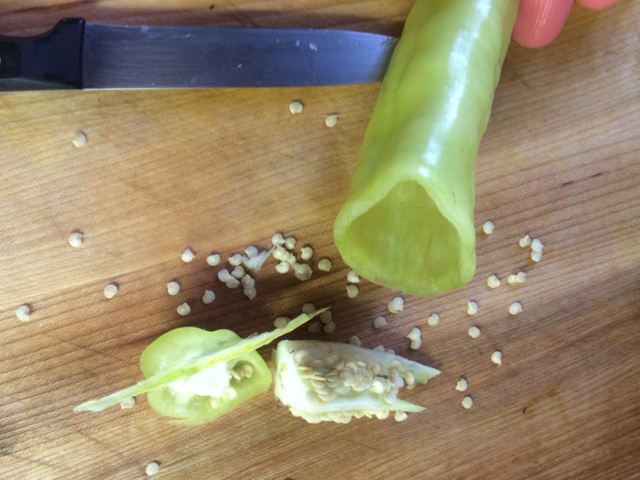
Hot or not:
Just how spicy do you want your peppers? Go ahead and take a bite. If it’s too hot, it’s not too late. Before you pickle, core your peppers (removing the seeds and inner ribs). This removes some of its spiciest elements. You can also run them under water once they are cored to lessen the heat.
If you like it hot, leave your peppers whole. Just poke or slit holes in the side of the pepper to expose the inside to the pickling liquid.
Be sure your pickles are tender, firm, crisp and not showing any spots, wrinkled skin, or decay. Also, wash them well before pickling.
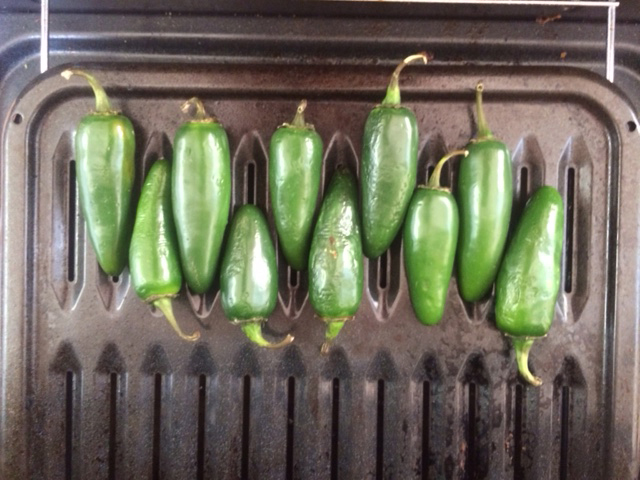
Skin off:
Pickled pepper skin can be unpleasant and rubbery. If you are thinly slicing your peppers (or your peppers are very thin-skinned), you may choose to leave the skin on. However, if you are pickling your peppers whole, remove the skin now by blistering the outside of the pepper on the grill, in the oven, or with the broiler. Once the skin is blistered on all sides, let the pepper cool and the skin will slide right off.
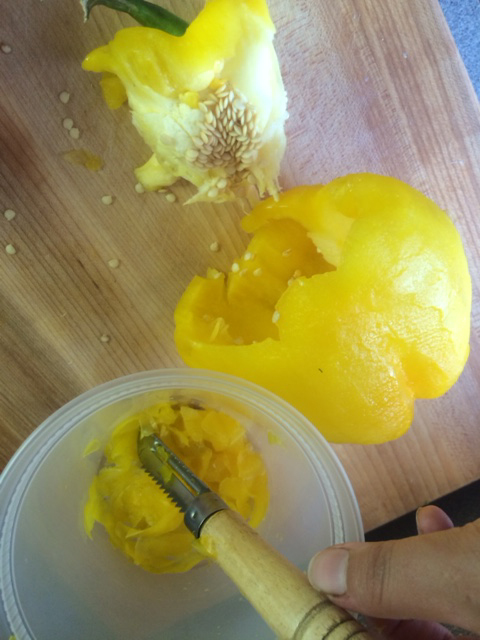
If you don’t want to heat up the kitchen on a summer day, use a vegetable peeler to remove the skin (preserve as much of the flesh as possible).
Sterilize your jars and make pickling liquid.
Use glass jars that can vacuum seal (Mason® or Ball® jars work great). Wash them well, then heat them in the dishwasher or fill with boiling water until the glass is hot. Pour out water just before you fill them with peppers and brine.
A basic brine for a 1 pint jar contains the following:
- 2 cups vinegar (white distilled vinegar preserves the pepper colors best)
- 1¼ teaspoons canning or pickling salt
- ½ tablespoon of sugar or honey (*may be left out if you prefer)
What to add?
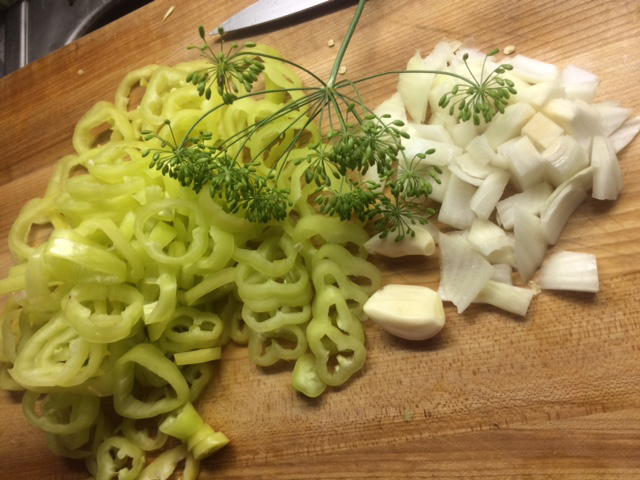
Onion, garlic cloves, peppercorns, mustard seeds, dill seeds, sesame seeds, bay leaves, cinnamon sticks, and many other spices can add flavor to the brine. For a true Chicago hot dog, add two garlic cloves and a pinch of mustard seed. For a sweet approach, add 2 tablespoons of honey and some chopped onion. For Thai Chilies, add sesame seed for richer tasting pickles.
TIME OUT TO TASTE TEST!
Take a sliver of your pepper and a bit of your pickling liquid and set to the side. Let the liquid cool and then taste them together. Hold your nose—the vinegar will be strong! This is not exact, but gives you can idea to the flavors you’ve mixed. Adjust your spices as you may need.

Pack your jars:
Bring the brine to a boil; reduce heat and cook just long enough for the salt to dissolve in the vinegar (about 2 minutes). Pack your garlic cloves, extra dill, or other ingredients with your peppers into the hot jars, leaving 1 inch of air (called headspace) in the top of the jar. Then, ladle the hot pickling brine over the peppers until the brine is ½ inch from the top of the jar.
Put on your lids and rings and close gently. Don’t turn as tight as you can—you want the lid to be easy to loosen later.
Store:
If you plan to use your peppers right away, put the jars into the fridge for two days and start eating!
If you want to hold on to you peppers longer, you will want to can them. Place your newly packed jars into a canning pot filled with boiling water. The water should sit 1 inch above the jars. Keep the water boiling for 10 minutes. Then lift the jars out of the water and let them cool on a towel (not touching each other). After they have cooled overnight, press the center of the lid down with your finger. If the lid doesn’t move, it has sealed and your peppers will keep for up to a year! If the lid pops up and down, the jar didn’t seal and should go into the fridge for quick eating.
Don’t forget to have fun! Play with different color and flavor combos or chop the peppers for something spreadable. As long as you use the right amount of vinegar and salt, the sky is the limit!
Already perfected pepper pickling? Then make giardiniera!
Use half the recipe above and add carrot, celery, onion, cauliflower, green olives, and garlic to the jars. Also add 2 tablespoons oregano, 1 teaspoon celery seed, 1 teaspoon ground pepper, and 3 cups of olive oil to the pickling liquid. Rather than canning, let the jars ferment in your fridge for at least two days before eating for the best flavor.
©2016 Chicago Botanic Garden and my.chicagobotanic.org