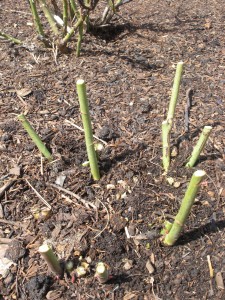
Some vegetables are more satisfying than others when it comes to harvest. Parsnips are in that category, as we discovered the other day (just three days before it snowed!), when we harvested a crop that’s been quietly growing in the Regenstein Fruit & Vegetable Garden since April.
Parsnips have long tap roots that need to be dug gently from the soil.
The sun was out, the air was crisp, and the nights were frosty: parsnip weather. Cold weather is actually a good thing for parsnips—in fact, they need it to convert the starch in their roots to sugar, transforming them from lowly, nose-turned-up roots to gourmet, thumbs-up side dishes. We used a pitchfork to loosen the dirt deeply around each parsnip top—a gentle harvest is required, as parsnips are brittle and can snap if eager hands try to pull the roots by their leaves.
Aren’t they gorgeous? We planted ‘Albion’ this year, a variety that’s creamy white and elegantly long and tapered. Inspired, we’re adding two other varieties to our seed list for next year: ‘Lancer’ and ‘Half-long Guernsey’.
Speaking of seeds, parsnips can be a bit fussy about germination. Knowing that, here’s the strategy we employed for sowing this year:
Plant fresh seed. Parsnip seed viability is short, so plant only newly-purchased seed every year.
Sow heavily. We’ve found that germination can be spotty in our heavier clay soil. Of course that means we had to…
Thin ruthlessly. We thinned four times to guarantee them the wide spacing they need.
Mark the rows. A few radish seeds (which germinate in a few days) marked the ends of each parsnip row—which took their sweet time to germinate, in about three weeks.
So satisfying: Some of last week’s parsnip harvest. Photo by horticulturist Lisa Hilgenberg
Once germinated, parsnips are low-maintenance veggies in the garden—as befits a vegetable that takes 120 days, plus a cold spell, to reach maturity.
A gardener’s patience with parsnips really pays off in the kitchen. How can you serve parsnips?
A bowl of parsnip soup.
In a roasted root vegetable side dish.
As a snack of parsnip “fries,” brushed with coconut oil, sprinkled with salt, and baked in the oven.
As a secret ingredient in mashed potatoes.
Or as my chef-friend Brad does, make parsnip cakes for a light main meal or delightful side dish. Here’s his recipe as he knows it by heart:
Boil parsnips in salted water for 3 minutes. Grate with a medium fine blade, then add one egg, white onion, flour, salt, pepper, and lots of Italian parsley. Form pancakes about ½-inch thick and 3 inches wide, and fry in oil on medium heat until parsnips are cooked through and cakes are golden brown and caramelized. Yummy with a roast chicken!
My summer intern, Melanie Jensen (now a senior studying horticulture at Southern Illinois University), has always wondered how botanic gardens put together their impressive seasonal displays. In fact, she was so intrigued by them that she did her final presentation—a graduation requirement for the Garden’s horticulture internship program—on the complexities and challenges of preparing these displays.
To say the work is complex and challenging is almost an understatement. Sometimes our work here seems like magic. Overnight, the Garden can transform from spring to summer or summer to fall. Yesterday there were spring troughs, summer palm trees, or fall mum towers in the Garden. Today, there is something completely different. Yes, it does seem like it happens just like that, perhaps with the snap of a finger. But behind the scenes, for months or even years before most visitors get to see a display, a team is already hard at work making it happen.
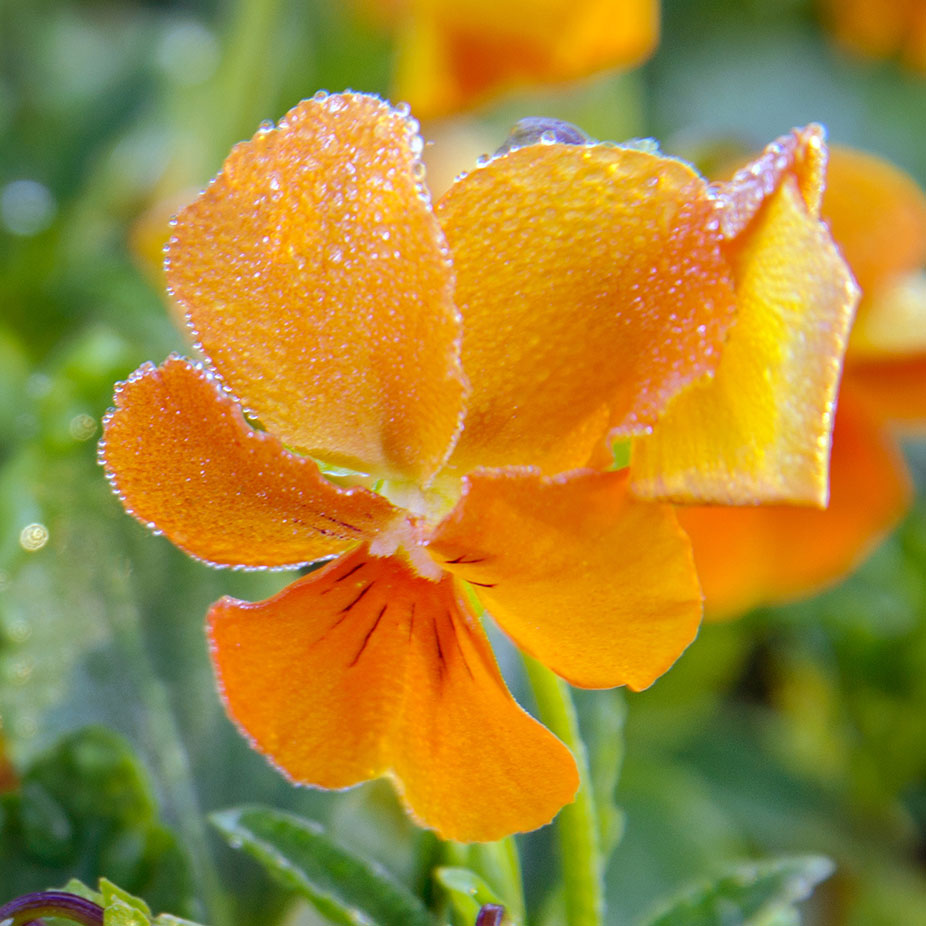
The Viola pyramids are currently on display in the Heritage Garden.
Melanie and more than 50 other staff and volunteers had a front row seat this summer to help me create this fall’s signature display in the Heritage Garden—the Viola pyramids, which are now on display. The pyramids themselves are really just a set of simple flowers presented in a very unique way. The story could end right there, but what I think makes this display fascinating to people like me and Melanie (and hopefully to you, too) is the astonishing amount of work it takes to get the pyramids from concept to finished product.
The Garden began working on this project more than a year ago, when outdoor floriculturist Tim Pollak and I were brainstorming on how we could use the pyramids in another display. Last used about five years ago, the pyramids have traditionally been used as a summer display component, planted with two cultivars of Alternanthera. Pressed to take a fresh approach to the pyramids, we settled on the idea that they would make a great fall display. We considered using mums (too fragile, and many growing challenges) and Verbena (not frost-tolerant enough for fall), and concluded that Viola were our best option. Others agreed.
Saying we are creating Viola pyramids is the easy part. Actually doing it is a completely different story, and it’s a testament to great project planning and teamwork at the Garden.
Here’s what it took:
1. Our production team grew 6,400 Viola plants, half orange and half purple, so they were ready for planting into the pyramid structure by early August. The pyramids are 9 feet wide at the base, and 10 feet tall at the apex.
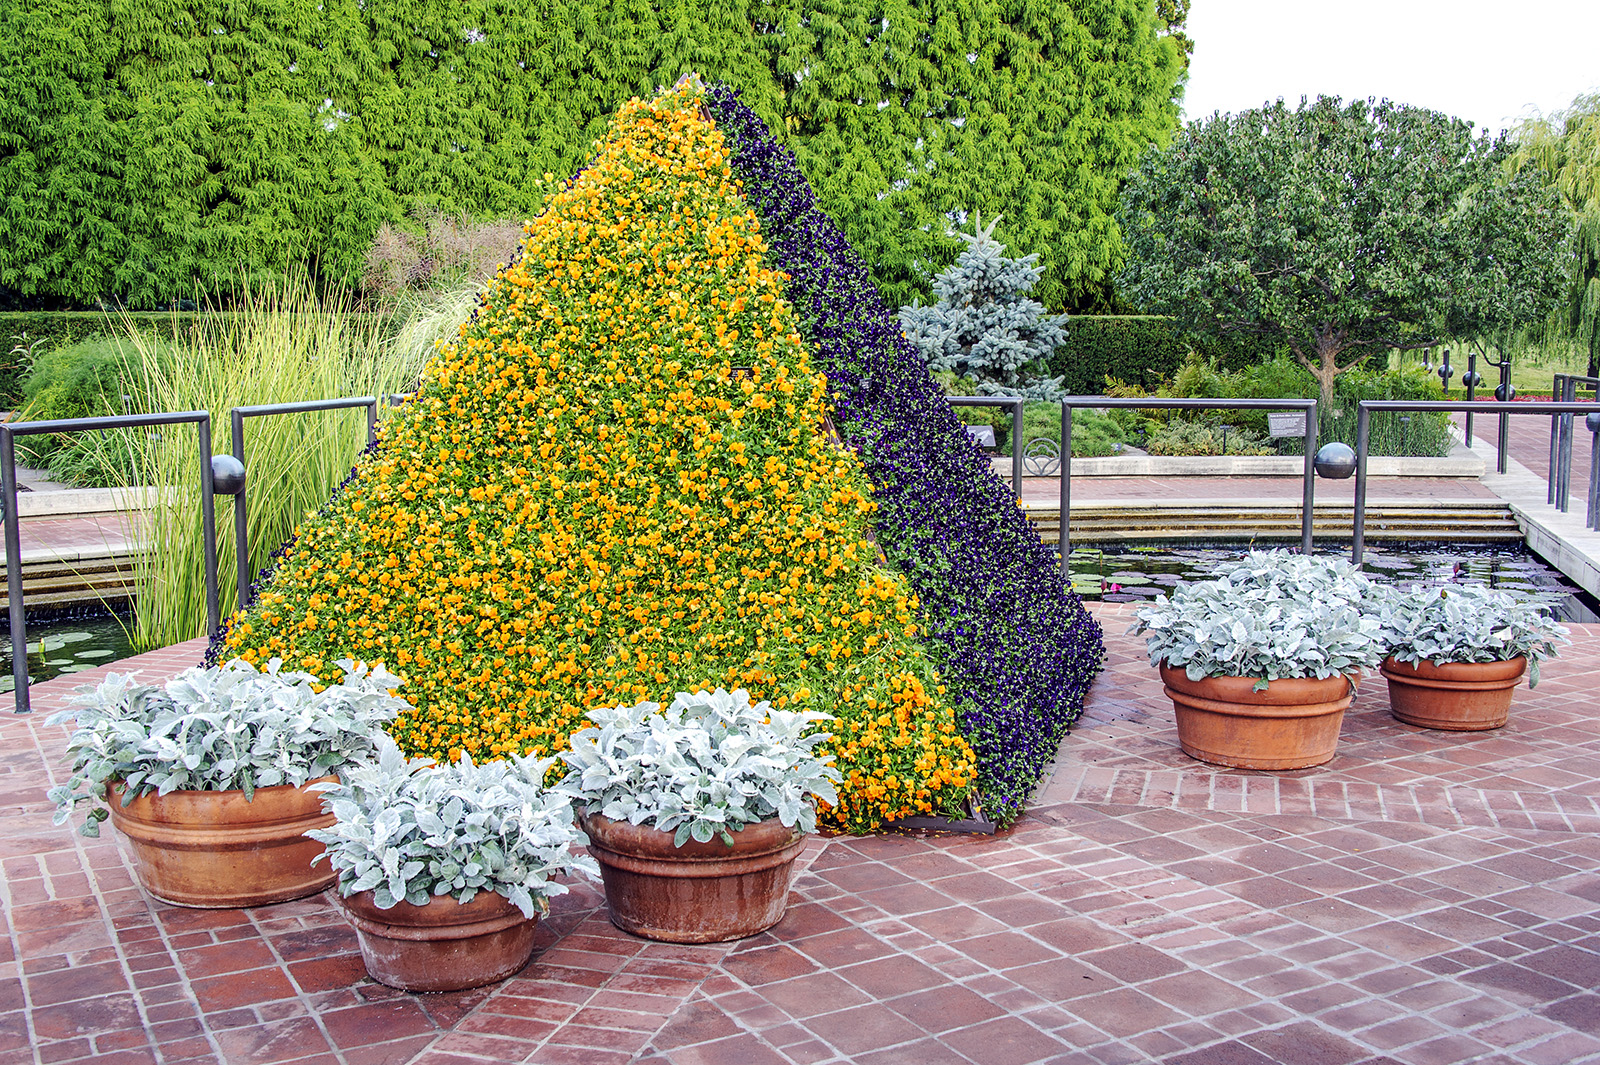
Panels lined with landscape fabric
2. In the meantime, Melanie and I led the team to prepare the pyramid frames. Working in the nursery, our first step was to attach landscape fabric to the front face of the pyramids using hundreds of zip ties. Landscape fabric helps hold the soil and the plants in the frame. We had to be very careful that the fabric covered every nook and cranny of the frame. If not, soil would leak from the frame, and it would undermine the integrity of the entire planting space.
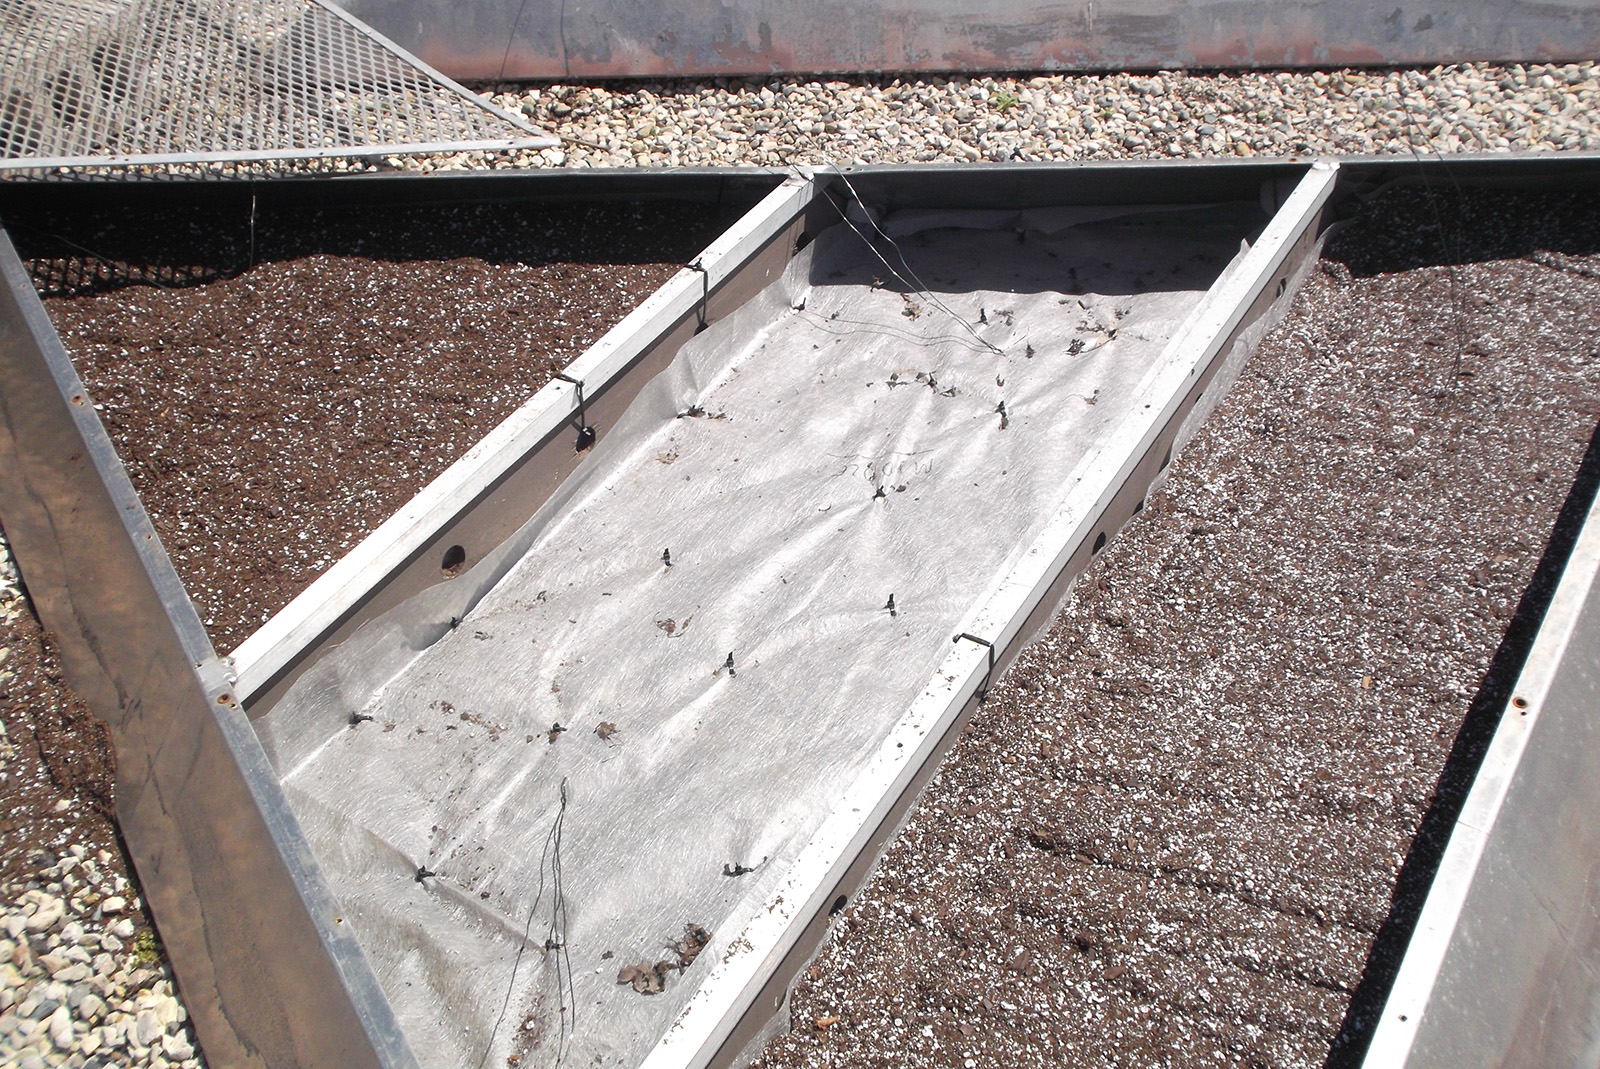
Filling the panels with custom-blended planting media
3. Next we custom-blended special planting media, using lightweight potting soil and perlite. The pyramids retain water differently at their tops versus their bottoms, so we changed the composition of the media throughout the frame to accommodate this variance. Near the top of the pyramid we used a heavier, more water-retentive blend of about 70 percent soil and 30 percent perlite. At the bottom, where there is a risk that the pyramid could become waterlogged, we created a lightweight mix that was about 30 percent soil and 70 percent perlite. You can see in the picture how the soil/perlite composition changes from top to bottom.
Soaker hoses weave throughout the frame
4. Most of the time we will water the pyramids with a hose and water nozzle, but sometimes we need to give them a deeper soaking, especially on hot and sunny days. To help with that, we weaved soaker hoses throughout the frame so that we could water from the inside out.
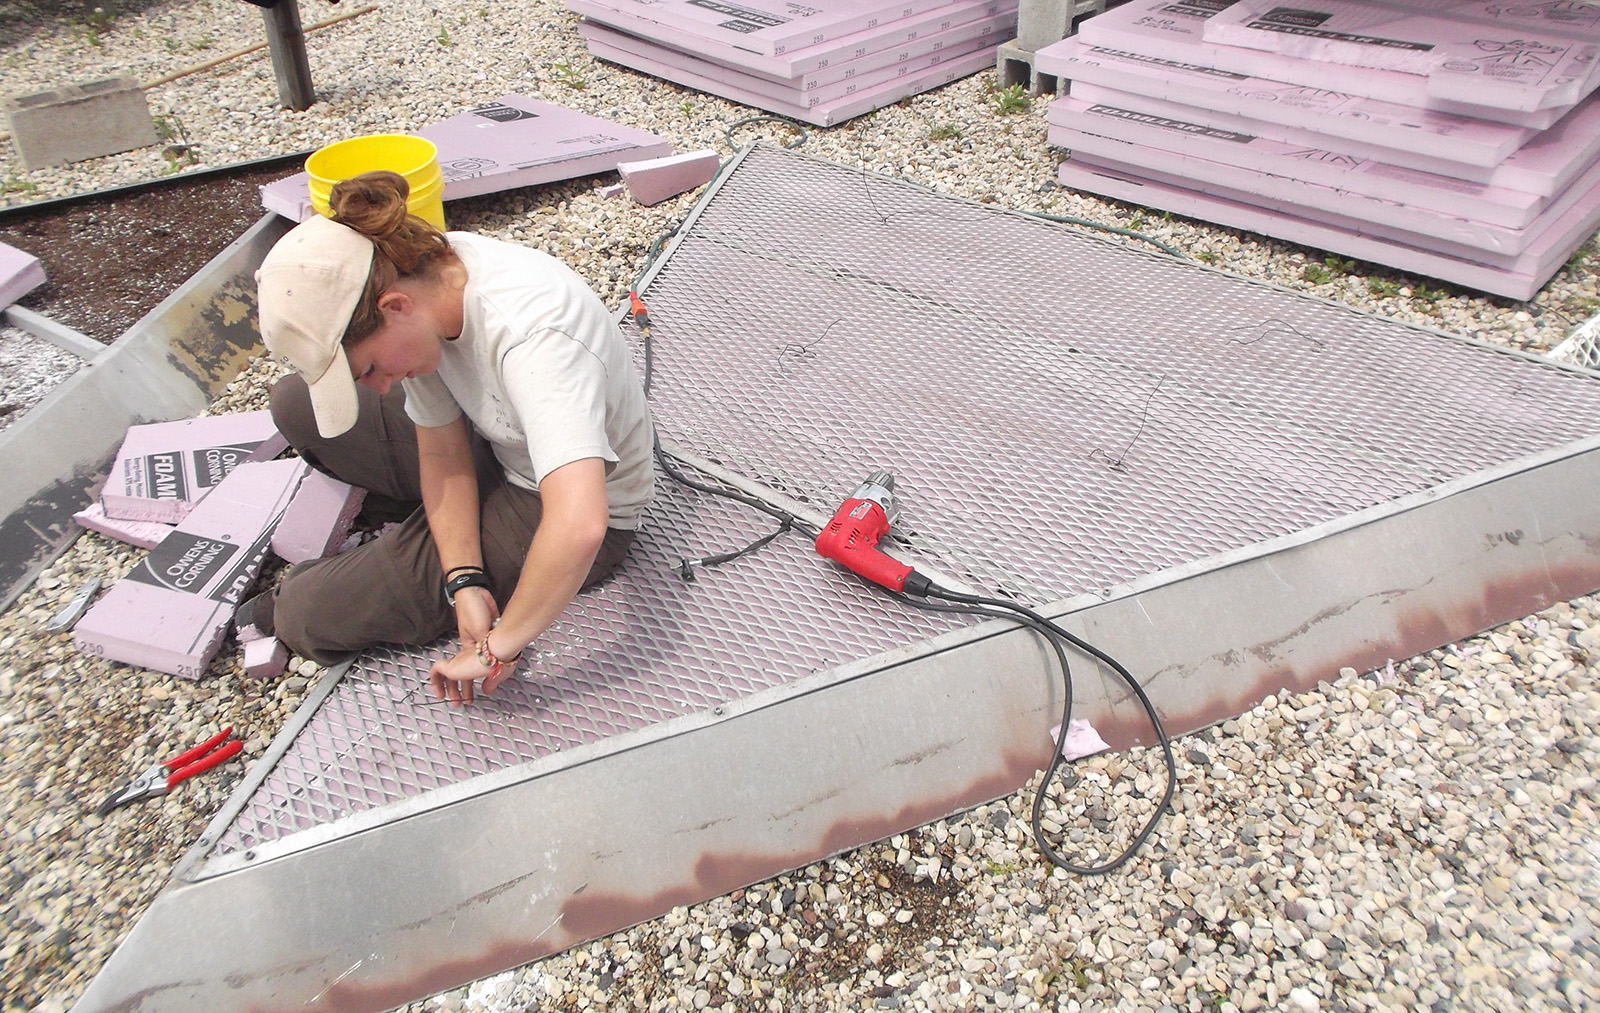
Intern Melanie Jensen prepping the panels
5. To make the pyramids lighter (each individual panel weighs about 500 pounds—meaning each pyramid weighs 2,000 pounds), and to reduce the amount of soil and perlite needed, we stuffed sheets of foam insulation into the bottom of the frame. A mesh screen secured all of these materials inside the frame.
Deadheading the Viola panels
6. Time to plant! We cut tiny holes into the landscape fabric and inserted a Viola plant. As we planted, we also pinched and deadheaded each and every Viola. During the critical first few weeks of growing in the pyramids, the Viola plants need to spend their energy developing roots and spreading foliage to cover the entire frame, rather than producing flowers. Removing all of the flowers is a hard thing to swallow, but it’s really for the best long-term interest of the display.
(Incidentally, the cut flowers were put to good use, donated to our Roadside Flower Sale team. Pressed flowers are sold at their annual sale, with proceeds supporting Garden initiatives, including generous funding for the horticulture department.)
The Violas doing what they do best: blooming again
7. The original plan was to leave the Viola plants simply to grow as-is under the care of our great production team until they were display-ready in mid-September. However, Mother Nature had other plans. The weather caused the Viola to grow faster than expected, and by late August it became clear that we would need to do another round of deadheading. Staff and volunteers again converged in the nursery for two days of meticulous work removing every flower head and seedpod from the display. It was a lot of work, and a little disconcerting to again make a beautifully colorful pyramid all green and flowerless, but it was an important task so the Viola could flower prolifically later into the season.
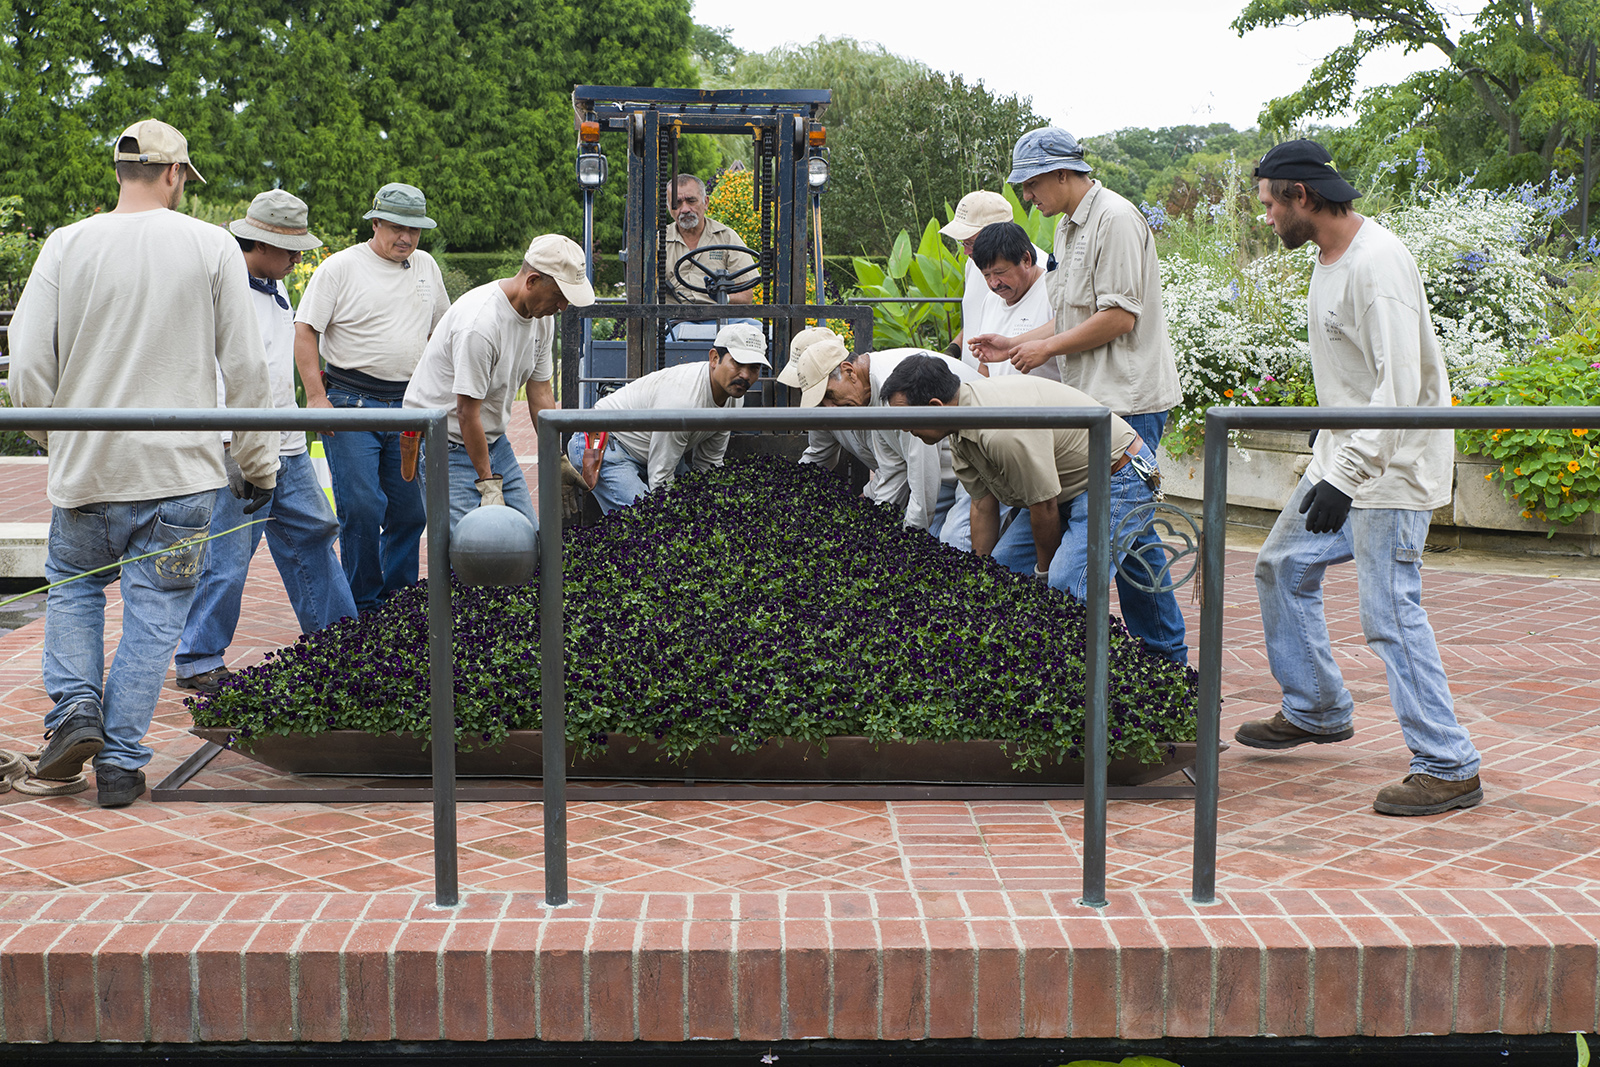
Lifting a panel into place in the Heritage Garden
8. Time to move to the Heritage Garden! It took 15 strong groundskeepers, some extra machinery and ropes, a lot of creative thinking, and 1½ days of hard work to move the pyramids from the Nursery to the Heritage Garden. Come by and take a look!
I often like to break down the numbers for a project, because it articulates the scope of work in a way that words cannot. So, here are some numbers for this project: Over one year of planning, more than 50 people involved, 6,400 plants used, and more than 500 hours of labor to get the job done. Yes, 500 hours!
It seems like a lot of work—and it is—but I hope that everyone who sees the display takes away something uniquely personal to them. Perhaps it sparks your creativity on how to use simple plants in unique ways. Maybe seeing something new and special triggers your passion for plants and horticulture, either as a hobby or as a career. Sometimes the display will draw your attention to a part of the Garden that you never explored before now. Or maybe you like it just because it looks pretty cool. It’s even O.K. if this display just isn’t your thing: artistic choices are very personal. Whatever your take-away is, however, my hope is that we can use this display and others like it to engage you in a conversation about plants and to help you connect to the Garden in an exciting new way. That makes 500 hours of work worth it for me.
At the Chicago Botanic Garden, variety is truly the name of the game. After all, the Garden is home to more than 2.6 million plants—both native and exotic—with 26 gardens and four different types of natural areas. But plants aren’t the only aspect of the Garden both numerous and varied: so too are the Garden interns, the young, intelligent, hardworking, and hilarious behind-the-sceners whose hard work is essential to keeping the Garden the world-class, varied, and vast living museum that it is today.
But who, exactly, are these young people who have forgone relaxing, carefree summer days to toil in the soil? Sitting in a room with five of the interns quickly reveals a surprisingly wide variety of interests and personalities. To intern at the Garden, apparently, one does not necessarily have to be a Birkenstock-wearing, granola-chomping nouveau-hippie (though full disclosure: I did not look at their feet nor peer into their breakfast bowls). Instead, each one of these interns is approaching the work from a different place, with different backgrounds, fields of interest, and long-term goals.
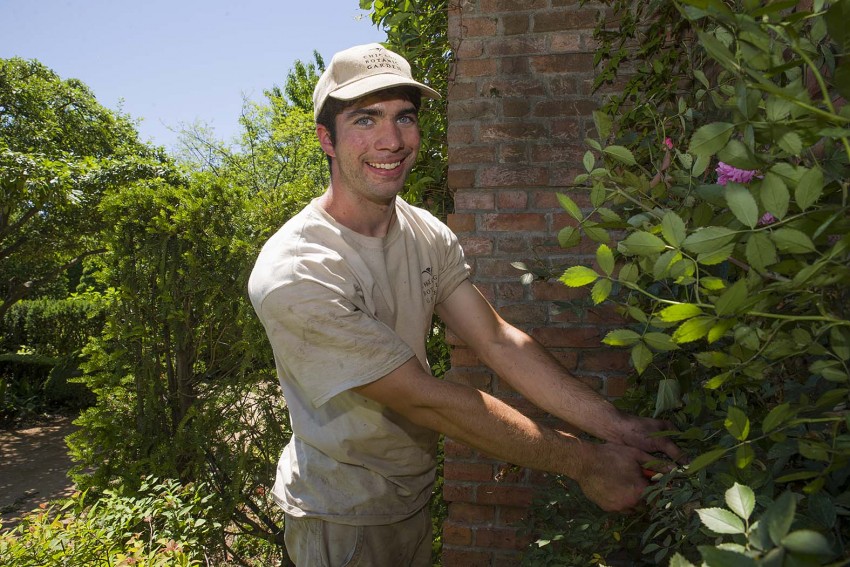
Patrick Hogan, 2013 production intern
For example, there’s Patrick Hogan. Patrick is from Wheeling, Illinois, and is a graduate of SIU in Carbondale. At school he studied landscape design but his real interest, he says, lies in plant propagation, pollination, and crossbreeding. At the Garden, Patrick interns in the production department, which involves all three tasks. “My goal,” he said with a grin, “is to one day have a plant named after me.” Patrick also seems to have an interest in human propagation—his first son was born nine months ago, and he says he looks forward to expanding his family in the future.
Also interning in the production department is recent Colorado College graduate Johanna Hutchins. In school, Johanna studied biology with a focus on plant ecology, and says that her interest in plants has been lifelong. She explained, “Plants are so complex. The way they respond to things, the way they’ve evolved…they’re really fascinating.”
The display garden interns are also a diverse, dynamic bunch. Take Mei-Ling Schmid, for instance. Originally from Thailand, Mei-Ling studies landscape management at Brigham-Young University and sought summer work at the Garden to “see how a larger botanical garden is managed.” Her work at the Garden is all about aesthetic: “You want the Garden to feel a certain way,” she says. “You want to create a mood. It’s about color, combination, composition…like art.” Yet, Mei-Ling attests that she’s learned most about the importance of effectively managing other people. “I see that you have to be smart about how you manage people and time to get things done. People think our work is just about plants, but nothing could be achieved if we weren’t able to work together.”
Kyle McGreevy, 2013 landscape design intern
Iowa State University student Kyle McGreevy also interns in landscape design at the Garden. Kyle originally studied landscape architecture, but switched to landscape design after deciding he wanted to better incorporate his interest in horticulture. Kyle explains that in landscape design, you think about things that require deep knowledge of plant biology, such as placement. He has learned “what types of plants grow best together and which locations work best for them.” Kyle says the best parts of his work here at the Garden are “learning how plants have personality and tie into each other, discovering the character of each garden, and seeing how people interact [with the gardens].”
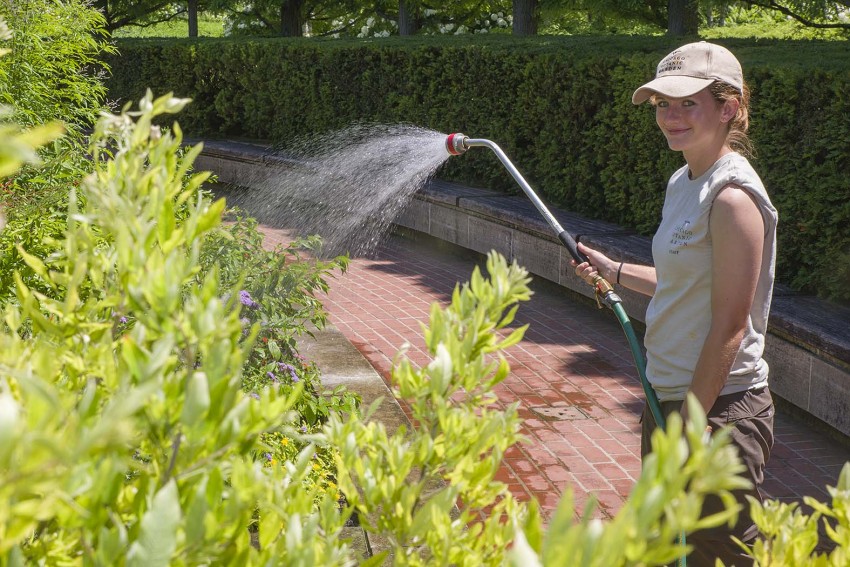
Mel Jensen, 2013 horticulture intern
Mel Jensen, an SIU student majoring in landscape horticulture, would agree. Interning under the expert tutorage of horticulturist Tom Soulsby in the Rose and Heritage Gardens, Mel creates planting designs and then does the planting, along with mulching, weeding, and almost every other aspect of the gardens’ maintenance. Mel says that the Heritage Garden is her favorite to work in because of its variety and the unique methods used to organize the plants. “We’ve planted in evolutionary order, from least to most complex,” she explains. “They’re grouped by region and plant family and are constantly being switched out to make room for new displays. We can do an entire seasonal turnaround in a matter of a few weeks.”
These young people are exploring interests in horticulture, landscape design, production, and just about every aspect of Garden culture and strategy—literally—from the ground up. For the college-age and recent grads interested in biology, or design, or anything in between, an internship at the Chicago Botanic Garden can be an informative, productive, hands-on, and (most importantly) enjoyable way to spend a summer among the plants, and among the plant-minded.
An aside: not all of the internship opportunities at the Garden require hours of hard outdoor labor. Mine, for instance, requires hours of hard indoor labor. I’m only partially joking—I am consistently being challenged. As an intern in the PR department, I’ve been tasked with a little bit of everything the PR team does, from writing press releases and sending media alerts to producing blog posts and videos. Of course, to do all that I’ve had to learn quite a bit about horticulture and the immense amount of behind-the-scenes work necessary to create and run the many community projects, classes, events, and gardens here. So, if you’re interested in nonprofit work or improving your communications know-how but haven’t got a green thumb, don’t rule the Garden out yet. There is a lot of interesting, engaging work to be done here from behind a desk, too.
Who doesn’t love a warm winter blanket? With unseasonably cold temperatures continuing into early April, that blanket has been especially welcome this year. If you are like me, though, you just can’t wait for that first day when you lose the covers and open the windows. It is that breath of fresh air that tells us summer is just around the corner.
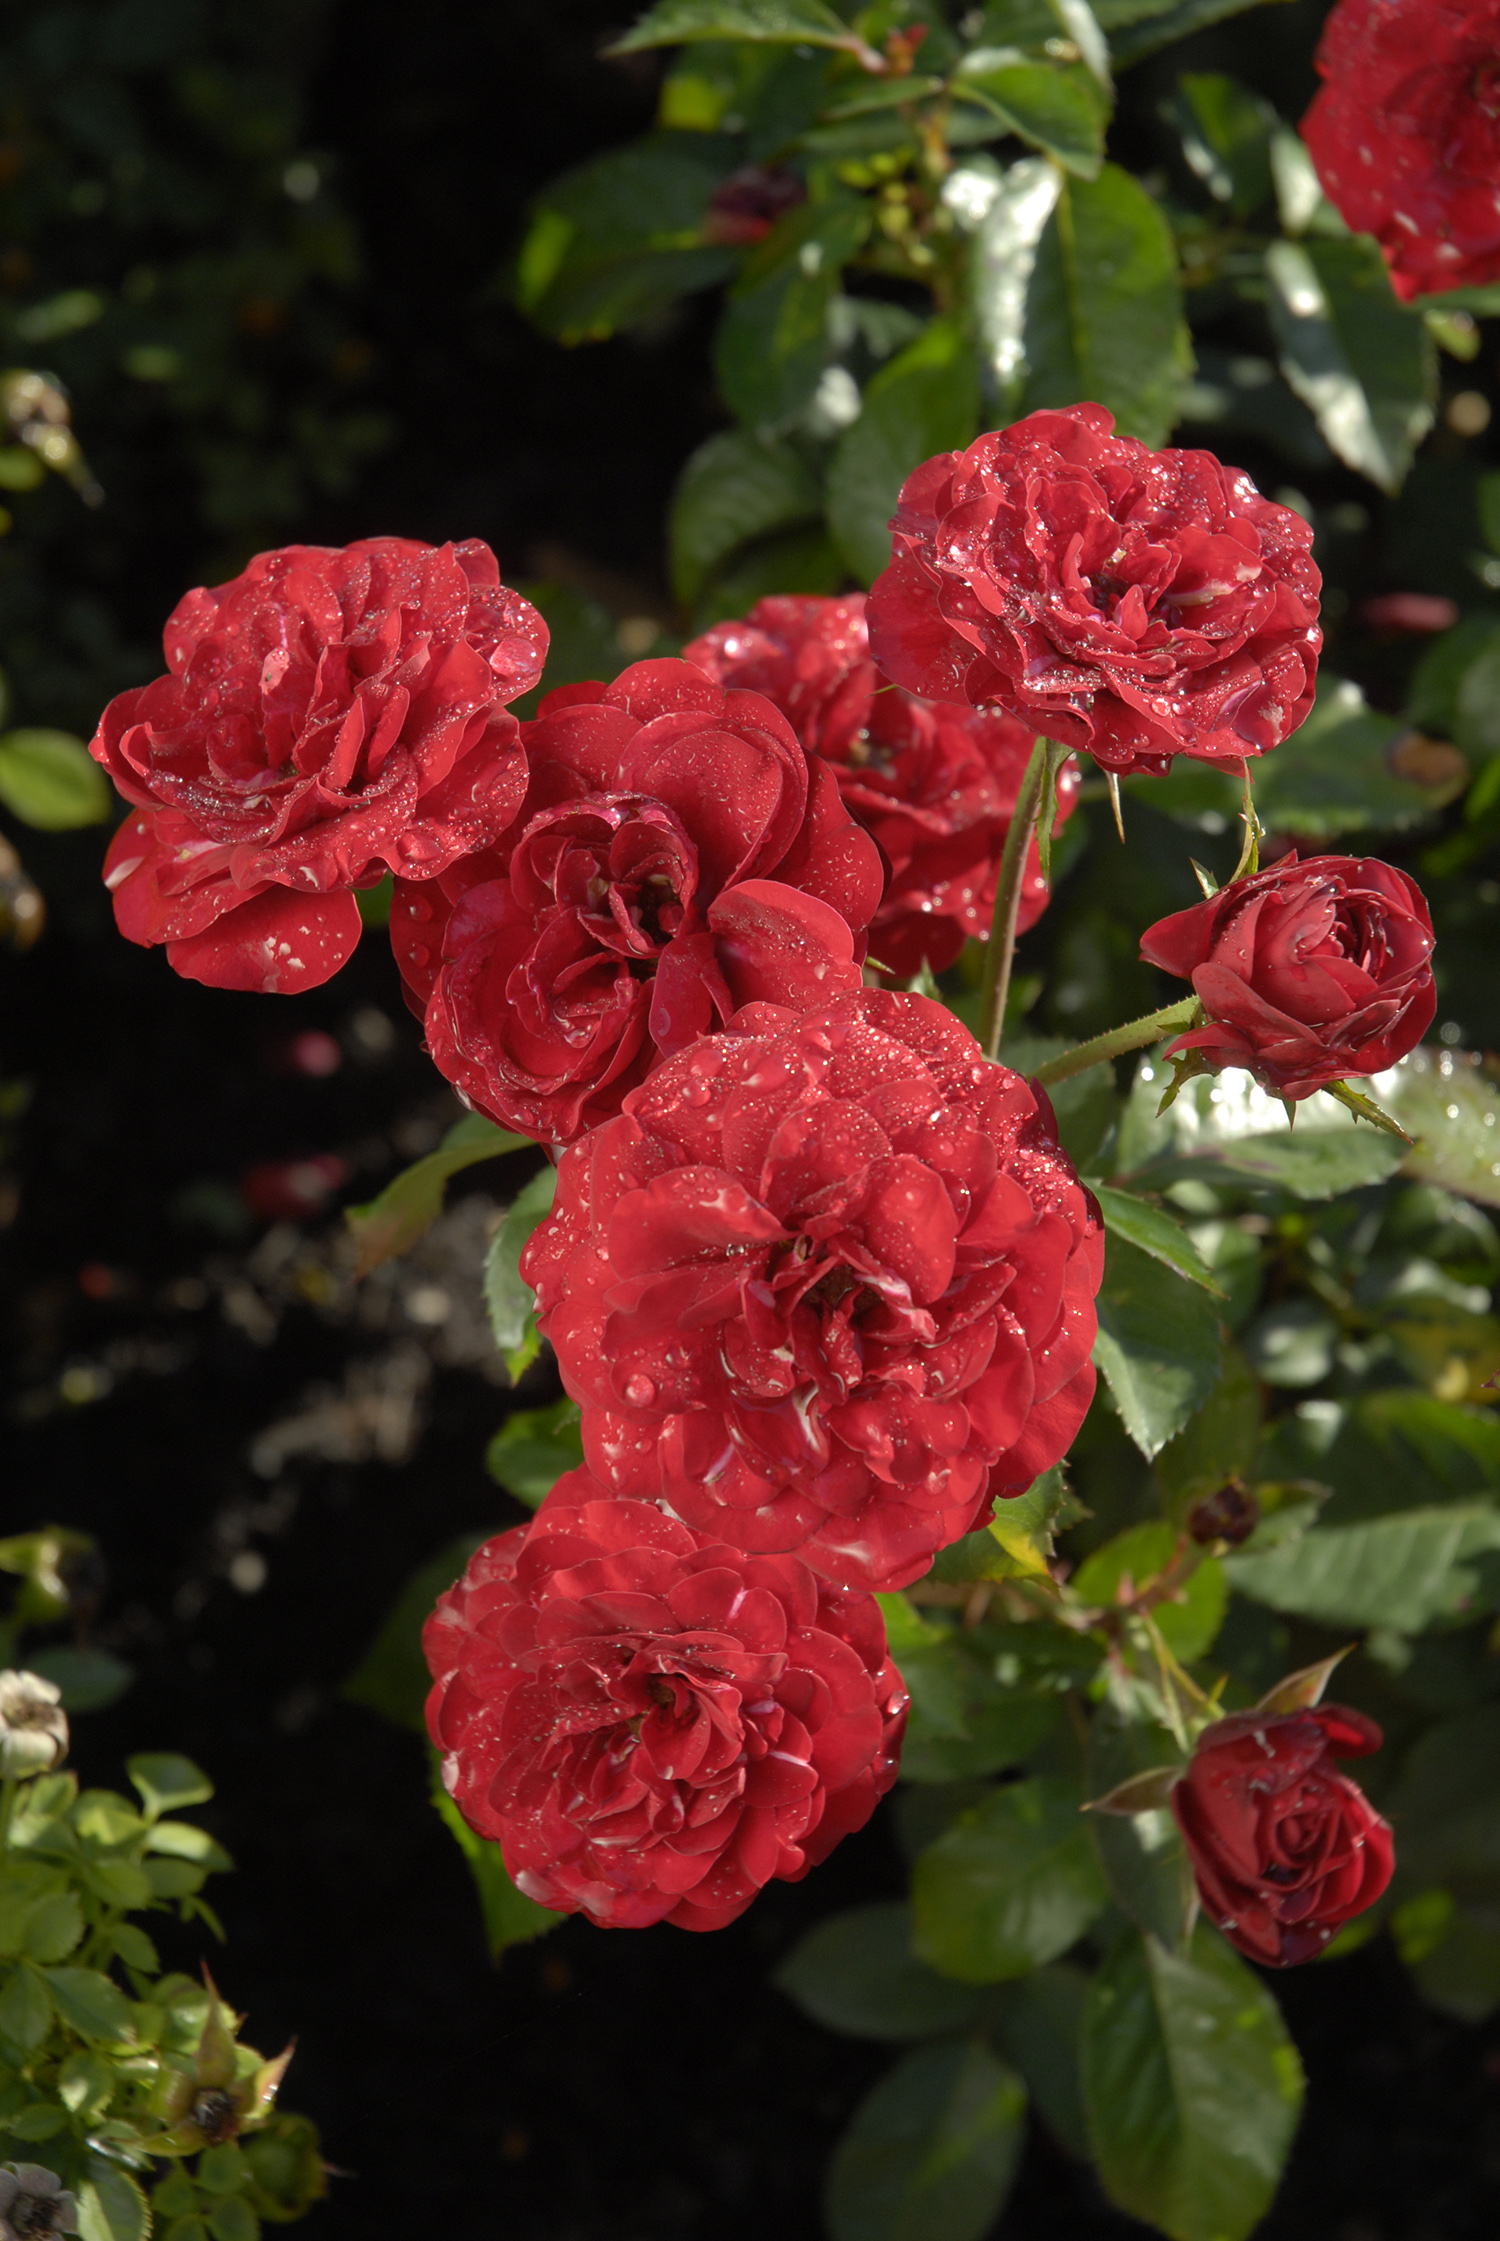
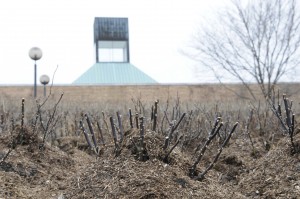
Roses under a warm winter blanket of mulch.
Our Krasberg Rose Garden is ready for its breath of fresh air, too. All winter, many of our roses have been under their warm blanket of composted horse manure. Compost protects roses from the harsh winter winds and freeze and thaw cycles that can be deadly to many cultivars.
As the hours of sunlight increase and daytime temperatures get warmer, however, we need to start inspecting our roses for signs that it is time to remove the compost and prepare the roses for the beauty yet to come.
The process is fairly straightforward. In late March, or whenever we have had several warm days with limited risk of a killing frost, we use our hands to carefully remove the thawed compost from around a rose bush. We need to inspect several bushes because some areas of our Garden thaw and start actively growing earlier than others.
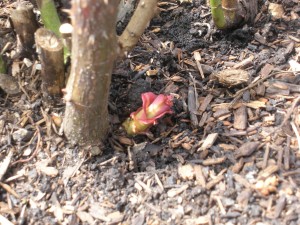
New growth from the base of the plant.
We look for yellow, bright green or reddish growth around the base of the plant — these are new rose canes. If we do not see any new growth or if new growth is still very small, we may cover the roses for a few more days. The warm compost encourages rose bushes to break dormancy.
However, if we see new growth and it is an inch or longer, then is it time to completely remove the compost and let the canes grow freely. The sooner this new growth begins to photosynthesize in the sun, the healthier and stronger your plant will be the rest of season. Remember that this new growth is very fragile, so we use gentle care when removing the compost.
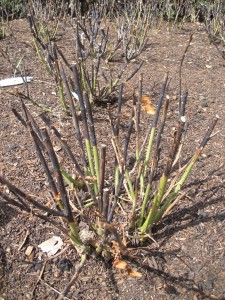
Look for black canes that indicate they are dead.
Once we remove the compost, our team then prunes the canes for optimum health. We first remove any cane that is black or brown — these are dead or dying — and anything that looks diseased.
From there, we prune the shrub until it has five or six healthy, large canes that are at least the diameter of a pencil. The pruning should result in an open center, with the top bud on each remaining cane facing away from the center of the plant. The open center maximizes the amount of sunshine and air circulation within the plant — important components to plant growth and disease prevention.
We also take time to frequently disinfect our pruning tools as we work through this late-winter chore. Tools can easily transfer diseases from one rose shrub to another, so sanitation is very important. Mix a solution of 10 percent rubbing alcohol or bleach and 90 percent water in a spray bottle to spray on your tools.
After pruning, the remaining canes look healthy.
By taking a few simple steps like these right now, the rose bushes will be on their way to beautiful blooms in June. Now that’s a breath of fresh air.
With just two months to go until the Model Railroad Garden opens, one dedicated group of volunteers undertook a big job this week: cleaning and retouching the 500+ miniature figurines that accessorize the garden’s landmark buildings.
Led by Becky Maganuco, volunteers got out the toothbrushes and toothpicks, the glue and the triple-zero paintbrushes, and set to work.
Becky gets the boxes of miniatures out from winter hibernation. It’s good to see familiar faces!
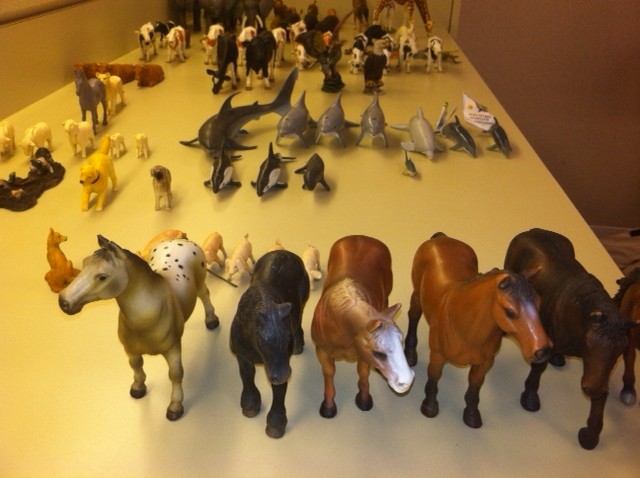
An ark’s worth of animals prop the Model Railroad Garden’s landmarks.
Over the course of several days, they washed (the cars, trucks, and tractors were especially dirt encrusted), touched up paint (eyes and eyebrows are the trickiest), and glued back the tiny hands and feet that are inevitably broken (weather, errant human footsteps) during five months spent outdoors in the Model Railroad Garden.
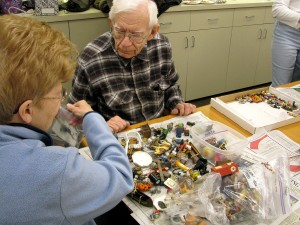
Railroad Garden volunteers George and Judy Knuth sorted, organized, and repaired figurines.
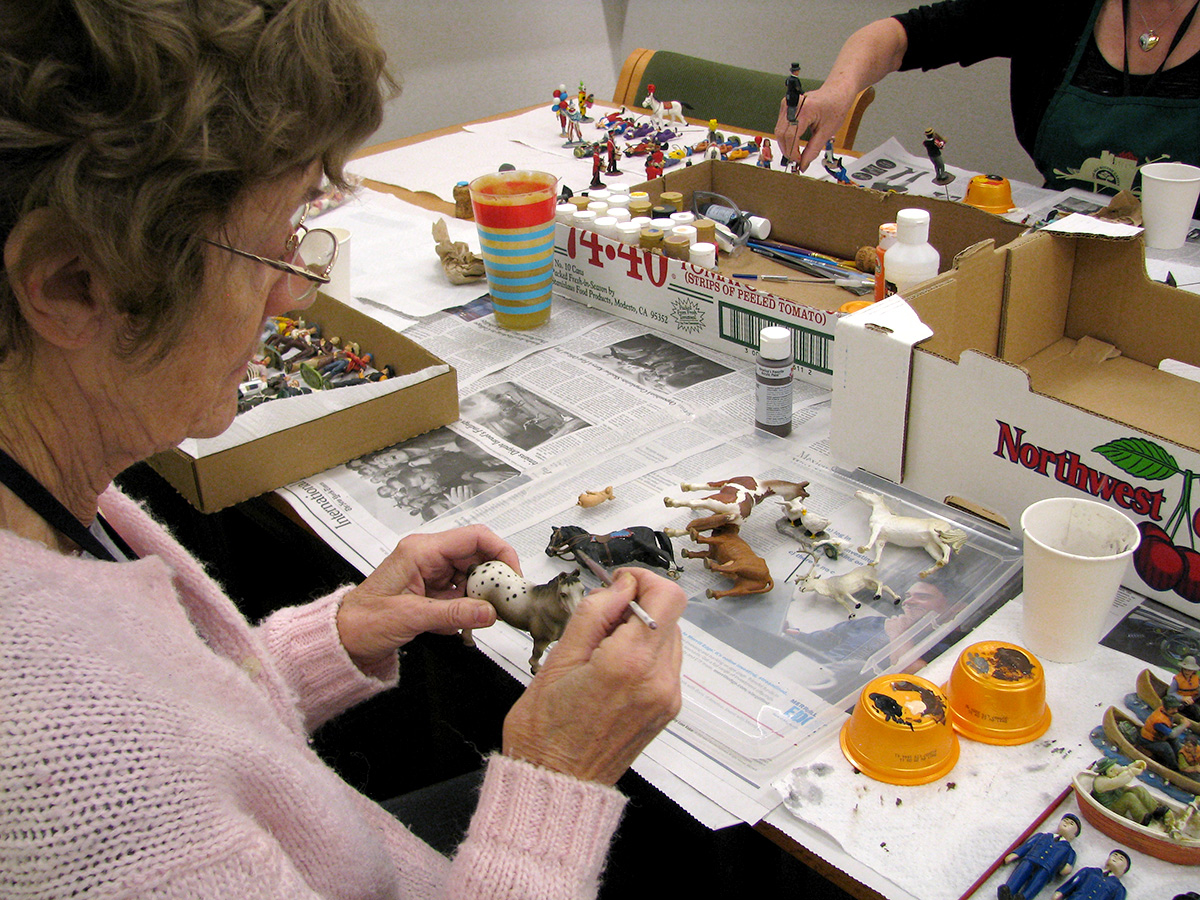
An appaloosa horse gets fresh tiny, tiny spots in volunteer Gerry Lewis’ expert care.
I always look forward to the May days that Becky and fellow miniaturists, many of whom are members of Northbrook’s North Shore Miniature Society, accessorize the garden. It takes them a couple of days to layer in all the right details: the barber pole on Main Street…the sunbathers and sailboaters on Cape Cod…the lone wolf and the bears in Yellowstone National Park…even Bo the dog at the White House.
Their work makes the buildings come to life, and never fails to delight—key factors in a garden that’s especially for children, for whom the magic and humor of the small will always trump the realities of life-sized.
Freshly painted figurines—some for circus, some for city—drying in an organized fashion.
There’s a practical side to their miniature work as well: “Visitors take close-up pictures and use telephoto lenses a lot in this garden, so it’s nice to make the details look a little more real,” says Becky.
What’s new for 2013? Volunteers are mulling how to accessorize the most recently added landmark, the Lincoln Memorial.