Make a Mini-Terrarium Holiday Ornament

For one December session of our Plant Explorers after school program at Chicago International Charter School—Irving Park, the students made living ornaments for the holidays.

This tiny terrarium project can have a calming influence on a potentially hectic holiday, because green and growing plants make us feel more relaxed. It requires you to find some live moss, but it makes an extra special decoration for kids—and adults—who love plants. 

PHOTO: The finished moss terrarium ornament.
The finished moss terrarium ornament
PHOTO: Moss globe ornament supplies.
A fillable plastic globe ornament, small amount of potting soil, live moss, ribbon, and little wooden reindeer are what we used to create our ornaments. (Charcoal is not shown.)

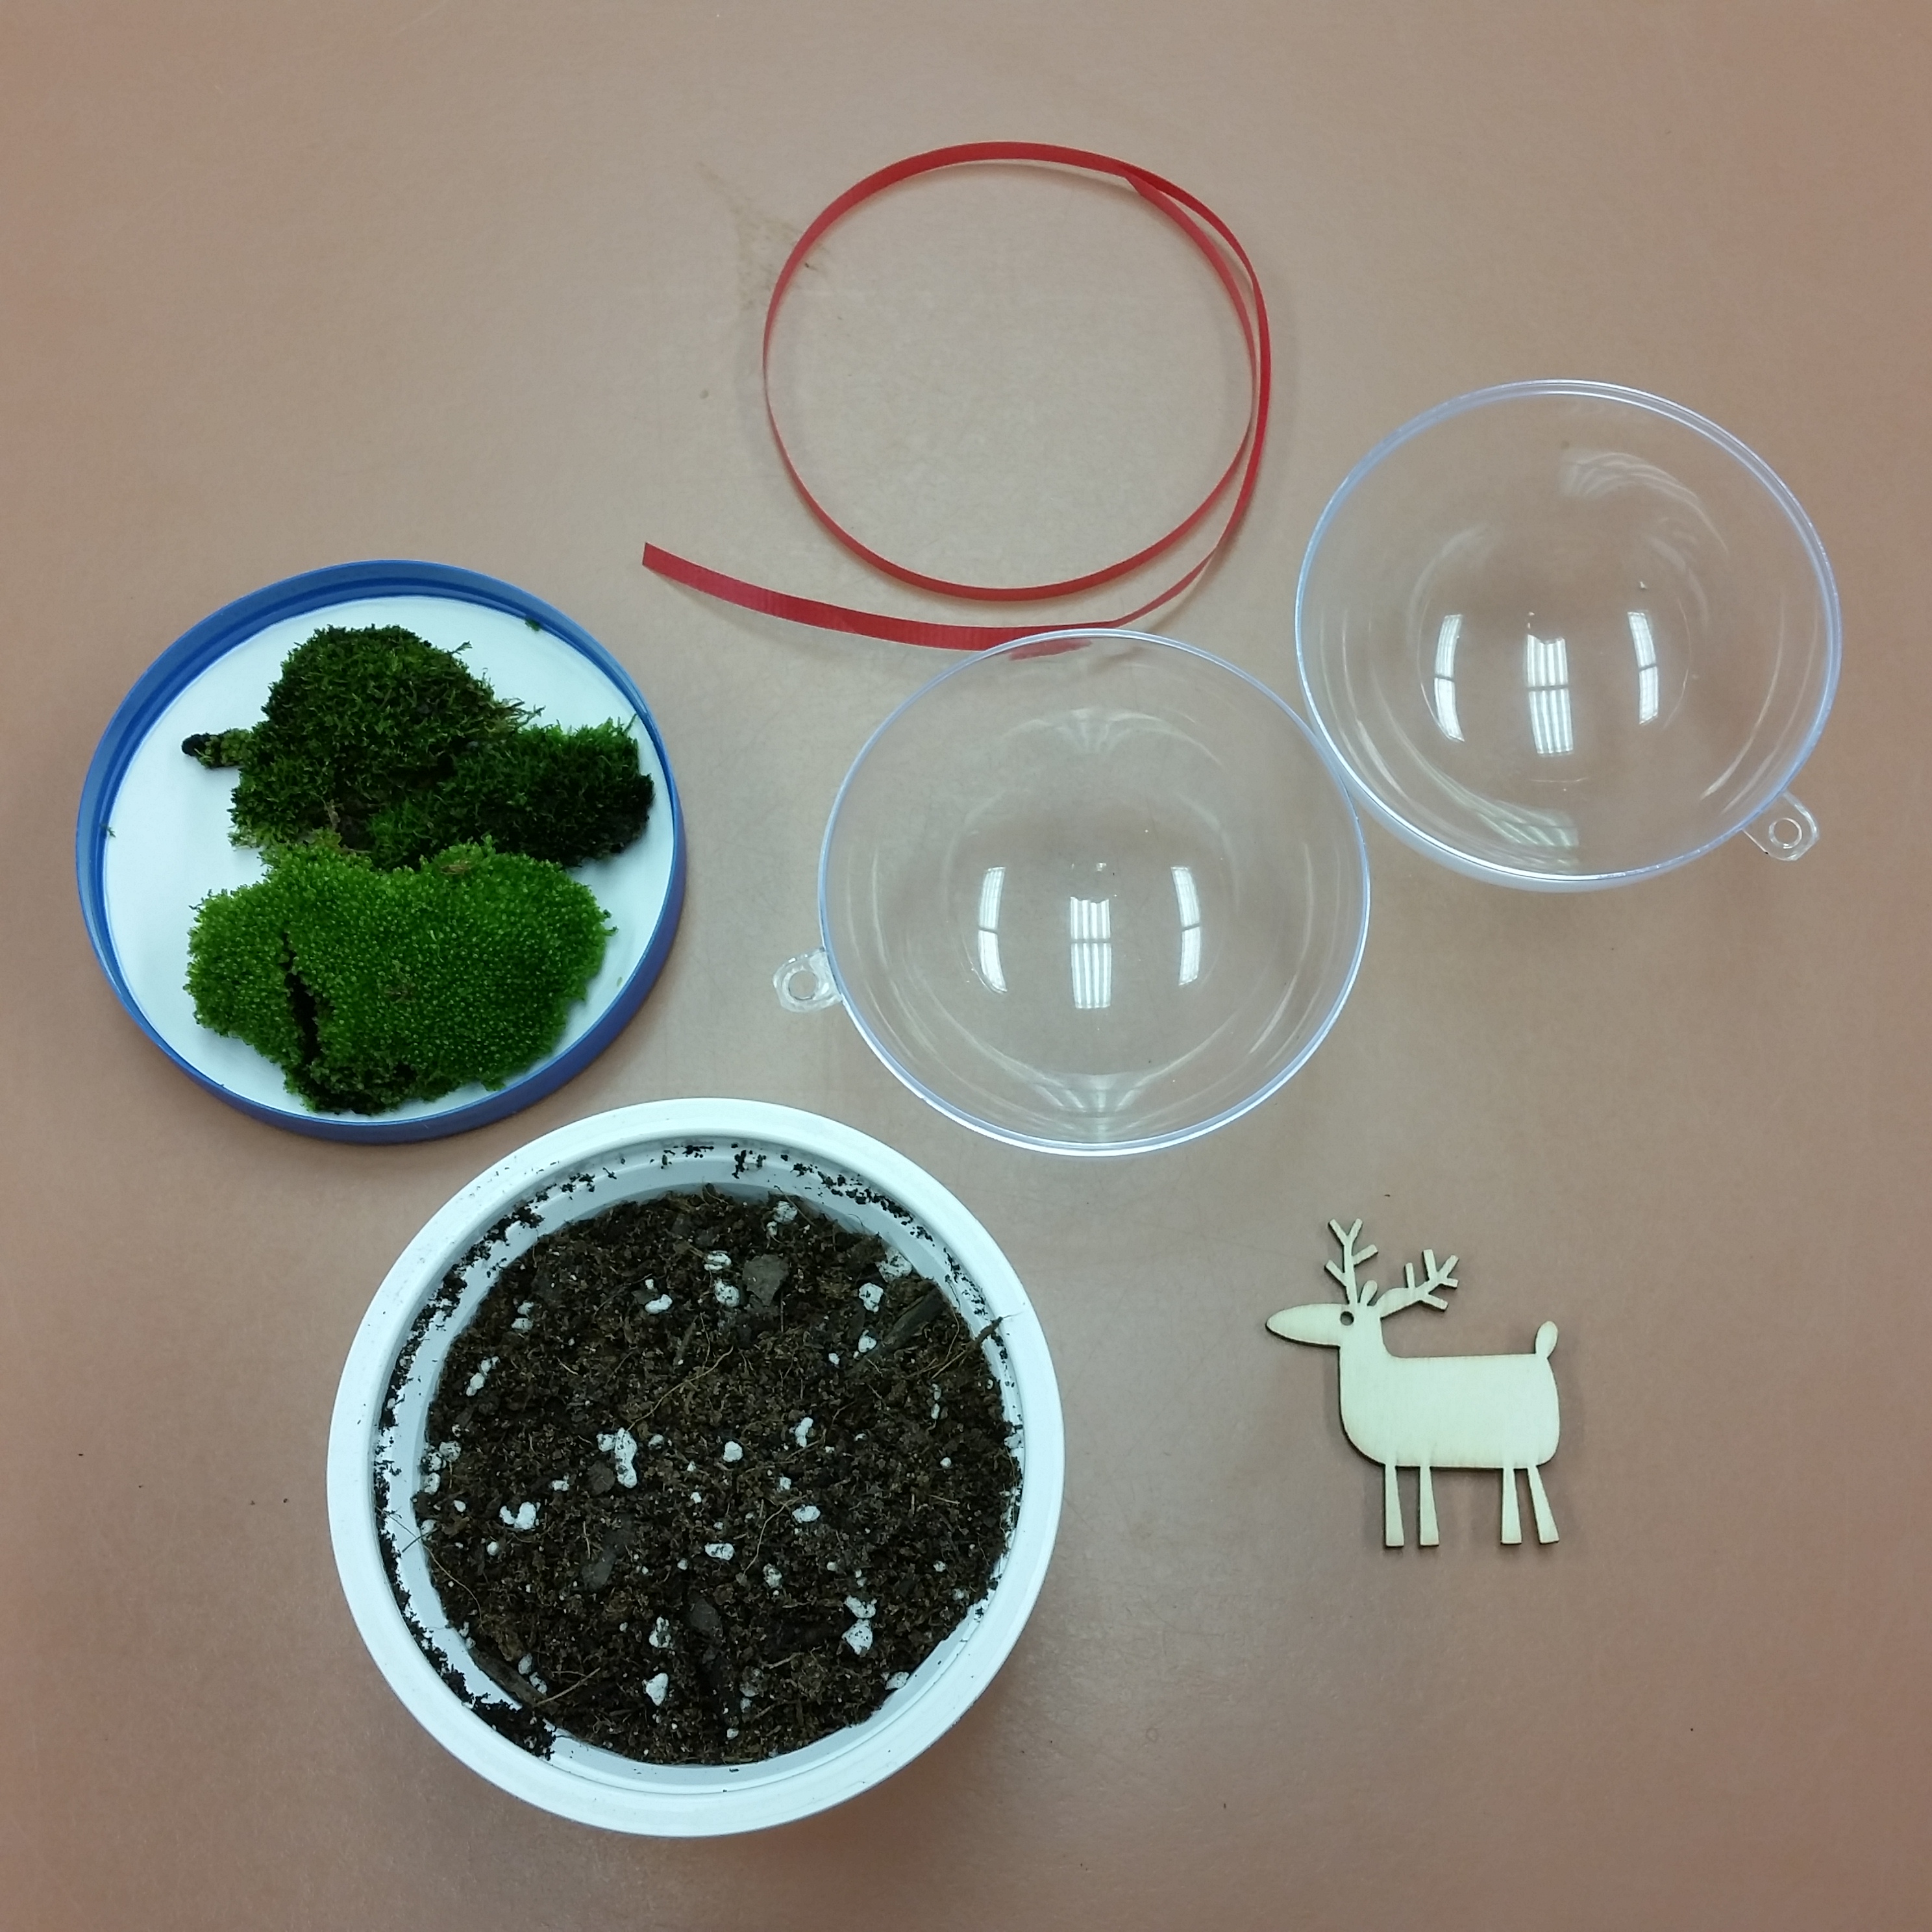
To make your own “moss-some” terrarium ornament you will need:

  • 3-inch or larger plastic sphere ornament that splits into two halves (available at craft stores)
  • Live moss that you find growing in a shady place in your yard (or you can buy it from a garden store that sells terrarium supplies)
  • Activated charcoal (sold in garden and aquarium stores)
  • Soil
  • About 12 inches of decorative ribbon
  • Any miniature item you want to add for whimsy (optional)

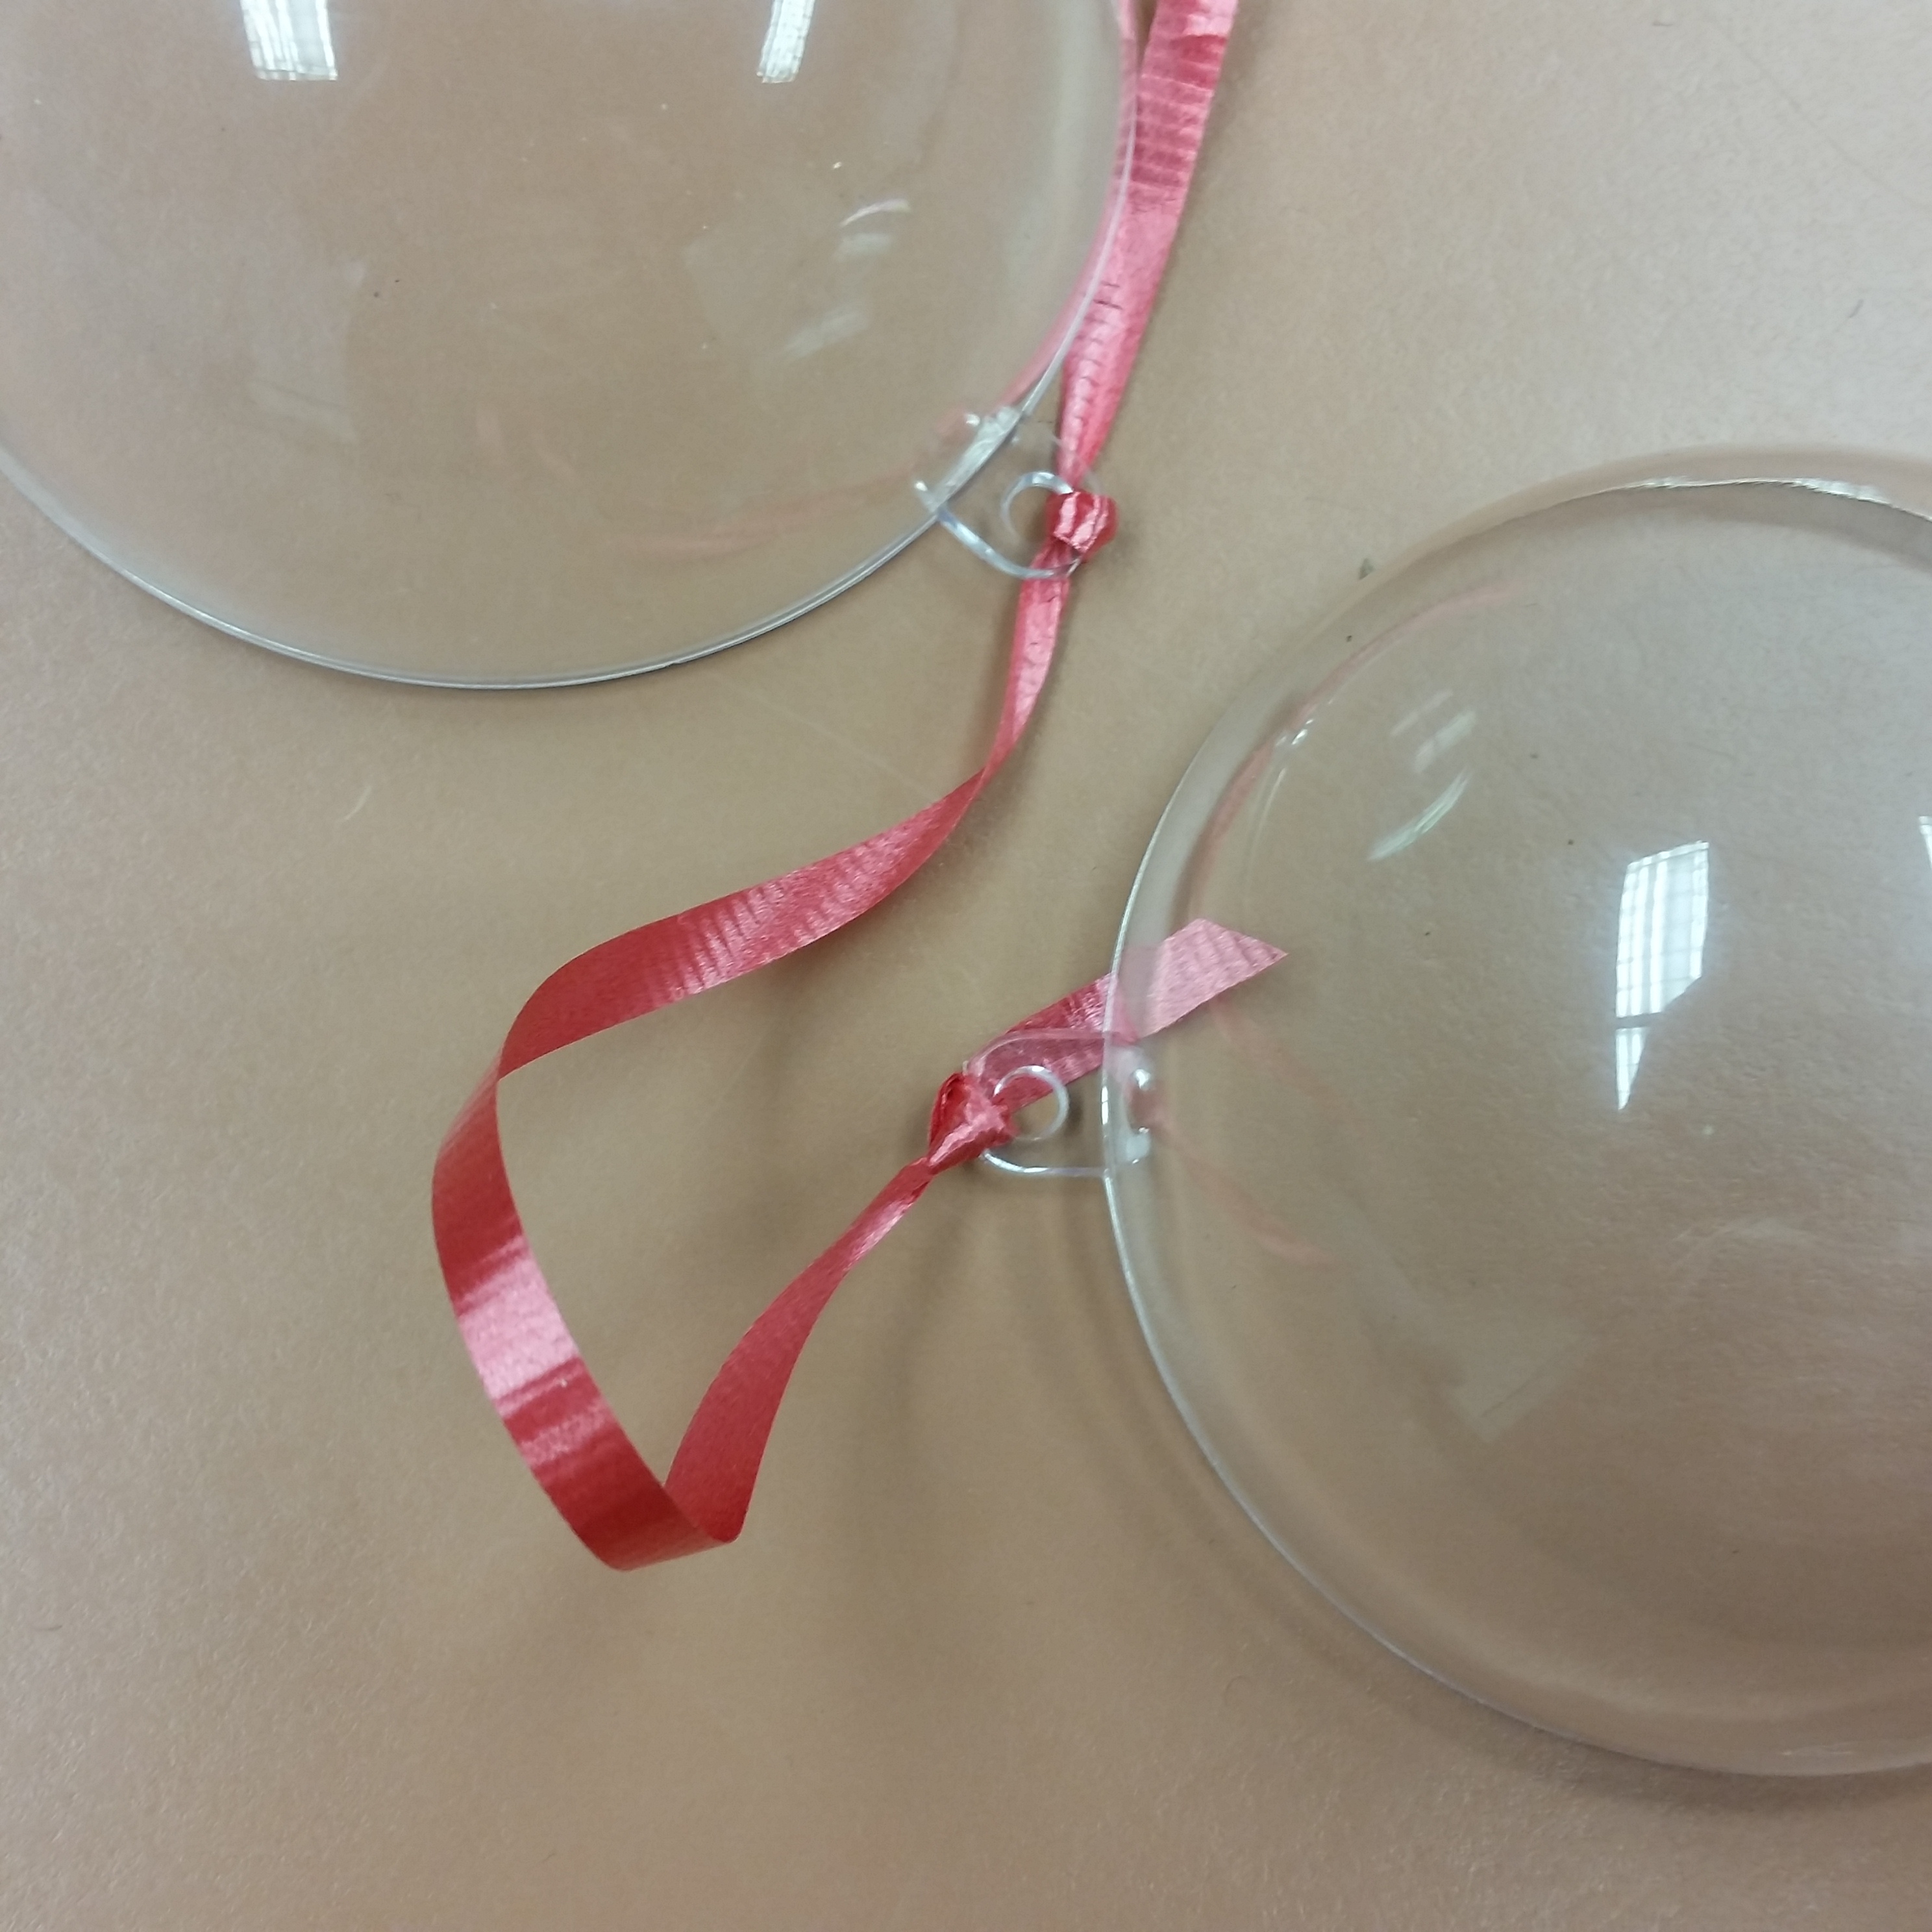
Separate the halves of the DIY ornament. If your ornament is like mine, it has little “loops” for attaching a hook at the top. Start by tying a 12-inch piece of ribbon to each half of the ornament through the loops.

In one half of the ornament, add about a teaspoon of activated charcoal. Fill the rest of that ornament half with very wet soil to about a half inch below the top.

PHOTO: Tying the ribbon a the globe ornament.
Use whatever decorative ribbon you like, but make sure it’s narrow enough to fit through the ornament loops and that it’s knotted securely.
PHOTO: The moss ornament is almost complete with charcoal, soil, moss, and reindeer!
The moss ornament is almost complete with charcoal, soil, moss, and reindeer!

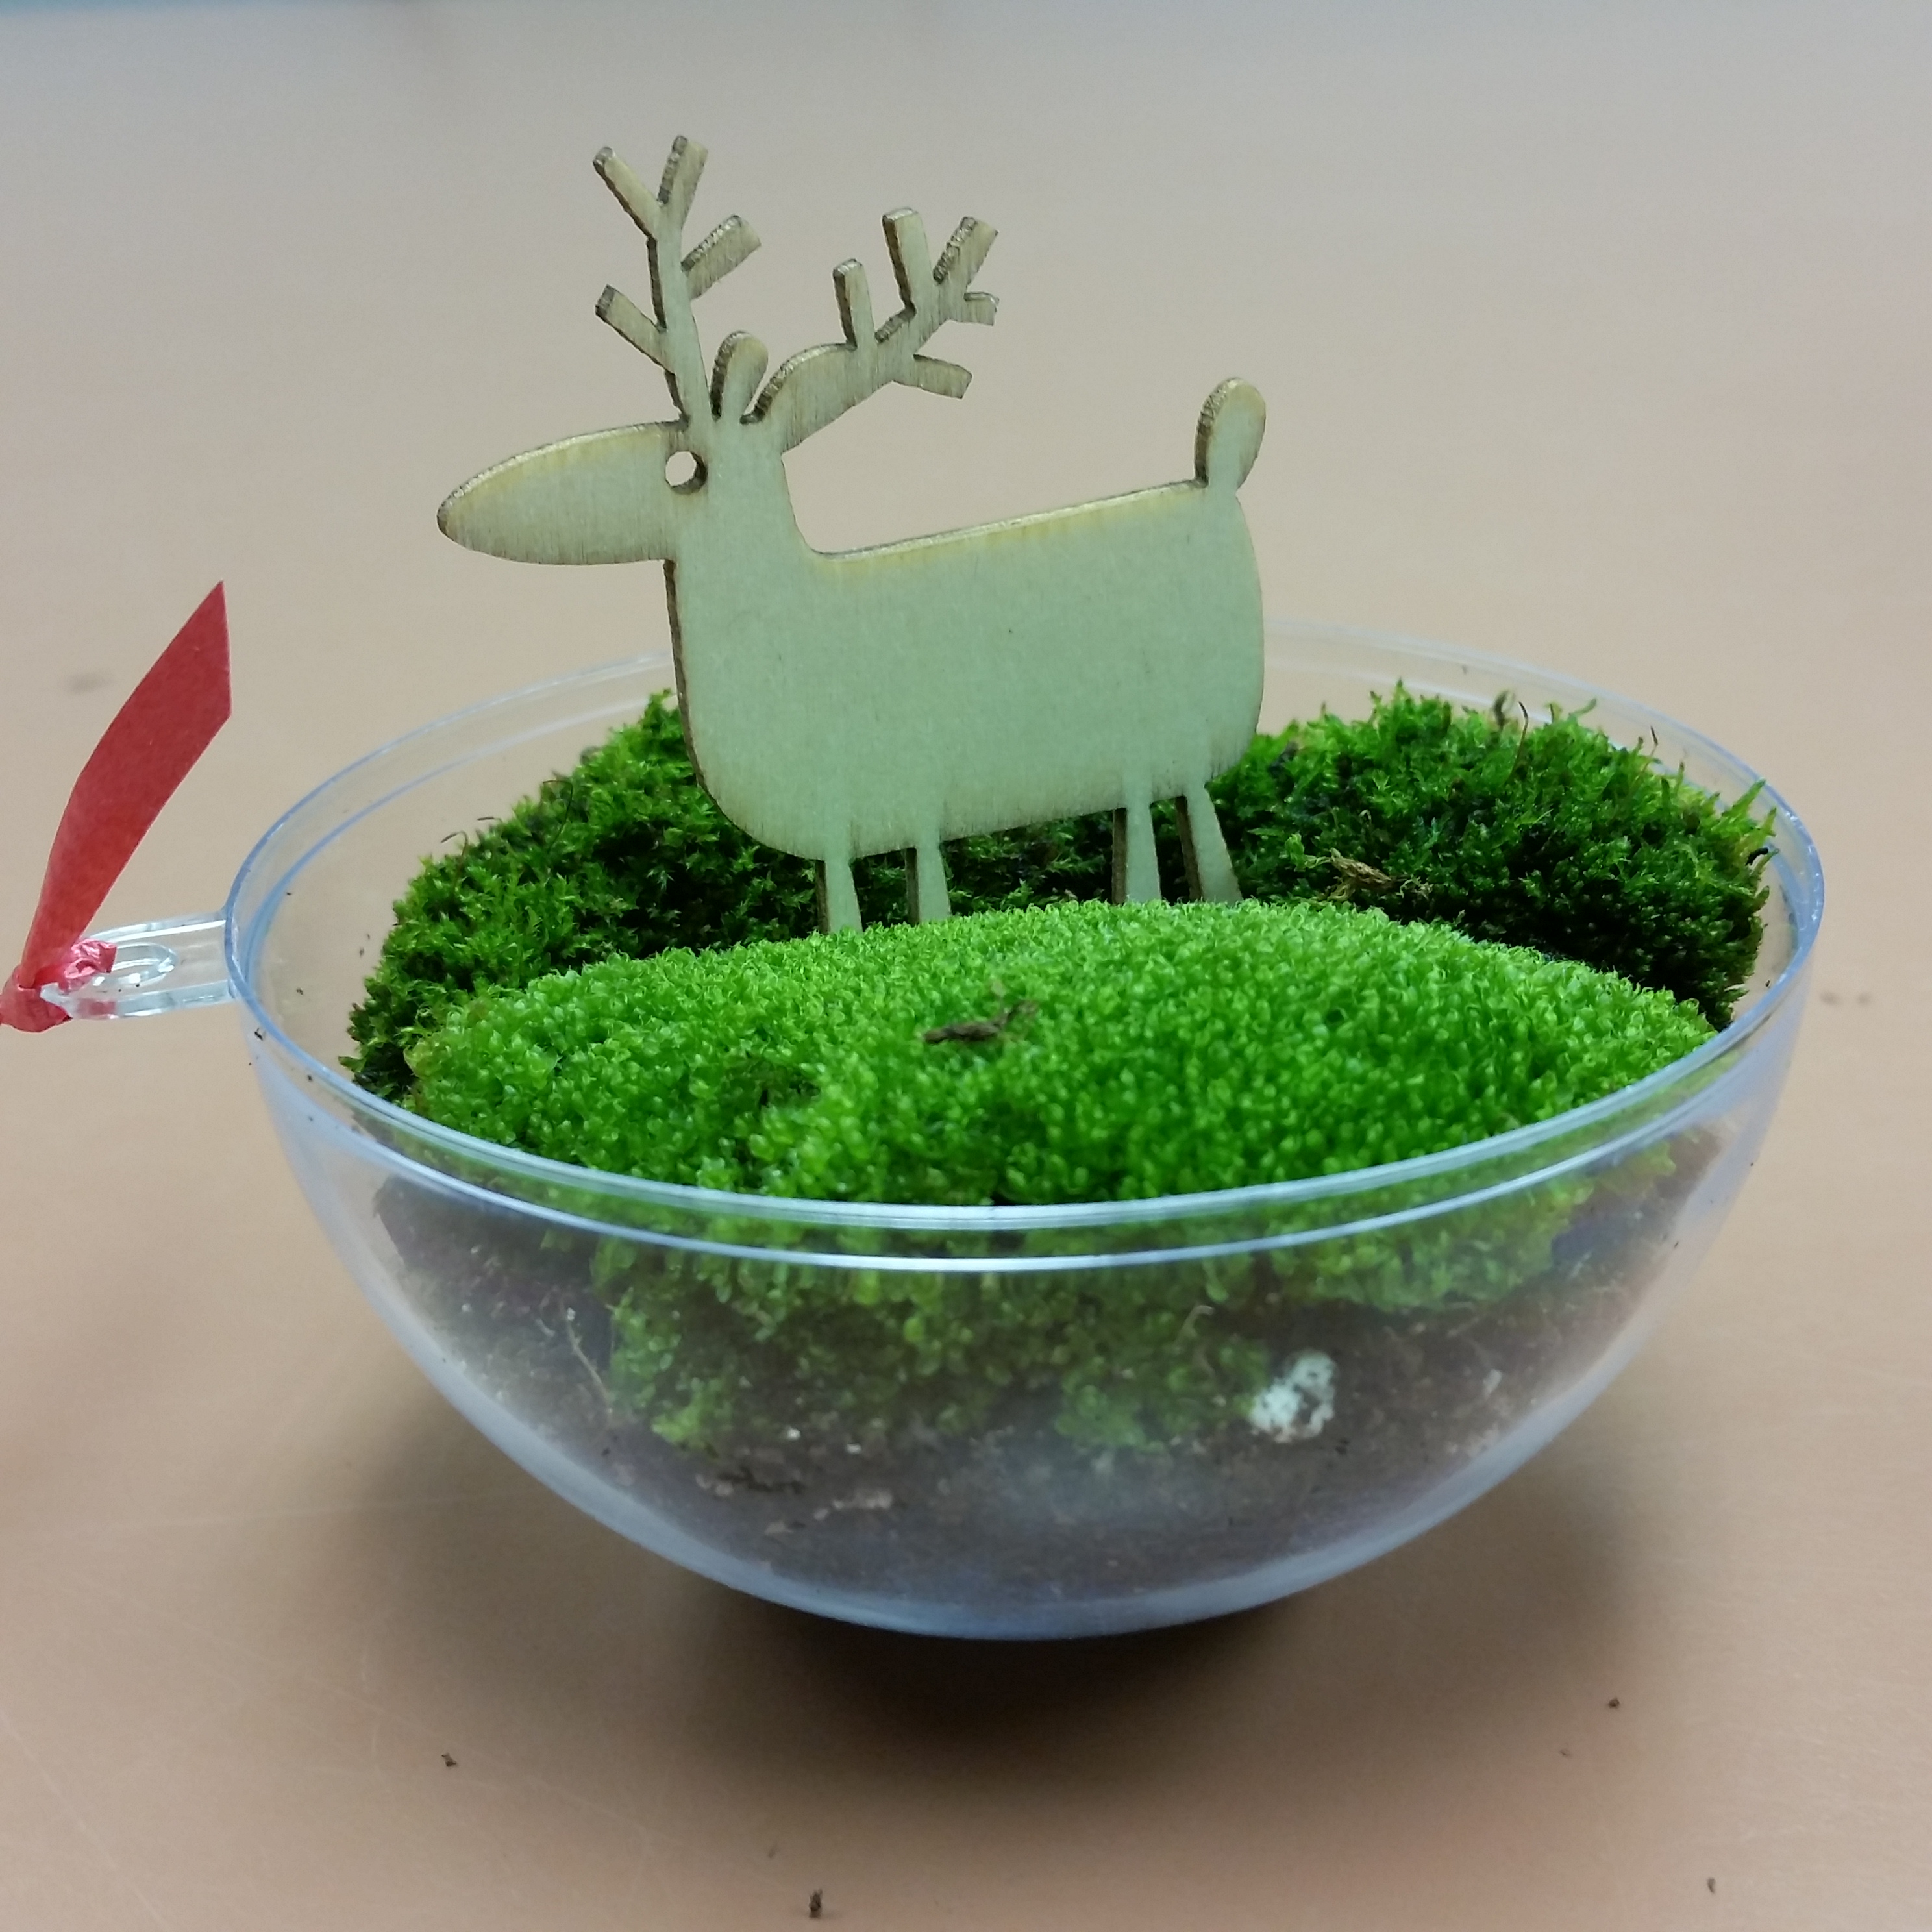
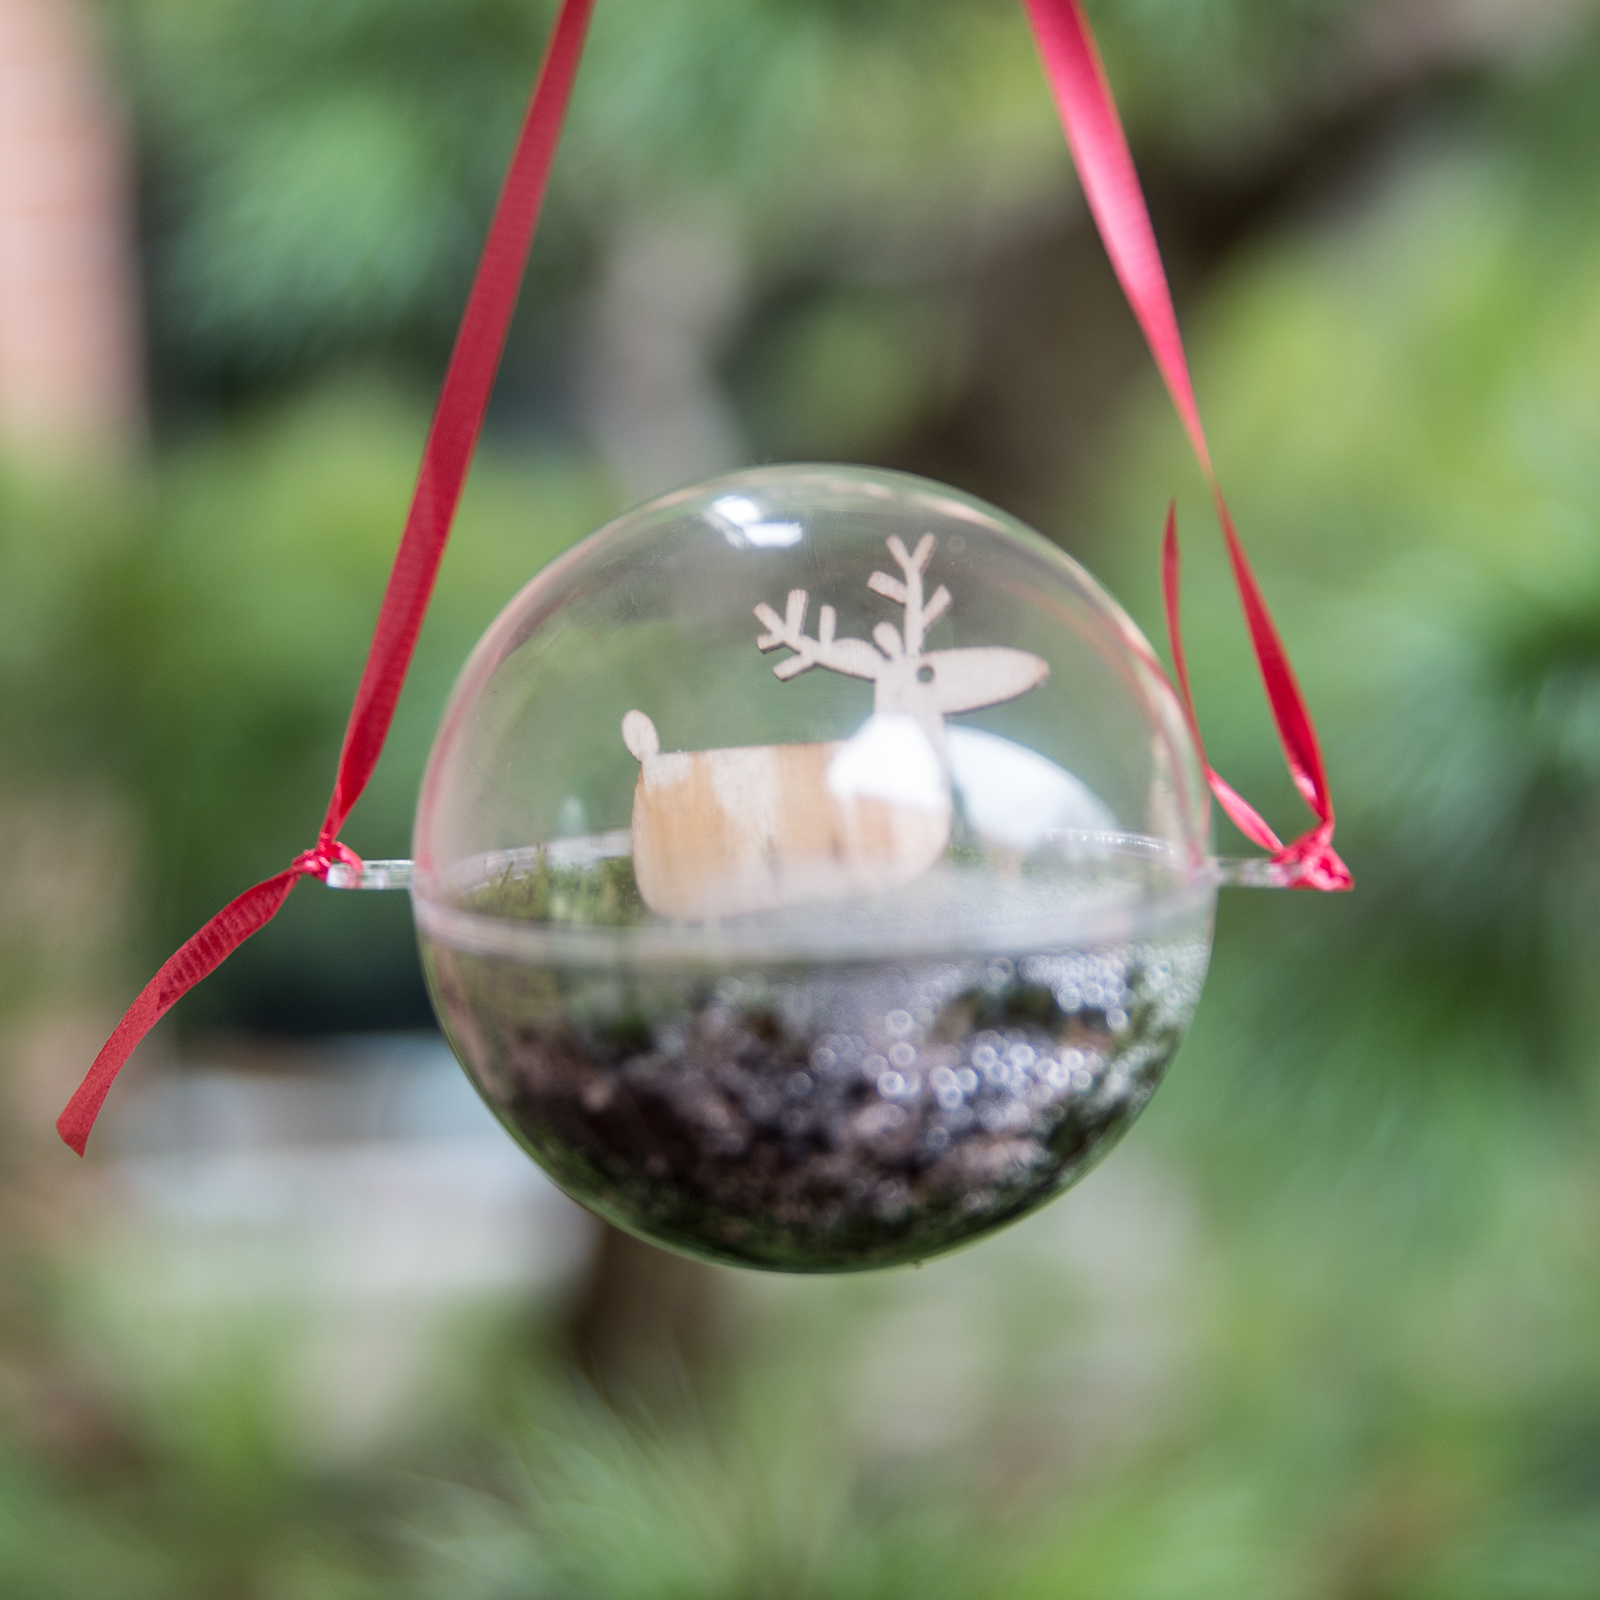
Place the moss on top and gently press it into the soil. If you like, add a miniature object to add a little whimsy. Craft stores have lots of miniature objects that would look good in this ornament. We chose these woodcut reindeer to look like the animals were walking through a forest. And there were enough in the pack for all 15 students to get one. Use whatever you like!

If you have a spray bottle with water handy, it helps to give the moss leaves a gentle misting before closing the ornament.

PHOTO: Moss globe terrarium ornament.
Seal the moss in a closed terrarium ornament. The moss can live inside this globe indefinitely.

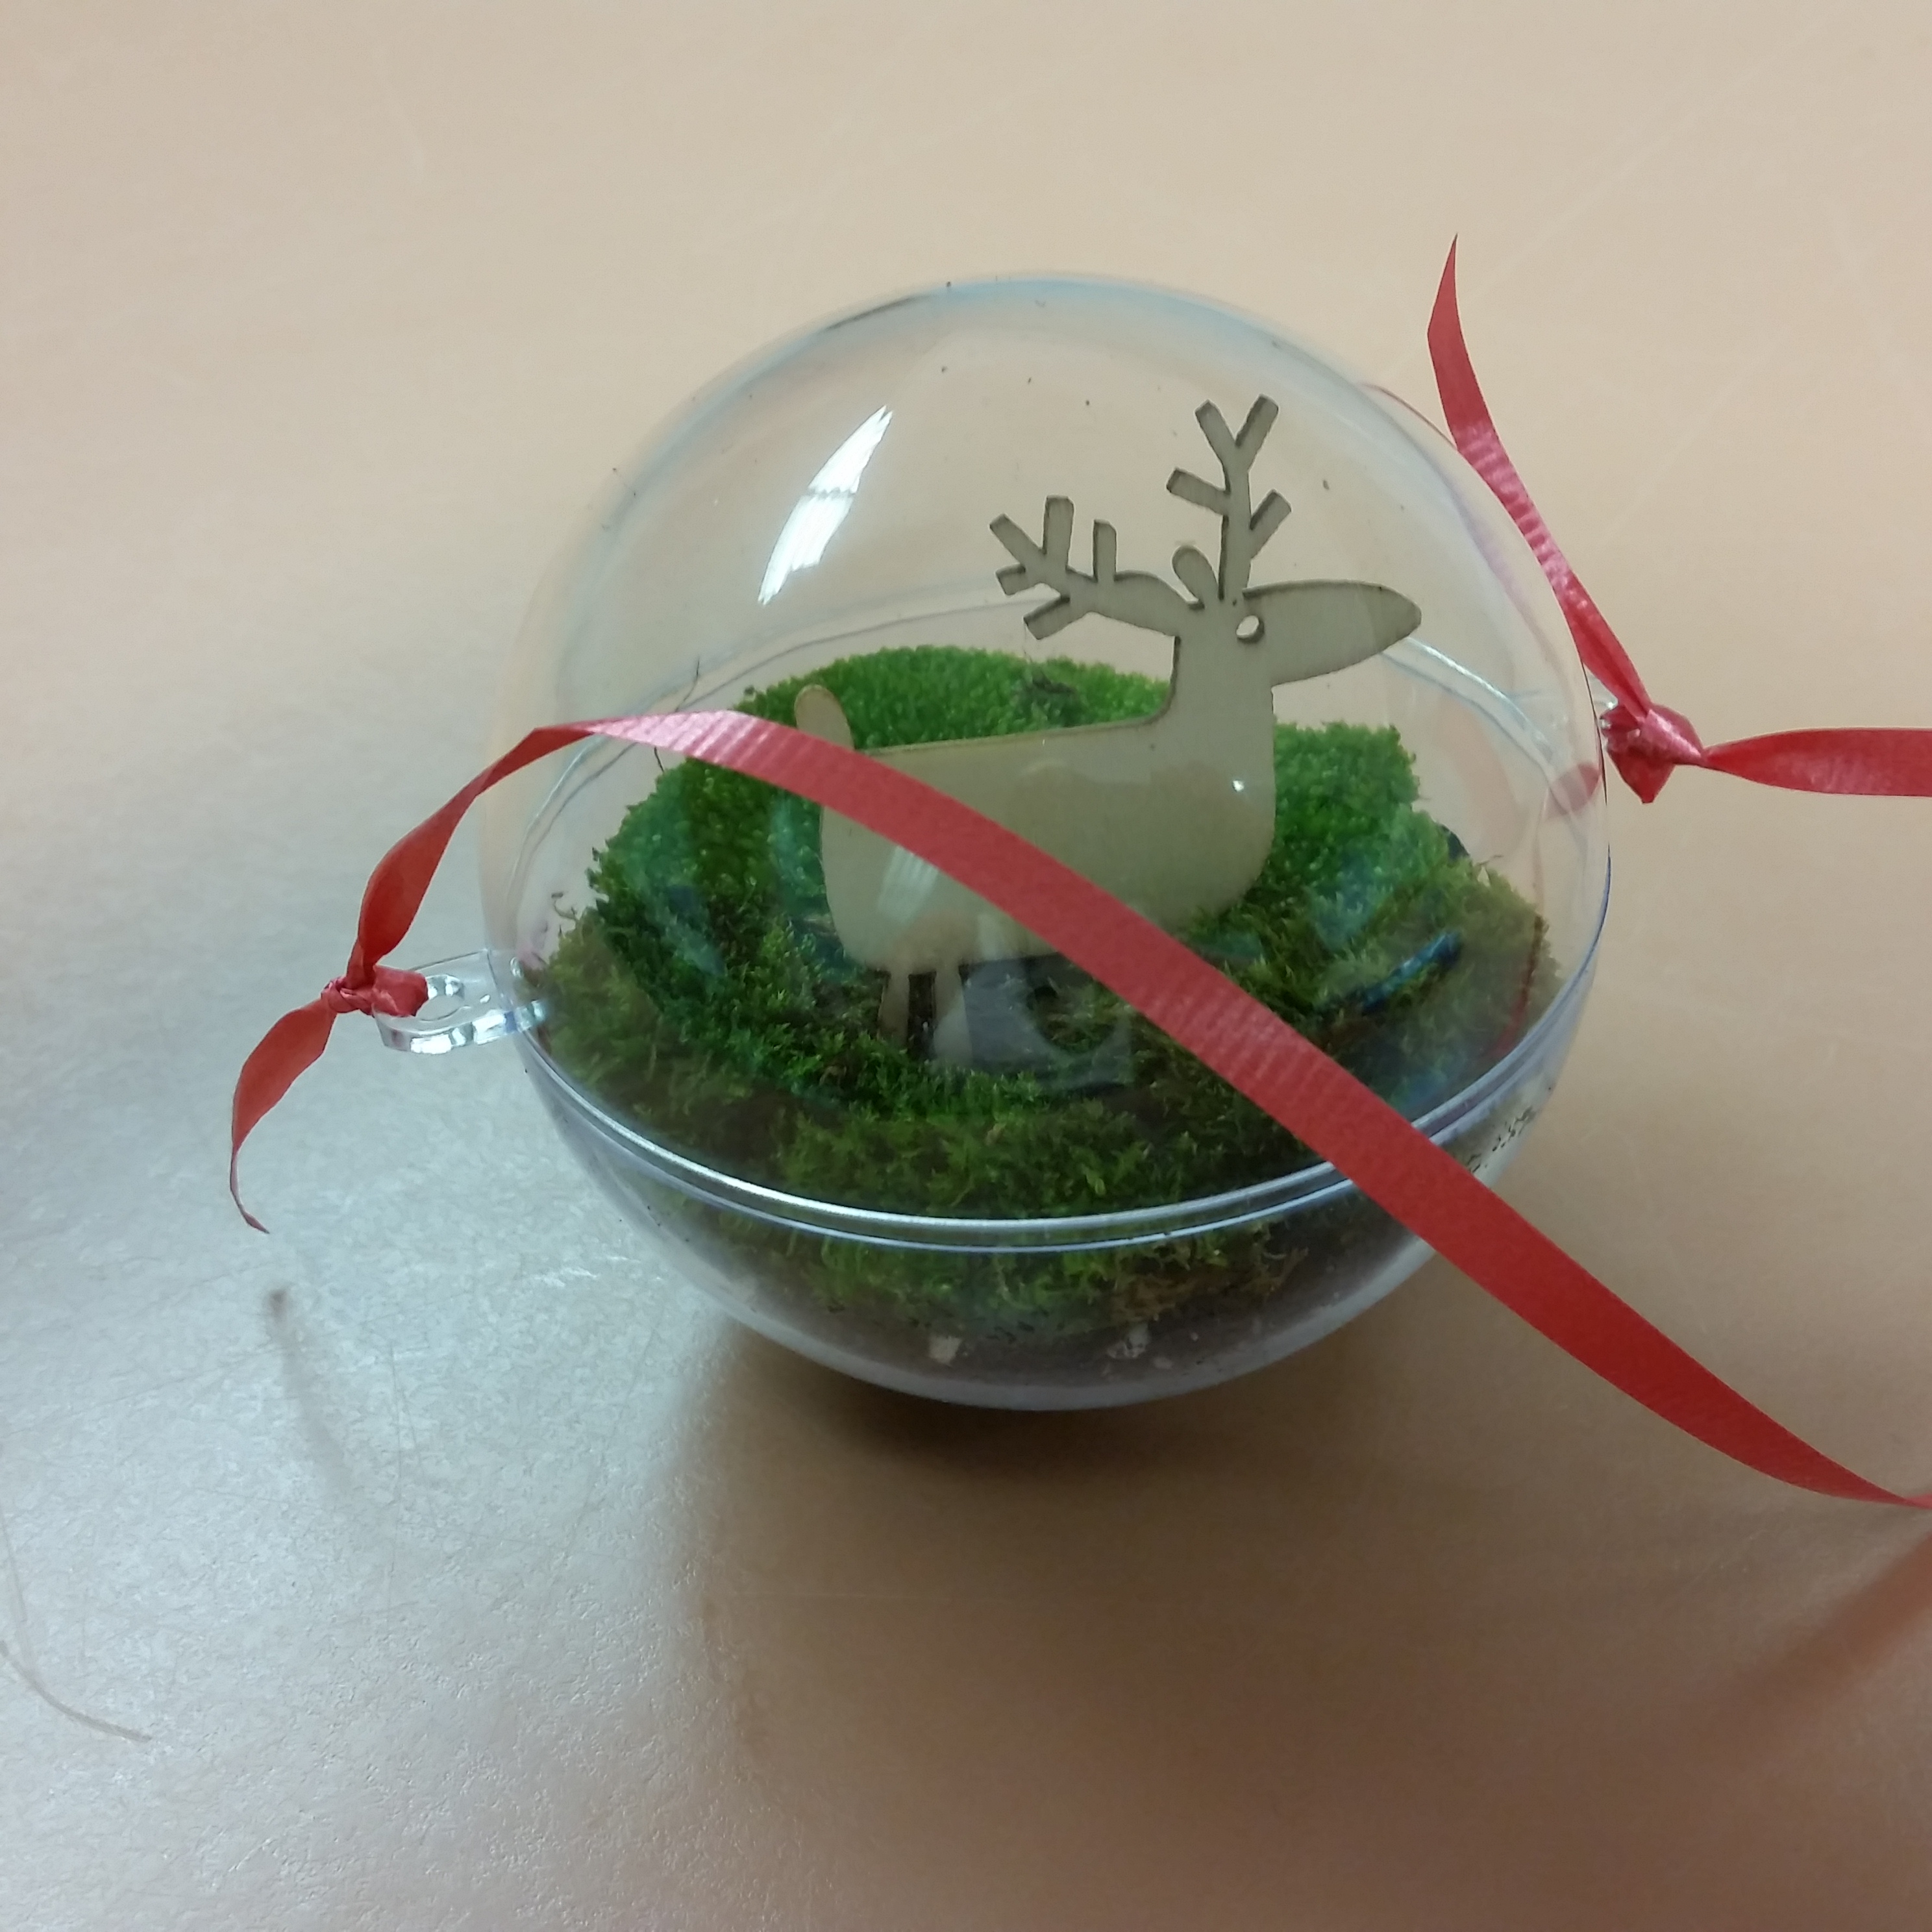
Place the other half of the ornament on top, but instead of lining up the two loops, put them at opposite ends so that you can hang the ornament ball sideways and not disturb the arrangement. You can tape the two halves together with clear tape if you are concerned about them coming apart. I suggest only taping the sides near the loops rather than wrapping it all the way around so the tape is less obvious and you can open the ornament later if you want to.

The moss just needs light from your home to survive through the holidays. Moisture will evaporate from the soil and will collect on the insides of the ornament. It will roll back down to keep the moss watered indefinitely.

Now you’re wondering if (and how) the moss will survive. I have your answers: read on.

Some Facts About Moss

Mosses are simple plants that scientists classify as bryophytes.

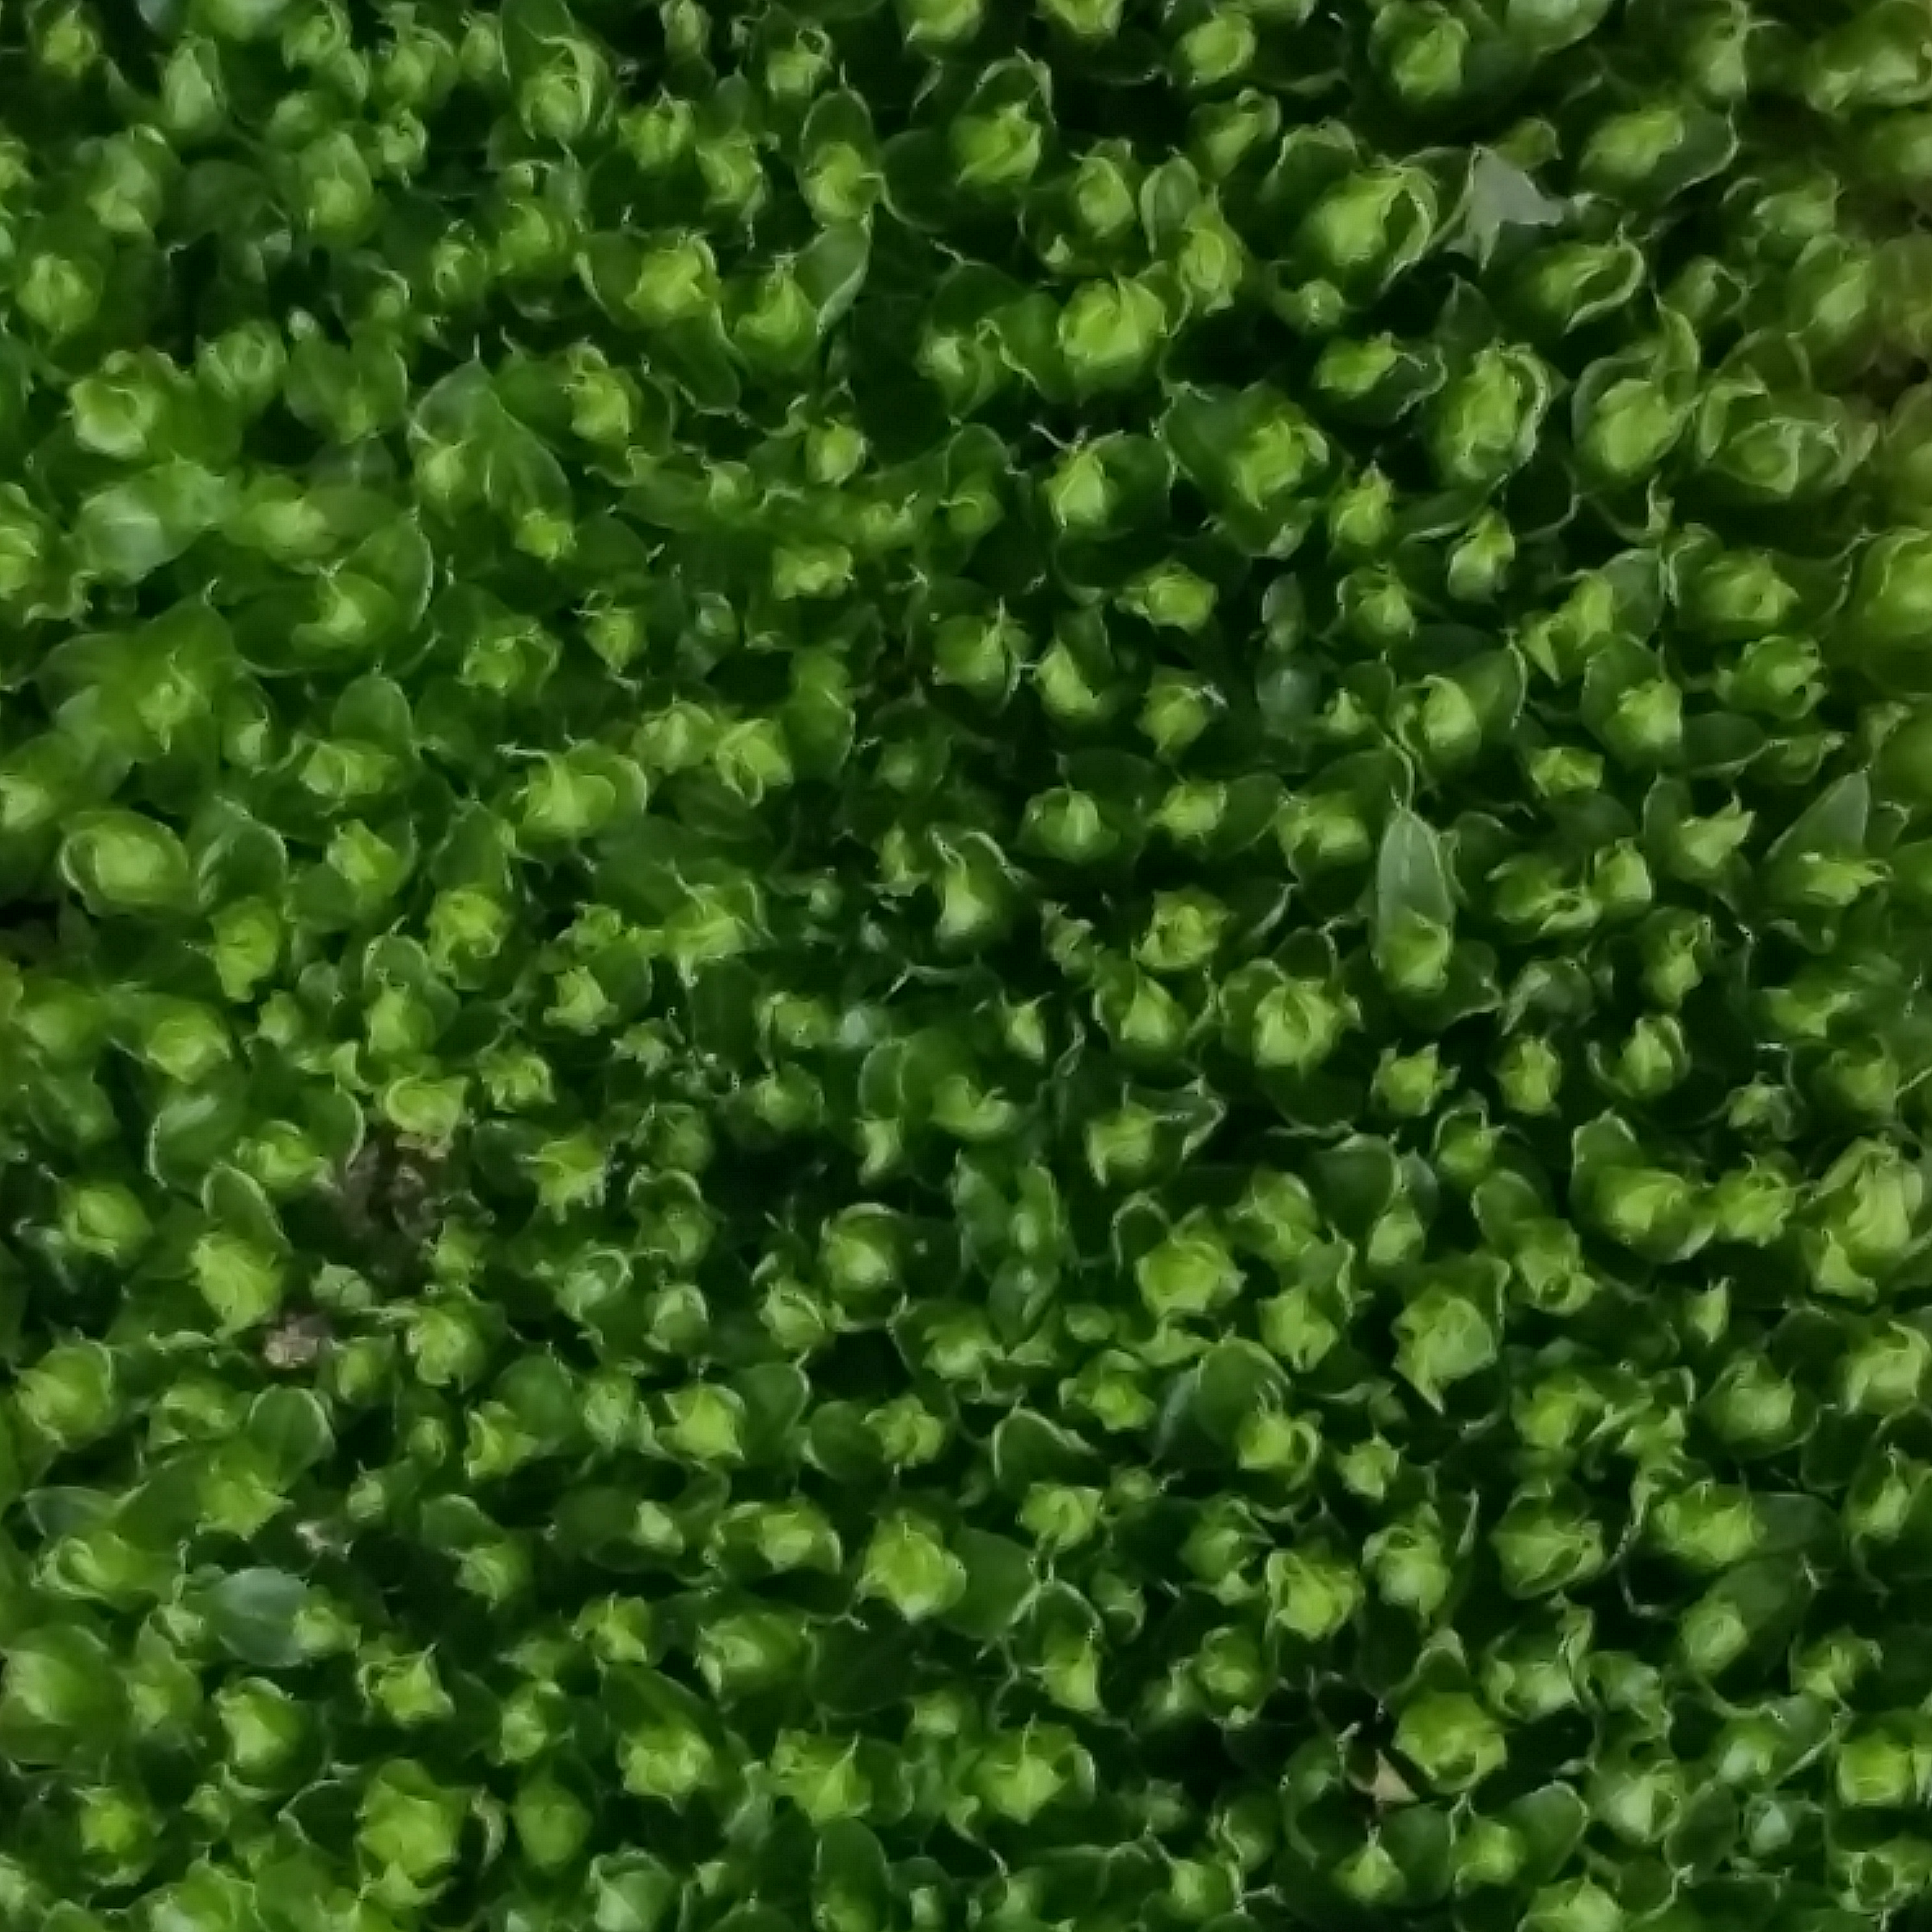
What you see as a clump of velvety green carpet is actually hundreds of tiny individual moss plants clumped together. Botanists refer to these as gametophytes.

PHOTO: A close up of moss seen from above shows the tops of hundreds of individual plants clumped together.
A close-up of moss seen from above shows the tops of hundreds of individual plants clumped together.
PHOTO: Seen from the side, the moss looks like a tiny, dense forest.
Seen from the side, the moss looks like a tiny, dense forest.

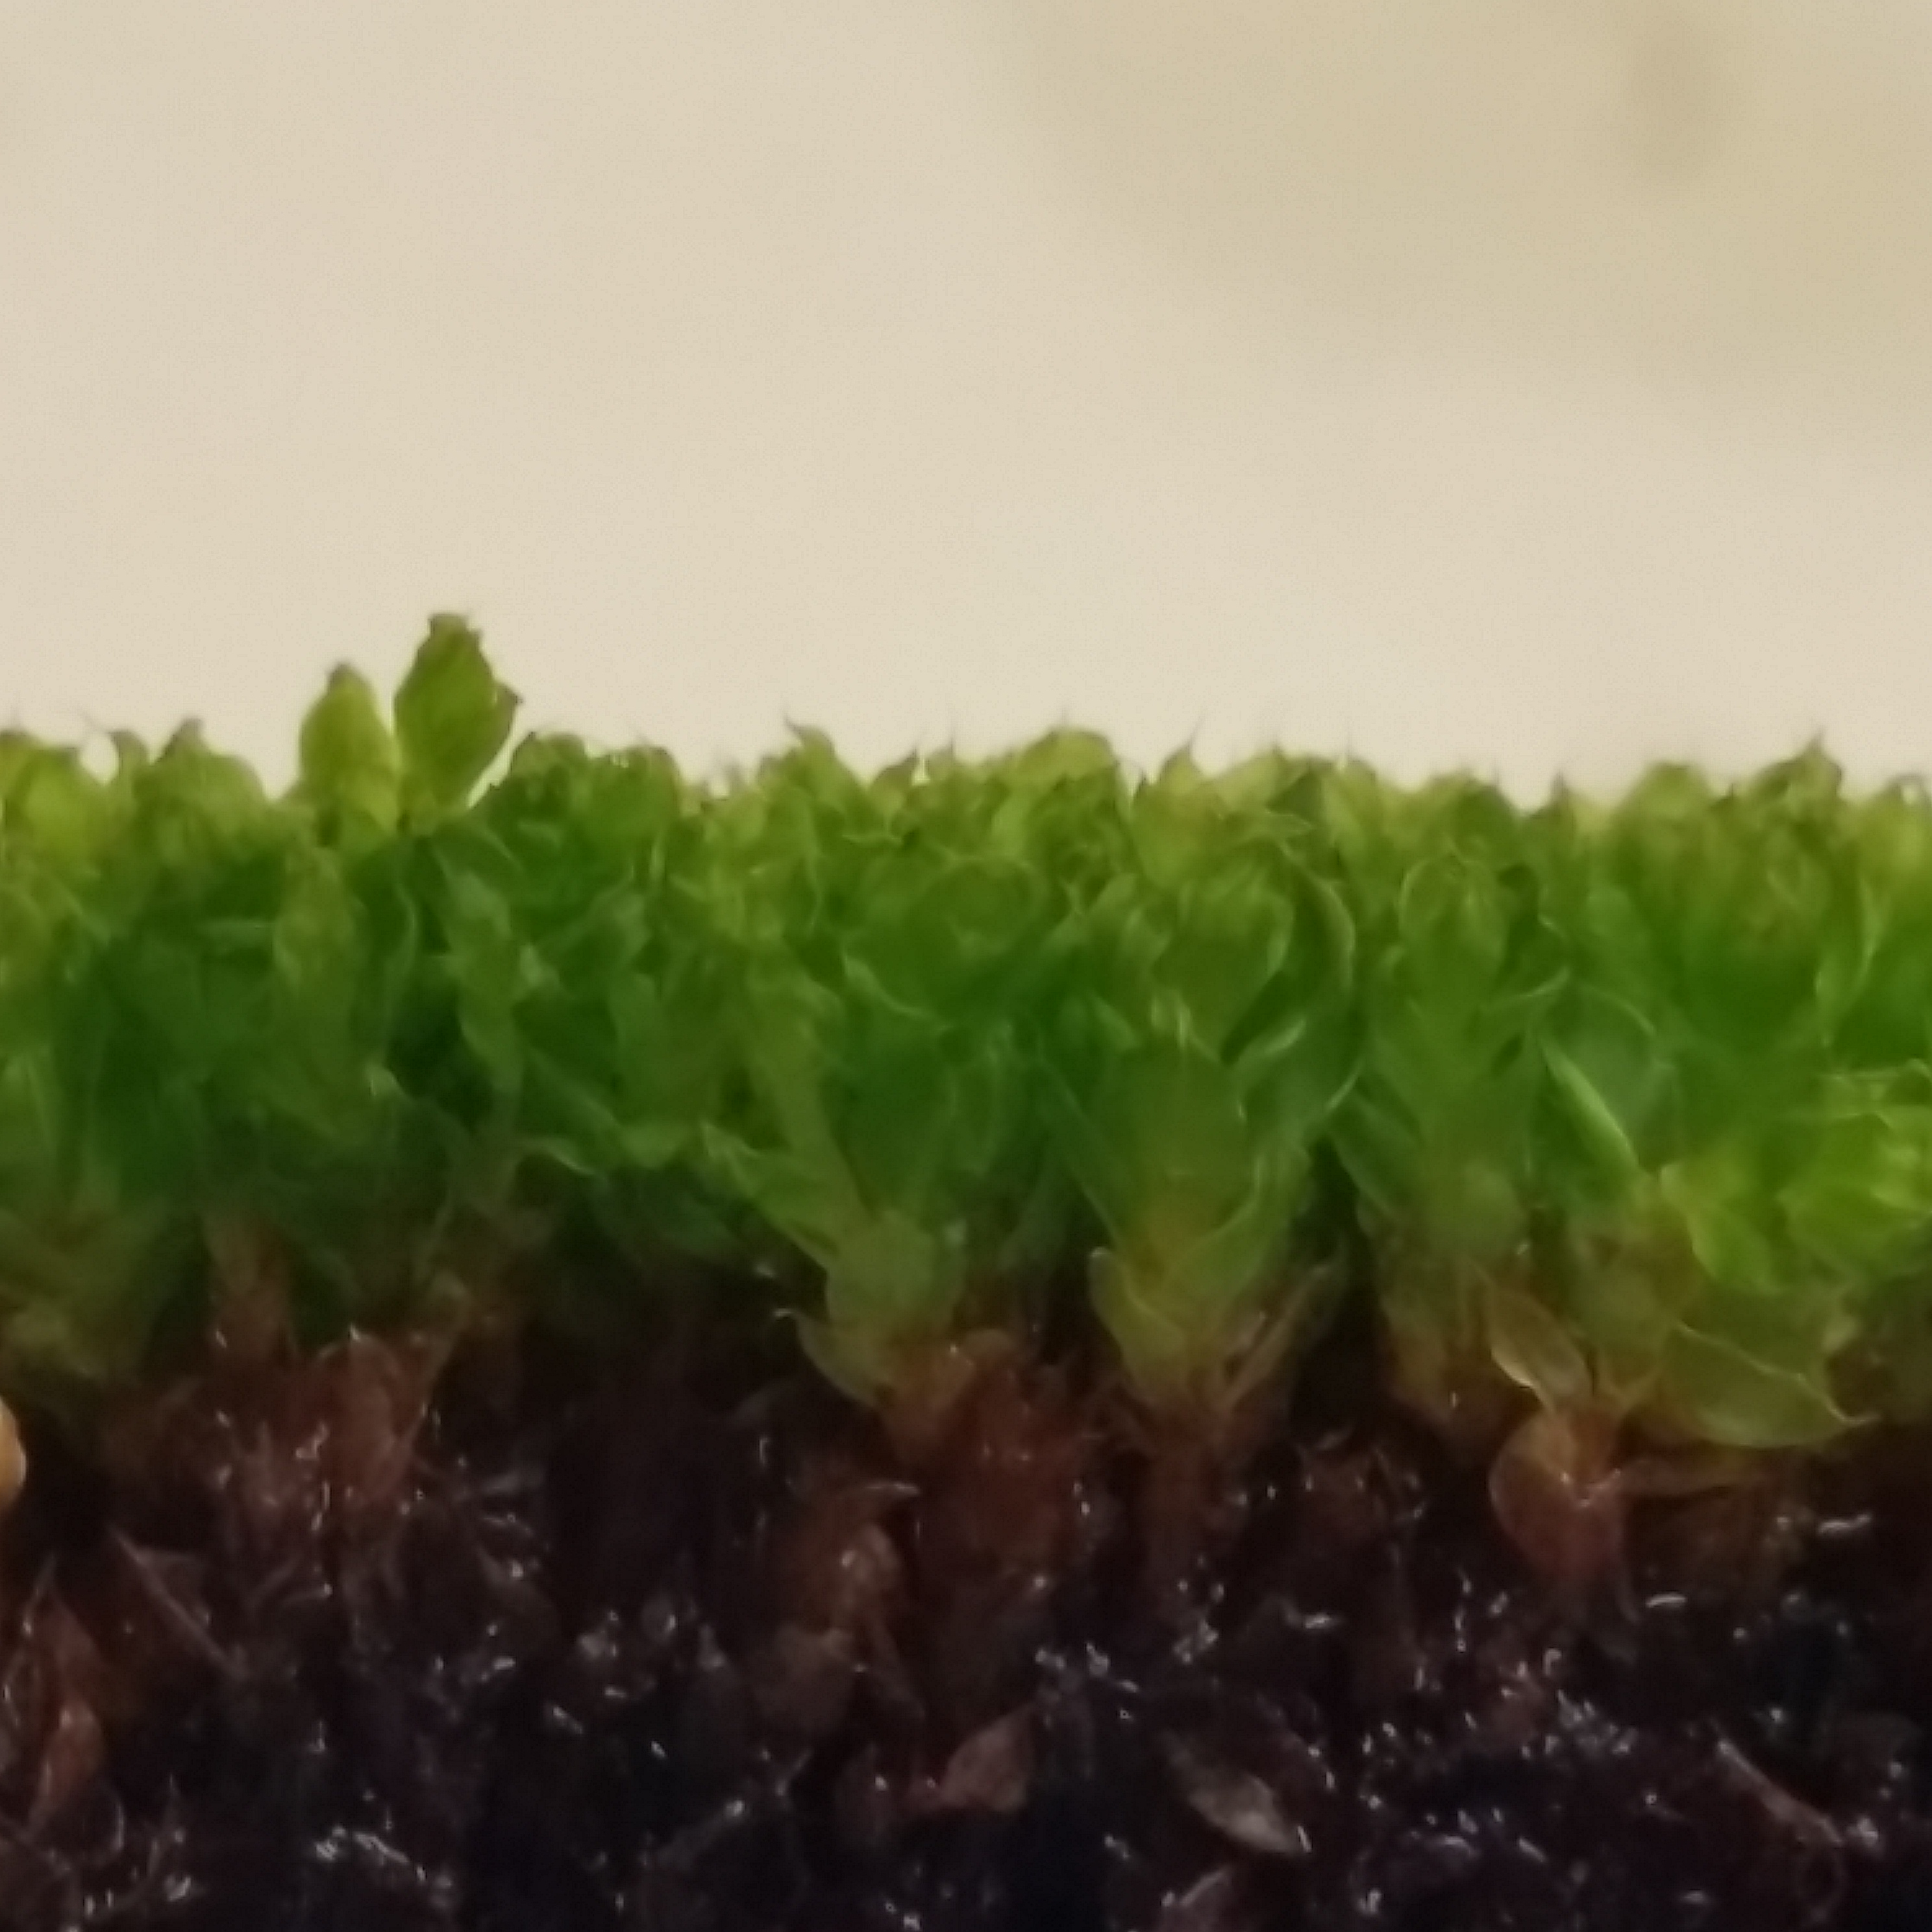
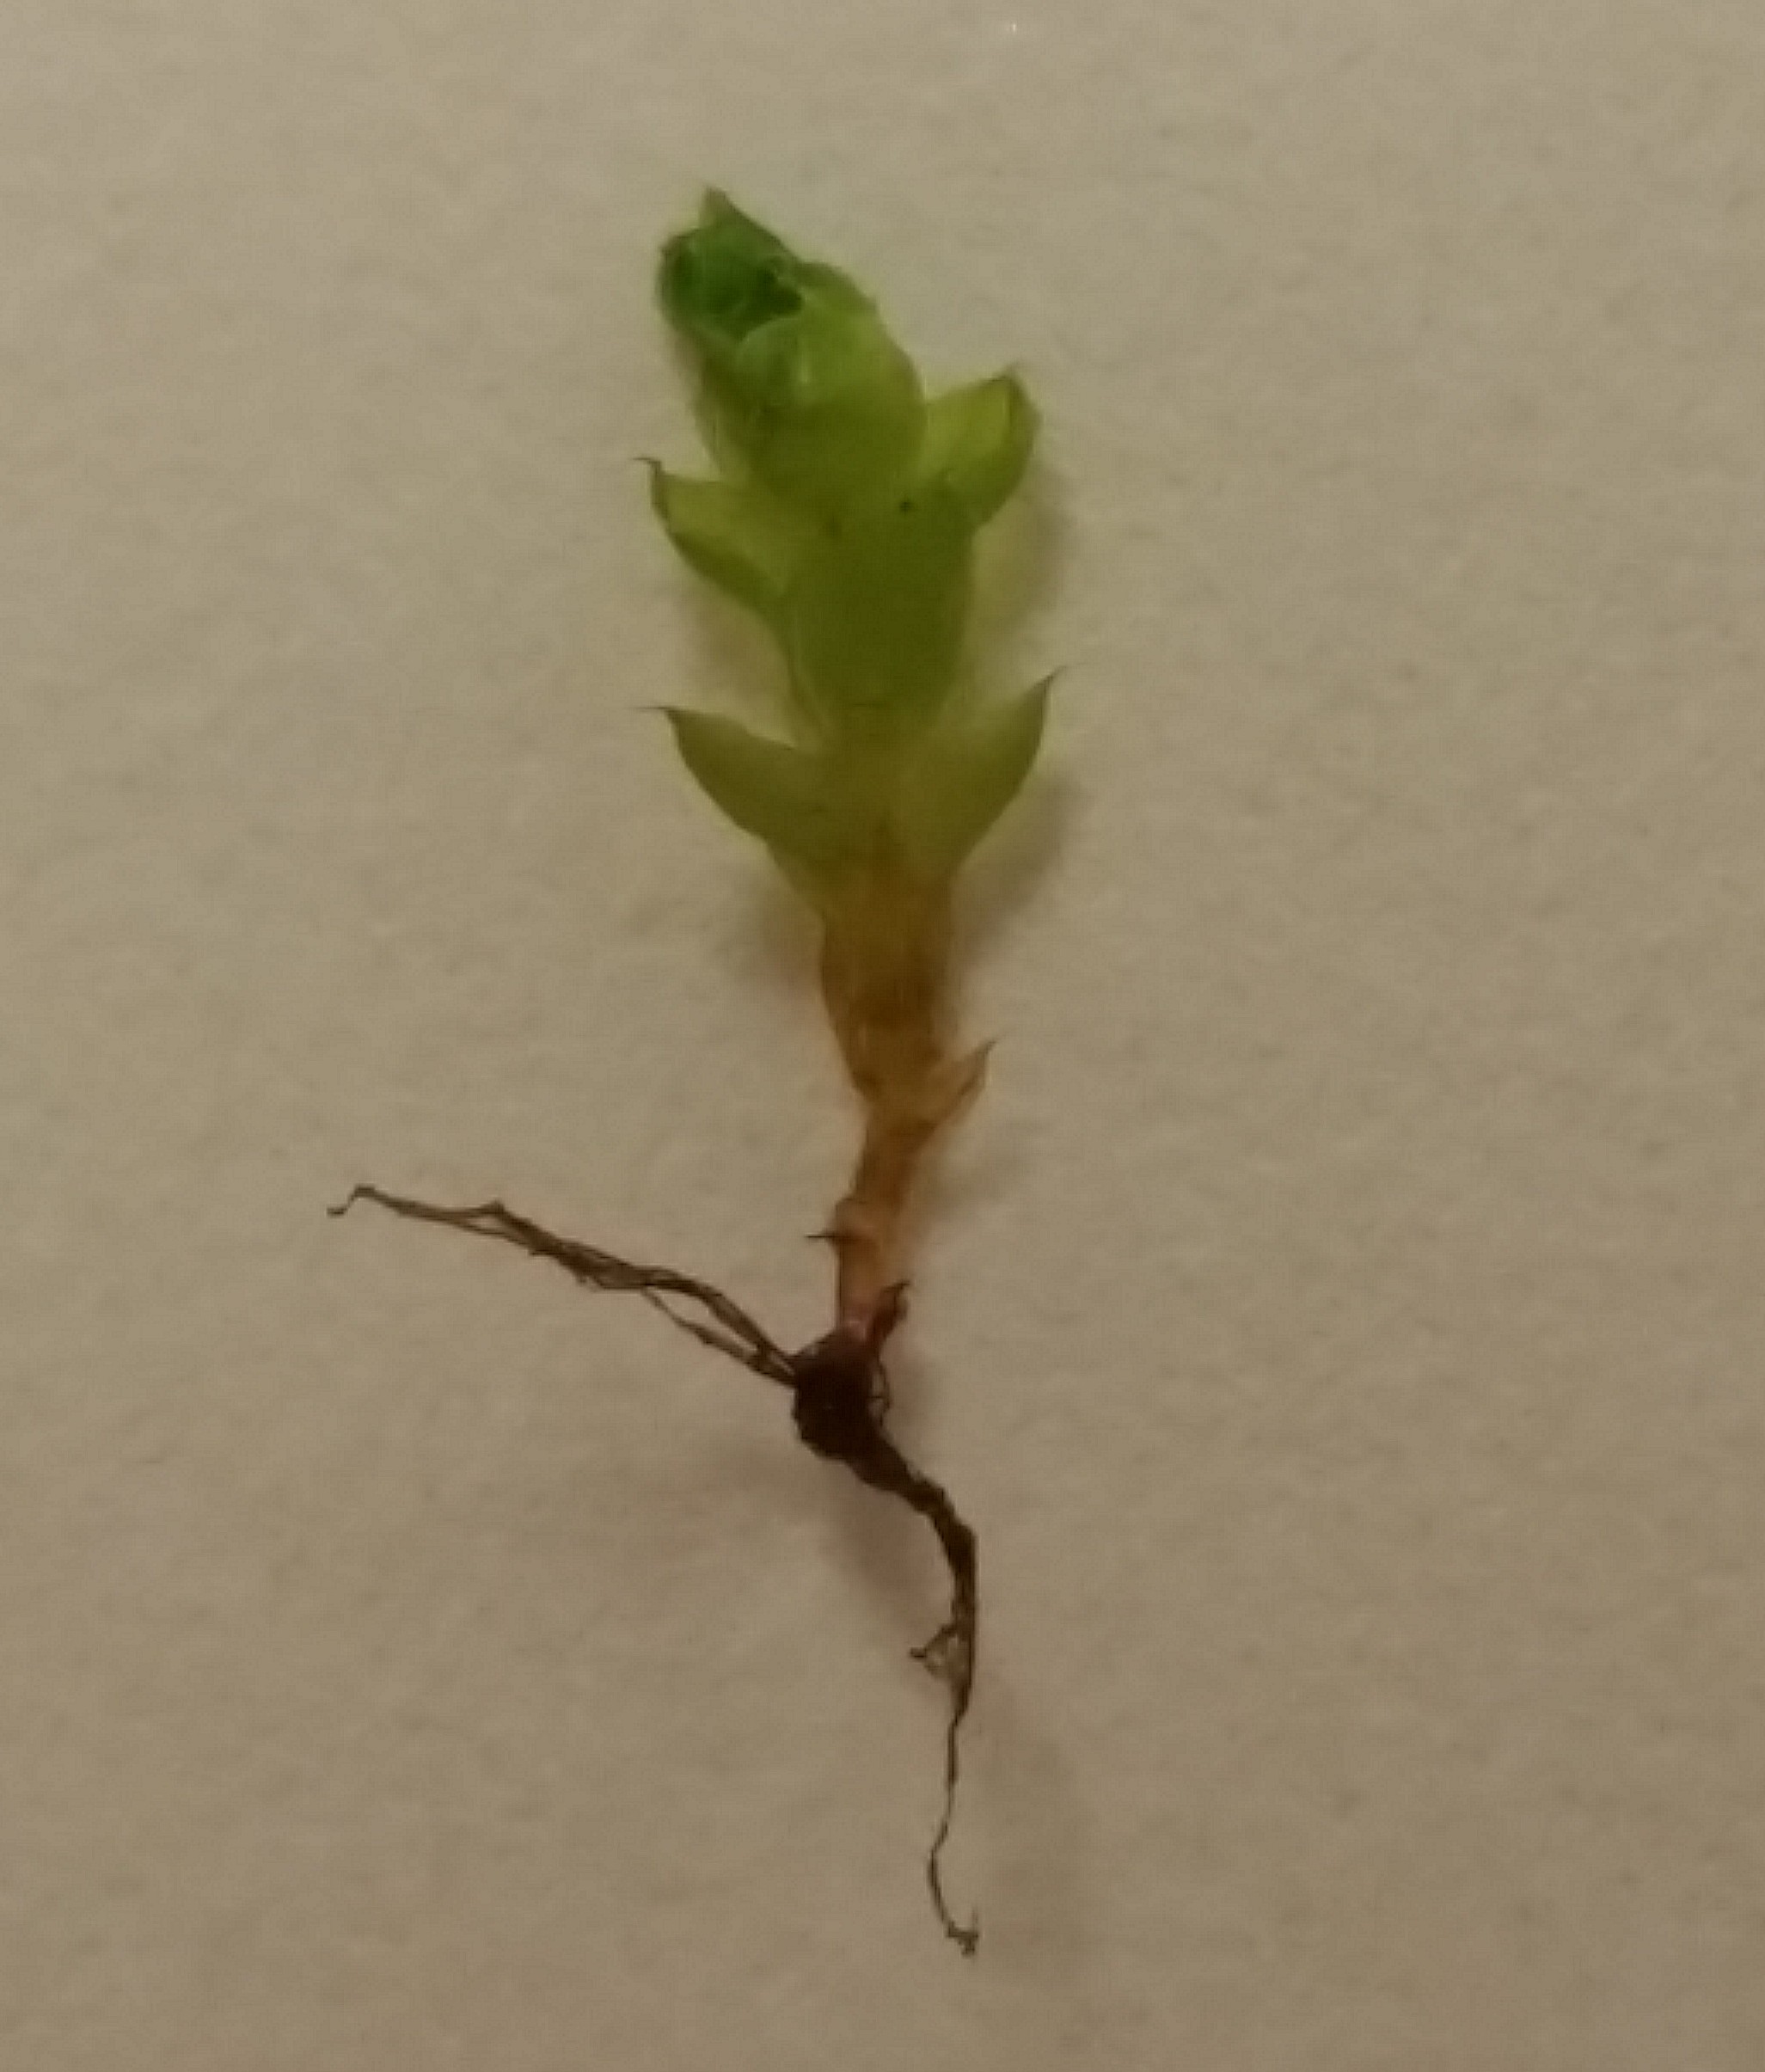
Mosses do not have true roots. They have rhizomes that anchor the plant to the soil and send up buds for new individual moss plants, but the rhizomes do not transport water like true roots. Mosses absorb water, nutrients, and carbon dioxide through their leaves. 

The rhizomes are fine and grow at the surface of wherever they are planted, so they do not require deep soil. As a result, moss can grow in any porous surface, like tree bark or a stone (but maybe not on a rolling stone!). So moss can thrive in the small amount of soil in your ornament. The moisture sealed inside the globe will keep the air humid and supply the leaves with water.

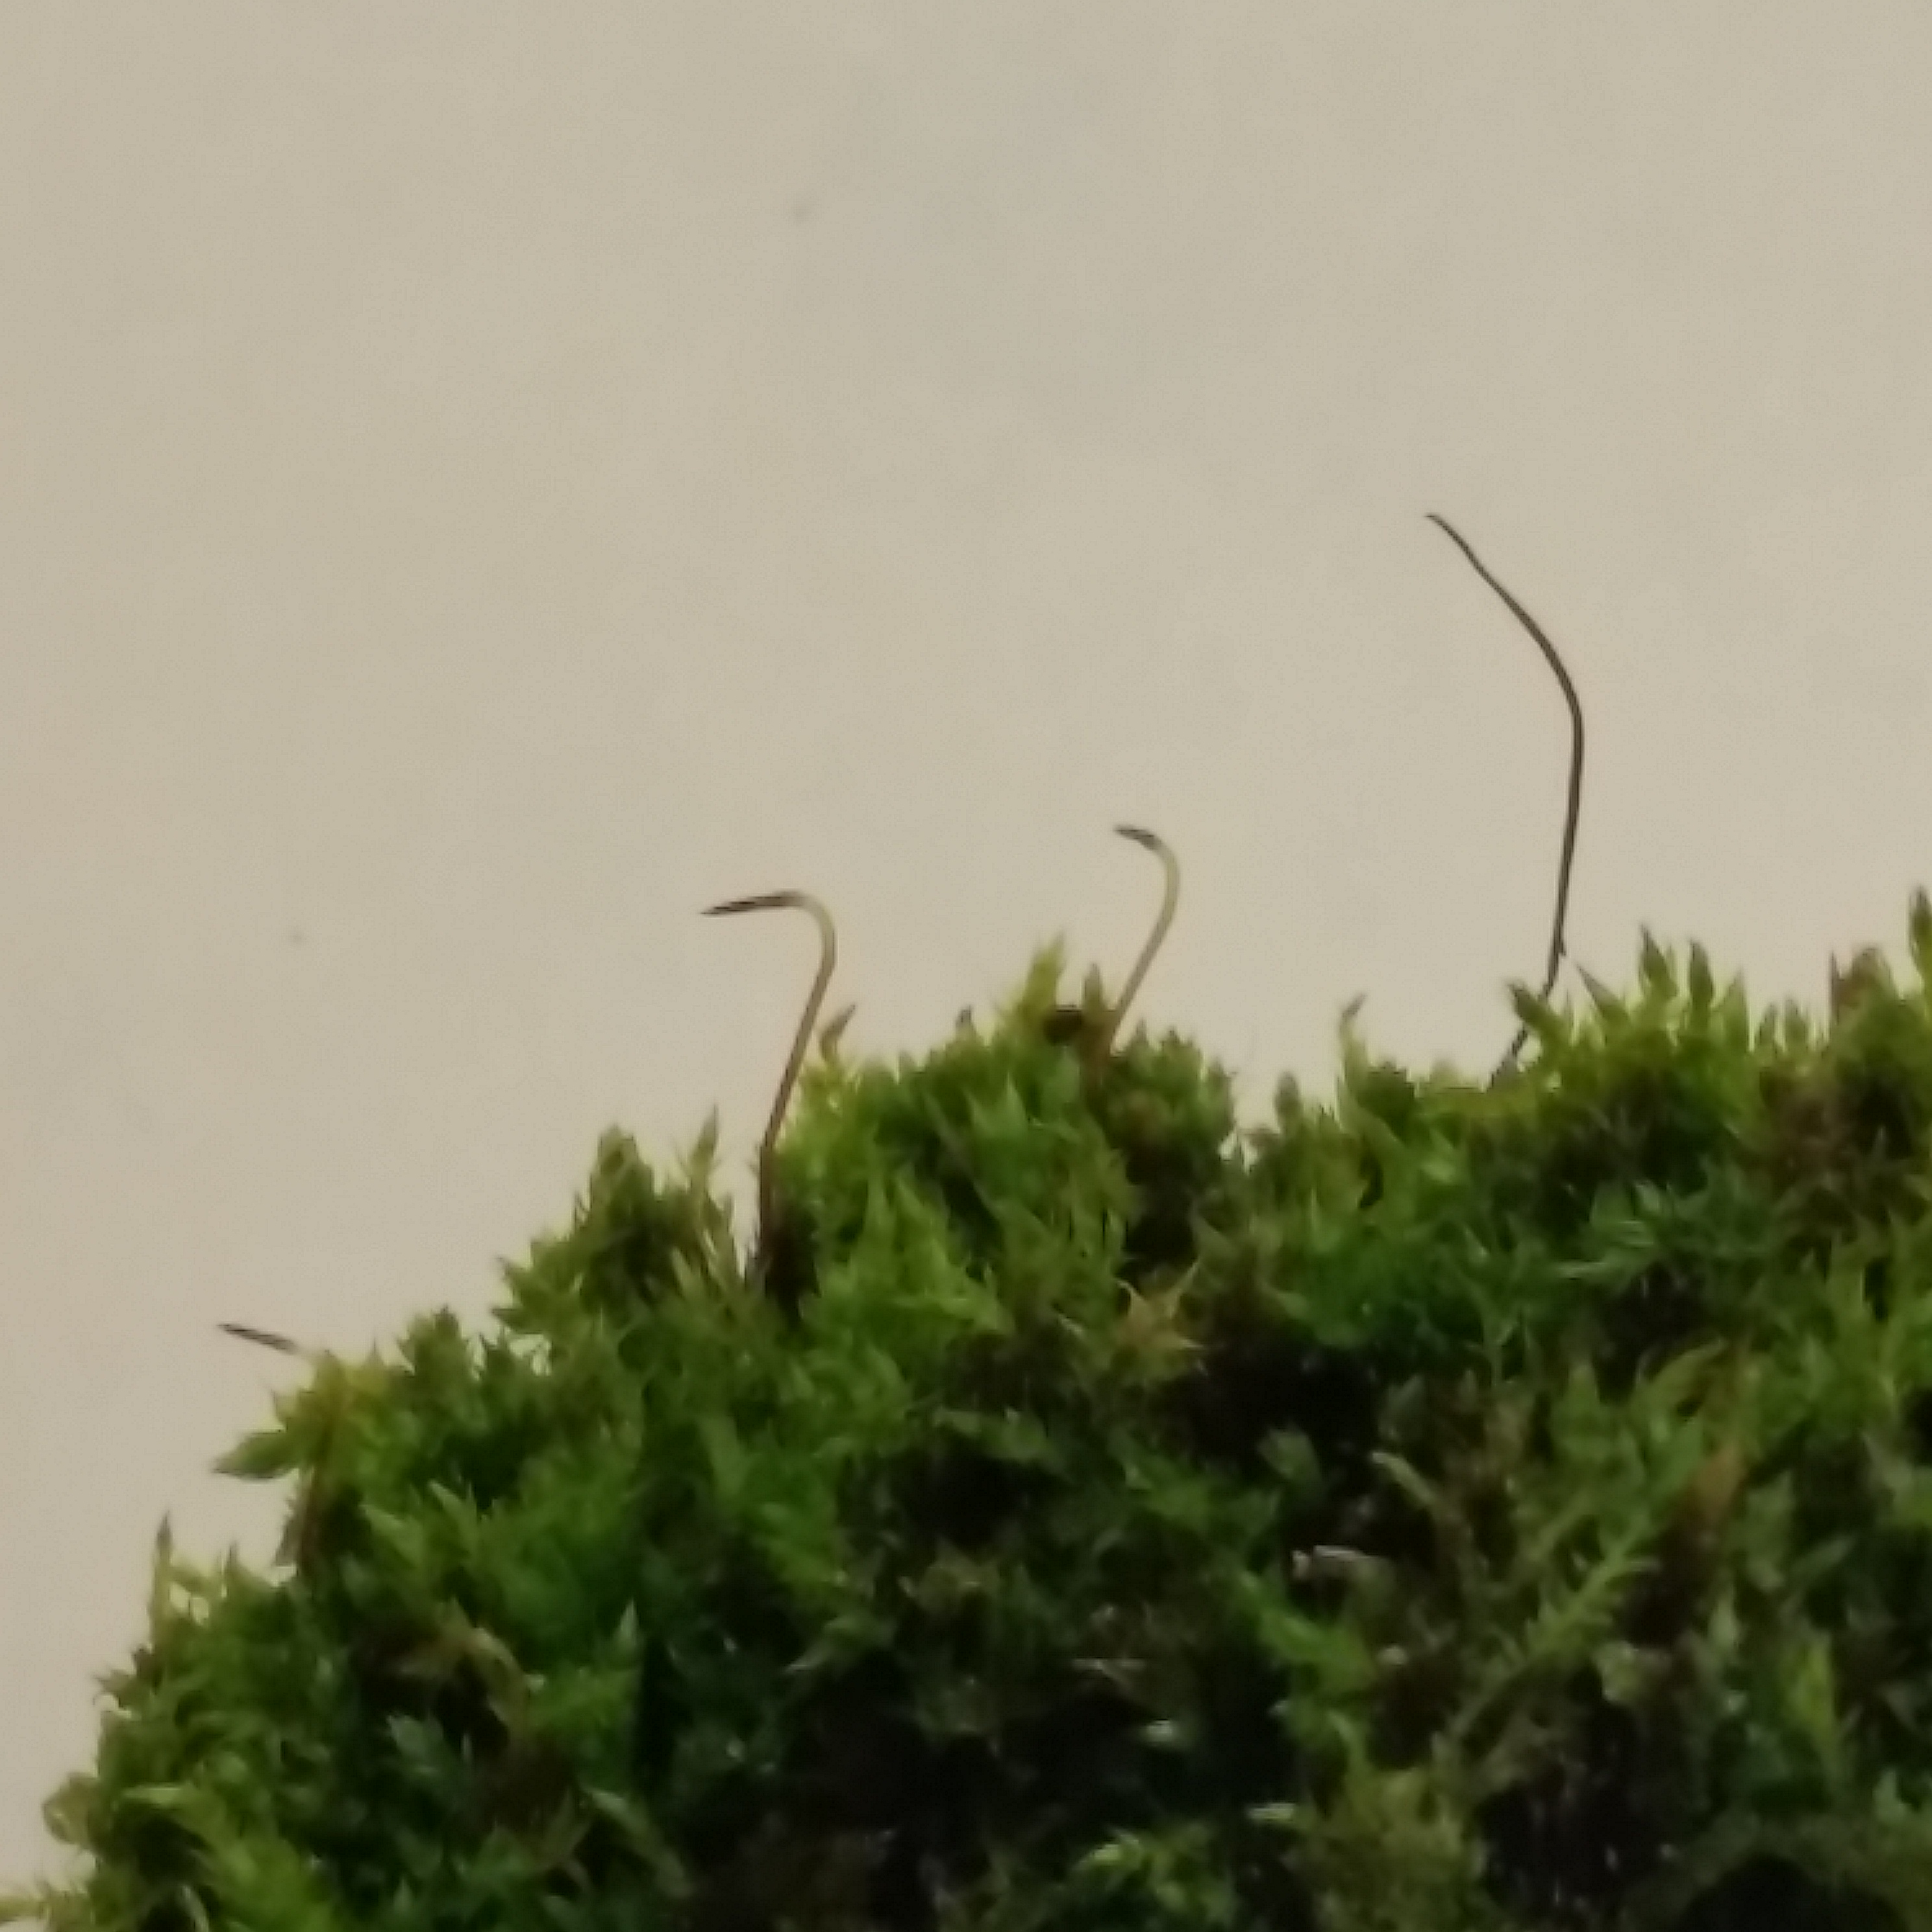
Mosses also do not flower or make seeds. They produce tiny spores that are difficult to see without magnification. The spores are carried by wind until they fall, and there they wait for the right conditions to grow into new moss plants.

PHOTO: A single moss gametophyte grows from a root-like rhizome.
A single moss gametophyte grows from a root-like rhizome.
PHOTO: Moss reproductive structures.
The tips of the taller slender structures are sporophytes that will release spores and continue the life cycle of the moss.

If your moss dries up or becomes dormant, do not despair! You can bring it back to life by soaking the dry clump in water and keeping it moist. This will reinvigorate the dormant moss and activate spores that are lying hidden in the dry moss, enabling them to grow into new moss.

PHOTO: Moss terrarium ornament with deer.
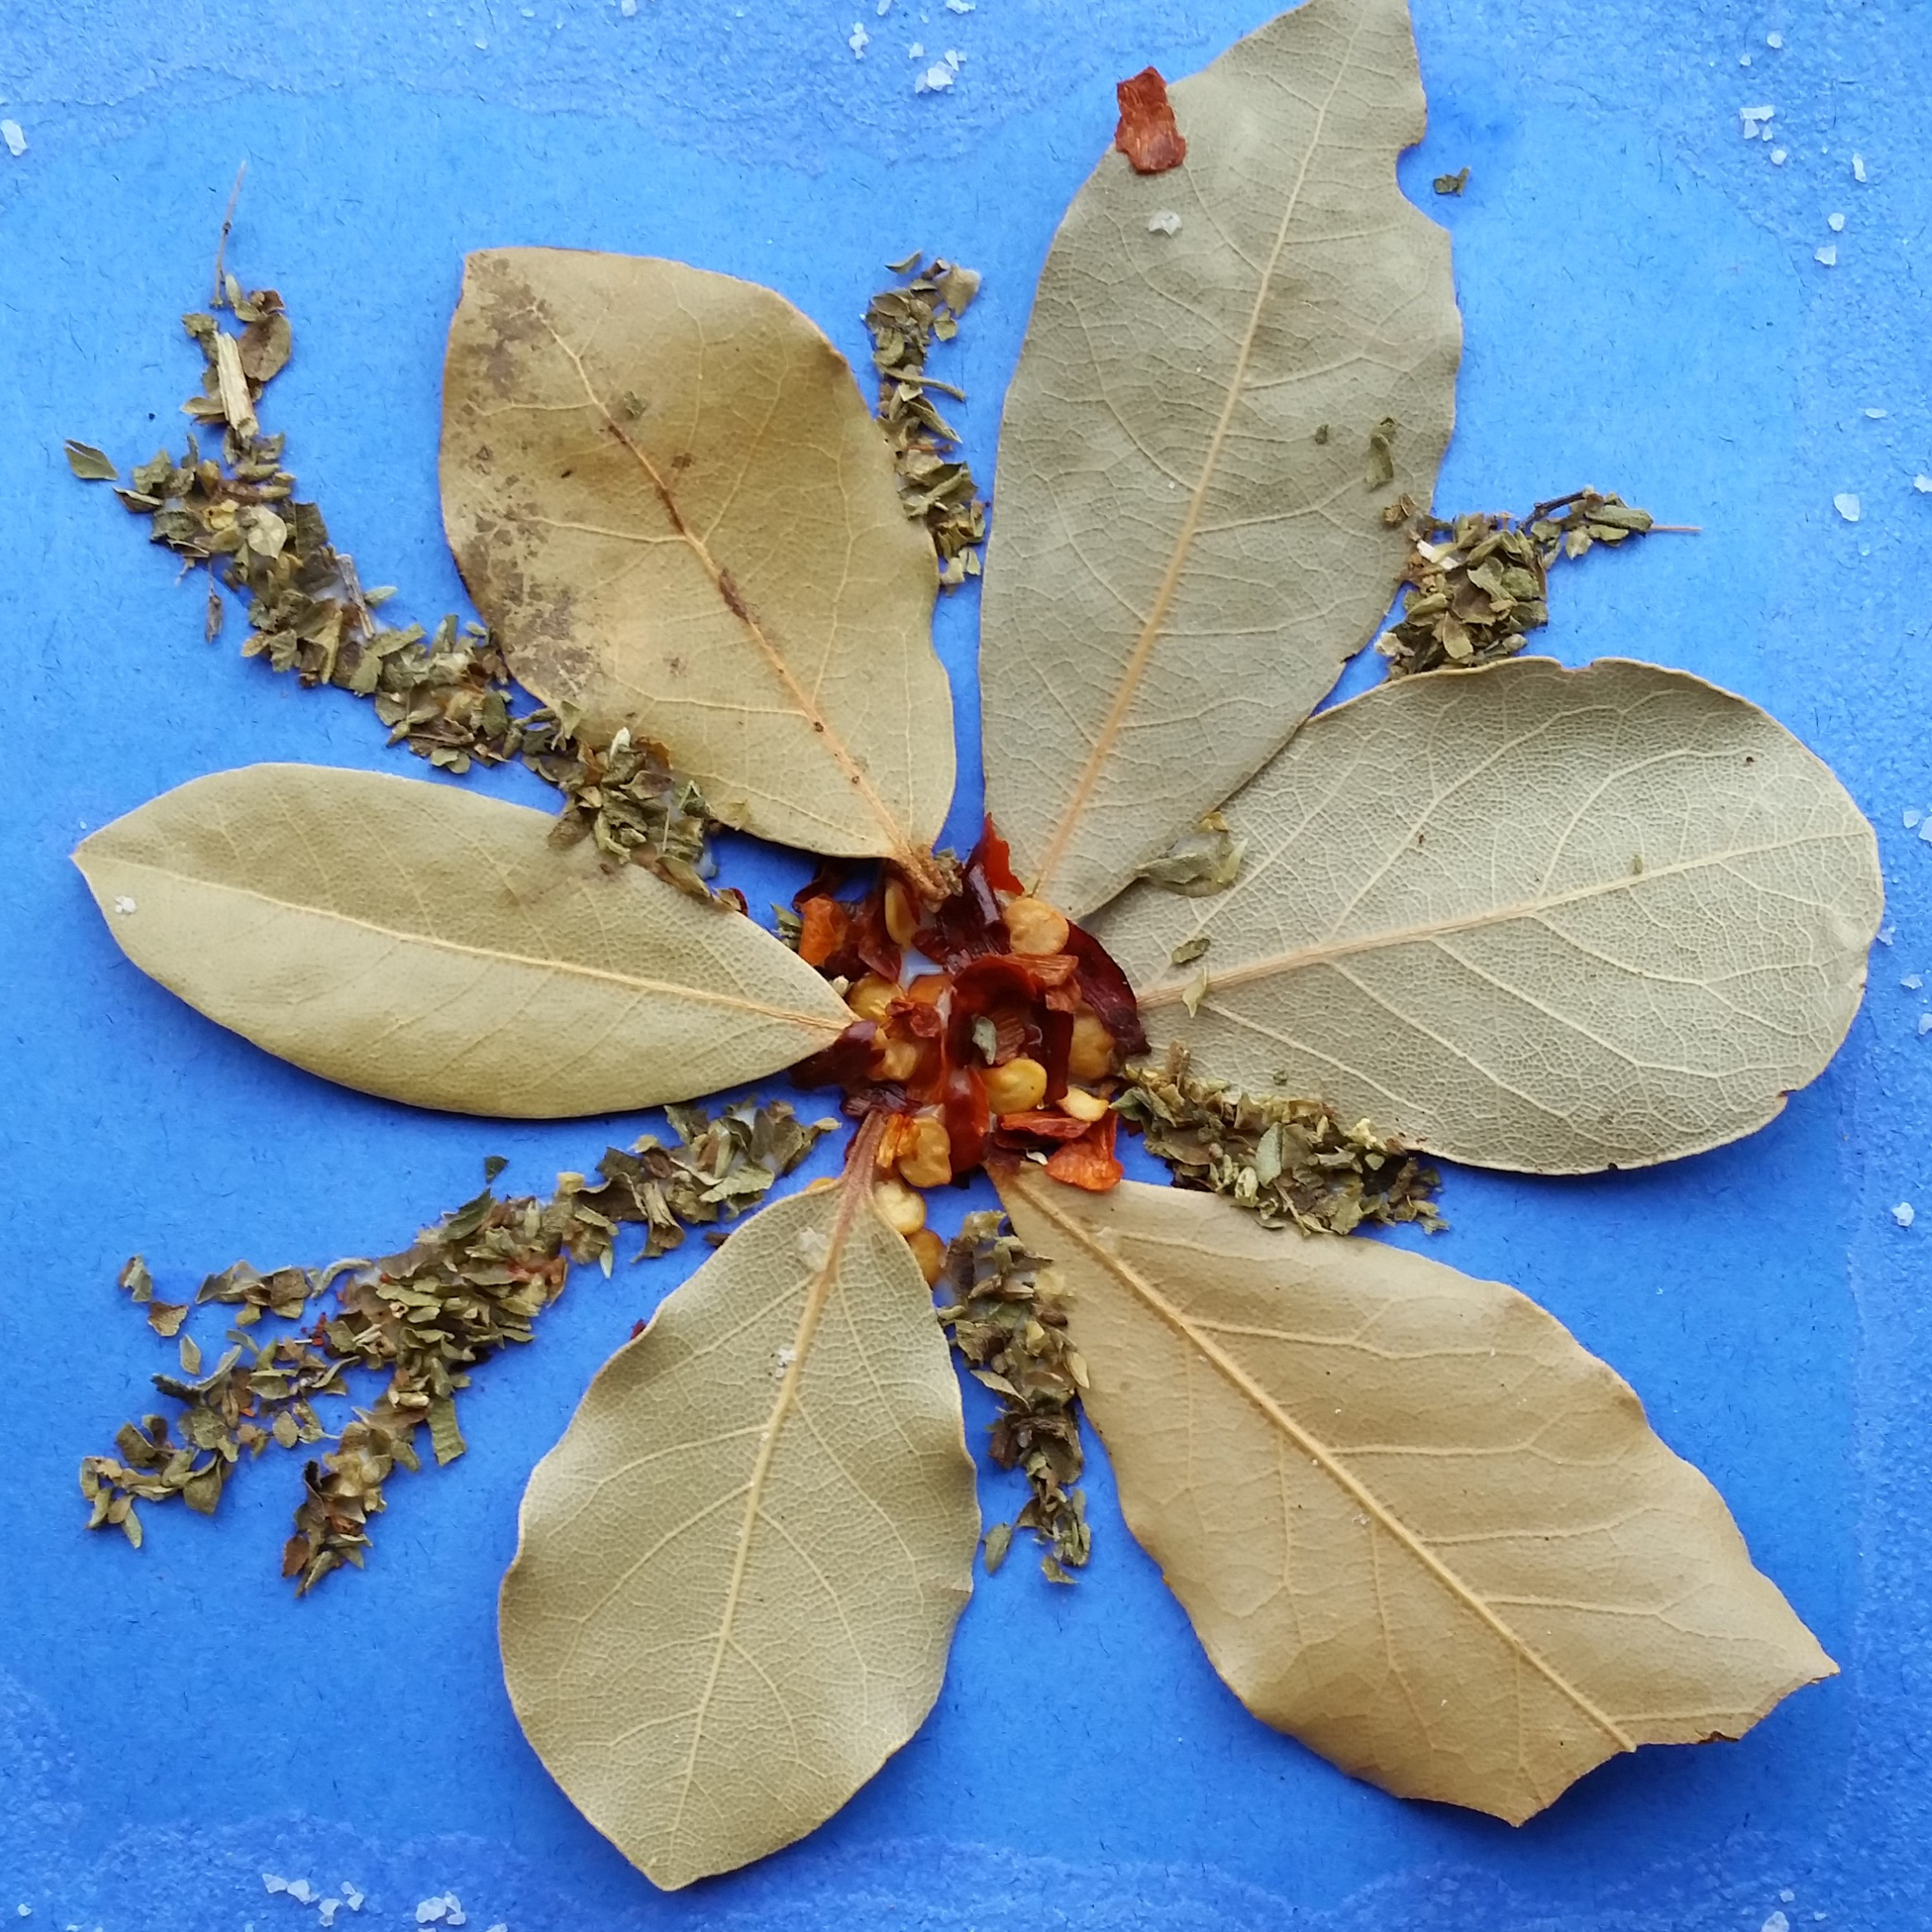
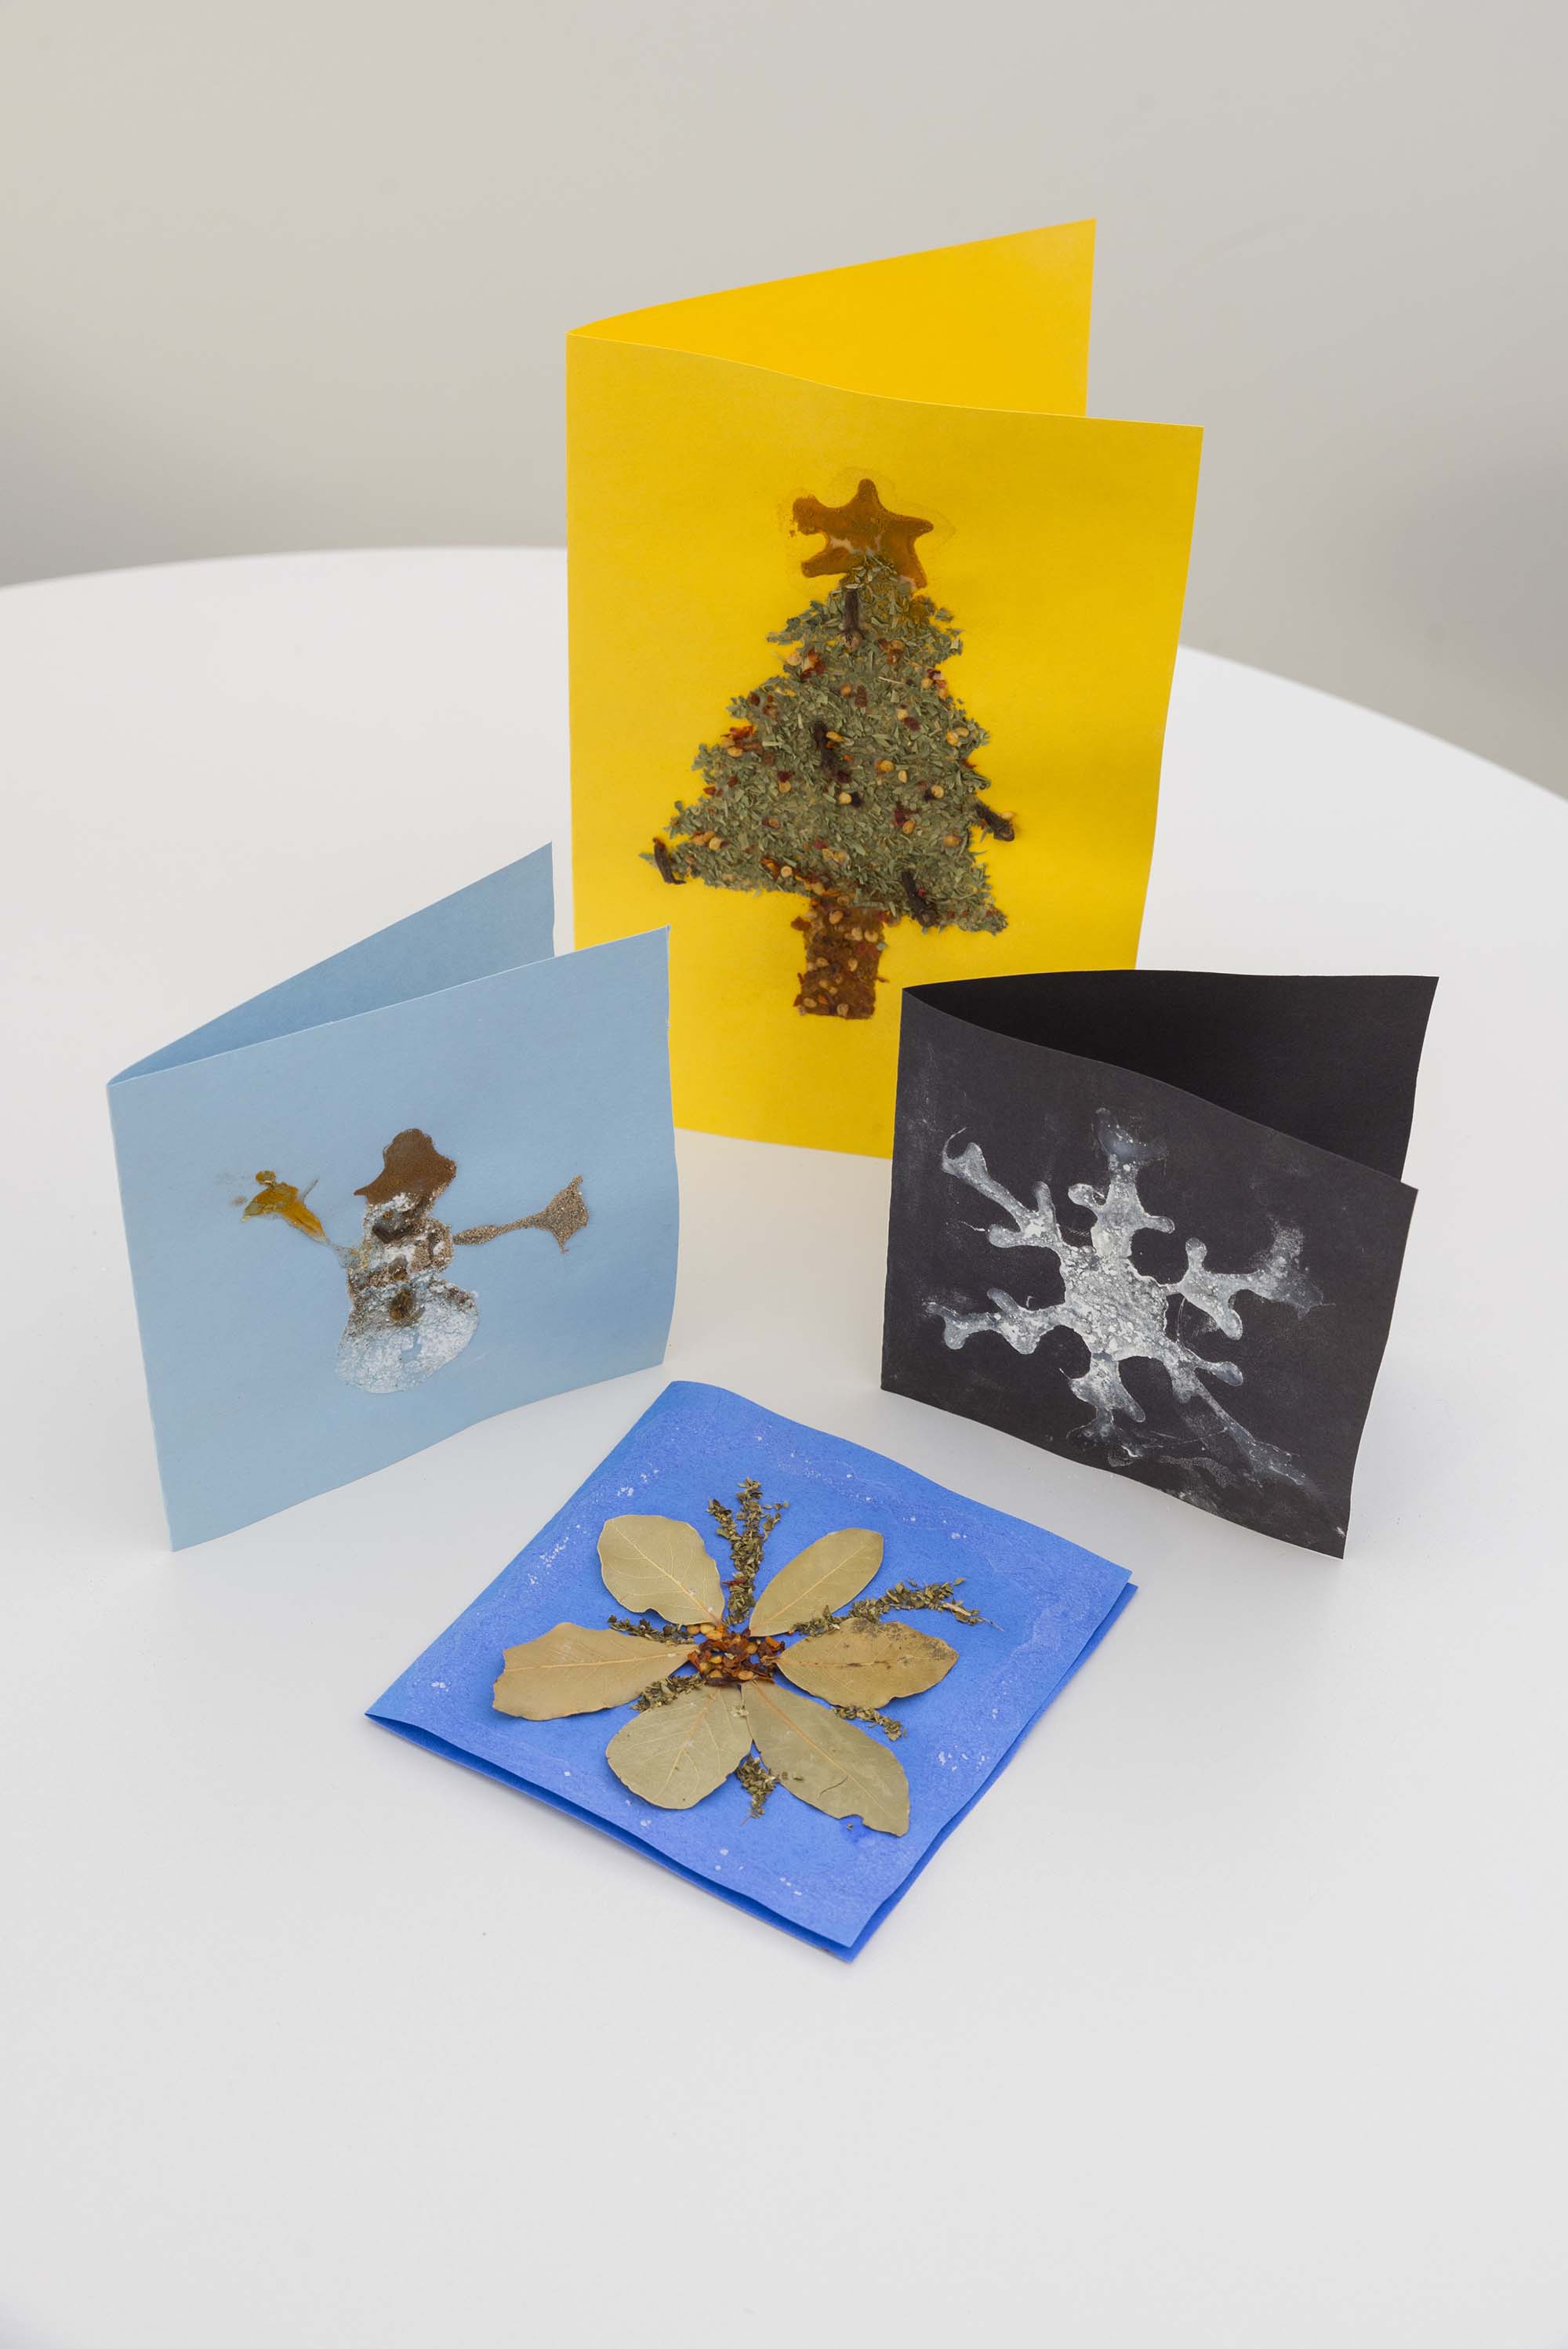
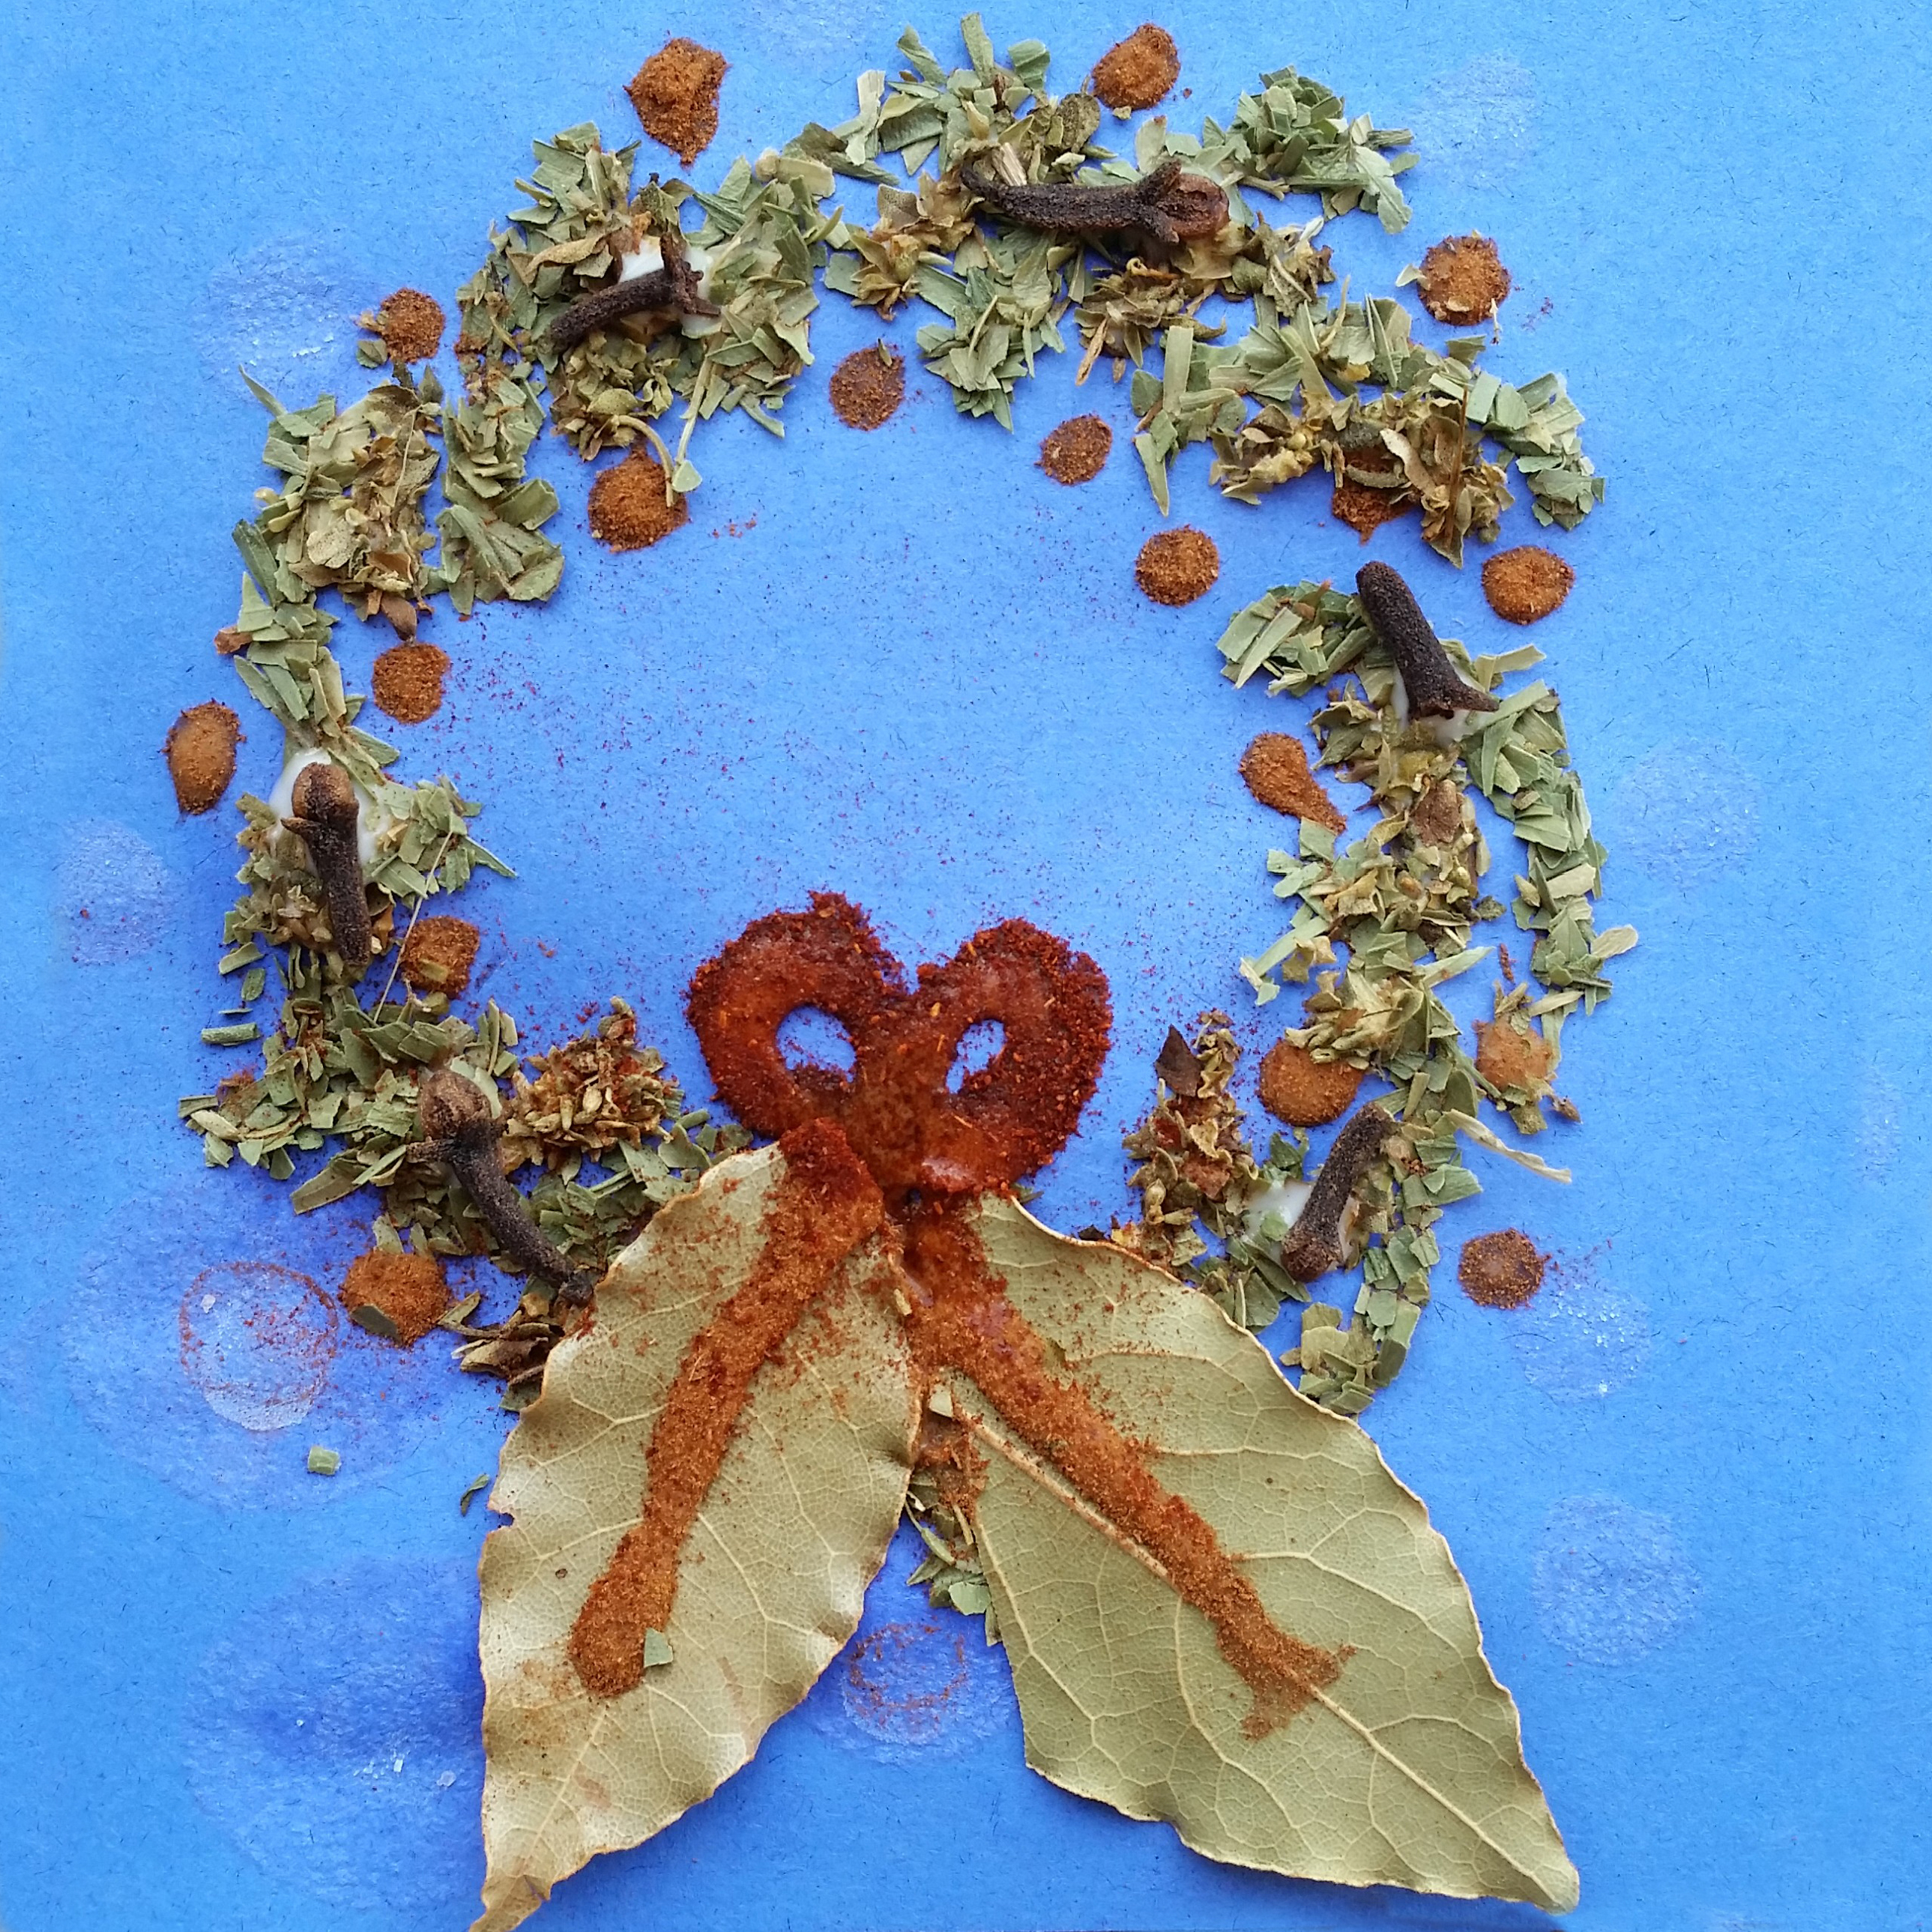
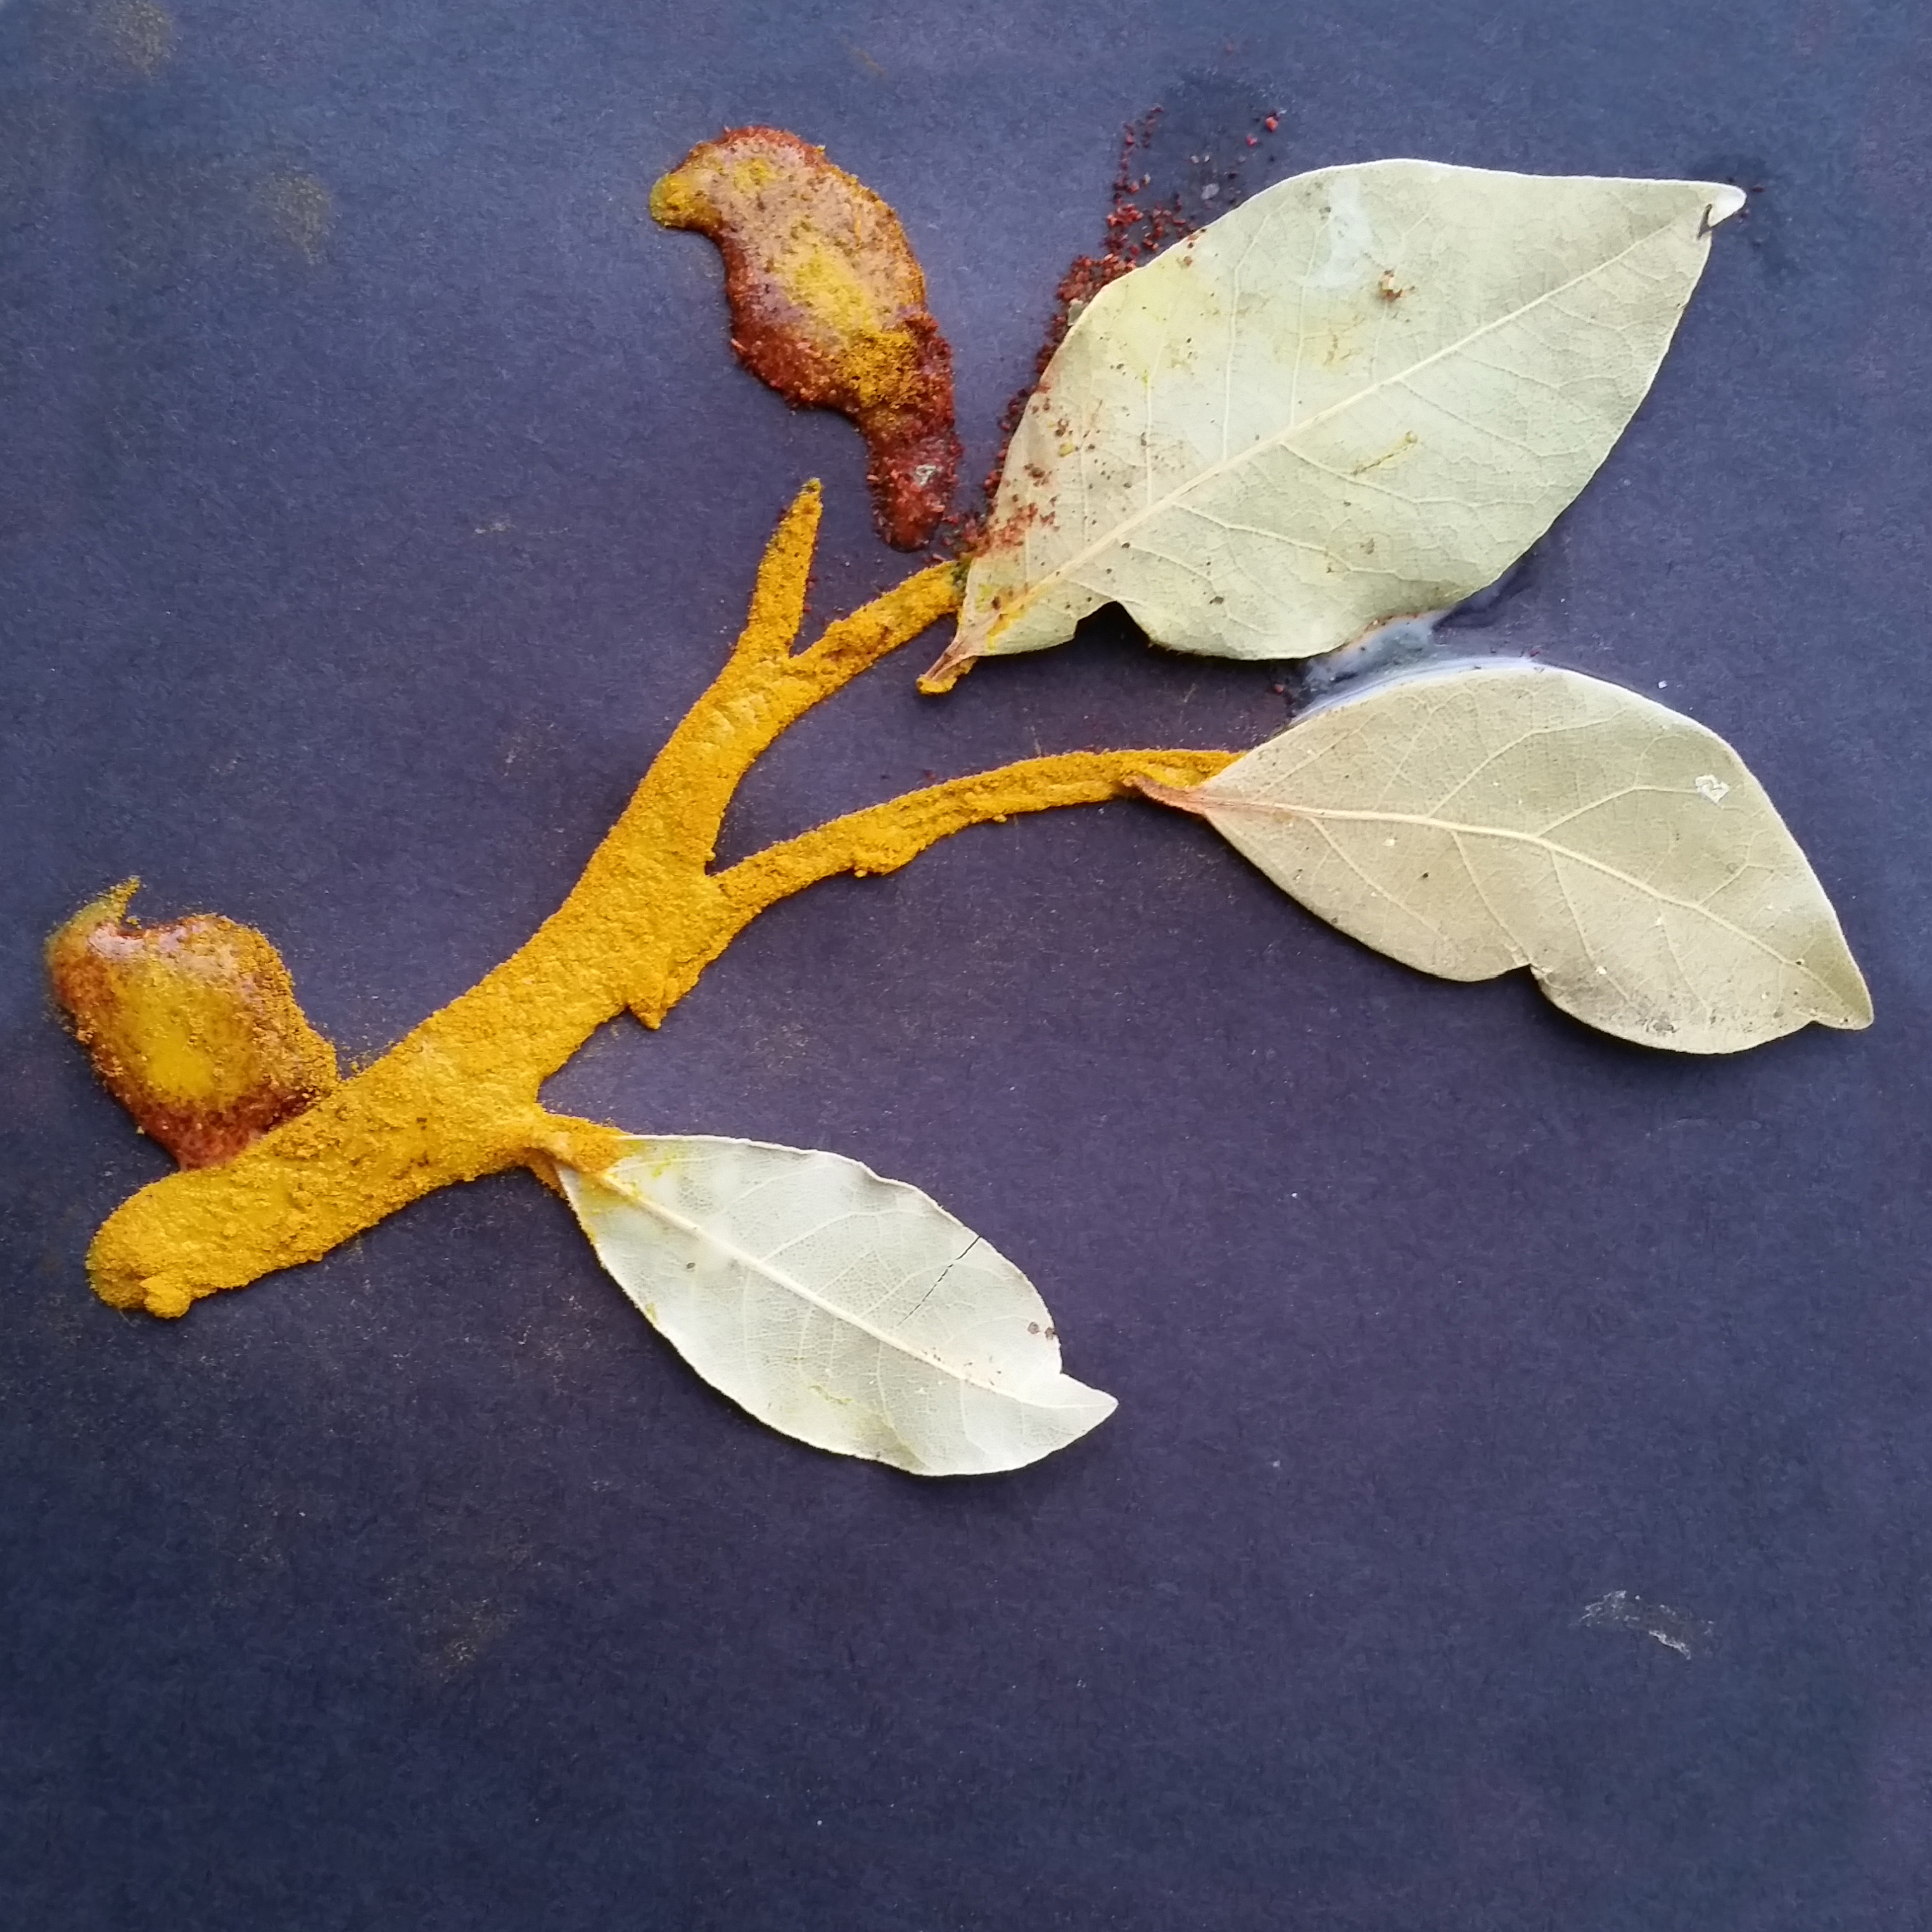
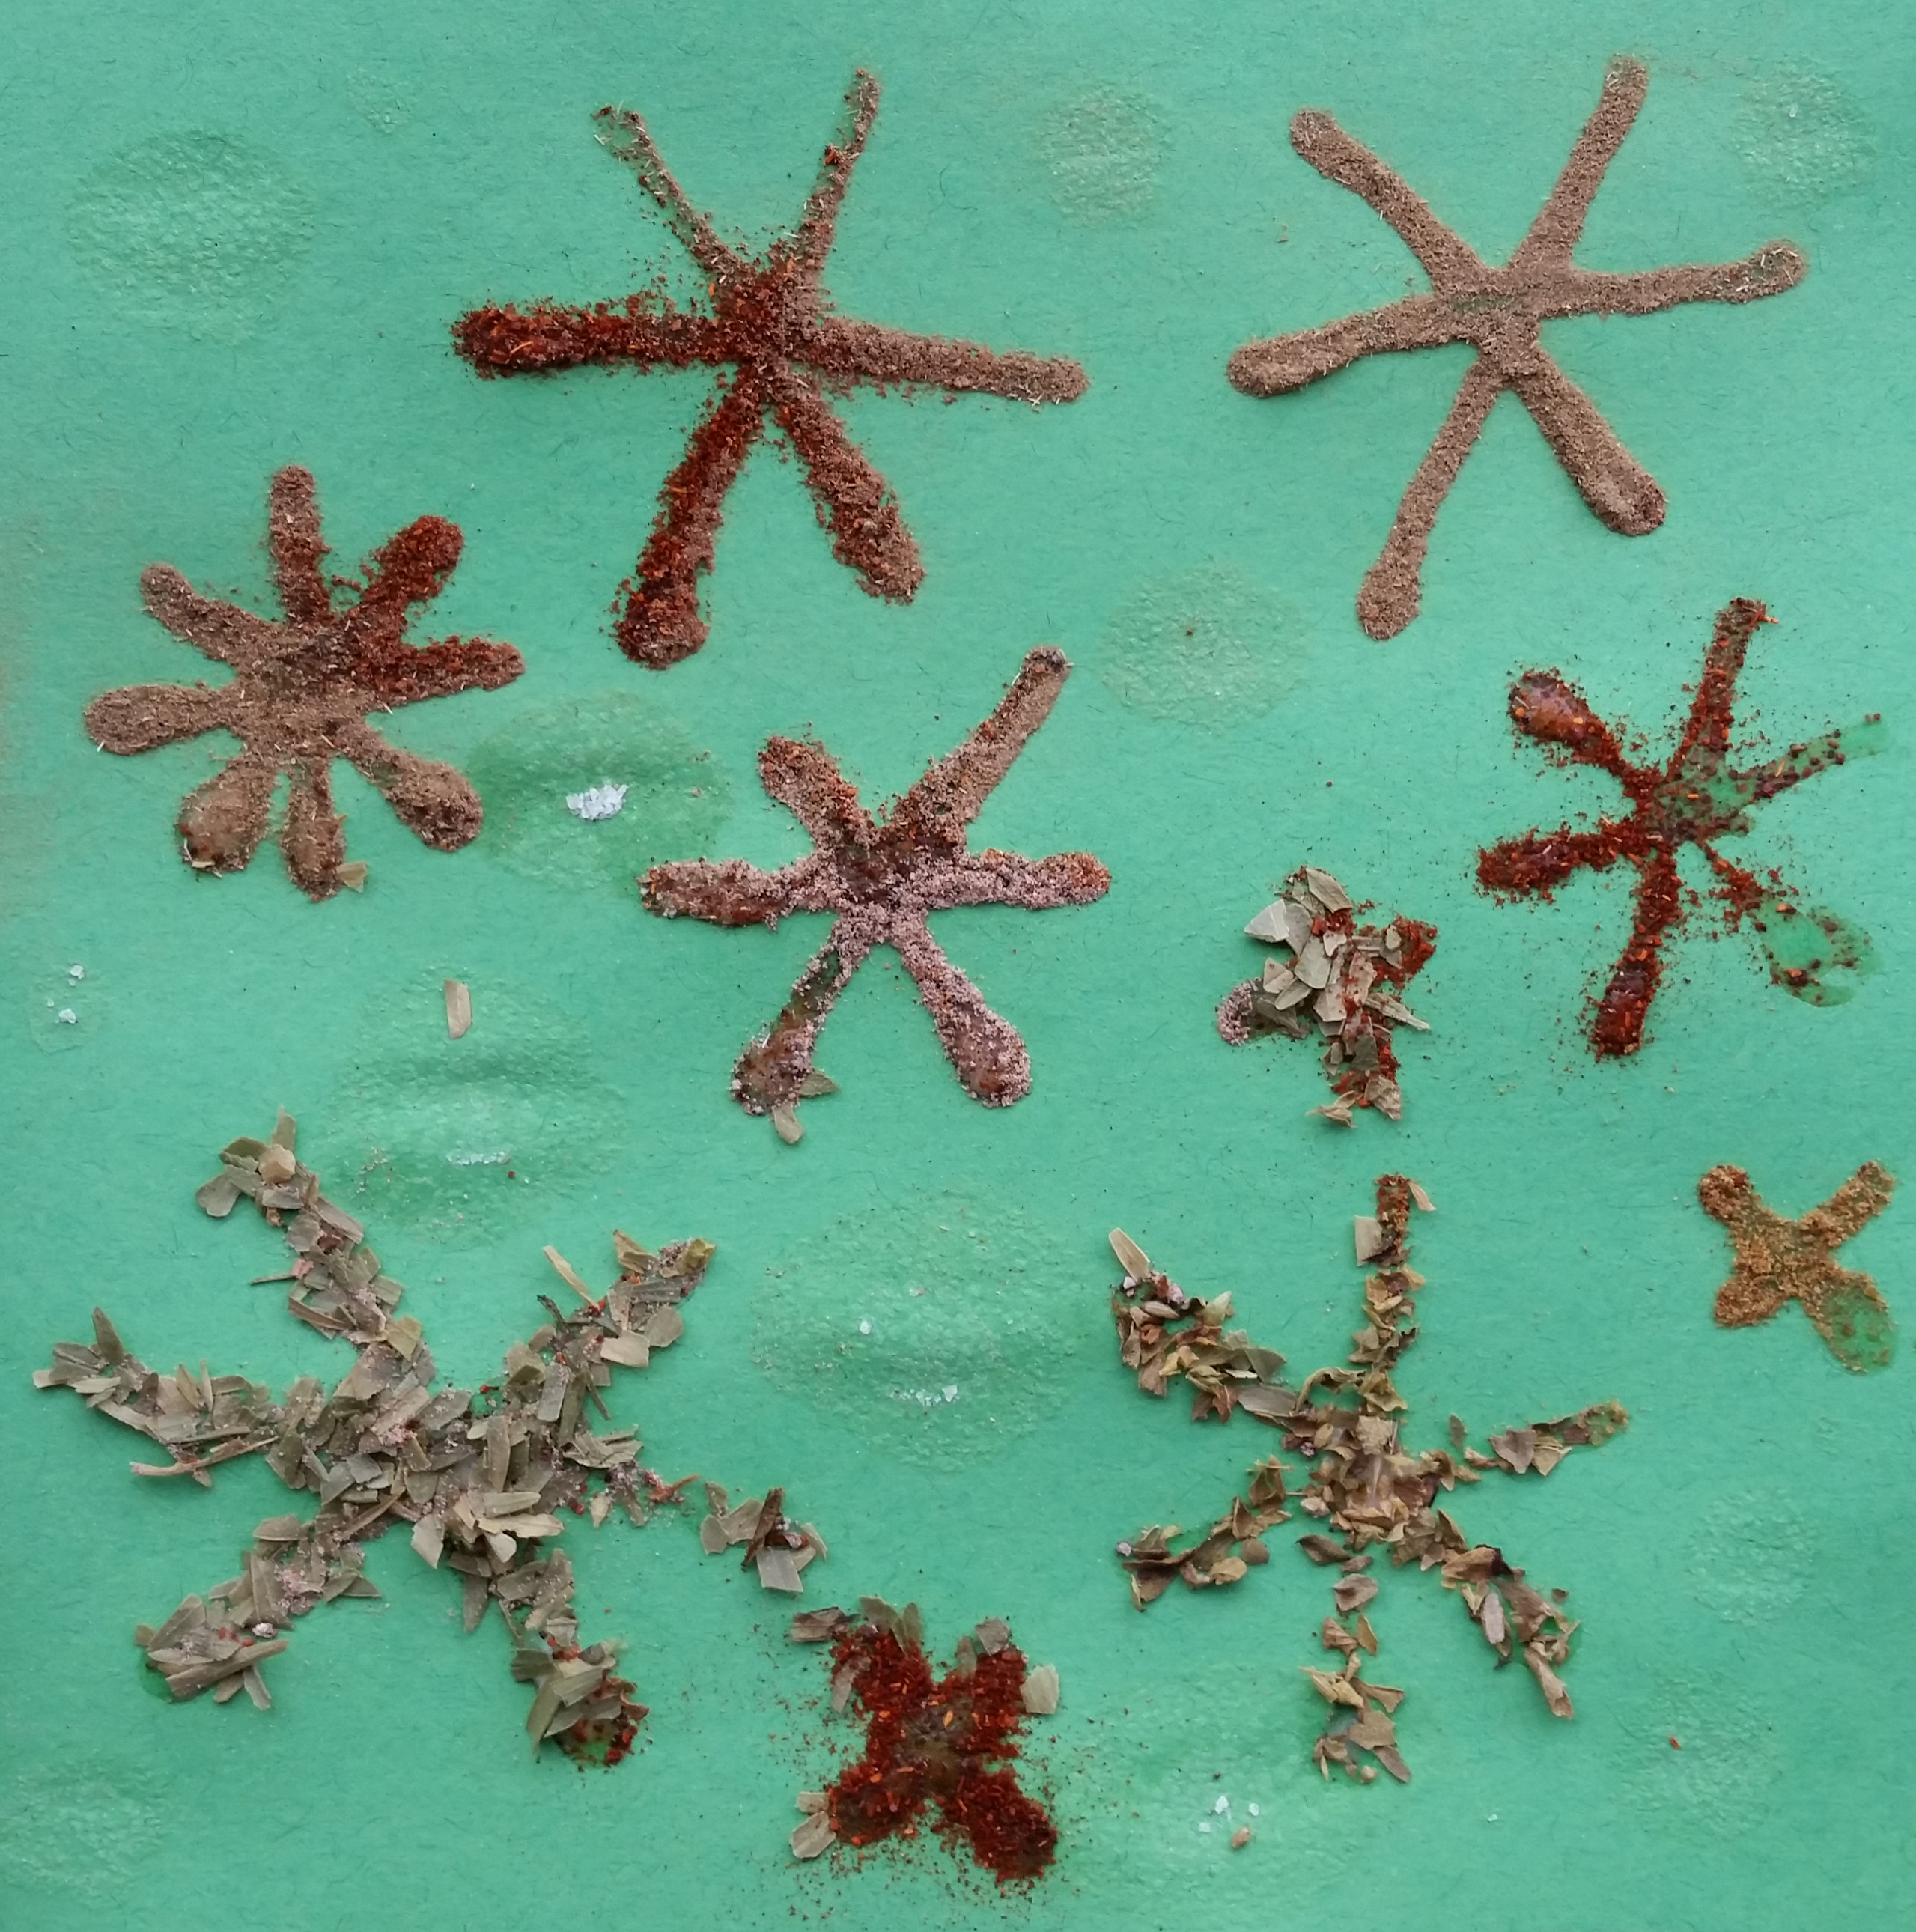
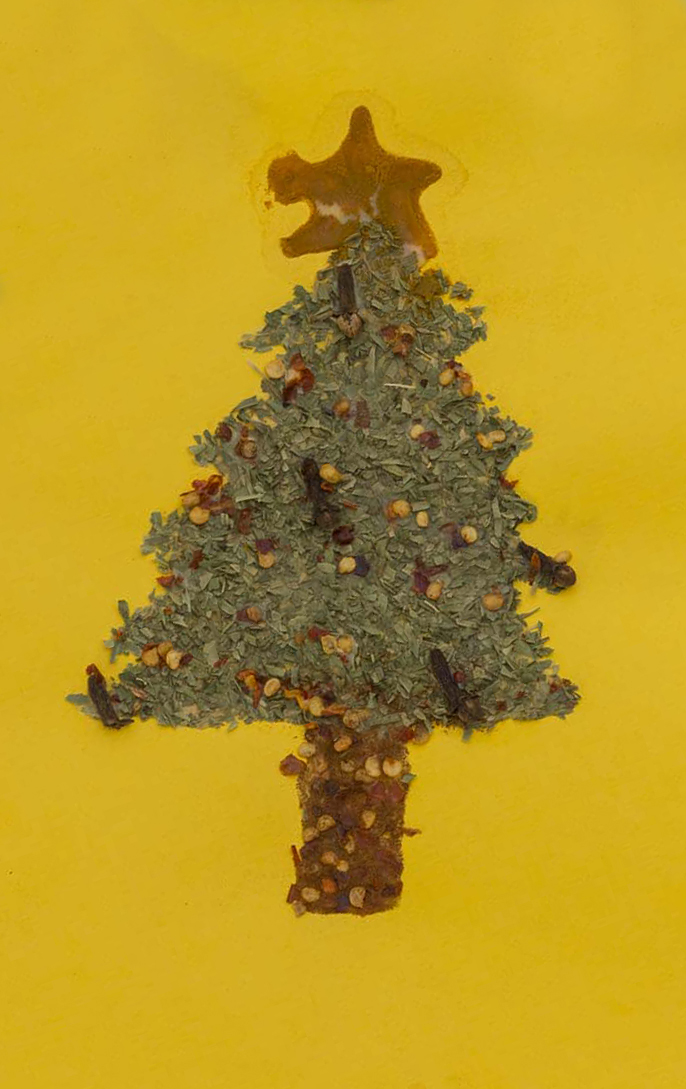
Find more fun projects for the holidays! Make Spicy Greeting Cards and Rock Candy, or a Grapefruit Bird Feeder. ‘Tis the season for a little Christmas tree taxonomy!


©2015 Chicago Botanic Garden and my.chicagobotanic.org

These Greeting Cards Will Spice Up the Holidays

Handmade greeting cards make people feel loved. Here is a fun and festive way to show friends and relatives that you care about them. It’s a great project for kids who need something to do during Thanksgiving break. (It’s also a way to use up some of those 20-year-old spices that are languishing in your kitchen cabinet!)

PHOTO: Spice holiday cards.
Finished spicy holiday cards smell absolutely fantastic.

MATERIALS

  • White glue in a squeeze bottle
  • Construction paper 
  • Dried herbs and spices, whole or ground 
  • Salt and water in a small dish, with a paint brush
  • Markers, crayons, or colored pencils

Work over a large paper towel or mat, because this project is messy!

Fold a piece of stiff paper (construction paper or card stock) in half. Draw a design with glue on the front of the card. Try to use glue sparingly, because the paper will warp if the glue is too thick or wet. Sprinkle the herbs or spices of your choice on the wet glue.

You can apply the spices by gently tapping them out of the jar onto the page, or take small pinches and apply them where you want them to go. If you want more control, fold a small piece of paper in half, put some spices in the crease, and gently tap the paper to slide the spices down the crease to apply them to your picture. 

It helps if you make the glue design for one spice at a time, and let each spice dry before putting a new one on. When each spice has dried, shake the card to remove excess, and apply glue for the next spice. This reduces blending.

PHOTO: Spice holiday card: snowman.
Cream of tartar dries white to make this snowman. Other dried spices were used for hat and arms, and whole cloves make the face and buttons.
PHOTO: Spice holiday card: wreath.
One of my daughters combined different herbs to make this wreath, and decorated it with dots of cinnamon, whole cloves, and a bay leaf and paprika bow.

Dried herbs are all slightly different shades of green. Tarragon leaves are a lighter green, and a little brighter than oregano. For yellow, try ground turmeric or curry. Paprika, cinnamon, chili powder, and crushed red pepper flakes deliver warm reds. Pink and green peppercorns make nice accents. Cream of tartar and alum powder dry white, but require special handling or they will flake off. Everything sticks better if you gently press the herbs into the glue.

You can also glue whole spices such as bay leaves, cloves, fennel seed, or pieces of cinnamon bark to the card. Keep in mind that whole spices will make the card bulkier and may make it difficult to fit the card into the envelope. 

PHOTO: Spice holiday card: birds.
Turmeric, paprika, and bay leaves were used to create this scene of birds perched on a branch.
PHOTO: Spice holiday card: snowflakes.
It’s too bad your screen is not “scratch and sniff,” because this card smells of cinnamon, cardamom, paprika, oregano, and tarragon.

Want to add some sparkle? Glue salt crystals in some areas or paint salt water on the paper with a fine paintbrush or cotton swab. Like glue, you’ll want to use a light touch so the paper does not become too wet and wrinkled.

My daughters are teenagers, so they made an effort to make a picture of something recognizable. If you have younger children, they will probably make a picture that resembles abstract art. It doesn’t matter, because it will still smell wonderful! What’s important is that they make it themselves and have fun doing it.

PHOTO: Spice holiday card: Christmas tree.
My daughter used tarragon for the tree, crushed red pepper for the trunk and garland, whole cloves for ornaments, and turmeric to make the star.

After the glue is completely dry, gently shake the card over a bowl one final time to remove the loose spices. When you are finished working on this project, you can place all of the leftover spices from your work area into a bowl and place them in a room to make the air fragrant. 

One final step: don’t forget to write your message on the inside! You might say something clever like, “Seasoning’s Greetings,” “Merry Christmas Thyme,” “Have a Scent-sational Hanukkah,” or “Wishing You a Spicy New Year.” Don’t forget to sign your name!

A card like this does not fit into an envelope easily and is best hand-delivered. If you must mail it, cover the front with a piece of paper to protect it. Carefully pack the card with a stiff piece of cardboard in a padded envelope to reduce bending and crushing while it’s in transit. If you are delivering a small bundle to the post office, ask them to hand-cancel your cards (they’ll appreciate the tip).

I hope your special creations brighten someone’s day and fill them with memories of good times with family and friends!

Want more fun, craft projects for kids over the holidays? Check out our blogs on making Fruit and Veggie Prints, Wearable Indian Corn necklaces, and Bottle Cap Bouquets.


©2015 Chicago Botanic Garden and my.chicagobotanic.org

Star Appeal for the Holidays

You don’t have to be Martha Stewart to fashion this charming star-shaped wreath from branches, raffia, zip ties, and a little duct tape.

PHOTO: Heather models the finished star wreath.
Heather models the finished star wreath.

Find additional inspiration with a selection of wreaths created by Chicago Botanic Garden staff a few years ago.

Just follow these step-by-step instructions from Heather Sherwood, one of our very creative senior horticulturists, to get your own star appeal for the holidays. Heather has selected red-twig dogwood (Cornus sericea) for its warm, cheery color, but the star can be made from any combination of branches and natural materials, including evergreens (such as junipers) and corkscrew willows. If taste dictates, you can bling out with bells, bows, glitter, or other embellishments. Here’s how Heather does it:

Difficulty Level: Intermediate
Time Needed: Two hours

Materials:  

  • Heavy scissors
  • Pruning shears
  • A large working surface
  • Five heavier red-twig dogwood branches roughly 3/8 of an inch in diameter, cut into equal lengths. Heather recommends 30-inch lengths for a front door wreath. You can use shorter lengths to make a smaller star. This will use less plant material and may be quicker and easier to assemble. The base can also be constructed of wooden dowels.
  • Five 4-inch lengths of duct tape  (Heather recommends black)
  • 20 plastic zip ties (Heather likes 6-inch ties, but shorter ones will do)
  • Five 1½-inch bundles of red-twig dogwood branches cut in roughly 22-inch lengths (or slightly more than two-thirds of the length of the base branches)
  • Five 1½-inch bundles of twigs cut in roughly 11-inch lengths (or slightly more than one-third of the length of the base twigs)
  • Roughly 90 36-inch lengths of raffia
  • An 8-inch length of floral wire to create a loop for hanging
  • A strand of Christmas lights and additional 8-inch lengths of floral wire (optional)


To Make the Base:

You will need the five heavier branches, duct tape, and zip ties:

  1. Connect the five base branches into one long strand, using the duct tape to create “knuckle” joints: Place the end of the first branch 1 inch away from the top of the duct tape. Position the branch so it covers one-third of the width of the strip. Place the second branch opposite the first branch, leaving a gap between the two branches. Wrap the 1-inch end of the duct tape around the branch ends. Take the longer length of duct tape and wind it around the ends in the other direction. The joint should bend at the gap in the tape between the two branch ends. Create three more joints so that the five base branches form one very long, bendy stick.
  2. Twist into a star: Hold each end of the long, connected stick and bend the first and last joints, creating a rough pentagon shape. Fold the right side of the pentagon over, then the left side. The base twigs should fall into a rough star shape.
  3. Create the final joint in the star: Notch both ends of the last piece of duct tape so it resembles a knuckle bandage. Hold the loose ends of the base sticks together, forming the last point in the star. Center the duct tape under this point. Wrap duct tape ends, one by one, around the point.
  4. Check to see that all five arms of the star are level and even. Rotate star to double check spacing of the points. Adjust as needed.
  5. Use zip ties to secure the base: You’ll see that the base branches intersect to create a pentagram in the center of the star. Loosely wrap a zip tie around each of the intersecting branches at each of the five angles of the pentagram, making sure the ties pull to the back of the star. Check again to make sure the star points are level and even. Tighten the zip locks. If you’re using freshly cut wood, remember that it will shrink and lose diameter.
PHOTO: Place two branch ends together with a gap of 1/2 inch, and tape together with duct tape.
When creating the branch joints, leave a gap between the ends when taping them together, so that the finished joint will bend.
PHOTO: Hold both ends of the long, bendy stick to create a rough pentagon shape.
Hold both ends of the long, bendy stick to create a rough pentagon shape.
PHOTO: Cross the ends over to form the star shape.
Cross the ends over to form the star shape; tape the final joint together.
PHOTO: Secure the inner joints of the base star with zip ties.
Secure the inner joints of the base star with zip ties.


Make the top layer:

You will need the longer and shorter bundles of branches, zip ties, raffia, floral wire, and optional Christmas lights.

  1. Start with the longer bundles of twigs: Lay the first bundle along a base branch, positioning the cut edges just past the inner edge of the inner pentagram. The uncut edges should extend 2 to 3 inches past the point of the star. “I want the stems to ooze around the base,” explains Heather. Secure the bundle with zip ties at two points, the middle of the pentagon, and the middle of the star point. Make sure the zip ties pull to the back of the work. Continue around the base branches, so that the pentagram and one side of each star point are covered with branches.
  2. Secure the shorter twigs. You’ll arrange the shorter twigs in a similar fashion, laying the cut edges on the outside edge of the pentagram with the natural edges covering the star point. Blend the cut edges, to give the star a woven look, and fan out the natural edges to soften each star point. Secure the shorter branches with one zip tie in the center of the star point.
  3. Double-check the placement of the bundles. Tighten and trim the zip ties.
  4. Cover the zip ties with raffia: Heather has chosen a simple look, tying the raffia in the back with a square knot. You may decide to pull the knots to the front, tie the raffia in a bow, substitute ribbon for the raffia, or add other types of embellishments.
  5. Using four to five strands held together, wrap raffia around once and tie in the back. Continue winding the raffia around and around until it completely covers the zip ties and creates a nice, thick band around the bundle. Tie in the back and trim. Continue until all the zip ties are covered.
  6. Use floral wire to create a loop to hang your star.
PHOTO: Start with longer twigs; uncut edges point outwards towards the star tips.
Start with longer twigs; uncut edges point outward toward the star tips.
PHOTO: Continue placing bundles; one to each side of each star point.
Continue placing bundles; one to each side of each star point.
PHOTO: Next, position and secure shorter bundles of twigs until the base is completely covered.
Next, position and secure shorter bundles of twigs until the base is completely covered.
PHOTO: Cover zip ties with raffia.
Cover the zip ties with raffia or ribbon. Knot in back.

Add lights!

You can backlight your wreath by securing a strand of holiday lights along the back of the base branches. Lay the strand along the star outline and secure it with floral wire threaded between the base sticks and the stick bundles.

PHOTO: Add lights by tying them to the back of the frame with floral wire.
Add lights by tying them to the back of the frame with floral wire.

For more holiday decorating ideas, try a class taught by Garden staff at the Joseph Regenstein, Jr. School of the Chicago Botanic Garden.

©2014 Chicago Botanic Garden and my.chicagobotanic.org