The Garden is a great place for people of all ages to learn to about plants and the natural world. These posts relate to programs offered for children and youth, but also offer educational information for the adults in their lives as well.
There are things I look forward to seeing every season.
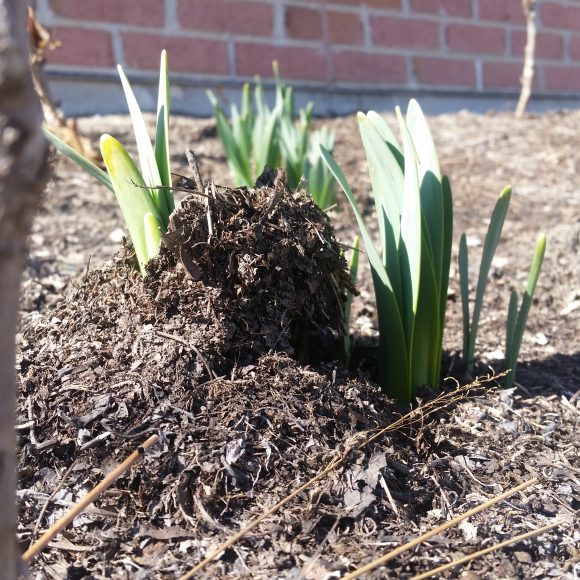
In spring, I watch for “mighty plants” that emerge from the ground with enough force to heave the soil above ground. These botanical weightlifters—the bulbs, grasses, and other emergent plants—pushing up soil that was compressed by a blanket of snow never fail to impress me. I am in awe of the strength of plants.
Daffodil leaves erupted from the ground in March and lifted the mulch in the beds around the Regenstein Learning Campus.
Seeing bulbs coming up all around me inspires lots of questions. I want to understand how this is possible and I want to test their strength. So I spent a few weeks playing around with this phenomenon in the Learning Center’s Boeing Nature Laboratory.
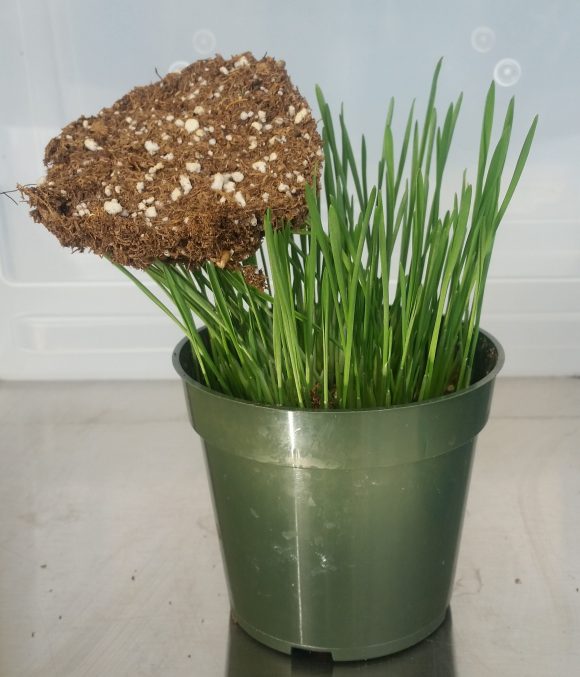
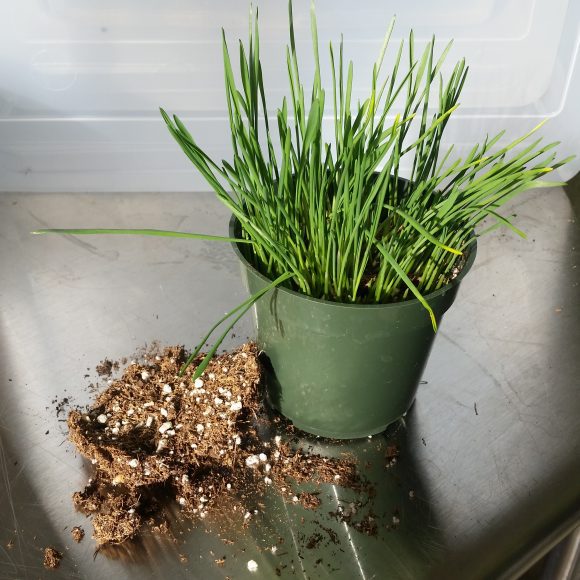
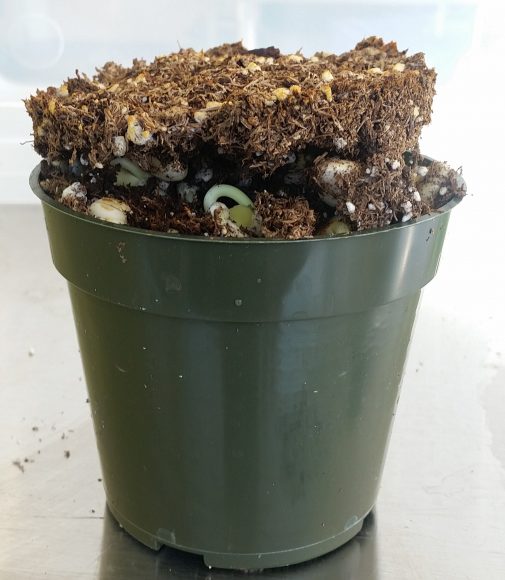
To begin, I wanted to demonstrate that seeds will lift soil in a pot. I soaked bunch of wheat seeds overnight and planted them in a pot. I covered them with a generous amount of potting soil (about a 1/2-inch layer) and I tamped the soil down gently so that it would be compressed—like the topsoil might be after a winter of snow cover. Three days later, I had results! I sprayed the soil disk to give it a little adhesion, so I could see how long it would hold together as the grass lifted it up.
Day 3 after planting the seeds: They are pushing up the compressed layer of soil.Day 4: The leaves have pushed the soil up a little more.Day 5: The soil is light and there are a lot of wheat plants, so they continue to lift the soil.Day 6: “Get off me, Soil! – Umph!”Day 7: Phew!
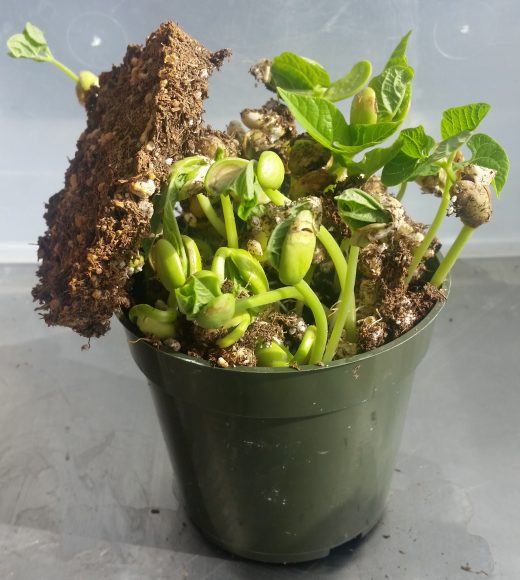
That was so much fun, I tried the same thing with a bunch of bean seeds.
Bean sprouts pushing…
…pushing…
…and bursting from inside the pot.
This demonstration was pretty easy and impressive. It is a simple activity to illustrate how plants and other living things change their environment to suit their needs (which is a disciplinary core idea in Next Generation Science Standards for kindergarten). I recommend doing it in the classroom or at home, just for fun.
This is just the beginning. I will be sharing the results in a future blog post. But before I do, I would like to make a few points about the nature of science and how scientists work.
Science is a collection of established facts and ideas about the world, gathered over hundreds of years. It is also the process by which these facts are learned. Science is both “knowing” and “doing.”
Discoveries start when you watch nature and ask questions, as I did in watching spring bulbs come up. Before beginning an experiment, scientists play. They mess around with materials and concoct crazy ideas. They are constantly asking, “I wonder what will happen if I do ___ ?” That is when discoveries actually happen.
Scientists do formal experiments with purpose, hypothesis, procedures, results, and conclusions after they think they have made a discovery. They use the experiment to test their discovery and provide convincing evidence to support it. In some cases, the experiment disproves a fact or idea, which is a different kind of new understanding about the world.
I have to agree with Boyce Tankersley, the Garden’s director of Living Plant Documentation, who recently wrote “The SciFi Rant.” Those of us who lean toward botany instead of horticulture are more interested in growing plants to yield ideas rather than meals. In my continuing investigation, I have two goals, and neither is to produce anything to eat.
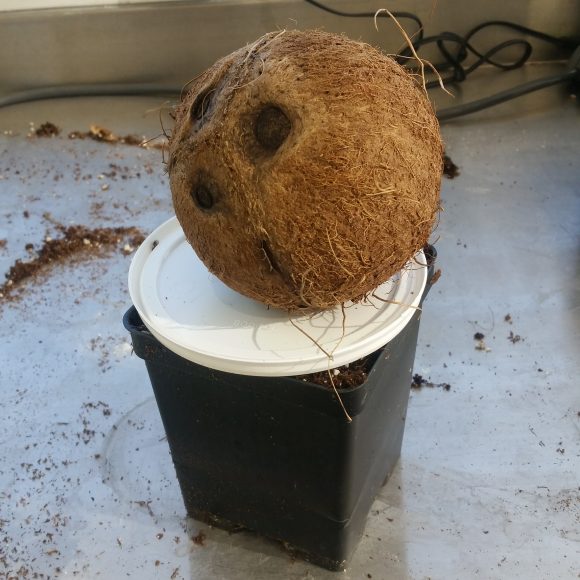
First, I want to determine the strength of sprouting seeds and see how far I can push them. For example, how many bean sprouts will it take to lift a coconut? I want to find a standard way to measure seed strength.
Second, I want to establish a reliable method for experimenting with seed strength so teachers and students can replicate the procedure, modify it as needed, and use it for their own investigations without going through the awkward phase of figuring out the best way to do this.
Will the mighty beans sprouting under this menacing coconut have the power to lift it off the top edge of a pot? Stay tuned…
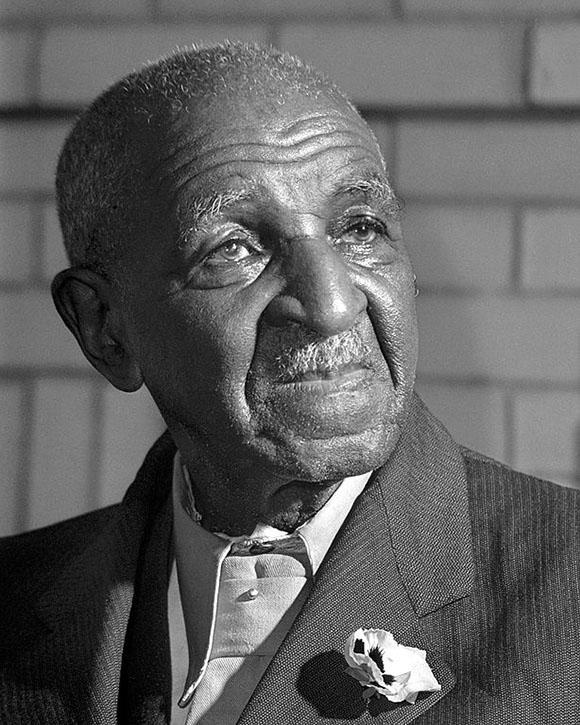
Think you couldn’t name a single botanist? You probably know this one—George Washington Carver (c. 1861-1943). Born into slavery, Carver was an extraordinary American. He was a gardener, a soil scientist, an inventor, and a genius.
George Washington Carver did not seek wealth or fame for his work. He found personal satisfaction in scientific discovery and using his talents to make the world a better place for farmers and everyone. I believe if he were alive today, he would have embraced the challenge of researching and teaching people about sustainable urban agriculture to improve the health, nutrition, and livelihood of people in need, just as he did for rural farmers 100 years ago. The Garden’s Windy City Harvest grows out of that same spirit and desire.
George Washington Carver (c. 1861–1943)
You probably know Carver as the scientist who invented dozens of products for peanuts. What’s most important about his story is why he devoted so much time and ingenuity to peanuts and how he did so much more than make a high protein sandwich spread and cooking oil.
I’m not a historian or biographer, so this story will omit details about Carver’s life—he was born in Missouri to a slave mother and eventually became a botany professor at Tuskegee University. While these details are interesting and definitely worth learning, you can read more about his life in other places—as well as the lives of other extraordinary botanists, who, like Carver are African American, but unlike him, are not widely known (e.g., O’Neil Ray Collins, a mycologist, and Marie Clark Taylor, who studied how light affects plant growth). Instead, this snapshot is devoted to celebrating how one humble scientist used his botanical superpowers to solve a real-world problem. It is a story about successfully tackling agricultural sustainability and economic stability at the same time.
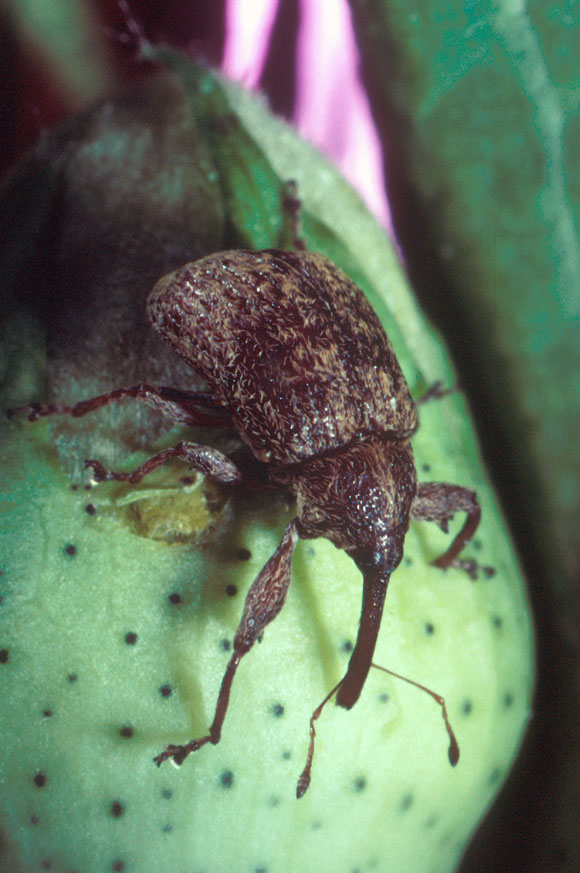
Carver grew up in the South and he knew the agricultural conditions very well. Soil in the southern states is fine and dry. Summers are long and hot. These are suitable conditions for growing cotton, a profitable cash crop. The problem is that cotton needs a lot of nitrogen. Several years of growing cotton on the same patch depletes the soil, making the crop yield less and less over time. In the late nineteenth century, commercial fertilizer was not available—and even if it had been, the poor people who worked the land couldn’t have afforded it. To make things worse, in 1892, a little pest called the boll weevil moved northward from Mexico and began invading and destroying cotton crops. The boll weevil population spread and plagued the south through the 1920s and ’30s, making the life of a cotton farmer even harder and less rewarding.
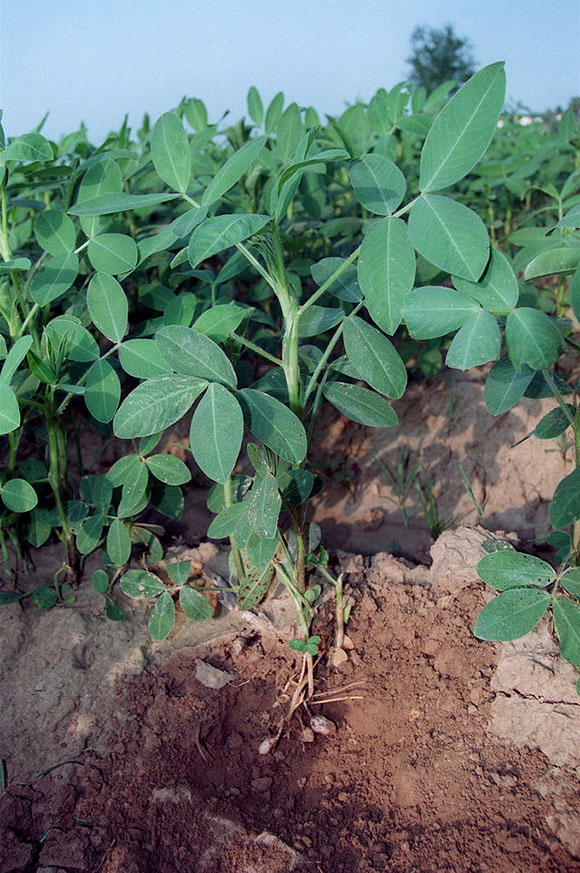
Photo by Pollinator [GFDL or CC-BY-SA-3.0], via Wikimedia CommonsCarver knew this life because he had lived it, and he wanted to make it better. He worked to teach farmers about crop rotation. Legumes (like peanuts and soybeans) and sweet potatoes have the ability to convert nitrogen from the air to a form that plants can absorb from the soil. Planting what is called a “cover crop” of peanuts instead of cotton for a year restores the nitrogen in the soil so the cotton grows better the next year. As an added benefit, diversifying crops by growing peanuts and other plants that the weevils do not eat helps reduce their population so there are fewer to harm the cotton crops. Sounds like the answer to all of their problems, right? So of course, farmers changed their practices right away, and lived happily and sustainably ever after.
Not quite.
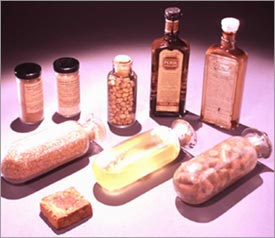
You see, at that time peanuts were only used as cheap feed for livestock, and nobody was buying a lot of them. A farmer could not earn as much money growing peanuts as he could from his dwindling crop of cotton, so changing crops was financially risky, even as the cotton was failing. Carver realized he had to solve the market problem or farmers were never going to plant cover crops. So he set out to invent more than 100 uses for peanuts from 1915 to 1923.
He didn’t stop there, He also worked to promote his inventions to businessmen and investors in order to create a demand for peanuts, because, as we all learned in high school economics, when the demand goes up, so does the price. Then—and only then—did the sustainable practice of crop rotation take hold.
But wait, there’s more.
The increased demand for peanut products also led to an increase in peanuts imported from other countries. In 1921, Carver spoke to Congress to advocate for a tariff on foreign peanuts so American farmers would be protected from the competition. Though it was highly unusual for a Black man to speak to Congress in those days, his appeal won over the legislators, who decided to impose tariffs.
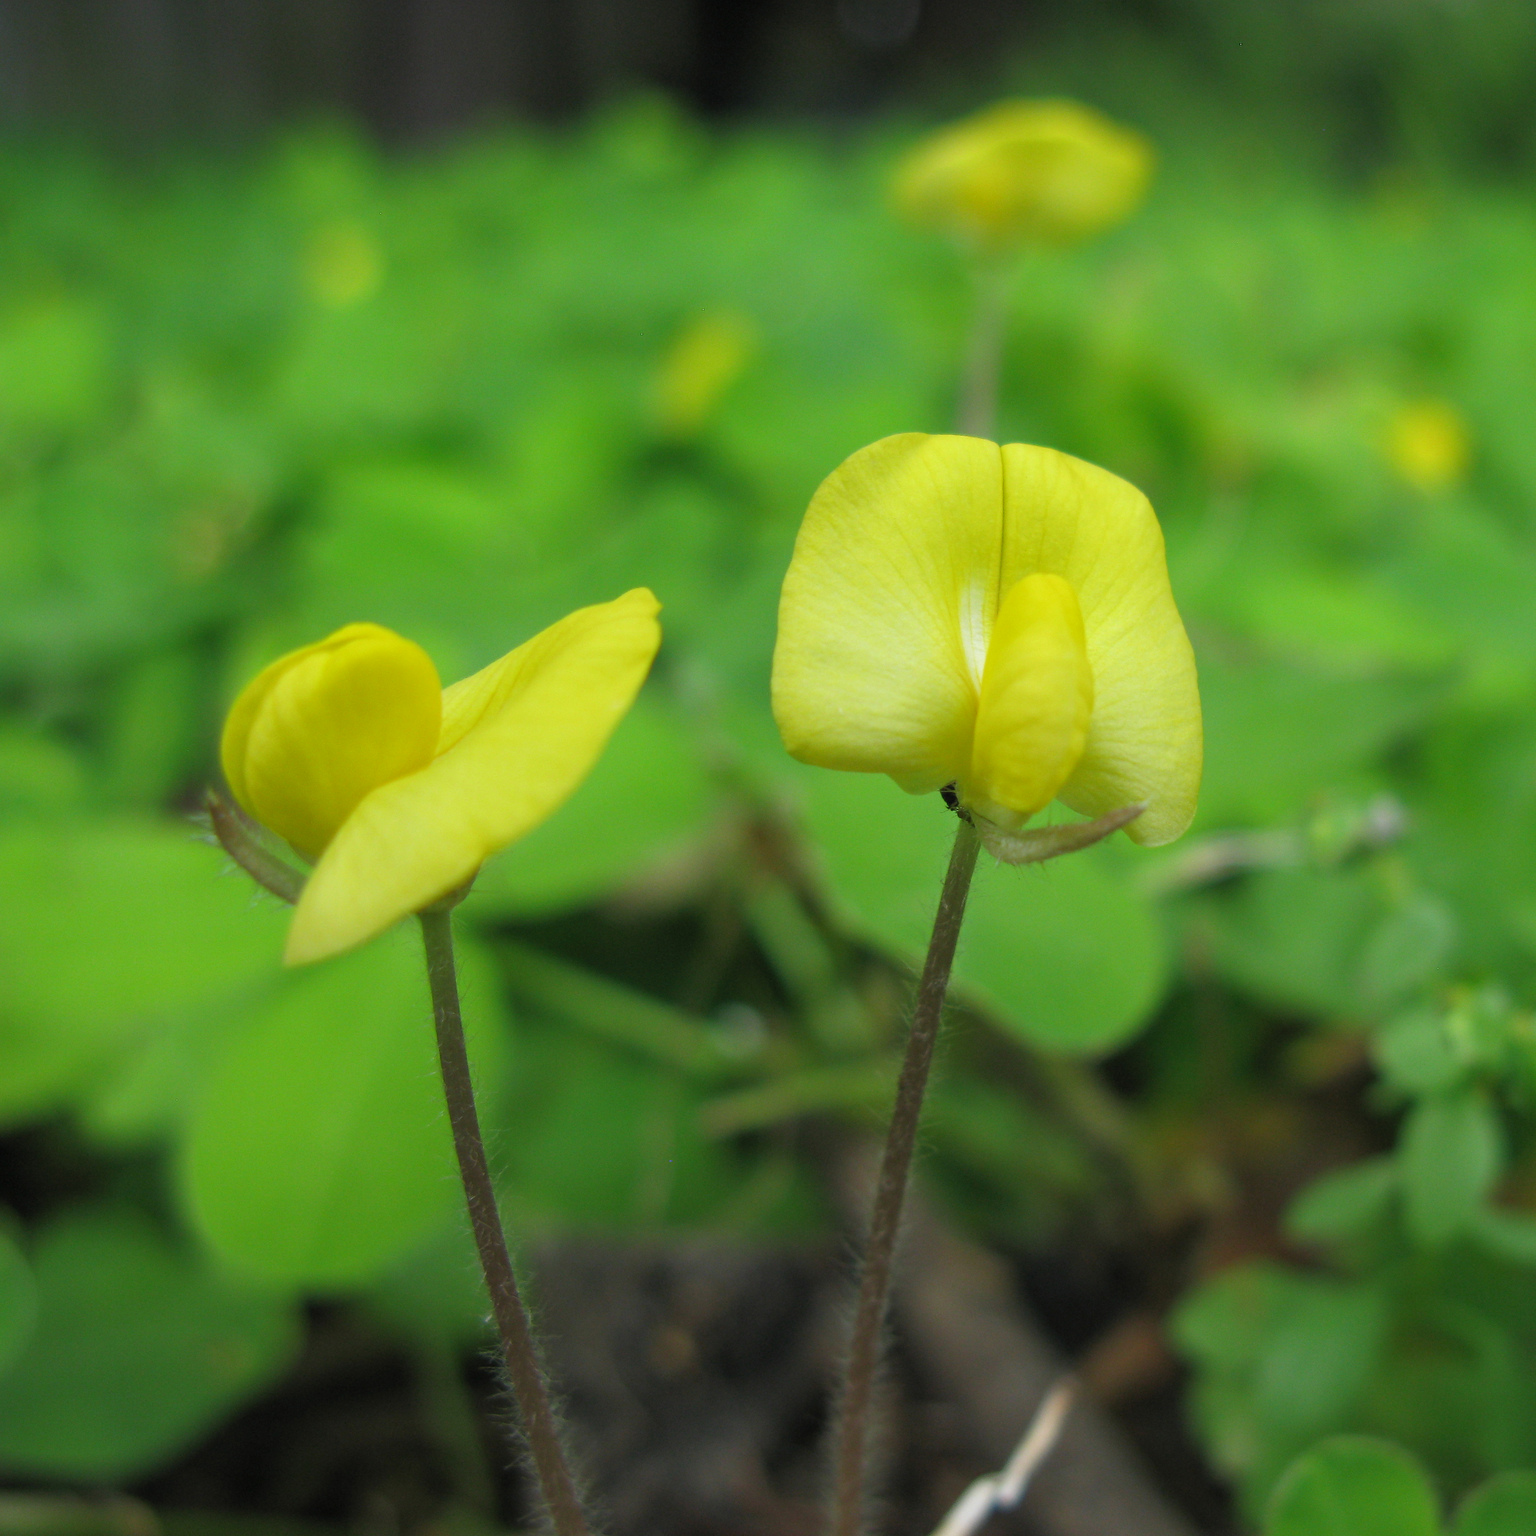
Peanut flower (Arachis sp.)
Throughout his storied career, he worked through the racism of the time toward a better life for all.
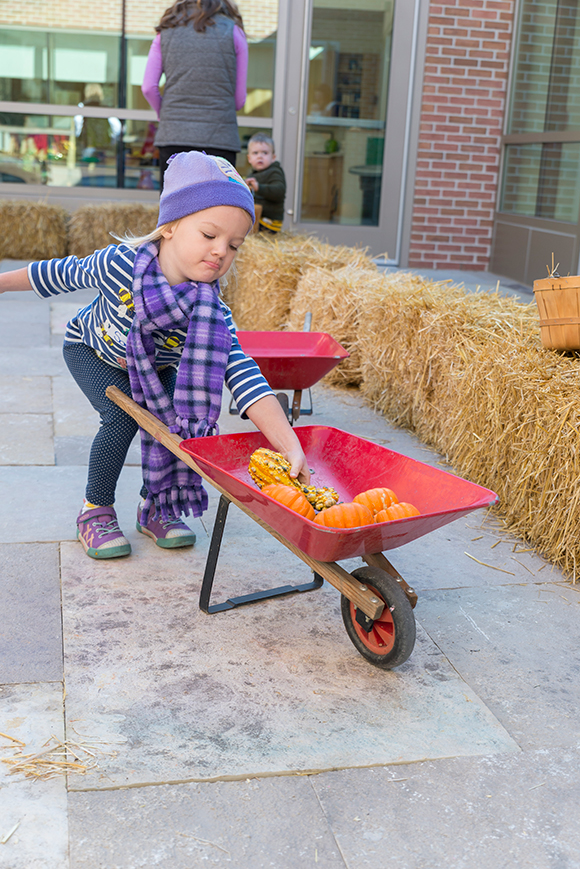
There’s a chill in the air. Flurries are flying past the windows. And your child is whining. Winter is coming and parents will need a cure for their children’s encroaching cabin fever. Little Diggers is the answer.
This four-class series gives 2-, 3-, and 4-year-olds a chance to meet once a month and explore nature with caregivers in all seasons—yes, even in winter. The colder months in particular are the best time to encourage children to play in nature, said Mila Love, who coordinates the program.
“We really want to get outside and teach kids that it’s OK to be outside in all types of weather,” she said. “This isn’t a passive, sitting around and listening kind of hour.”
Outdoor play is a part of every Little Diggers class.
The benefits of nature play are many. Research has shown that children who play outdoors build confidence and creativity, and have lower stress levels, among other benefits. Nature play doesn’t need to stop when the holiday decorations come out. Increase the benefits by playing outdoors year-round.
Spending time outdoors is fun for everyone.
So, what does a typical Little Diggers class look like?
Kids and caregivers greet the instructor and check out the activity stations set up for the class theme of the day. Winter themes will be nocturnal animals (January), life in the pond (February), weather (March), and spring (April). They’ll get the chance to try out the different stations, and maybe create some art or build structures. Kids are free to decide what interests them.
Circle time! Kids gather to talk about the month’s theme and read a book about it, then participate in an active, hands-on experience.
Free play time gives Little Diggers participants a chance to check out the activity stations again or pot up a plant to take home. Winter Little Diggers take-home plants will be purple basil (January), nasturtium (February), lamb’s ear (March), and pansies (April).
Next, the group goes outside. There are several locations at the new Regenstein Learning Campus, where Little Diggers participants explore nature. Snow digging might take place in the outdoor classroom space. Planting activities take place in the Grunsfeld Children’s Growing Garden, while Kleinman Family Cove is where you can get a close-up look at aquatic plants and animals.
Wrapping up the hour, kids come back to the classroom to pick-up their plants and projects, and say their goodbyes.
The only time the class stays indoors is when it’s too dangerous to be outdoors (if, for example, the temperature dips below zero degrees Fahrenheit). But that’s rare, so winter Little Diggers participants should dress warmly enough to be outdoors for an extended amount of time.
Instructor Mila Love leads a class of Little Diggers in the Regenstein Learning Center.Little Diggers make clay veggies
Love said she recommends Little Diggers as a first social group experience for toddlers. Because the adults stay with the children, it’s a great way for them to participate in a classroom-like setting before preschool or kindergarten starts, without being too far from their caregivers. Parents can benefit as well from meeting other parents, she said.
At home, children can care for the plants they potted in class. Instructors will often pass on instructions to recreate some of the fun. That herb-scented play dough they loved at Little Diggers can easily be made at home.
In winter, it’s common to want to stay inside because it’s cold. Having a nature-focused program like Little Diggers to look forward to, kids will want to get out and play, no matter what the weather is like.
The winter doldrums won’t stand a chance.
Online registration for Winter Little Diggers is now open. Members receive a discount. Have an older child? Sign up for one of our upcoming Weekend Family Classes, like Joyful Gingerbread of Loco for Cocoa.
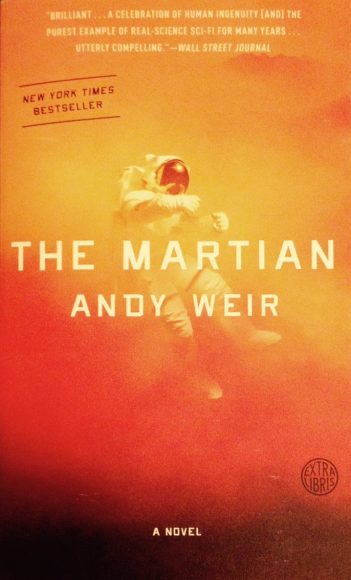
The Martian: Many of us watched and loved the movie. Some of us read the book. A few of us got inspired to use the story to teach plant science to students.
If you are a science enthusiast, I highly recommend reading the book.
The Martian by Andy Weir tells the fictional story of NASA astronaut and botanist Mark Watney, who becomes stranded alone on Mars and has to figure out how stay alive until the next NASA mission returns to rescue him. He plants six potatoes and successfully propagates a crop of potatoes in Martian dirt fertilized with human poop.
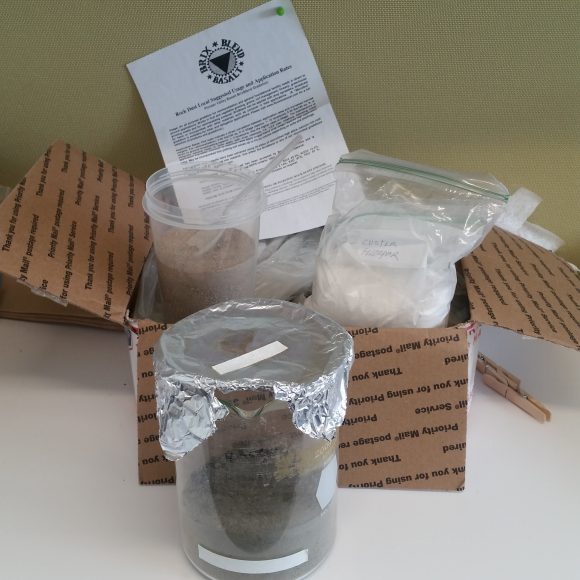
The story got me wondering if we could replicate Martian soil with local ingredients and use it for plant experiments. So I contacted the Garden’s soil scientist, Louise Egerton-Warburton, and asked her if this was possible. She responded with a recipe:
Mix two parts crushed volcano rock, two parts basalt dust, one part sand, plus 0.2 parts feldspar
Autoclave (heat to very high temperature) three times to kill microbes
Experiment away!
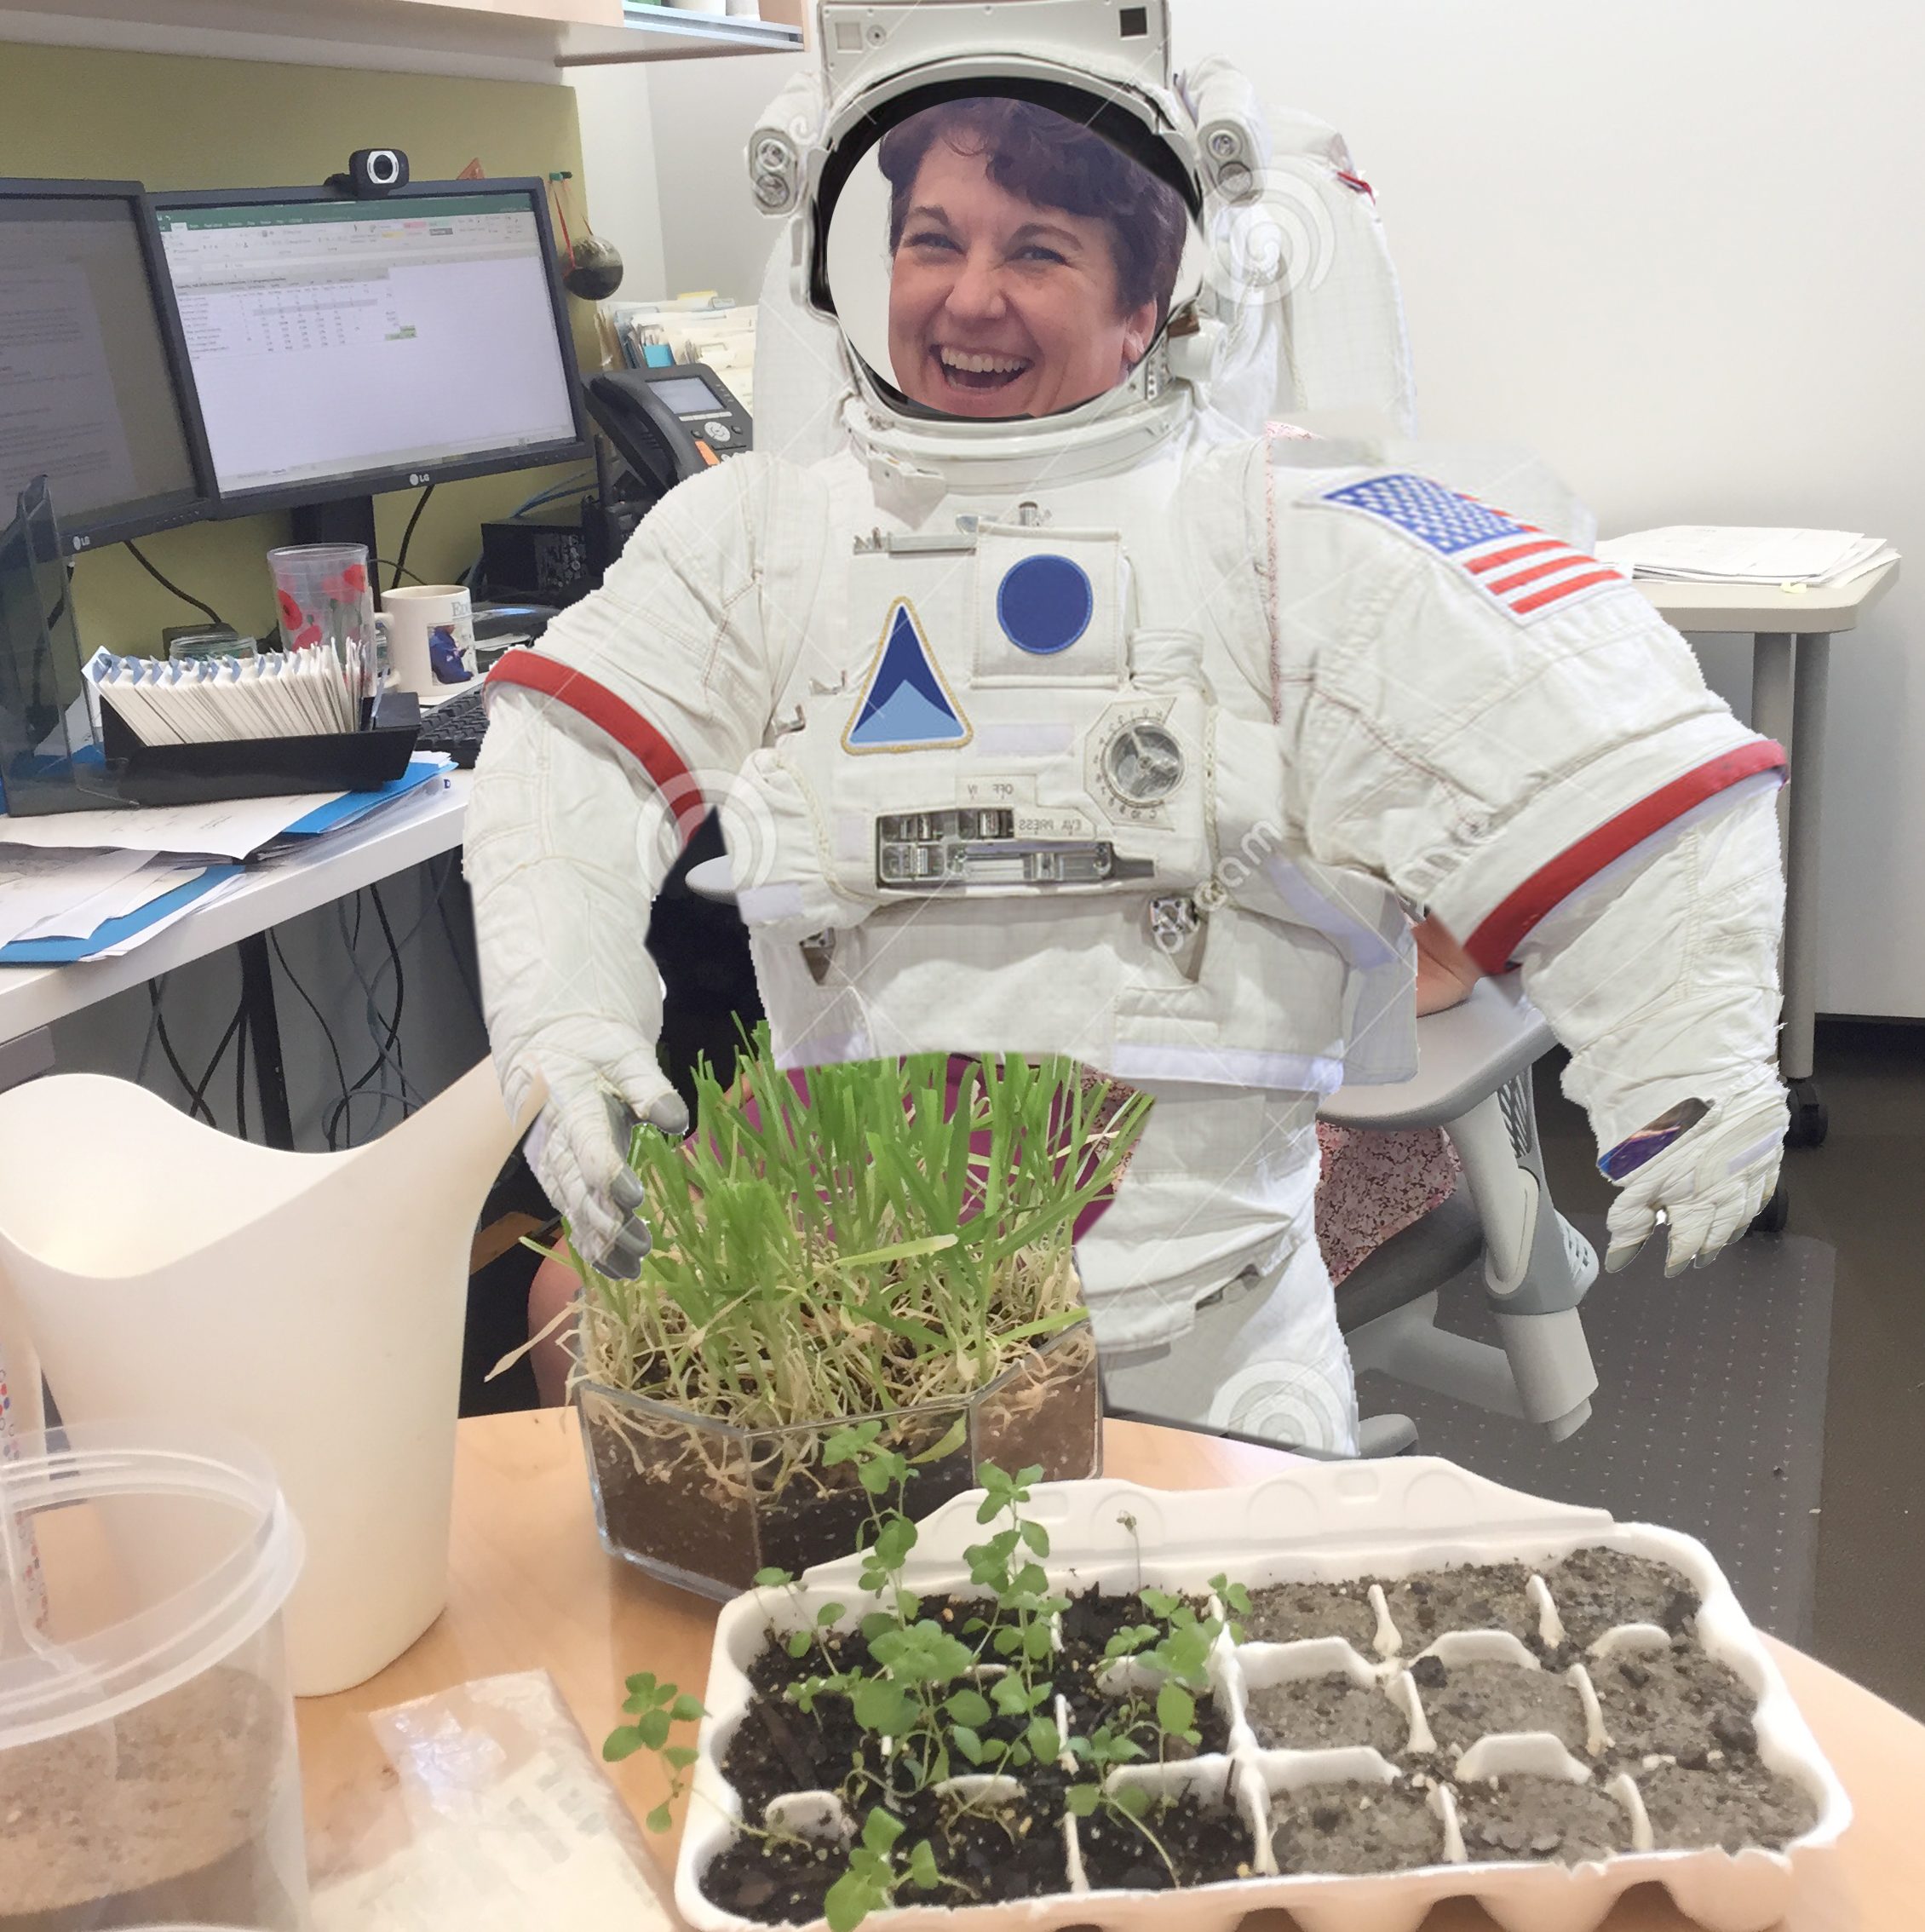
You know you work in a great place when you can ask a colleague for directions for making Martian soil and you get an immediate, enthusiastic response with suggestions for how to use it. I acquired the materials and cooked up a batch.
I keep the ingredients for Martian soil in my office, in case Mark Watney drops by. Because you just never know. Matt Damon and Andy Weir are also welcome, but I hear they have both moved on to other projects.
One important thing I must mention: technically speaking, this mixture is not truly “soil.” Soil is the upper layer of material on the Earth that serves as an ideal medium for growing plants. It contains inorganic minerals from weathered and broken rocks combined with organic material from the decomposed remains of dead plants and animals. Real soil hosts microscopic bacteria and fungus that facilitate a cycling of nutrients through the ecosystem and convert minerals to a form plants can absorb and use. Soil also supports many little macroscopic critters, like worms and mites, that increase the porosity and affect other properties of the mixture.
The substance we would find on the surface of Mars is called regolith, which is mineral particles that result from weathering of rocks. Since my mixture is an approximation of what might be found on Mars, but made from Earth-sourced ingredients, it should actually be called simulated Martian regolith. But that’s a mouthful, so from here on I’m going to call it Martian soil and ask you, dear readers, to accept the inaccuracy for the sake of simplicity. OK?
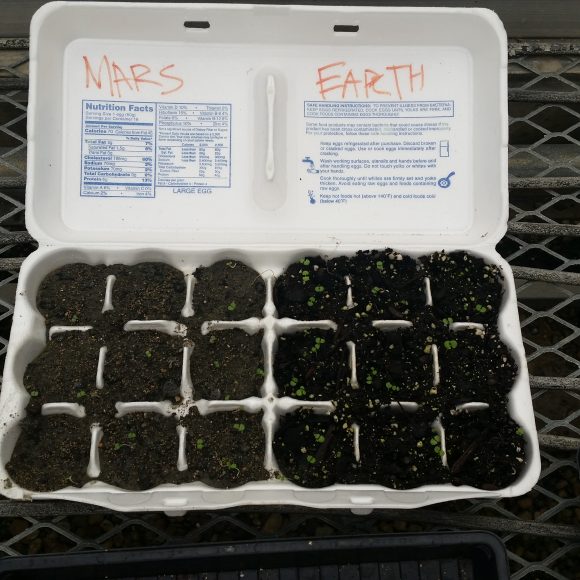
I took my Martian soil and set out to answer my first question: what happens if we try to plant seeds in this stuff? Put another way, is it possible to grow plants in Martian soil without adding anything? To answer this question, I took a polystyrene egg carton and planted marjoram seeds (because I had some laying around) in my Martian soil and in some Earth potting soil for comparison.
It was overcast outside when I took this picture in the greenhouse—you’ll have to look closely to see that the marjoram seeds sprouted in both Martian and Earth soils. So far, so good.
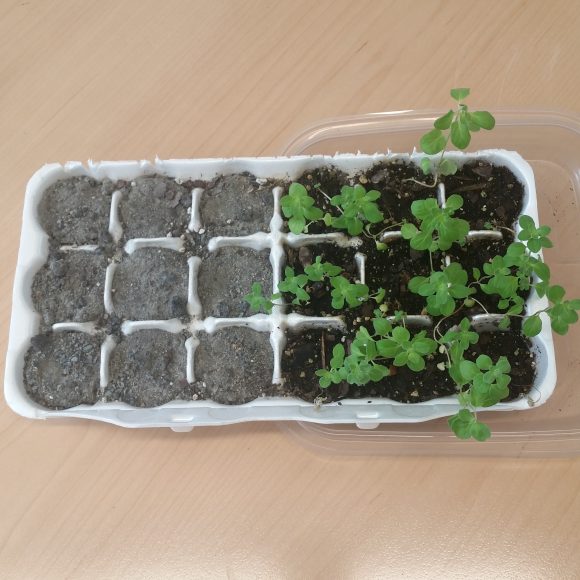
The Martian soil is completely different from the potting soil in appearance and texture, and it responds differently when watered. Shortly after the seeds germinated in all of the cells, the Mars side went south. It didn’t hold water very well; it dried out and became hard, almost like concrete. It was no surprise that all of the seedlings on the Mars side died soon after germination. Plants on the Earth side continued to grow and thrive.
It is clear from this test that the Martian soil needs to be amended to grow plants. We were told this in The Martian, but now I know it from personal experience. We can use our observations to understand why Martian soil is not a good medium for plants. That’s real science learning!
In the book, Watney used a bucket of Earth soil and human waste to amend the Martian soil for his potato crop. The book and the movie differ on this part—likely because the process required to make Martian soil suitable for growing potatoes was long and tedious. It wouldn’t make for riveting cinema. Instead of cultivating the soil over time, movie-Watney planted a spoonful of rehydrated human poop next to each piece of potato.
While movie-Watney’s actions remind us of stories about the Pilgrims teaching the indigenous people to place a piece of fish next to each kernel of corn to improve the crop yield, there are some problems with applying this method to our Martian soil. The Martian soil would still lack sufficient organic materials and therefore not be able to hold water (as I demonstrated with my marjoram seed experiment). There would be an insufficient population of microbes to break down the human waste. Furthermore, the fecal matter might be so concentrated in nutrients that it could actually be toxic to the potato plants. I don’t believe it would actually work.
This compelled me to do some myth busting for my next experiment: since “humanure” would be unsafe—and gross!—I used worm poop, or vemicompost, which I have in plentiful supply from worm bins in our Learning Center nature laboratory. Also, I discovered that you can order “Martian Regolith Simulant” from a company online (who knew?). Although it’s expensive, it saved me the effort of crushing rocks, so I’m using it from now on.
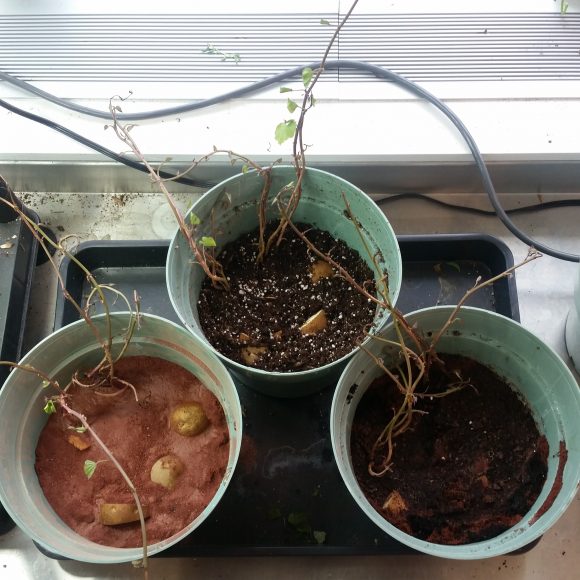
This time I planted russet potato pieces and some sweet potatoes that had sprouted in my pantry at home (oops!) in azalea pots. I set up three conditions: Martian soil, Martian soil plus vermicompost, and Earth potting soil for comparison.
In spite of my doubts, I’m actually hoping that the potatoes in Martian soil plus vermicompost out-perform the potatoes in plain Martian soil, because bringing worms on a space voyage could prove to be a good solution for future colonists on Mars! But we’ll have to wait and see.
Underlying these experiments (and few other I have tried) is a basic investigation of what plants need to survive. By testing to find the right combination of Martian soil and amendments, and limiting solutions to those that could be transported by a spaceship to another planet, we are using engineering practices because we are trying to solve a problem. This is real-world science and engineering that students could do in the classroom.
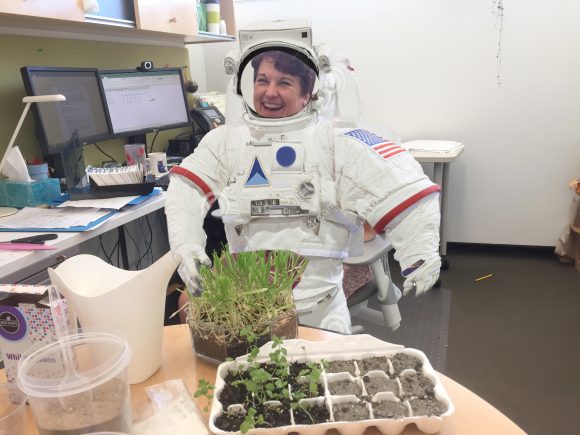
Here I am, working on my next astro-botany experiment, for myself, for teachers, and for science!
Besides satisfying my personal curiosity, these experiments are paving the way for some science lessons we are writing for teachers and students.
If you are a teacher interested in learning more about how to teach NGSS-aligned life science lessons using Martian soil, sign up for our workshop, STEM: Growing Plants in Martian Soil on Saturday, December 2, 2017. And watch for other Martian soil training opportunities in the future.
We may never need to grow crops in Martian soil. But as we investigate the challenges of colonizing another planet, we can learn more about what plants need to thrive and also develop a genuine appreciation for how amazing our Earth soil is.
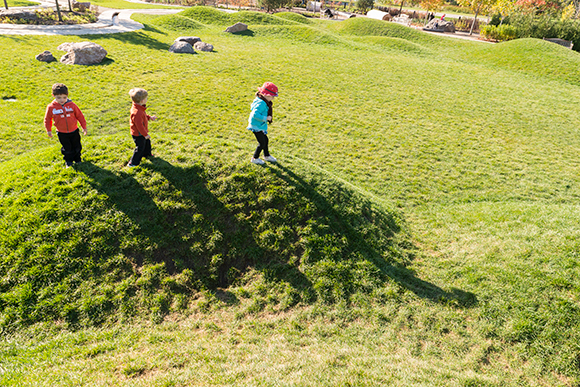
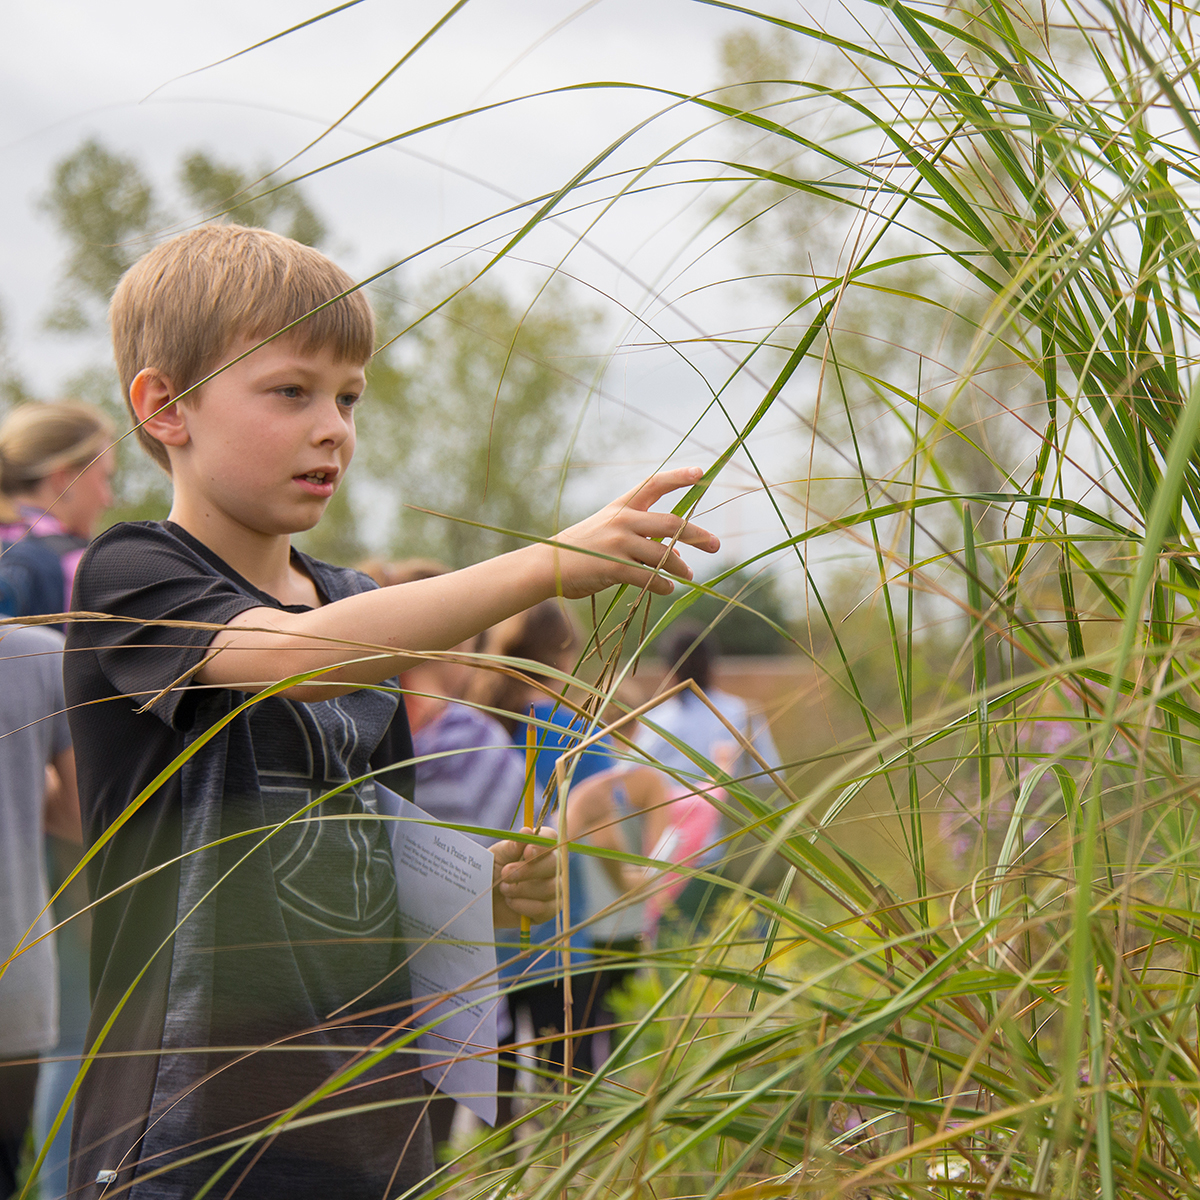
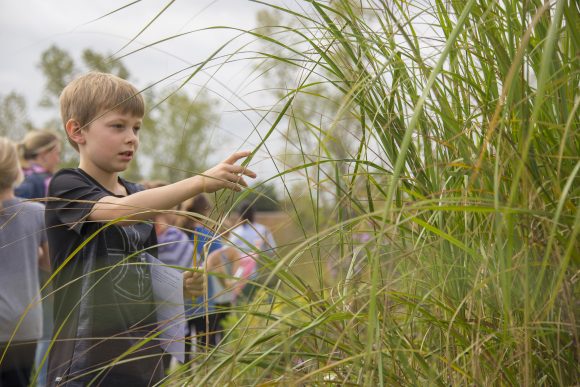
Tiny hands, belonging to a class of third graders, carefully fold rulers into squares and rest them on a grassy meadow near the Dixon Prairie. Inside these 2-by-2-foot quadrants is a fantastical world to discover: the height of different species of plants, the temperature of the soil, the wind and the sun, and the climate of the lawn.
The children have a mission on this blustery October morning, an adventure in the far reaches of the Chicago Botanic Garden, where a yellow school bus opens its doors to a field trip inside the life of a Garden scientist.
Learning about ecosystems outside the classroom creates valuable experiences and future scientists.
Prairie Pondering is just one of the Garden’s guided field trips, where students from Chicago area schools can experience the day-to-day work of a Garden ecologist. Trained Garden volunteers engage students in guided field trips from September to June. They use the same tools as horticultural scientists, take samples in the field, and ask questions that Garden experts examine on a daily basis. The goal of the field trips is to create real-life opportunities for students to have fun with science outside of their classroom walls, said Drew Wehrle, the Garden’s coordinator of student field trips.
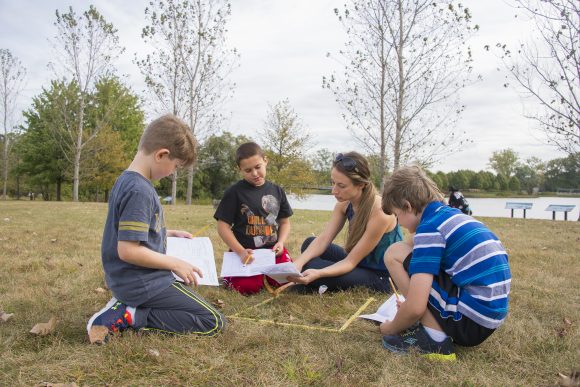
To get their hands dirty, so to speak.
Evaluating the ecosystem of a particular quadrant helps scientists of all age focus their study.
“What are the biotic—or living—things affecting the prairie?” asked a Garden volunteer during Prairie Pondering. Students scribble answers in their notebooks: sun, wind.
“What does the soil look and smell like?” More answers: dry, smells bad.
“What is the temperature of the soil? Why do you think it’s different from the temperature in the air?”
One girl watches her thermometer fluctuate from 77 to 76 degrees. “The temperature is changing!” And so begins an early, hard lesson about Chicago weather.
As the group moves on to the prairie, the children are asked to consider the many different plants they’ve found. One girl counts 100, another 200. One boy points out a milkweed plant that reminds him of the game Plants vs. Zombies: Garden Warfare.
“The point of the field trips is less about botanical expertise and more about asking the kids to consider why they think a plant looks or behaves the way it does,” Wehrle said.
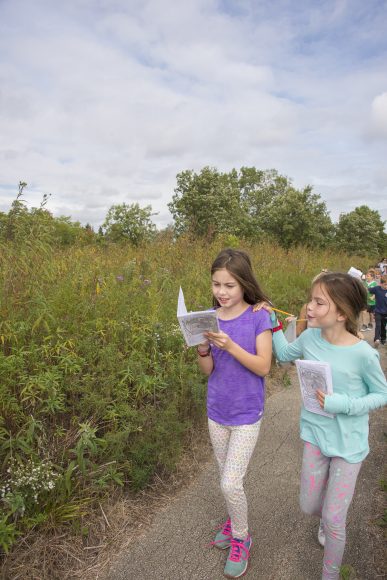
Sharing time together outside is part of the fun of guided field trips.
Field trips are a great opportunity for outdoor fun, too.
Each of the guided field trips is crafted to fulfill age-appropriate state Next Generation Science Standards (NGSS), so students get to explore while also engaging with ideas that complement what they’re already learning in the classroom. Guided field trips include a range of botanical and nature topics, including The Wonders of Worms and Soil, Lake Investigations, Water Bugs, and Tree Detectives. Field trips are offered for third grade through high school students, and can be guided or self-directed. Self-guided field trips allow groups of all ages to explore while their teachers direct them on independent activities.


