Do-It-Yourself Seed Balls

Spring is seed season—and a good time to think about gifting seeds to gardeners, friends, and green-thumbed moms (think Mother’s Day, May 8).

Musing about how to share some of the seeds that she gathered at February’s Seed Swap, horticulturist Nancy Clifton got interested in the guerrilla gardening-inspired idea of “seed balls” (or seed bombs, as they’re sometimes called). While the guerrilla gardening movement leans toward stealth seeding, Nancy thinks seed balls make an ideal gift item—they’re easy to make, easy to “plant,” and an easy way to teach kids about germination.
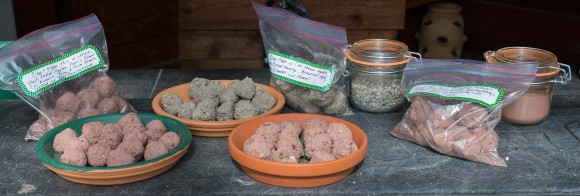
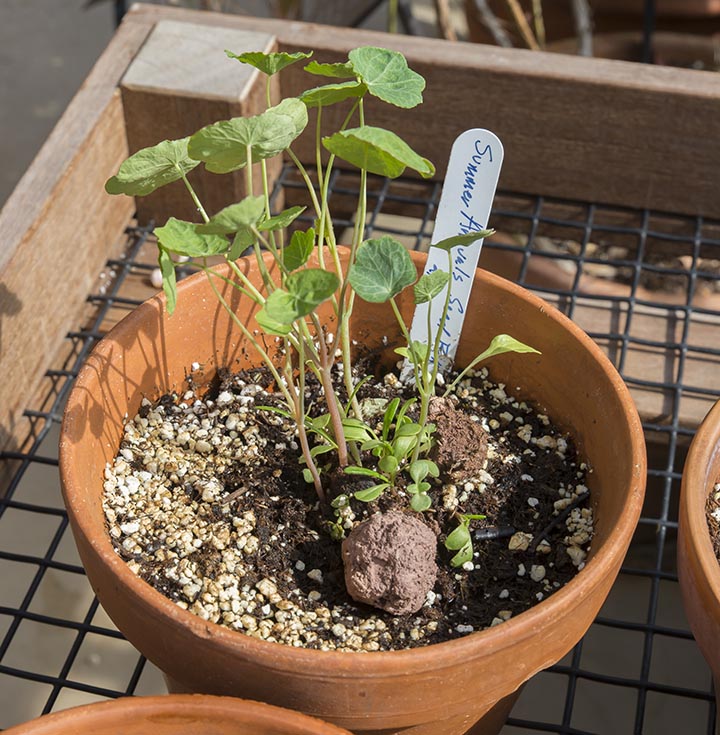
PHOTO: Seed balls made with different recipes.
Clay powder gives seed balls a reddish color and even texture; using clay chips makes a slightly chunkier, greenish seed ball. Both work equally well.

Here’s the easy seed ball recipe:

  • 1 cup powdered clay or potter’s clay (can be purchased online)
  • ½ cup dried compost (the finer, the better—Nancy used a pre-bagged compost mix)
  • 2 tablespoons desired seeds (see seed choice section below)
  • 1 tablespoon cayenne pepper (to deter critters from eating the sprouts)
  • Water

Mix the dry ingredients; then add ½ cup water. Stir, then begin to judge the consistency. Wearing gardening or plastic gloves, roll a teaspoon-sized ball in your hands (size can vary). Think “mud pie”—the ball should hold together when you squeeze it, without crumbling or dripping water.

Roll all of the mixture into balls; then let the balls dry on newspaper or waxed paper for two or three days. Don’t worry about smoothness—rustic-looking seed balls are as interesting as marble-smooth. The color will change to dark red/terra cotta as the balls dry. This recipe yields about 24 seed balls.

About Your Seed Choice

  • Less is more. You only want a few seeds to sprout from each seed ball. Too many seeds mean too many sprouts, resulting in too much competition for nutrients and water.
  • All sun. All shade. All herbs. All spring. Choose seeds with similar needs to maximize success in their container or garden spot. Nancy’s variations:
    • All summer annuals
    • All lettuces
    • All cool-season herbs
  • Use organic, non-treated seeds from your own garden or from trusted sources.
  • Choose native species for flowers and perennials that will grow successfully in our USDA Zone 5 region. Be responsible: do not use seeds from invasive species.
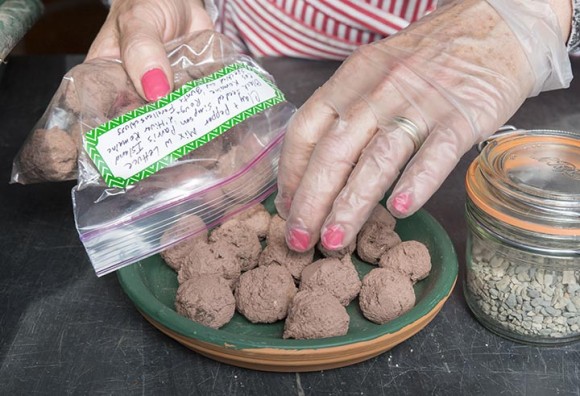
PHOTO: Nancy handles finished seed balls using plastic gloves.
Wear plastic or latex gloves when making seed balls. The mixture tends to be very sticky, and clay can dry out your hands very easily.

Seed balls can be set into a container of potting soil (sink it down just a bit into the soil), or placed, randomly or intentionally, on bare soil in the garden. A rainy day is the perfect day to “plant” seed balls—rain helps to break down the clay and compost, giving seeds a good dose of food and water to get started growing.

Throw one in your garden. Fill an empty space. Gift a brown- or green-thumbed friend. And happy spring, everyone!


©2016 Chicago Botanic Garden and my.chicagobotanic.org

Easy Peas-y: Planting Pea Seeds with Little Sprouts

Plant, water, and grow! Whether you are a parent, teacher, or caregiver, teaching children to plant seeds is a simple and authentic way to help them engage with nature. It’s an activity that the littlest of sprouts can do “all by myself,” or at least with minimal help from you.

PHOTO: Little Diggers pea planting in the raised beds.
Growing future gardeners in the Regenstein Fruit & Vegetable Garden

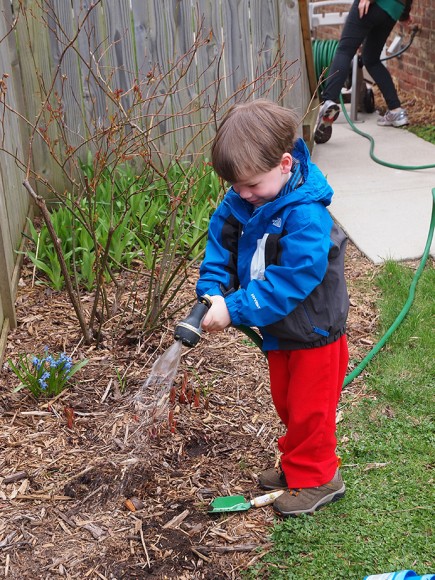
Planting seeds leads to discussions about what seeds and plants need to grow and how food gets to our tables. Watering is a simple chore young children are capable of doing; it teaches them about responsibility and helps them feel they are making a contribution to the family or classroom. 

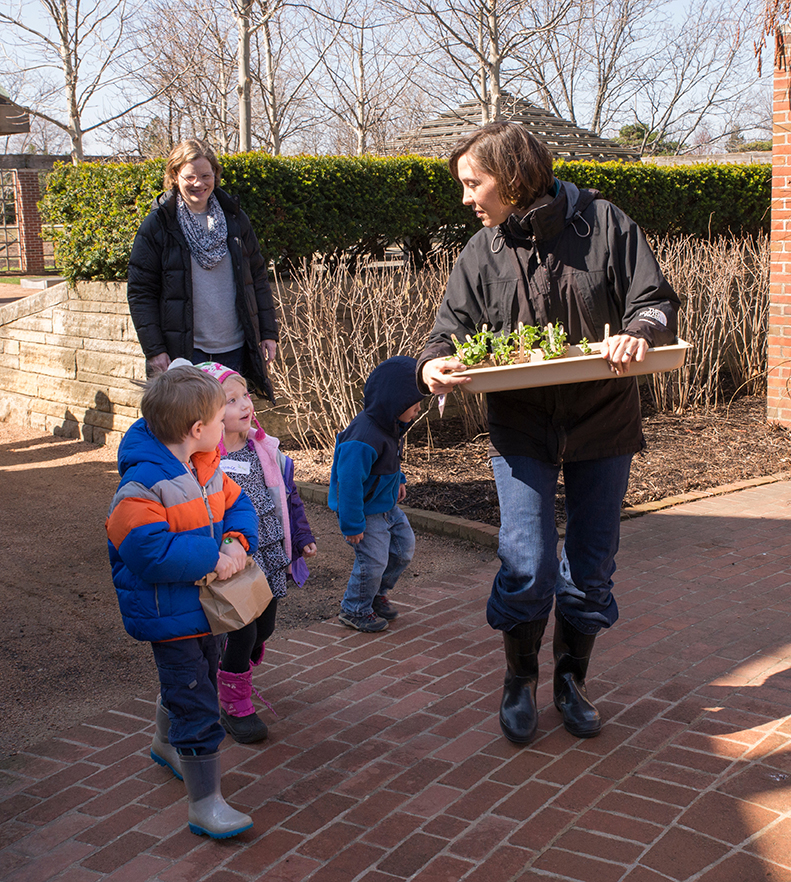
Students from our Little Diggers class, ages 2 to 4, planted peas indoors in mid-March and transplanted them outside into the raised beds in the Regenstein Fruit & Vegetable Garden in mid-April. Come follow the steps we took to get there.

March: Planting the Pea Seeds Indoors

Supply List:

  • Seeds
  • Soilless potting mix or seed-starting potting mix in a wide-mouth container
  • Plant pots (plastic or biodegradable, roughly 2.5 inches in diameter)
  • Trowels, spray bottles, or watering cans
  • Plastic seedling tray with lid

Set-up Time: 10 minutes

Activity Time: 10–40 minutes of actual planting (depending on the size of the group)

Appropriate for Ages: 2 and up

Clean-up Time: 10–15 minutes

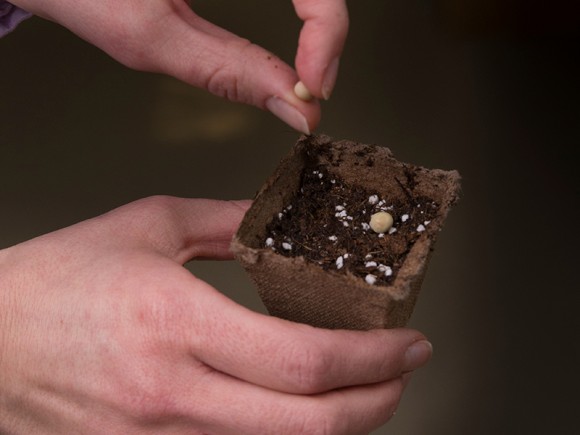
PHOTO: Large pea seeds are easy for small fingers to grasp.
Large pea seeds are easy for small fingers to grasp.
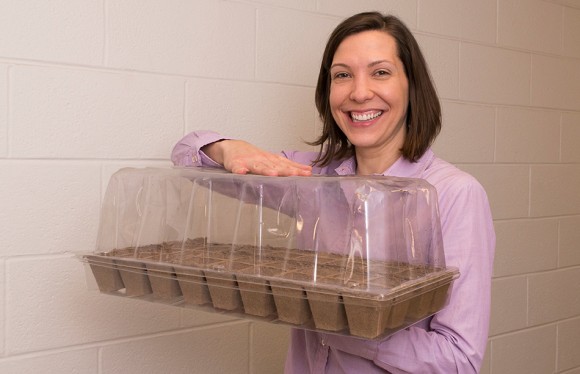
PHOTO: Use this kind of plastic seedling tray and lid.
Here I am modeling the latest in seedling trays. You can purchase these and our other supplies at your local garden center or home improvement store.

Select seeds that are big—the smaller the hands, the bigger the seed should be—and quick to sprout, or germinate. Also consider the amount of space the mature plants will occupy, and the time of year you are planting. Some seeds can be planted during the cool spring, while others should go in the ground once the threat of frost has passed.

We chose ‘Tom Thumb’ pea seeds because they are large enough for little hands to easily manipulate, they germinate in 7–14 days, they thrive in the cool spring weather, and they only grow to be 8 inches tall and 8 inches wide, making them great for small-space gardens and containers.

Tip: Some other large seeds suitable for little hands are sunflowers, beans, nasturtium (edible flower), pumpkin, and other squash. For more details about how and when to plant these seeds visit www.kidsgardening.org/node/101624.

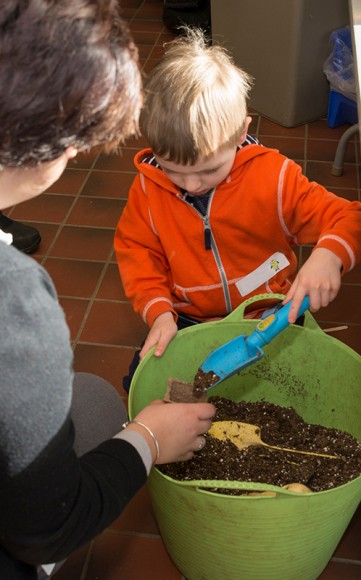
PHOTO: A low, wide trug full of soil makes filling pots easy for younger gardeners.
A low, wide trug full of soil makes filling pots easy for younger gardeners.
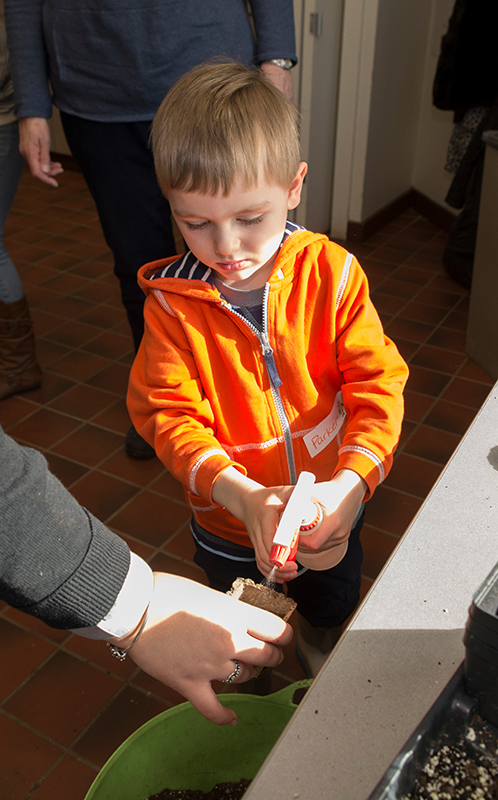
PHOTO: Watering the seeds in is the best part of planting.
Watering in the seeds is the best part of planting.
 

Set out the potting mix in a wide-mouth container such as a flexible plastic tub, sand bucket, or cement mixing tray on the ground. Have trowels, pots, seeds, and spray bottles ready.

Tip: A soil container with a wide opening will lead to less soil on the ground. Also, more children will be able to plant at the same time.

Using a trowel, fill the pot with soil. Set two pea seeds on the soil and push them down ½- to 1-inch deep. Then cover the seeds with soil. Spray with a spray bottle until the soil is saturated.

Tip: Planting depth will depend on the type of seeds you are planting. Read the back of the seed packet for details.

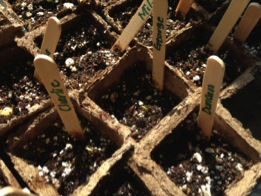
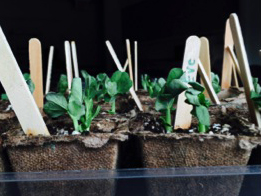
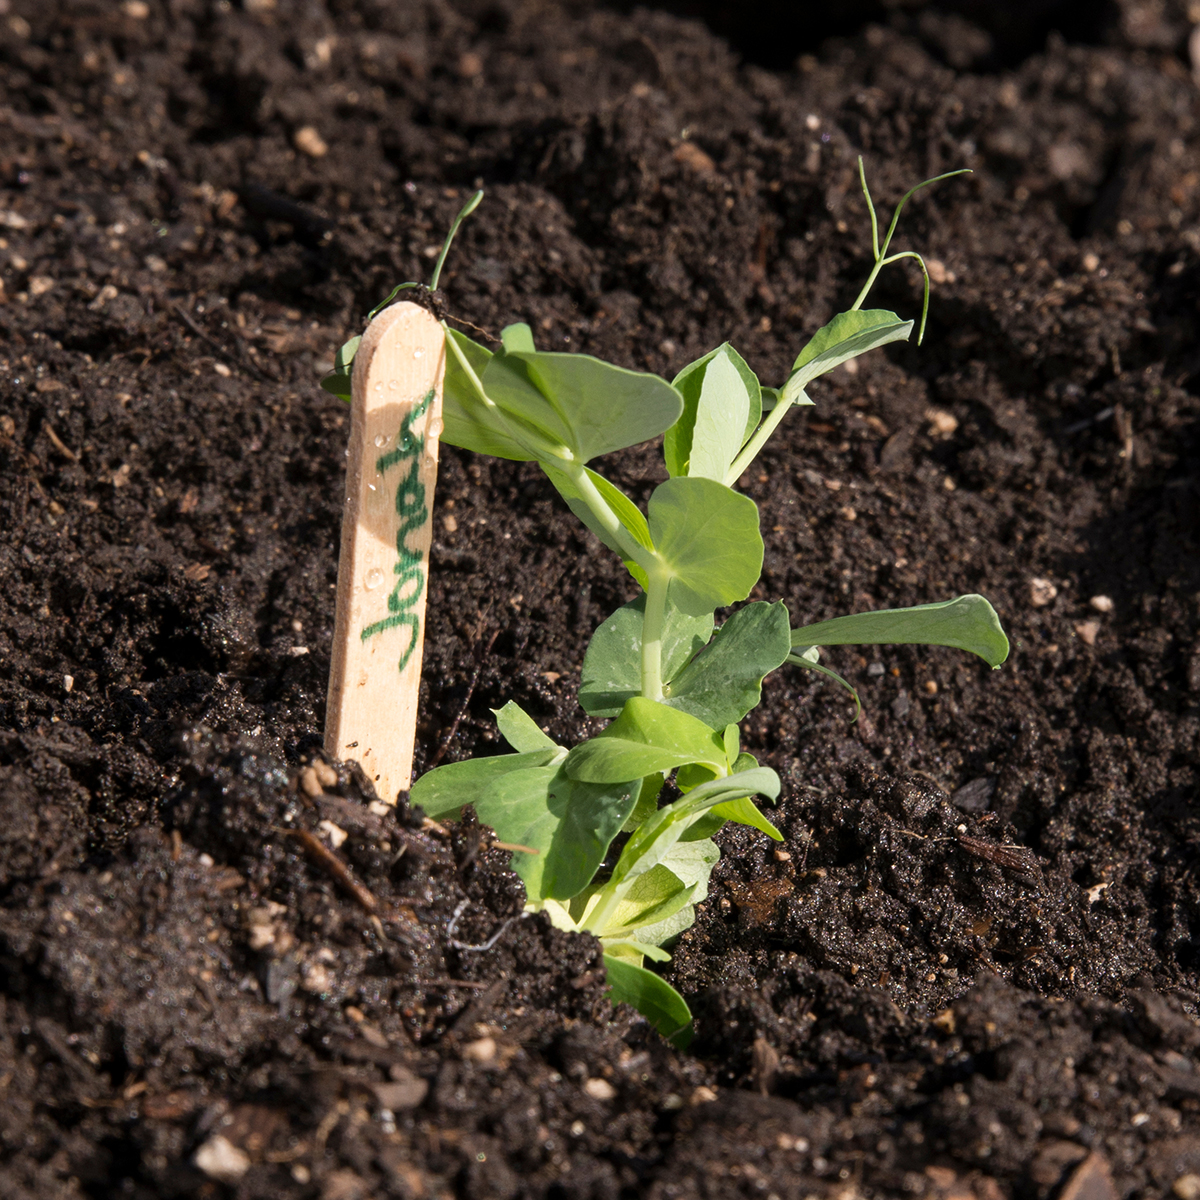
Finally, each child should label their pot. We used craft sticks to easily identify each child’s plant.

Tip: Pot up extra seeds in case some don’t germinate. I potted up 10–15 extras. Every child needs to feel successful and have peas to transplant when the time comes. Once kids have planted seeds a few times and are a little older, you won’t need to pot up extras. Having seeds fail is the next great gardening lesson for more experienced young gardeners.

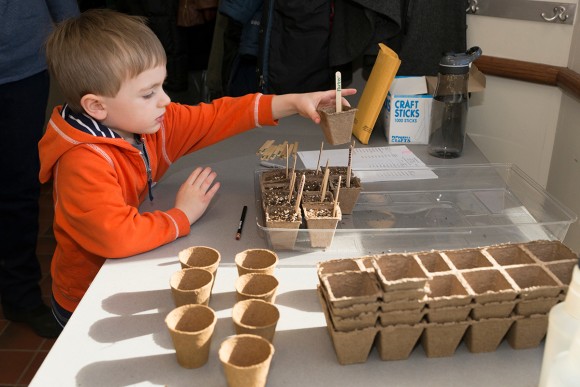
PHOTO: Our young grower adds his pot to the tray. It's a good idea to pot up extra seeds in case some don’t germinate.
Our young grower adds his pot to the tray. It’s a good idea to pot up extra seeds in case some don’t germinate.
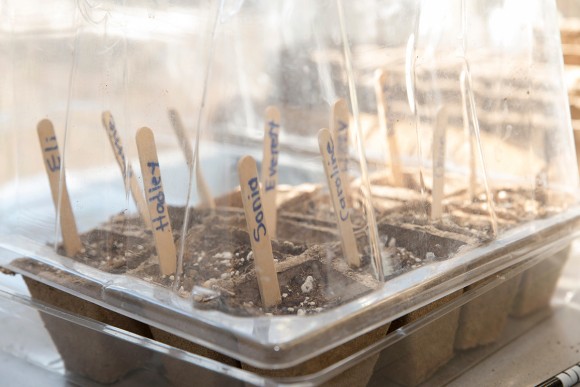
PHOTO: Craft sticks easily identify each child’s plant. Keeping the top lid on slightly open helps air circulate around the plantings, so they don't grow fungus.
Craft sticks easily identify each child’s plant. Keeping the top lid on, but slightly open, helps air circulate around the plantings, so they don’t grow fungus.

Put the containers on the plastic tray and cover with a clear plastic lid. This will keep moisture in and will require less frequent watering. Allow the soil surface to dry out slightly between watering. Using the misting setting on the sprayer works well because it doesn’t create a hole in the soil and expose the seed like a watering can will.

Tip: Watch for white fungus growing on the soil surface. If this occurs, remove the plastic lid. This will kill the fungus and promote germination. If you will be away from the classroom or home for a few days, put the plastic lid on so the soil doesn’t dry out. Remove it when you return.

Tip: Peas don’t respond well to transplanting, so we planted the seeds in biodegradable pots to avoid this problem. These pots break down in the soil, allowing the roots to continue to grow undisturbed.

April: Transplanting the Pea Plants into the Garden

Supply List:

  • Pea plants
  • Trowels
  • Spray bottles or watering cans

Set-up Time: 10 minutes

Activity Time: 20–30 minutes or more (depending of the size of the group and the number of helpers)

Appropriate for Ages: 2 and up

Clean-up Time: 10 minutes

Choose a sunny location that receives at least six hours of direct sunlight every day and has well-drained soil. We planted our peas in the raised beds at the Fruit & Vegetable Garden.

Bring all the supplies out to the site. Have each child choose where they would like to dig their hole. Pass out a trowel and plant to each child. Dig a hole as deep as the soil in the pot. Place the plant, pot and all, in the hole. Fill in the space around the plant with soil and water the plants.

Check the peas daily and water them with a watering can or hose when the soil is slightly dry. About 50 – 55 days after planting, these shelling peas will be ready to harvest and eat! Come see the plants that the students of our Little Diggers class planted in the raised beds, just south of the orchard at the Fruit & Vegetable Garden!

PHOTO: Watering seedlings in the raised beds.
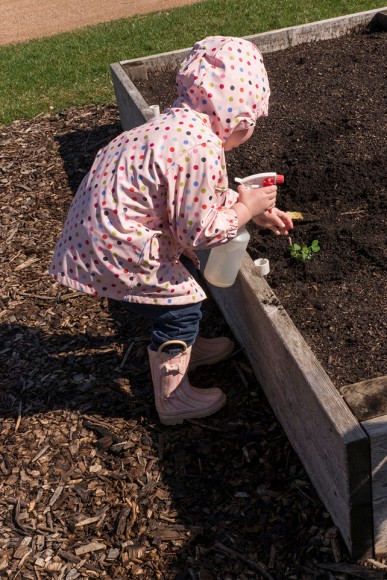
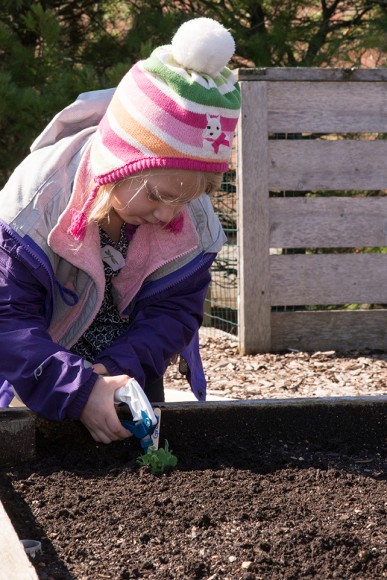
Remember to water in your seedlings when you put them in the ground!
PHOTO: Watering seedlings in the raised bed.
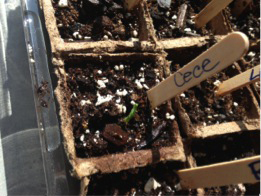
Sunshine and a good squirt of water will help this pea seedling grow!

Direct Sowing: Easy Peas-y Approach

PHOTO: Direct sowing is the easiest approach—and often the most successful with early spring vegetables. Not to mention: it's fun.
Direct sowing is the easiest approach—and often the most successful with early spring vegetables. Not to mention: it’s fun.

As a working parent, I chose this approach with my almost three-year-old. All you really need is a sunny spot with well-drained soil, seeds (we used ‘Tom Thumb’ peas because we have a small garden), a small shovel (trowel) and water. Choose a sunny spot for planting (6–8 hours of direct sun).

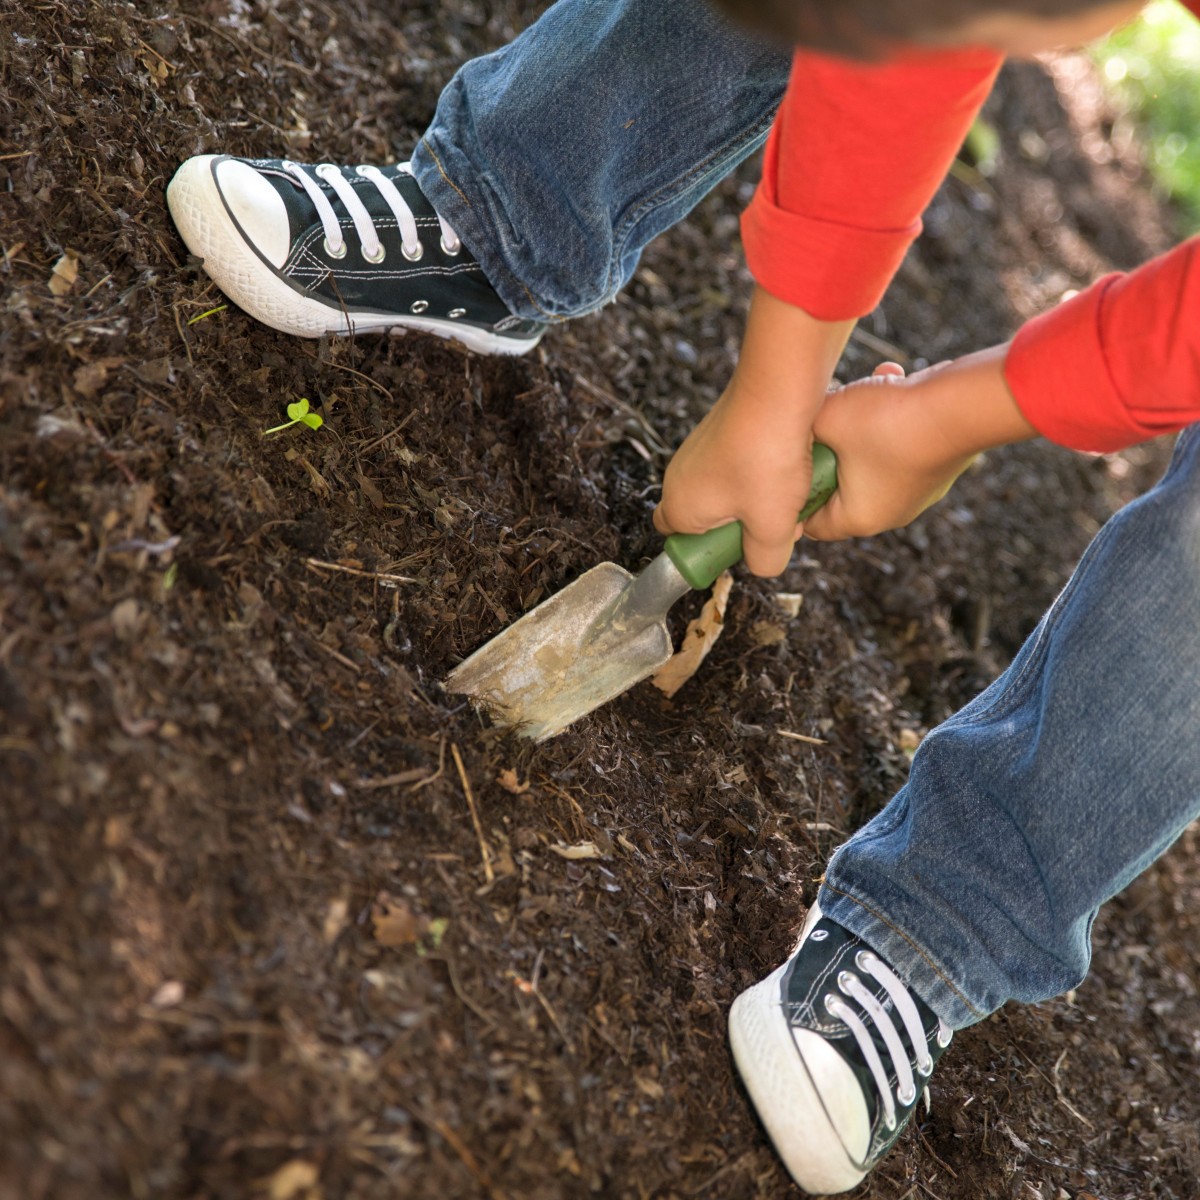
First I showed him how to draw lines in the soil with his trowel (they should be ½– to 1-inch deep). Then he dropped seeds along the lines. I wasn’t concerned about spacing 2 inches apart as recommended on the seed packet because I can always thin them out once the seeds start to grow. He covered the seeds up and watered them with the hose. Every evening, we enjoy checking to make sure the soil is damp.

Tip: If you’re little one is getting impatient, these peas can be harvested early and eaten, pod and all, like snow peas!


©2015 Chicago Botanic Garden and my.chicagobotanic.org
Planting Bulbs with Children

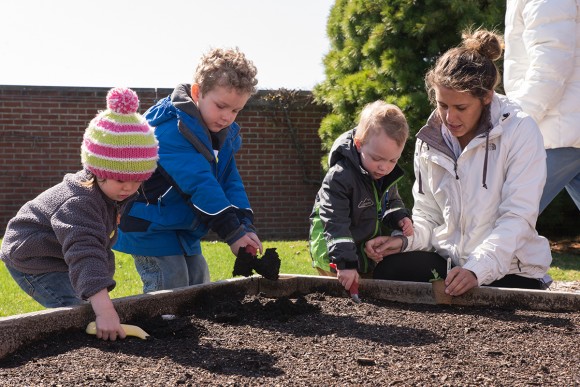
Planting bulbs together is a great way for children to learn about a different kind of plant. In the spring, the results are thrilling.

PHOTO: Getting ready to drop in a bulb.
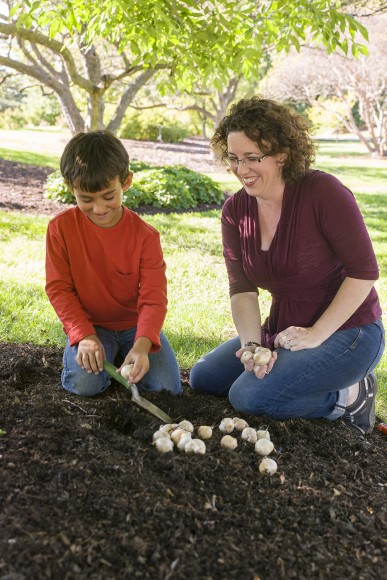
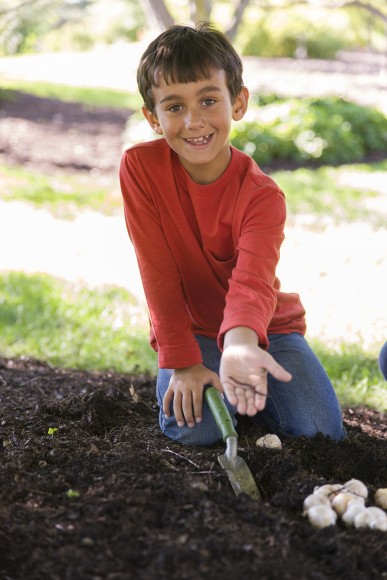
James’s favorite part of planting: dropping in little “flower bombs” (the bulbs).

Put your children to work! The general rule for planting bulbs is to dig down three times the height of the bulb. For example, if you have a narcissus bulb that is 3 inches tall, you would dig a hole 9 to 12 inches deep. For smaller children, pick smaller bulbs like ‘Tommy’ crocus (Crocus tomassinianus) or grape hyacinth (Muscari).

Digging a deep hole for large bulbs can be a big job. There are several different kinds of bulb digging tools. I prefer a long, slender trowel when planting bulbs. In loose soil, you can push the trowel into the ground, pull the soil back, drop in the bulb, and then pull the trowel out. In more compact soil, I prefer a bulb trowel that looks like a metal cylinder with teeth on one end and a handle on the other.

PHOTO: Finding a worm.
The bonuses of getting dirty in the garden: finding a worm!

My son is always eager to try out my gardening tools. We make a game of planting bulbs. We bury “flower bombs” (bulbs), water the soil and flower bombs when we are finished planting, and sometimes we even sprinkle some super food (bulb fertilizer) to help things along. The hard work pays off in the spring when those beautiful blooms push through the ground, show their leaves, and then burst open with spring color.

Learn more about new additions and old favorites at the Fall Bulb Festival on Saturday and Sunday, from 10 a.m. to 4 p.m. Preview shopping for members only will take place from 10 a.m. to 4 p.m. on Friday, October 10.


©2014 Chicago Botanic Garden and my.chicagobotanic.org
Best. Plant labels. Ever.

One of the best things about visiting (and working at!) the Chicago Botanic Garden: you get great ideas for your own garden.

I put one of them to work in my new “all vegetable” front yard garden this weekend.

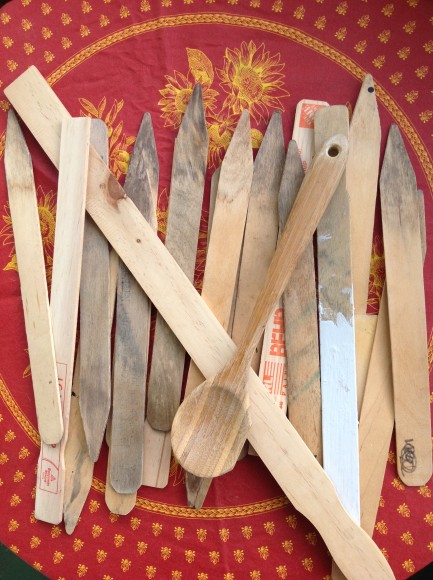
Horticulture program specialist Nancy Clifton faced the challenge of labeling dozens of different heirloom tomato varieties in containers. Her solution was simple and elegant: gather up the paint stirrers and get out the chalkboard paint!

BEFORE:  Clean out the paint shelf! Old paint stirrers, stakes, and even wooden spoons can work as plant markers.
Before: Clean out the paint shelf! Old paint stirrers, stakes, and even wooden spoons work as plant markers.
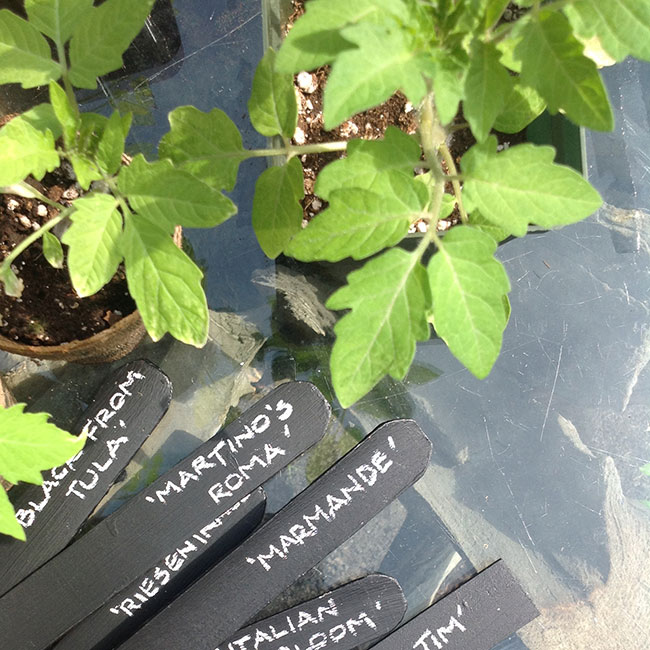
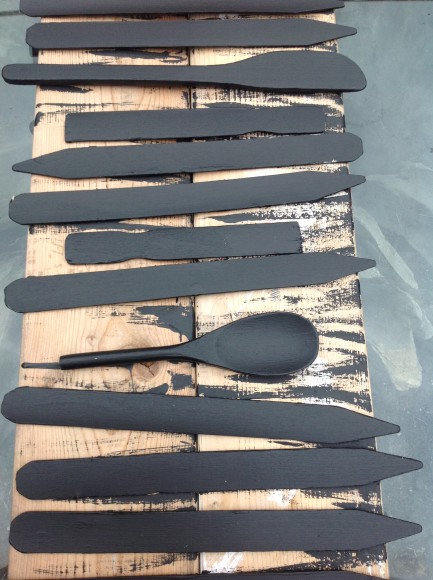
PHOTO: Plant labels painted with two coats of chalkboard paint.
After: Two coats of chalkboard paint ought to do it. Tip: Looks better when you paint the sides, too.

The photos are testament to how easy it is: assemble a pile of paintable wooden markers-to-be, scrub-brush lightly under running water, and let dry. (No need to overdo it on the pre-cleaning—the paint covers most everything.) On a fine spring day, apply two coats of chalkboard paint. I went for black, but you can have the white base paint tinted any color. (Ooh! Lime green would have been good!) Let paint dry between coats.

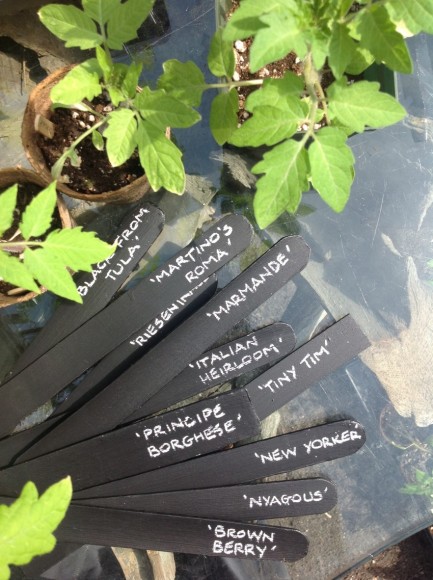
PHOTO: Pile of black plant markers with names inscribed.
A pile of tomato markers await 50 degree-plus nights before the tomatoes can go in.

To write the names,  I used the same basic white grease pencil—found at any art store—that’s used on the metal signs at the Garden. It withstands rain, wind, and dirty hands.

Like many gardeners, I’ve tried lots of different methods for labeling over the years: Popsicle sticks (disintegrate fast, get stepped on), zinc and copper markers (too small to read from a distance, get stepped on), and rocks (hard to keep in one spot). This approach is simple, recyclable, nice looking, and kind of fun to do—makes a good kid project, too!

Can’t wait to get those tomatoes in the ground…

©2014 Chicago Botanic Garden and my.chicagobotanic.org
Raising a “green” family, one step at a time

Saving the planet can seem like a daunting task, and raising our children to join in the effort can feel overwhelming. Give children a focus. Rather than trying to solve all problems at once, families can do a world of good for the planet by concentrating on one thing at a time.

This summer, we suggest focusing on water. The availability of fresh, clean drinking water is a big problem in some places. In Chicago, we tend to forget this because we live near a plentiful supply—Lake Michigan. Just because we have this resource does not mean we can waste it!

Blue heron in flight

Think of ways your family can reduce the amount of water you use: don’t run water while brushing teeth, put a timer in the bathroom to limit showers to five minutes, or let the grass go dormant and not water it during a dry spell. Make it a family project to find ways to conserve this precious resource. This is all about training yourselves to be aware of waste and think of new ways to conserve.

 You can engage your family in calculating the amount of water you conserve. Make a list of all the ways you are going to try to conserve water, and then keep track of how much water you save. For instance, if you use water only when you’re ready to rinse after brushing your teeth, credit yourselves with saving 15 cups of water each time anyone brushes teeth. At the end of the month, add up the total amount of water you saved and celebrate your achievement.
Will you see a significant difference or get any instant reward for your efforts? No, but you will develop a sensibility that translates to reducing waste in other parts of your life. If we all do this, the effect will be cumulative, but everyone has to contribute. This is how kids can play an essential part in making a difference.

Long-term learning is not a “lightbulb” moment.

Learning that you can make a difference may not be a “light-bulb-going-off” experience for most people, especially children. That may be why the idea that kids can make a difference might be considered a myth—but it’s only a myth to people who expect instant gratification and immediate rewards. More often, we discover our power to have a positive influence on the environment over a period of time.

PHOTO: Green Youth Farm participants.
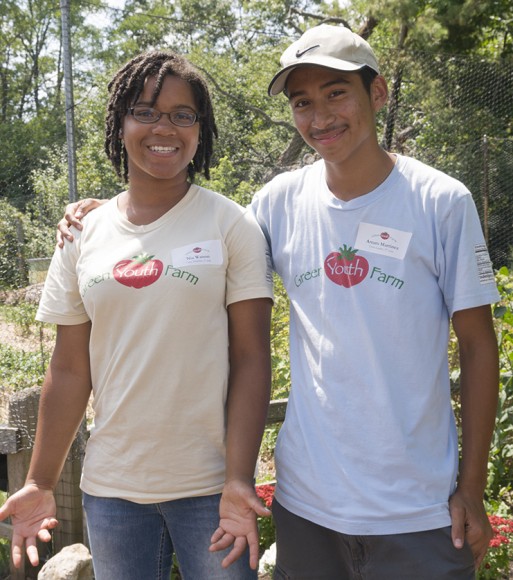
Green Youth Farm participants.

One of our Chicago Botanic Garden programs, Green Youth Farm, teaches students to grow their own vegetables—another way a family could learn to make a difference. Growing your own food is not only healthy, it also cuts down on energy consumption and pollution caused by shipping produce from farm to market to home. Students in this program experience the satisfaction of seeing what happens when they work with the environment—the sun, soil, water, and air—to feed themselves and help their communities.

It takes months to plant and tend a garden before you get to taste the produce. Likewise, it takes time to see the benefits of positive changes we make and their results on the environment. We have seen children discover the impact they can have on their communities and homes most obviously in these kinds of programs. There is no instant payoff. Making change permanently takes patience, and commitment—and not just for one summer.

What can the Chicago Botanic Garden teach my children?

PHOTO: Nature Nights on the prairie
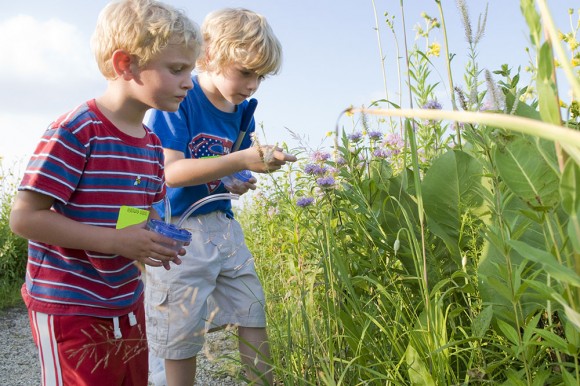
Learning about prairie ecosystems at the Garden.

We encourage children to discover wonderful things in nature. We help them understand why plants have flowers and how those flowers attract bees. We teach them what plants need to grow and how people need plants. Understanding these things helps children understand why we all need to take care of the environment, and how they are part of the environment, too. The wonderful feelings children get from experiencing gardens and nature help to instill a love of the natural world—an essential component of wanting to make a difference.

Join us for World Environment Day on June 1, a fun family event where kids and their parents can learn about water conservation and other critical environmental issues. Kids will get to help plant the Grunsfeld Children’s Growing Garden and learn a little about growing a garden. They will also discover the myriad of creatures that live in a healthy lake, and they’ll be challenged to think about water conservation to protect these delicate habitats.

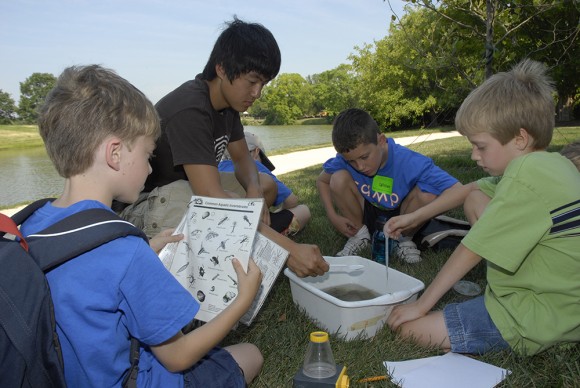
PHOTO: Camp CBG boys study lake water.
Studying lake ecosystems at Camp CBG.

Free drop-in programs are held every weekend at the Children’s Growing Garden and Kleinman Family Cove. Topics vary throughout the summer, but all will engage children with fun activities to learn more about plants and healthy ecosystems.

Summer camps offer week-long sessions for a variety of interests for children ages 2 to 15.

Nature Nights and Family Tent Campouts are a different way to experience the Garden. These programs introduce families to what happens at the Garden as the sun sets.

PHOTO: gathered around the fire pit
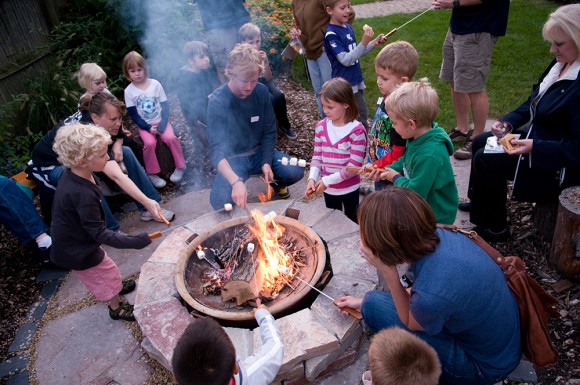
Nature Nights participants end the evening with s’mores.

Grow a “green” family in your home and at the Garden this summer.


©2013 Chicago Botanic Garden and my.chicagobotanic.org