Build a DIY Native Bee Home

Pollinators are crucial to the health of the planet, helping with everything from the food we eat to the cycle of life. At the free Unearth Science festival this weekend, the Chicago Botanic Garden will celebrate pollinators with activities including a workshop on making native bee homes. We’ve got a sneak peek for you below.

Did you know that native bees are better and more efficient pollinators than honeybees when it comes to fruit trees? Honeybees carry pollen in sacks on their hind legs, which doesn’t always make it to the stigma of the flowers they visit (anthers are where the pollen grains are picked up; stigma is where they are deposited for successful pollination). Mason bees (Osmia lignaria) carry pollen all over their bodies, which means that the pollen has a greater chance of reaching the stigma for proper pollination. One mason bee can pollinate as many flowers as 100 honeybees. 
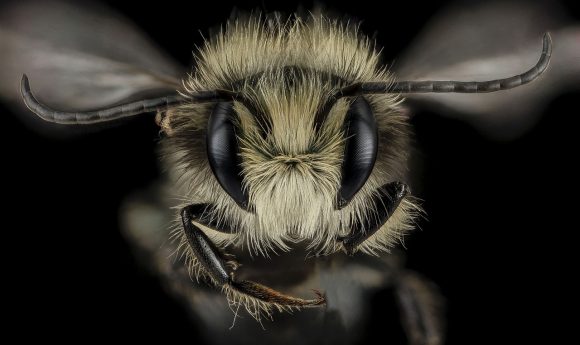
PHOTO: Mason bee (Osmia lignaria)
Mason bee (Osmia lignaria)

Mason bees pollinate a wide variety of flowers, in addition to fruit trees, with a particular emphasis on the rose family. They are generalists though, so they pollinate many types of vegetables too. If you are interested in growing fruit trees and vegetables in your yard, you may want to attract and support more mason bees.

Are you avoiding bees because they sting? Another reason to invite mason bees into your yard is that they are nonaggressive. Honeybees and bumblebees may defend their nests if disturbed, so bee skeps—or domed hives—are usually located on larger plots of land, not in typical backyards. Male mason bees do not have stingers, and the females only sting if they are trapped, so there is little reason to fear them.

We asked horticulture program specialist Nancy Clifton for a preview of her workshop at the Unearth Science festival with Northwestern University graduate student Marie Faust. The workshop, Native Bee Homes, is a free event that requires registration. You’ll find instructions for how to make a mason bee home below. Bring your questions about pollinators and other science-related topics to the festival, where dozens of scientists and horticulturists will be happy to answer them.

How to Make a Mason Bee Home
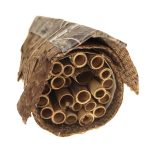
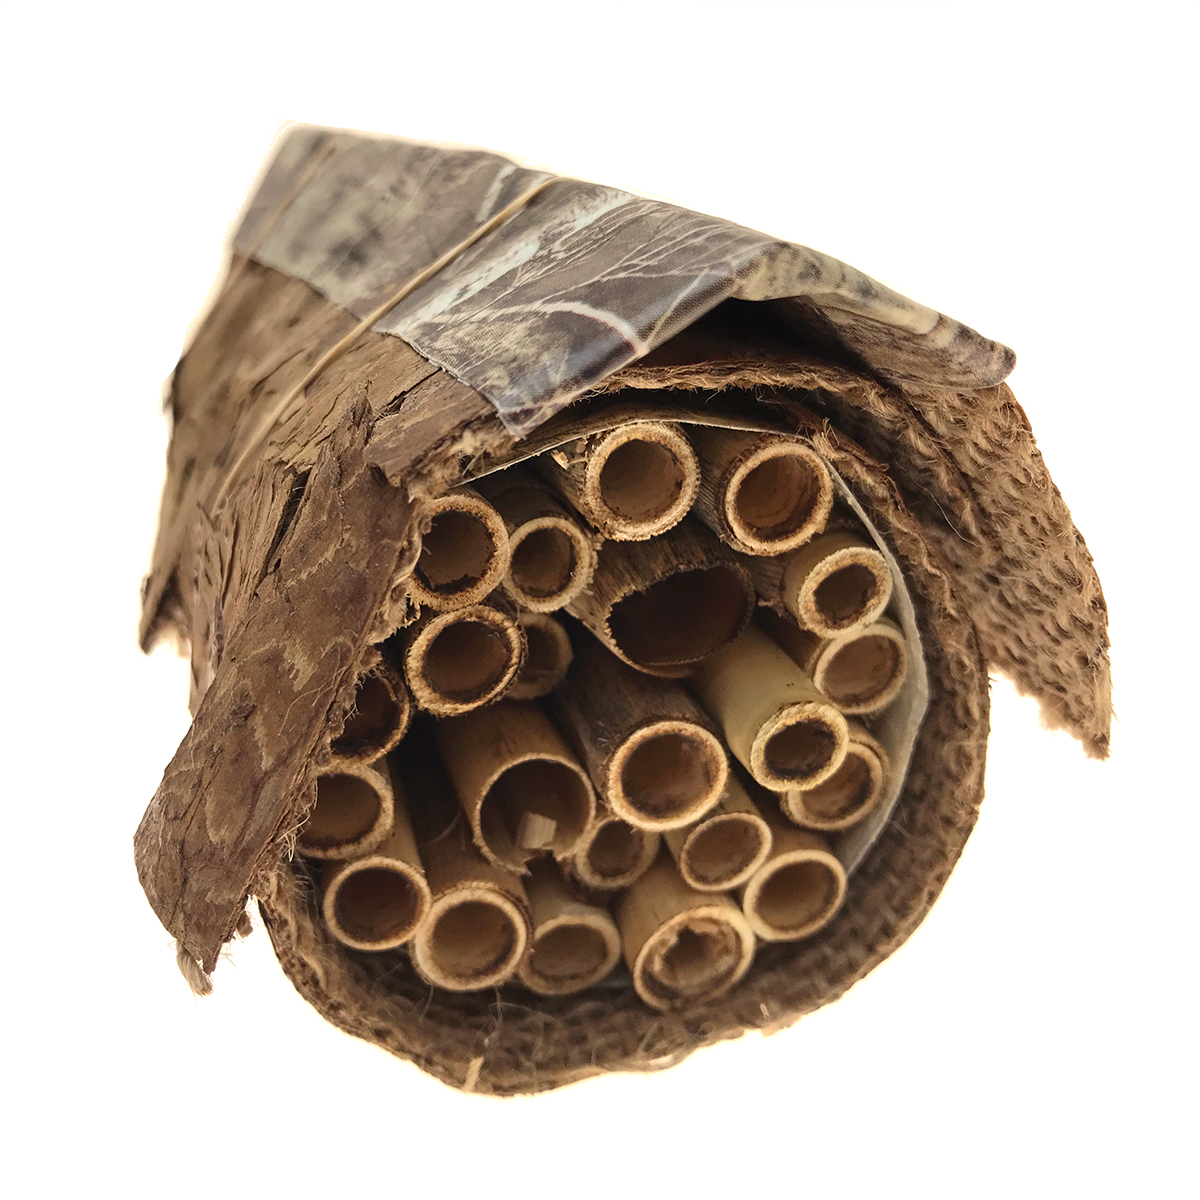
DIY native bee house

Supplies you’ll need:

  • Clean, 15-ounce metal can
  • Phragmite reed tubes
    (6 inches long)
  • 2¼-inch-wide bark ribbon
  • Cling floral adhesive (or similar putty tape)
  • Duct tape
    (camouflage blends in well)
  • Scissors
  • Rubber bands

Instructions:

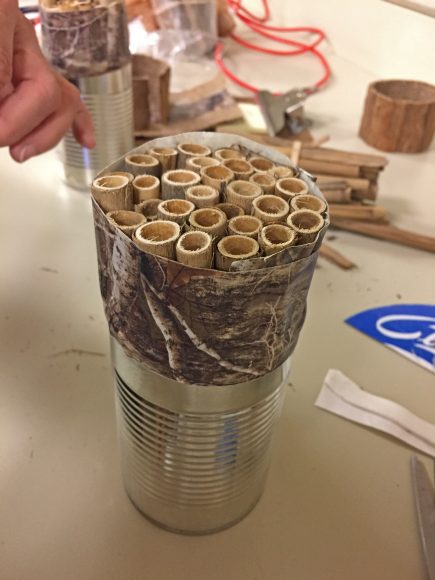
Step 1: placing the reeds. They will stick out of the can quite a bit, so you can extend the lip of the can with duct tape around the reed bundle.
Step 1

Fill the metal can with as many reeds as you can tightly pack inside. Ensure the open ends of the reeds are facing out. Use duct tape to encircle the parts of the reeds that are sticking out of the can.

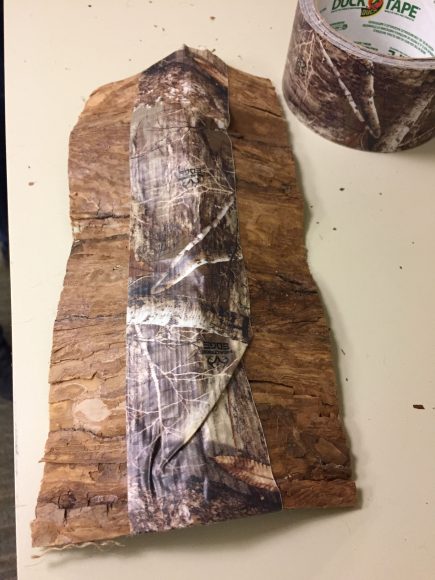
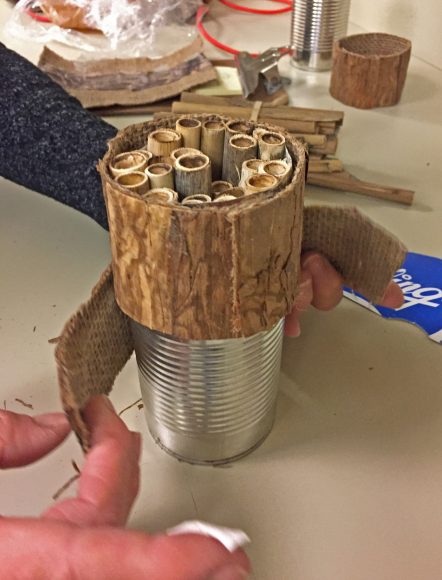
Wrap 3 strips of bark ribbon around the can and extension.
Step 2

Cut three strips of bark ribbon to wrap around the can and the duct-taped extension. Use bits of Cling adhesive to adhere the bark ribbon to the can in three sections, so it is completely covered.

Make a roof with bark ribbon and duct tape.
Step 3

Cut two 8-inch-long pieces of bark ribbon and duct tape them together along the long edge. Place this over the top of your can as a roof. You want to create a small gable that overlaps ½ inch over the end of the tube to keep the reeds dry when it rains.
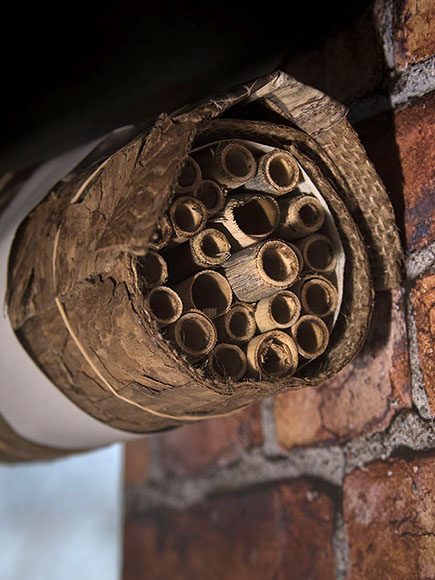
Place the bee house against a flat surface in a protected area, with a southwest exposure.
Step 4

Use bits of Cling to adhere the roof to the house. If needed, further secure the roof with two rubber bands. Place the completed bee house fairly in a protected area, against a flat surface with a southwest exposure. Placing the house fairly high up ensures that bees will not mingle with people when entering and exiting their new home.

Leave your house out all summer and you should find mason bees filling the tubes with larvae. For information about storing and incubating mason bees for next year, visit seedsavers.org.

Sign up for the free workshop on making native bee homes with horticultural specialist Nancy Clifton and Northwestern University graduate student Marie Faust at the Unearth Science festival, April 20–22, 2018. You’ll make your own native bee home just as described above.


©2018 Chicago Botanic Garden and my.chicagobotanic.org

Three easy, harvest-inspired Thanksgiving centerpieces

With just a bit of effort, you can make your holiday table warm and inviting—and a worthy backdrop for your meal.

Nancy Clifton, former program specialist at the Chicago Botanic Garden, shared some easy, crafty ideas harvest-inspired centerpieces.

A Festive Look

Here’s how you can make Thanksgiving-themed floral centerpieces like a pro:

Thanksgiving Flower Arrangements

Thanksgiving Flower Arrangements

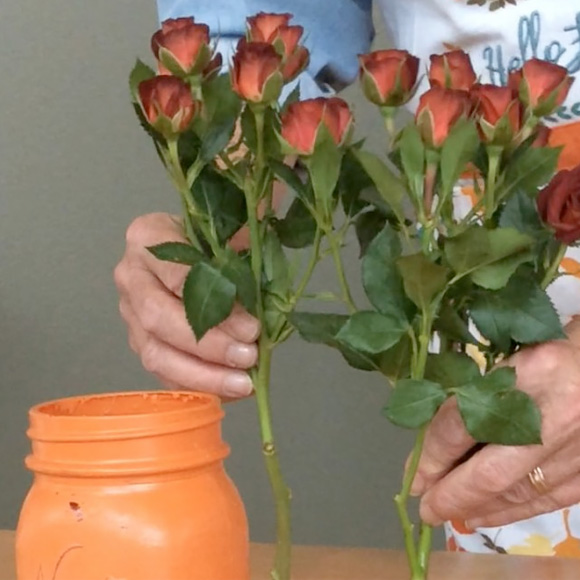
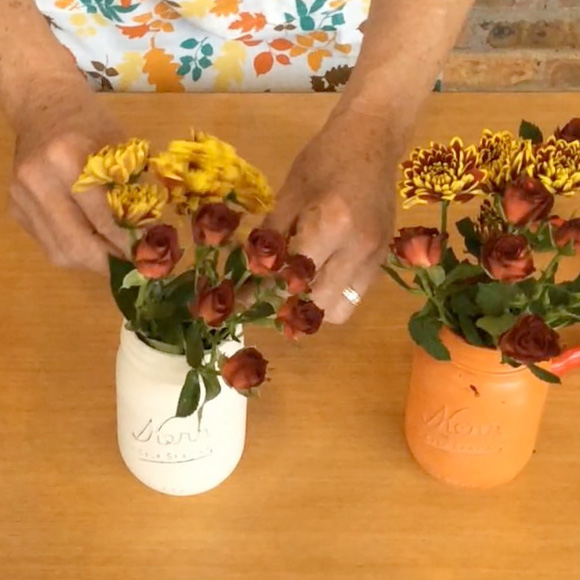
Pick flowers in autumn colors. Buy a few bunches of flowers in different fall colors and textures. Nancy chose red roses, yellow mums, red-yellow mums, and hypericum berries to give the arrangements some variety.

Paint Thanksgiving mason jars. If you want to up your Thanksgiving game, paint your vases in holiday colors such as brown, orange, and ivory. Nancy used craft paint on mason jars, and sanded the lettering on the jars to give them a vintage look.

Save time by measuring flowers. Nancy’s time-saving hack is to trim one flower with pruners and remove foliage at the bottom of the stem. Place that flower in the mason jar vase. If you’re happy with the height, remove the flower and use it as a measuring tool to trim the rest of your flowers.

Fancy Pumpkin Planters

Add a natural look to your table with pumpkin succulent centerpieces. The best part? You can repurpose and eat parts of them when you’re done.

See the demo video on YouTube here.

Thanksgiving Centerpiece
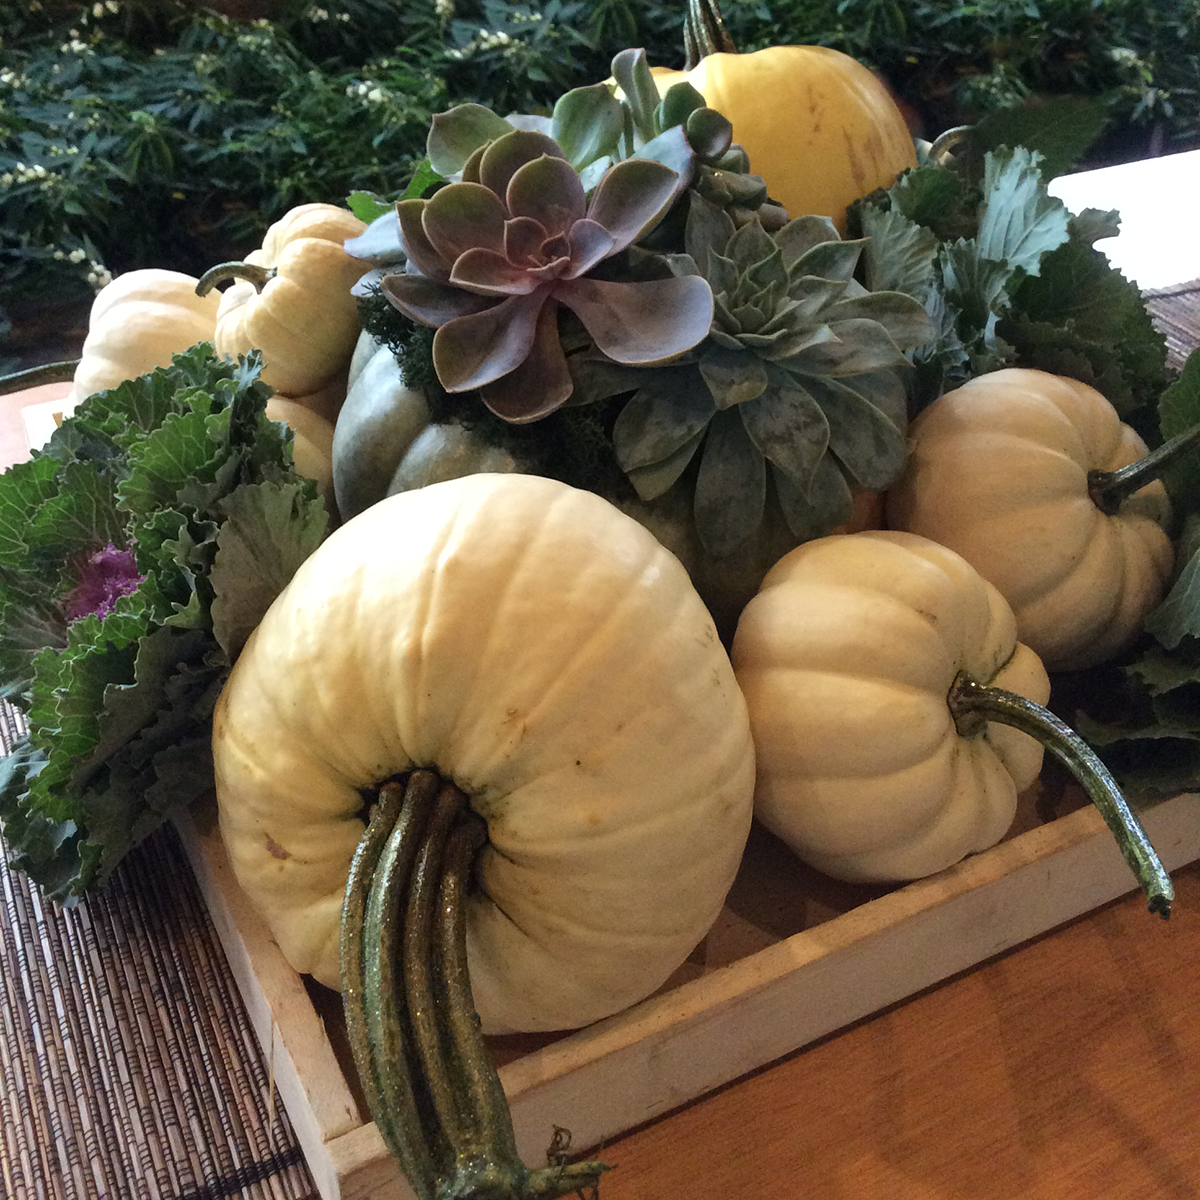
The finished succulent and squash centerpiece

Gather the basic tools and ingredients. Grab a hot-glue gun, reindeer moss, and floral picks. Gather small- and medium-sized pumpkins (you will want several), a succulent container, bunches of kale, and cabbages.

Assemble the planters. Cut the ends off of your succulents so they have a flat base, and set them aside. Adhere moss to the top of your medium-sized pumpkins with your hot-glue gun. Once the glue is dried, add the succulents on top of the moss, and adhere with hot glue or floral picks.

Arrange your centerpiece. When the pumpkins are dried, place them in the center of a large decorative tray. Add smaller pumpkins, bunches of kale, and cabbages to tray, arranging them in a bountiful display. You can even paint the stems of your small pumpkins with glitter-paint to give them extra-fancy glitz.

Add an intimate glow

Improvise! Try adding pumpkin planters, candles, and string lights to the centerpiece to bring a warm, enchanting feel.

Find more of Nancy’s ideas, check out her 101 on creating Thanksgiving cornucopias.


©2017 Chicago Botanic Garden and my.chicagobotanic.org
Wreaths of Wonderland Express

Nancy Clifton, horticultural program specialist, shows us some of the wreaths she made for the Wonderland Express exhibition. She also shows you how to make a simple mixed pine cone wreath on a grapevine base. You can take classes with Nancy through the Joseph Regenstein, Jr. School of the Chicago Botanic Garden or get ideas at Wonderland Express, Nov. 25, 2011 through Jan. 1, 2012. Visit http://www.chicagobotanic.org/wonderland for more information.