Build a DIY Native Bee Home

Pollinators are crucial to the health of the planet, helping with everything from the food we eat to the cycle of life. At the free Unearth Science festival this weekend, the Chicago Botanic Garden will celebrate pollinators with activities including a workshop on making native bee homes. We’ve got a sneak peek for you below.

Did you know that native bees are better and more efficient pollinators than honeybees when it comes to fruit trees? Honeybees carry pollen in sacks on their hind legs, which doesn’t always make it to the stigma of the flowers they visit (anthers are where the pollen grains are picked up; stigma is where they are deposited for successful pollination). Mason bees (Osmia lignaria) carry pollen all over their bodies, which means that the pollen has a greater chance of reaching the stigma for proper pollination. One mason bee can pollinate as many flowers as 100 honeybees. 
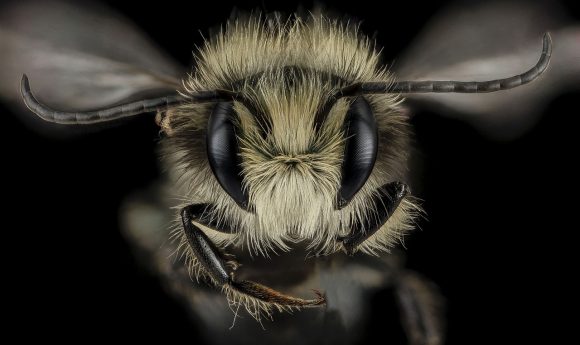
PHOTO: Mason bee (Osmia lignaria)
Mason bee (Osmia lignaria)

Mason bees pollinate a wide variety of flowers, in addition to fruit trees, with a particular emphasis on the rose family. They are generalists though, so they pollinate many types of vegetables too. If you are interested in growing fruit trees and vegetables in your yard, you may want to attract and support more mason bees.

Are you avoiding bees because they sting? Another reason to invite mason bees into your yard is that they are nonaggressive. Honeybees and bumblebees may defend their nests if disturbed, so bee skeps—or domed hives—are usually located on larger plots of land, not in typical backyards. Male mason bees do not have stingers, and the females only sting if they are trapped, so there is little reason to fear them.

We asked horticulture program specialist Nancy Clifton for a preview of her workshop at the Unearth Science festival with Northwestern University graduate student Marie Faust. The workshop, Native Bee Homes, is a free event that requires registration. You’ll find instructions for how to make a mason bee home below. Bring your questions about pollinators and other science-related topics to the festival, where dozens of scientists and horticulturists will be happy to answer them.

How to Make a Mason Bee Home
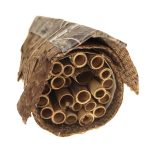
DIY native bee house

Supplies you’ll need:

  • Clean, 15-ounce metal can
  • Phragmite reed tubes
    (6 inches long)
  • 2¼-inch-wide bark ribbon
  • Cling floral adhesive (or similar putty tape)
  • Duct tape
    (camouflage blends in well)
  • Scissors
  • Rubber bands

Instructions:

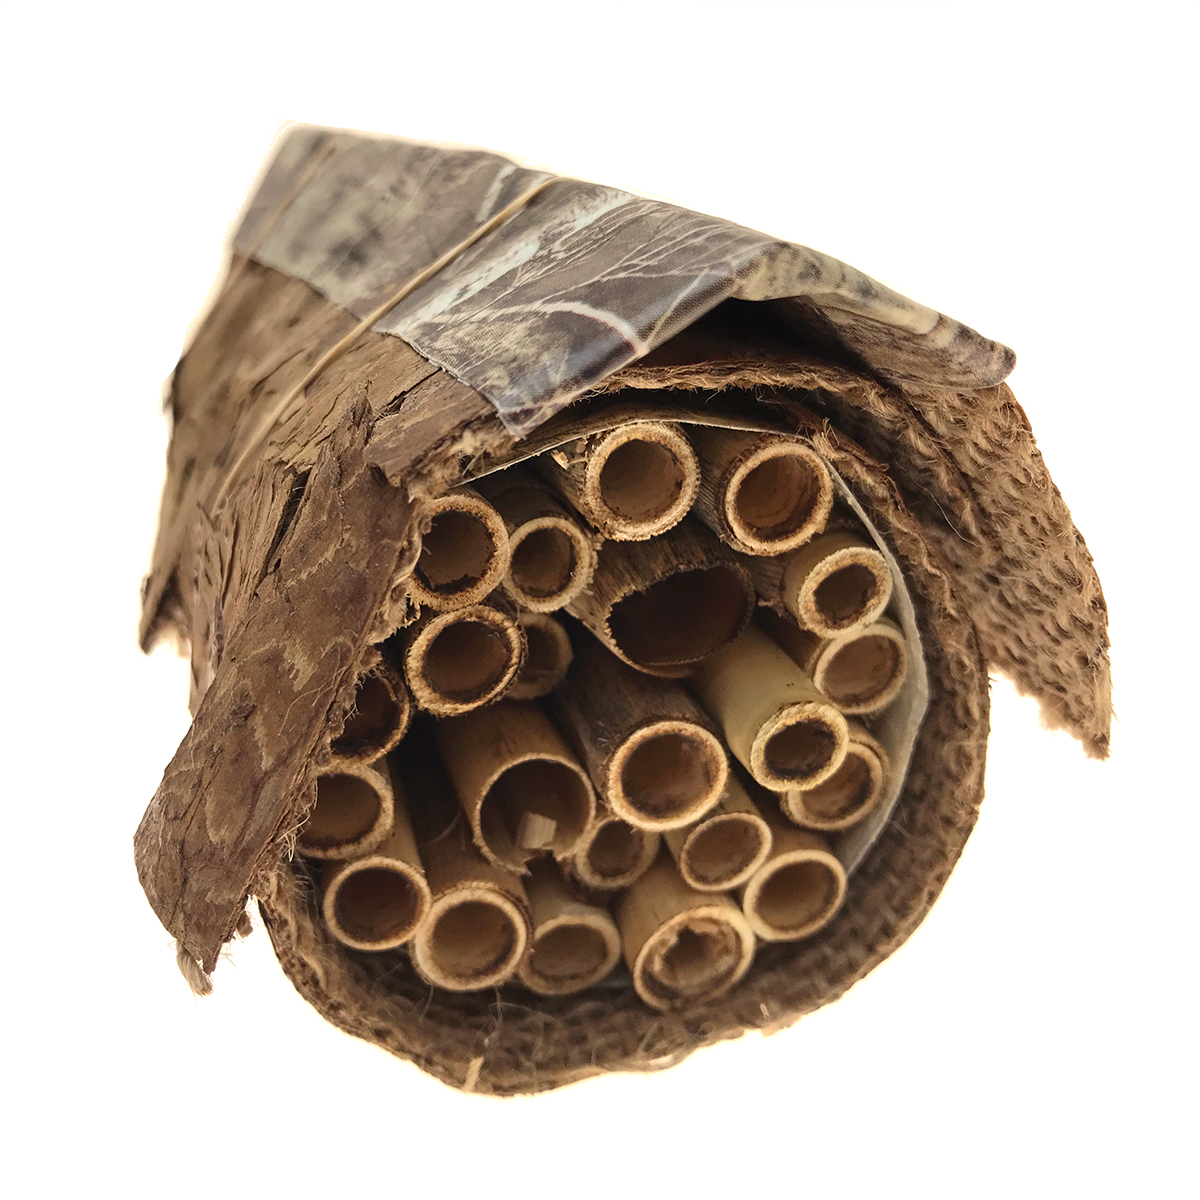
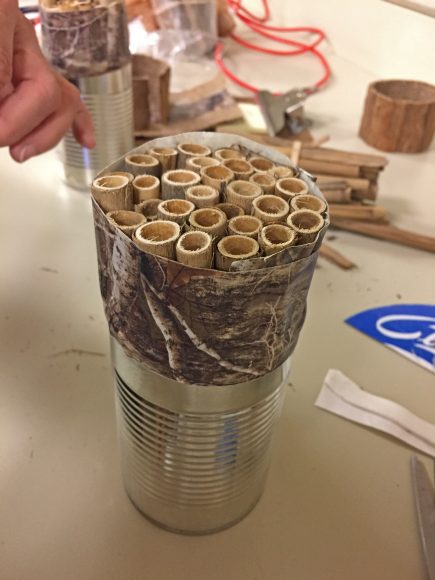
Step 1: placing the reeds. They will stick out of the can quite a bit, so you can extend the lip of the can with duct tape around the reed bundle.
Step 1

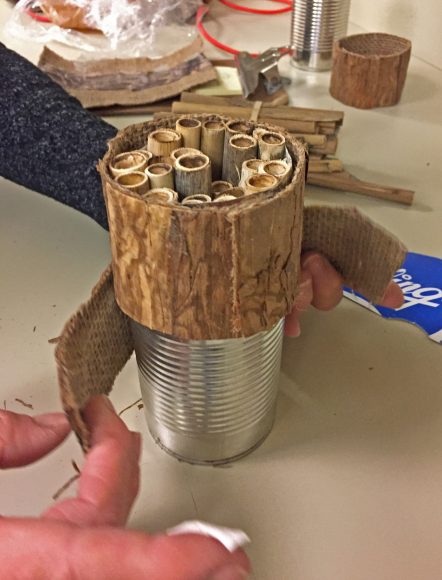
Fill the metal can with as many reeds as you can tightly pack inside. Ensure the open ends of the reeds are facing out. Use duct tape to encircle the parts of the reeds that are sticking out of the can.

Wrap 3 strips of bark ribbon around the can and extension.
Step 2

Cut three strips of bark ribbon to wrap around the can and the duct-taped extension. Use bits of Cling adhesive to adhere the bark ribbon to the can in three sections, so it is completely covered.

Make a roof with bark ribbon and duct tape.
Step 3

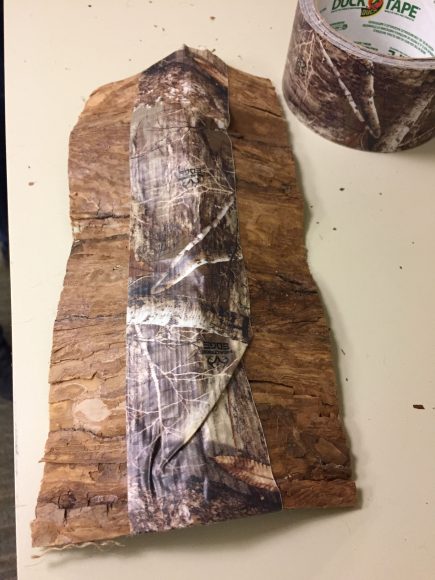
Cut two 8-inch-long pieces of bark ribbon and duct tape them together along the long edge. Place this over the top of your can as a roof. You want to create a small gable that overlaps ½ inch over the end of the tube to keep the reeds dry when it rains.
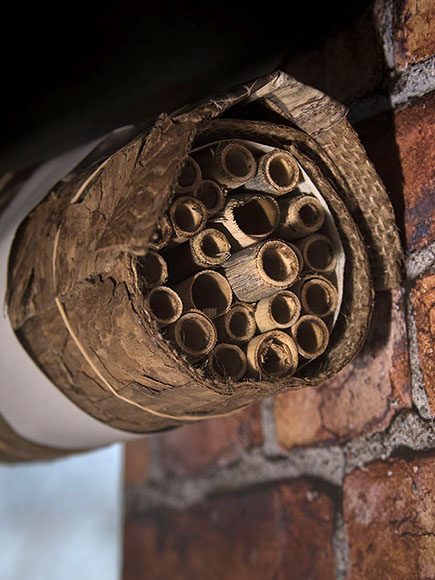
Place the bee house against a flat surface in a protected area, with a southwest exposure.
Step 4

Use bits of Cling to adhere the roof to the house. If needed, further secure the roof with two rubber bands. Place the completed bee house fairly in a protected area, against a flat surface with a southwest exposure. Placing the house fairly high up ensures that bees will not mingle with people when entering and exiting their new home.

Leave your house out all summer and you should find mason bees filling the tubes with larvae. For information about storing and incubating mason bees for next year, visit seedsavers.org.

Sign up for the free workshop on making native bee homes with horticultural specialist Nancy Clifton and Northwestern University graduate student Marie Faust at the Unearth Science festival, April 20–22, 2018. You’ll make your own native bee home just as described above.


©2018 Chicago Botanic Garden and my.chicagobotanic.org

Now Blooming: Vanilla

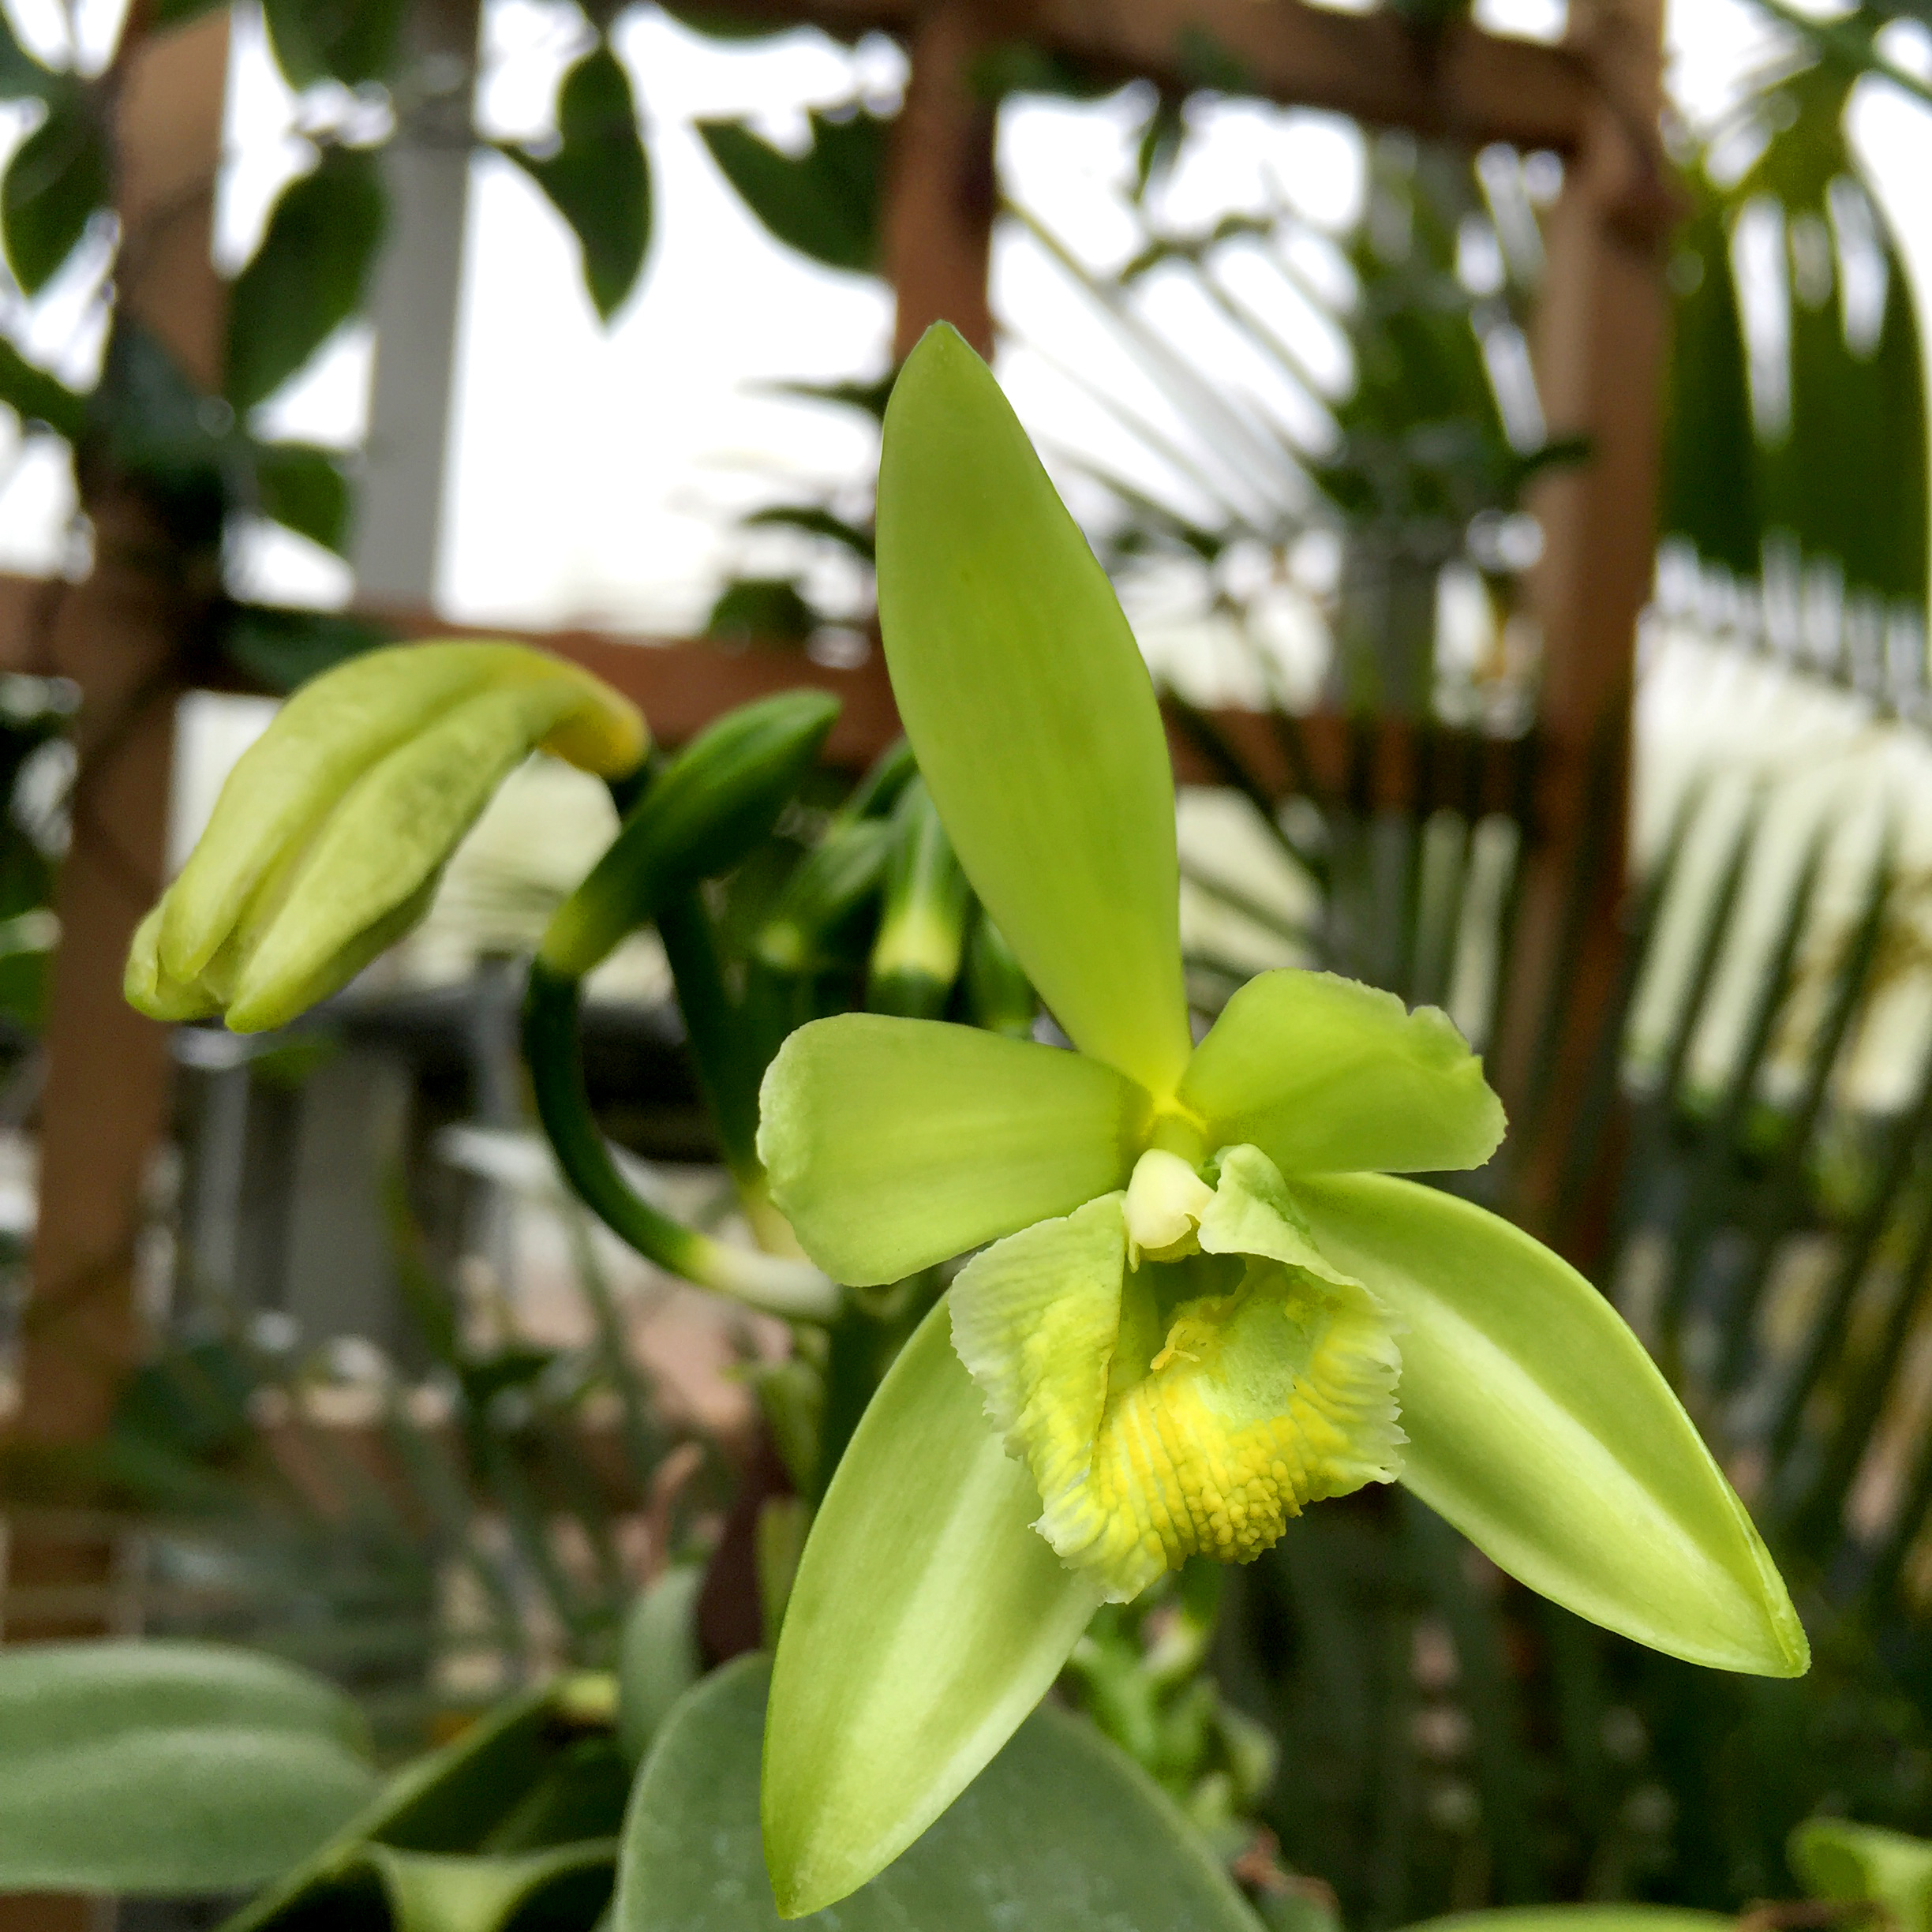
Attention orchid fans: our vanilla orchid is blooming in the Tropical Greenhouse at the Chicago Botanic Garden. It’s a rare occurrence in the wild—and in a greenhouse. Wade Wheatley, assistant horticulturist, seized the moment to hand-pollinate the flower. 

Vanilla planifolia before pollination

Why hand pollinate? In hopes of producing a vanilla bean. Yes, the fruit of a vanilla orchid is used to make pure vanilla extract, which flavors many foods we enjoy.

Vanilla vines typically begin to flower at five years or older. Flowers are produced in clusters, with one flower opening each day in the morning. Stop by the Tropical Greenhouse soon to see what’s in bloom. 


©2016 Chicago Botanic Garden and my.chicagobotanic.org
Escape the Wind Chill with Winter Blooms in the Greenhouses

Escape to a warmer climate and enjoy a mini-vacation from Chicago winters in the Greenhouses at the Chicago Botanic Garden. Boyce Tankersley, director of living plant documentation, showed us some of the more unusual plants we will find flowering—or fruiting—in the Greenhouses in January.

Click here to view the video on YouTube.

Discover amazing aloes and euphorbias in the Arid Greenhouse:

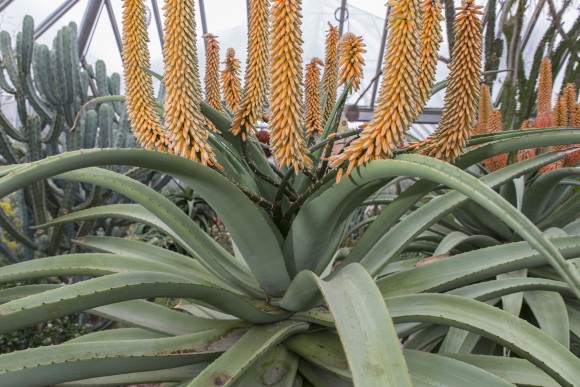
  • We have 43 different species of aloes, including: dwala aloe (Aloe chabaudii), hidden foot aloe (Aloe cryptopoda), and bitter aloe (Aloe ferox). The long tubular flowers of aloes are adapted for pollination by sunbirds, the African equivalent of our hummingbirds. The sap of aloe vera is used widely in cosmetics and to treat burns.
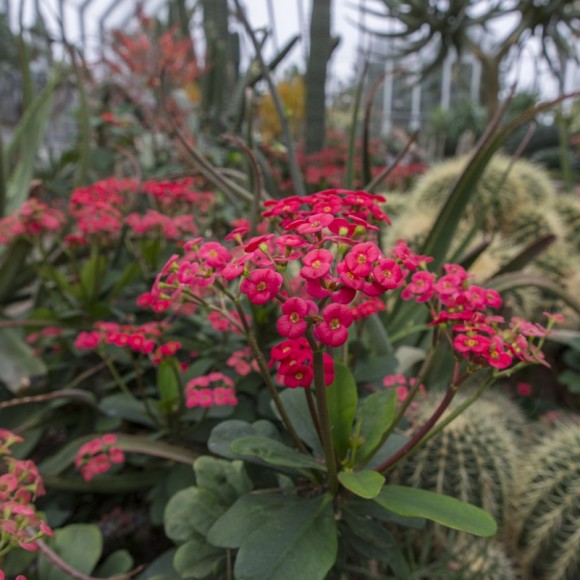
  • Our 35 different species of euphorbias are also spectacular during this time period. Look for geographic forms and cultivars of Euphorbia milii as well as the spectacular Masai spurge (Euphorbia neococcinea). Did you know that poinsettias are also in the genus Euphorbia?
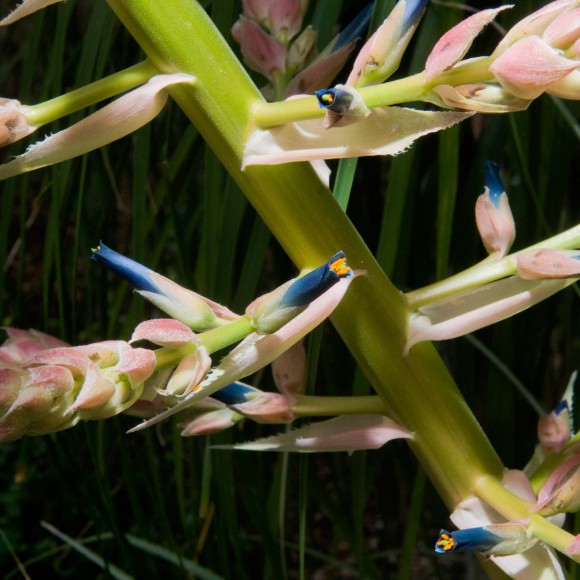
  • About to flower for only the second time in 30 years is turquoise puya (Puya alpestris), a bromeliad native to the high, dry deserts of Chile whose turquoise flowers are irresistible to hummingbirds.
PHOTO: Bitter aloe (Aloe ferox).
Bitter aloe (Aloe ferox)
PHOTO: Crown-of-thorns (Euphorbia milii).
Crown-of-thorns (Euphorbia milii)
PHOTO: Turquoise puya (Puya alpestris).
Turquoise puya (Puya alpestris)

The Semitropical Greenhouse is where you will find the following:

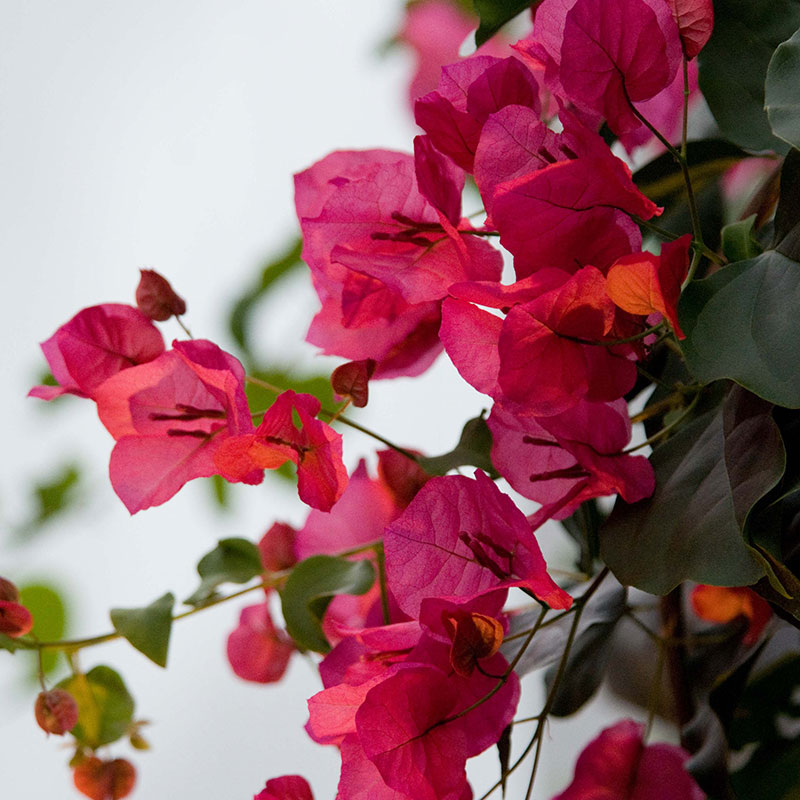
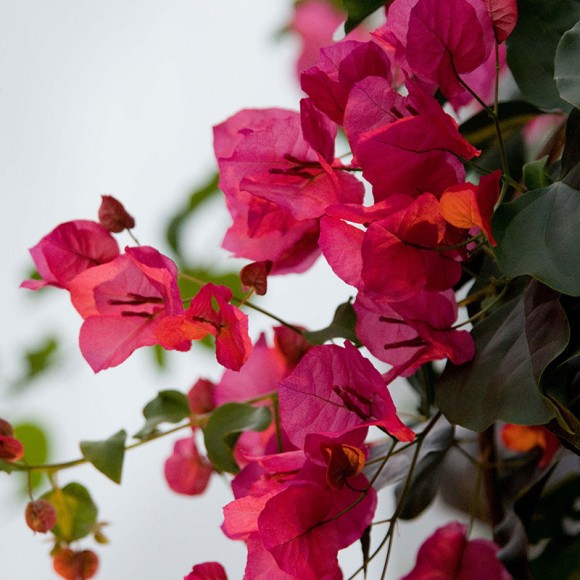
  • Paper flower—What appears to be the “flowers” of Bougainvillea ‘Barbara Karst’ and ‘Singapore White’ are actually colorful bracts surrounding the small, white flowers.
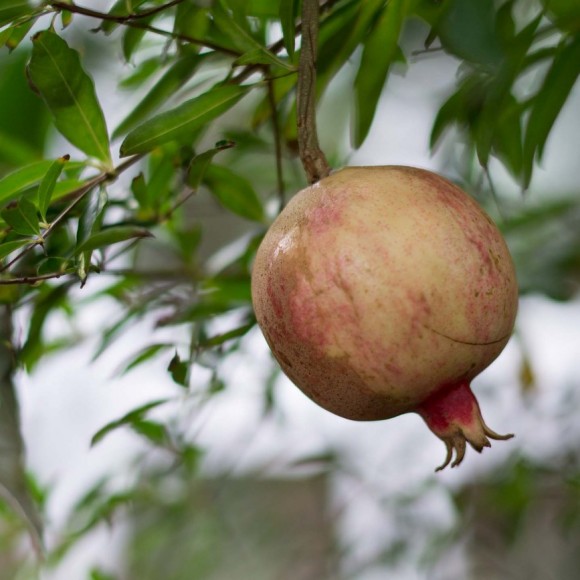
  • Dwarf pomegranate (Punica granatum ‘Nana’)—Pomegranates are native to the Middle East and are part of the Biblical Plants collection in the Semitropical Greenhouse.
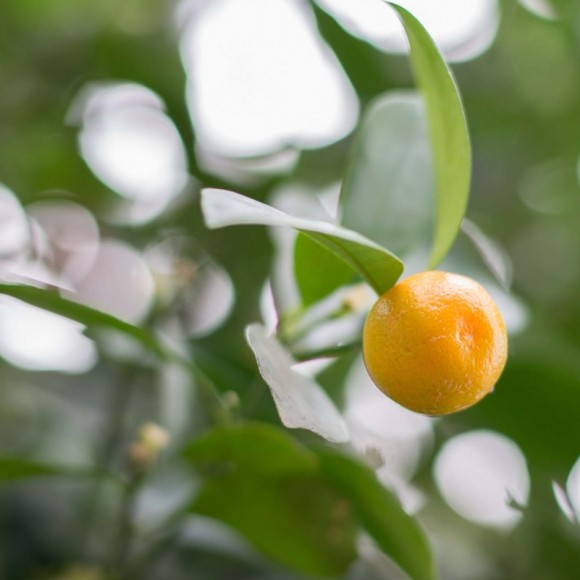
  • Calamondin orange (× Citrofortunella mitis)—This decorative, small orange is too bitter to be eaten.
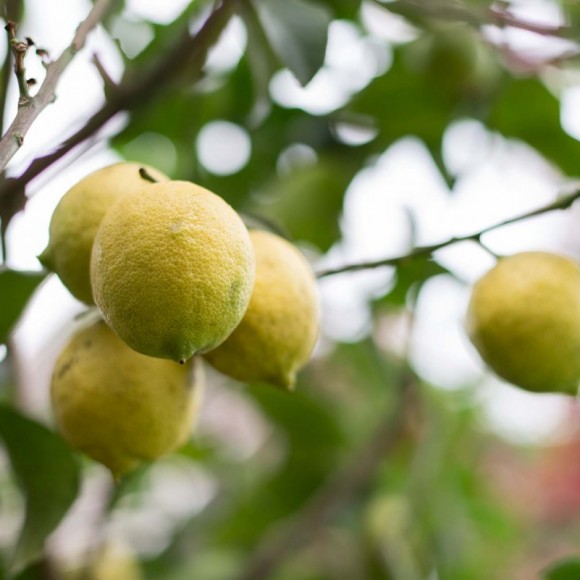
  • Ponderosa lemon (Citrus × ponderosa)—Ponderosa lemons are the largest in the world.
PHOTO: Bougainvillea × buttiana 'Barbara Karst'.
Paper flower (Bougainvillea × buttiana ‘Barbara Karst’)
PHOTO: Dwarf pomegranate (Punica granatum 'Nana').
Dwarf pomegranate (Punica granatum ‘Nana’)
PHOTO: Calamondin orange (x Citrofortunella microcarpa).
Calamondin orange (× Citrofortunella microcarpa)
PHOTO: Ponderosa lemon (Citrus x ponderosa).
Ponderosa lemon (Citrus × ponderosa)

Don’t miss these highlights in the Tropical Greenhouse:

  • “Alice” the titan arum (Amorphophallus titanum) with her magnificent orange fruiting spike. (The fruiting stage does not produce an odor.) The fruits will mature over the next two months to a deep red. In the wilds of Sumatra, ripe fruits are eaten by the rhinocerous hornbill, which spread the seeds.
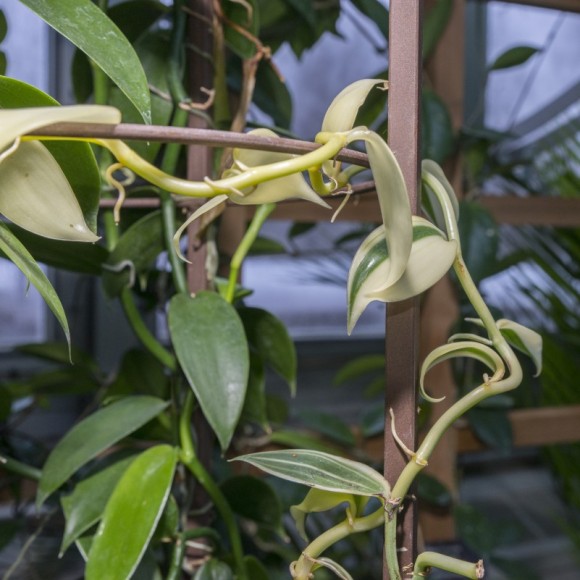
  • The vining Vanilla planifolia var. variegata is a variegated form of the Central American orchid that produces vanilla beans
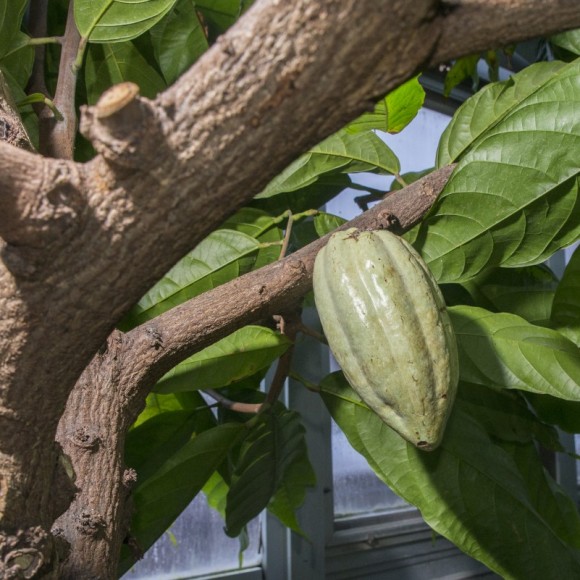
  • Cacao (Theobroma cacao)—the pods from this plant are used to make chocolate.  
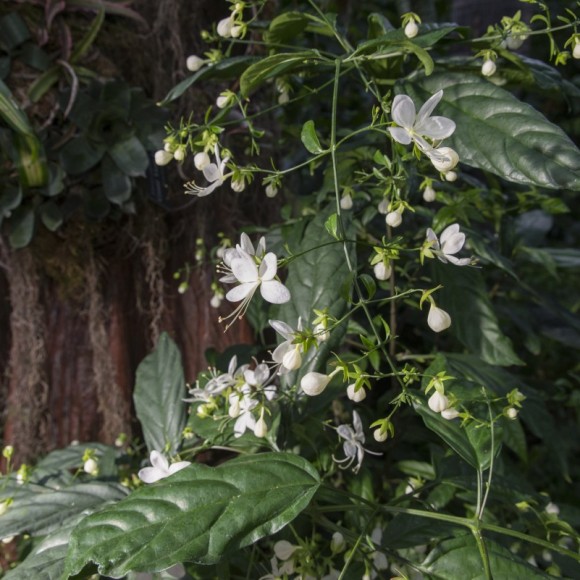
  • Nodding clerodendrum (Clerodendrum nutans) is among the first of this genus of winter-flowering shrubs and vines to be covered in showy flowers.
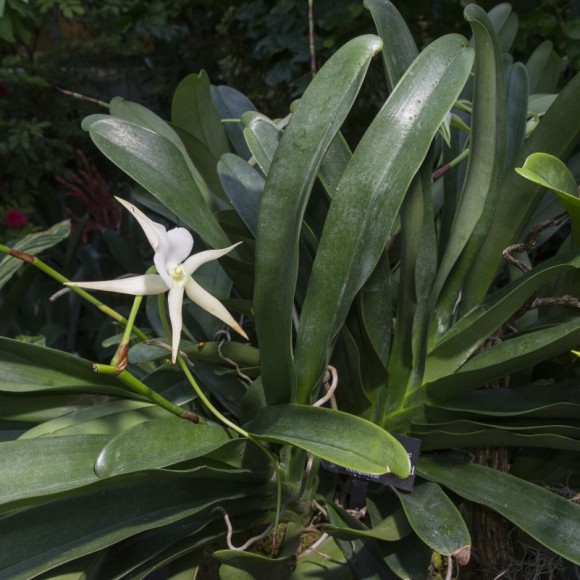
  • The elegant white Angraecum Memoria Mark Aldridge orchids with their long nectar tubes signal the start of orchid flowering season.
PHOTO: Vanilla orchid (Vanilla planifolia).
Vanilla orchid (Vanilla planifolia)
PHOTO: Cocoa pod (Theobroma cacao).
Cocoa pod (Theobroma cacao)
PHOTO: Nodding clerodendrum (Clerodendrum nutans).
Nodding clerodendrum (Clerodendrum nutans)
PHOTO: Angraecum Memoria Mark Aldridge.
Angraecum Memoria Mark Aldridge (A. sesquipedale × A. eburneum ssp. Superbum)

Please note: The Greenhouses and adjacent galleries will have limited access January 25 – February 7; from February 8 – 12, they will be closed in preparation for the Orchid Show, opening February 13, 2016. From February 13 – March 13, the Greenhouses will be open to Orchid Show ticketed visitors only. 


©2016 Chicago Botanic Garden and my.chicagobotanic.org
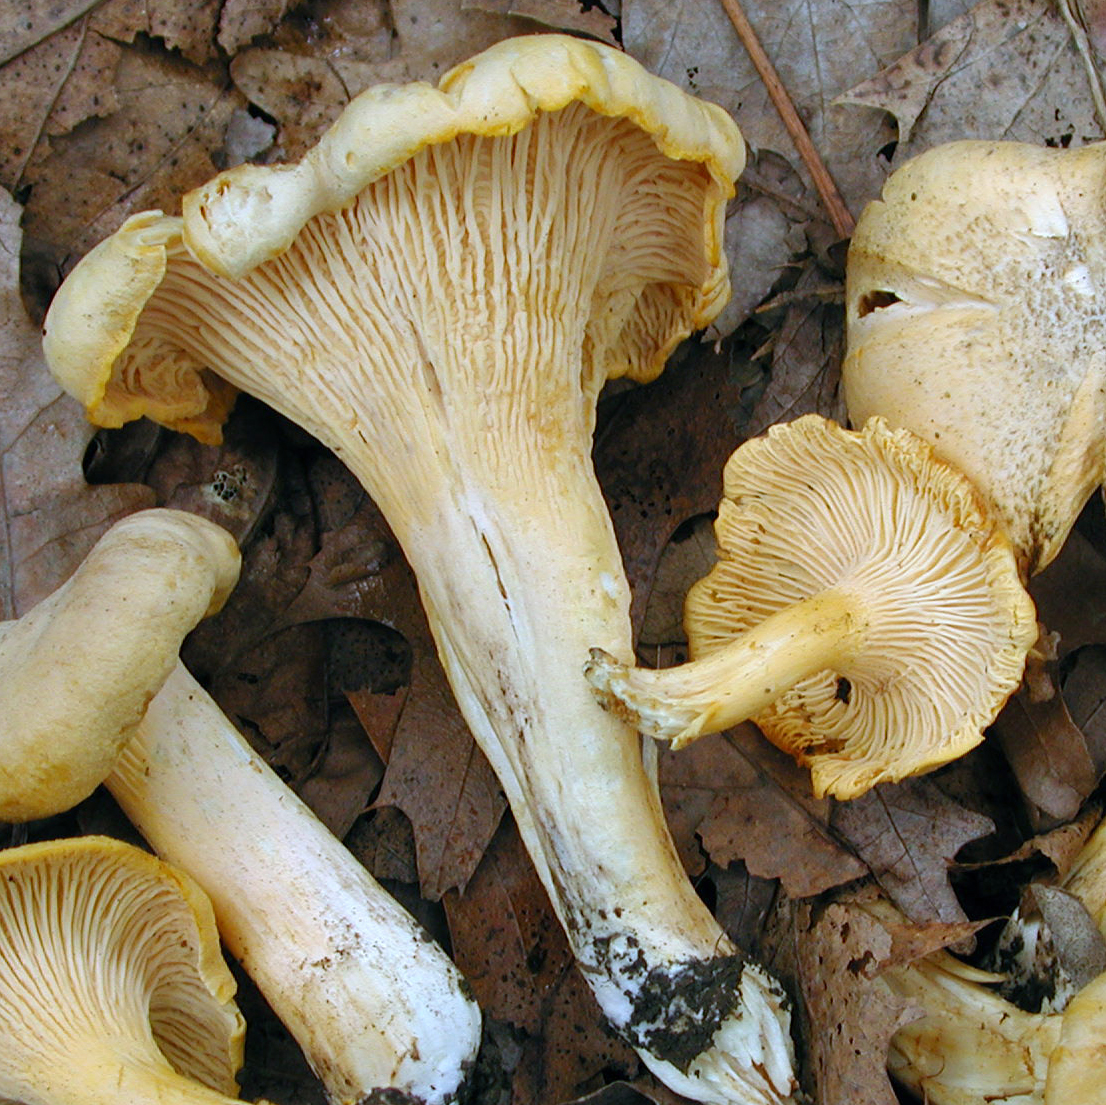
Mushroom Discovery

All the possibilities for the Obama Library plus our Windy City Harvest Youth Farm are featured on National Geographic’s website! Read about it in Greg Mueller’s article, The Next New Species Could be in Your Backyard: Why Exploration and Discovery Matter—Everywhere on National Geographic. Mueller, chief scientist and Negaunee Foundation vice president of science at the Garden, describes the excitement of discovering new species in our own neighborhoods and parks.

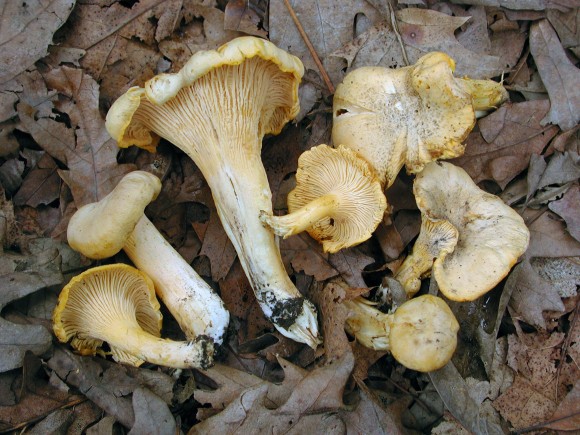
Collection: Patrick R. Leacock 5450 2003 Aug 9 USA, Illinois, Cook County Illinois Mycological Association foray Herbarium: F, C0210207F
Photograph by Patrick R. Leacock

Read more by Garden scientists at voices.nationalgeographic.com
Copyright © 2014 National Geographic

Seasonal Treat: Pumpkin Fudge

If you’re ready to start a new tradition (enough already with the pumpkin pie, pumpkin bread, and pumpkin cookies), consider this recipe for bourbon pumpkin-pecan fudge. The bourbon gives the fudge a bit of a kick (and who doesn’t need a little jump-start during the holidays?).

The recipe is simple enough to get the whole family involved. Think butter…pumpkin…toasted pecans—what’s not to like? And what better way to celebrate the season than to spend time together, break fudge together, and give thanks that you’re able to do so?

Pull out your candy thermometer, 4-quart sauce pan, wooden spoon, measuring cups and spoons, 13-by-9-inch pan, aluminum foil, nonstick cooking spray, and seasonal cookie cutters (and get the camera ready—not that anyone is going to lick the spoon…). This is going to be delicious.

Bourbon Pumpkin-Pecan Fudge

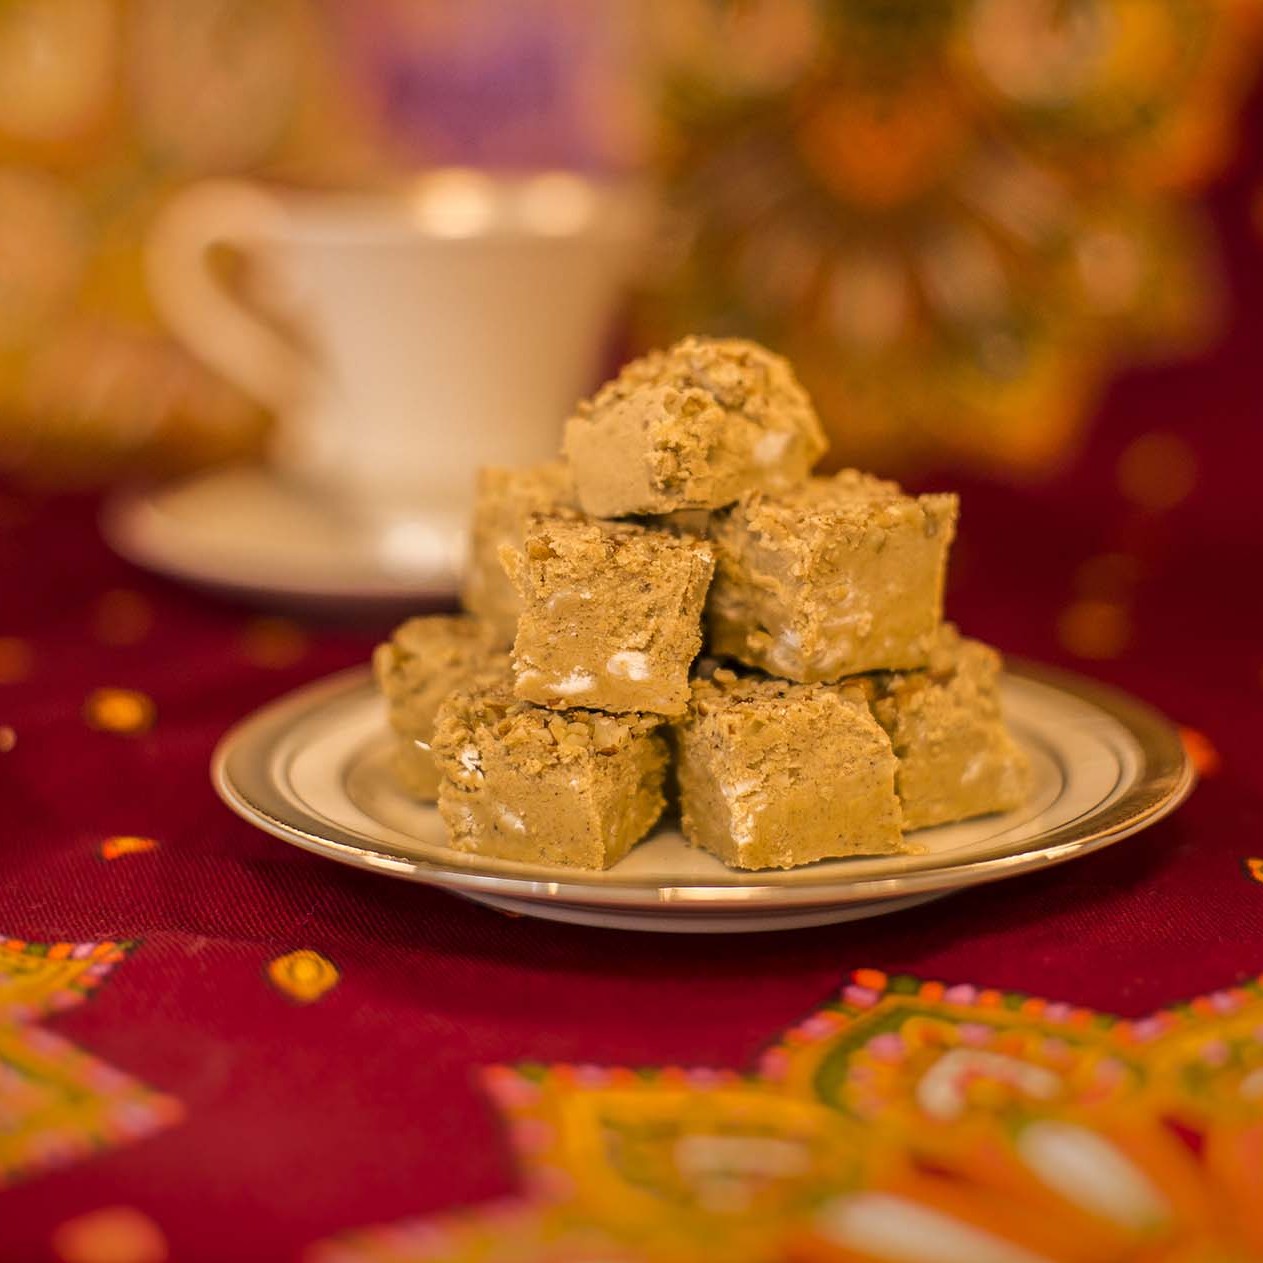
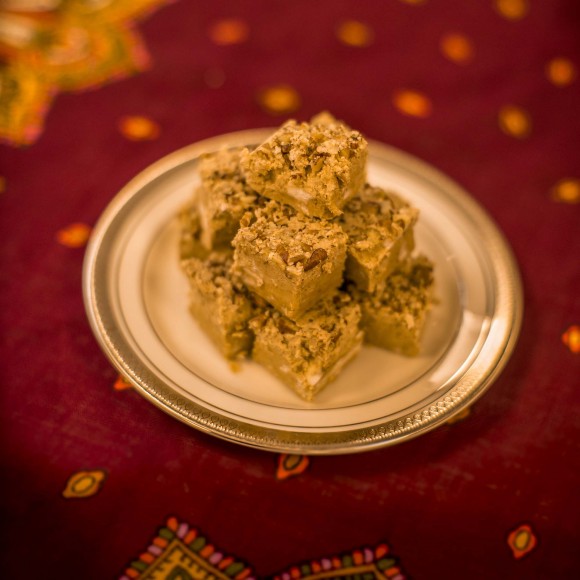
PHOTO: Pumpkin fudge

1¾ cups sugar
1¼ cups brown sugar
¾ cup unsalted butter
2/3 cup evaporated milk (5-ounce can)
½ cup canned pumpkin purée (no added sugar)
2 teaspoons cinnamon
1 teaspoon ginger
¼ teaspoon nutmeg
¼ teaspoon allspice
2¼ cups white chocolate chips
7 ounces marshmallow fluff (any brand)
1 teaspoon salt
1 teaspoon bourbon (optional, but worth it!)
1 teaspoon vanilla extract
1 cup pecans, toasted and chopped

Start by covering a 13-by-9-inch pan with aluminum foil. Spray the covered pan with cooking spray. Sprinkle the chopped pecans evenly over the bottom of the pan. (They do not have to completely cover it.) Set aside.

Combine the sugar, brown sugar, butter, evaporated milk, pumpkin purée, spices, and salt in a pan. Bring to a boil over medium heat and continue to boil until the temperature reaches 236 degrees Fahrenheit on your candy thermometer. Remove from heat.

Working quickly, add the white chocolate chips, marshmallow fluff, bourbon, and vanilla to the pan. Be careful, as this may spatter and will be very hot! Fold ingredients in until completely incorporated. Pour the hot fudge mixture over the chopped pecans and quickly spread evenly; it will immediately start to set up as it cools.

Place the pan uncovered in the refrigerator for at least 3 hours. Your mouth is probably watering already, but unfortunately, it will take this long to set up completely.

After cooling the pan completely for 3 hours, remove the pan from the refrigerator, and turn it upside down on a cutting board. The fudge should pop right out. Peel off the aluminum foil and discard. Want to make your treats extra special? Use cookie cutters to cut your fudge into festive autumn shapes—or maybe dinosaurs if you’re that kind of person—and enjoy!

Note: If you have it in your spice rack, you can substitute 3½ teaspoons of “pumpkin pie spice” for the cinnamon, nutmeg, ginger, and allspice.

©2014 Chicago Botanic Garden and my.chicagobotanic.org