Gardening As We Age

If you’re reading this article, you’re likely familiar with some of the challenges facing older folks: your muscles may get weaker and ache more readily. Falls can do more damage. Your energy and endurance may wane, and your skin may get thinner. Your eyesight and memory many not be as sharp, and your fine motor skills may become less coordinated.

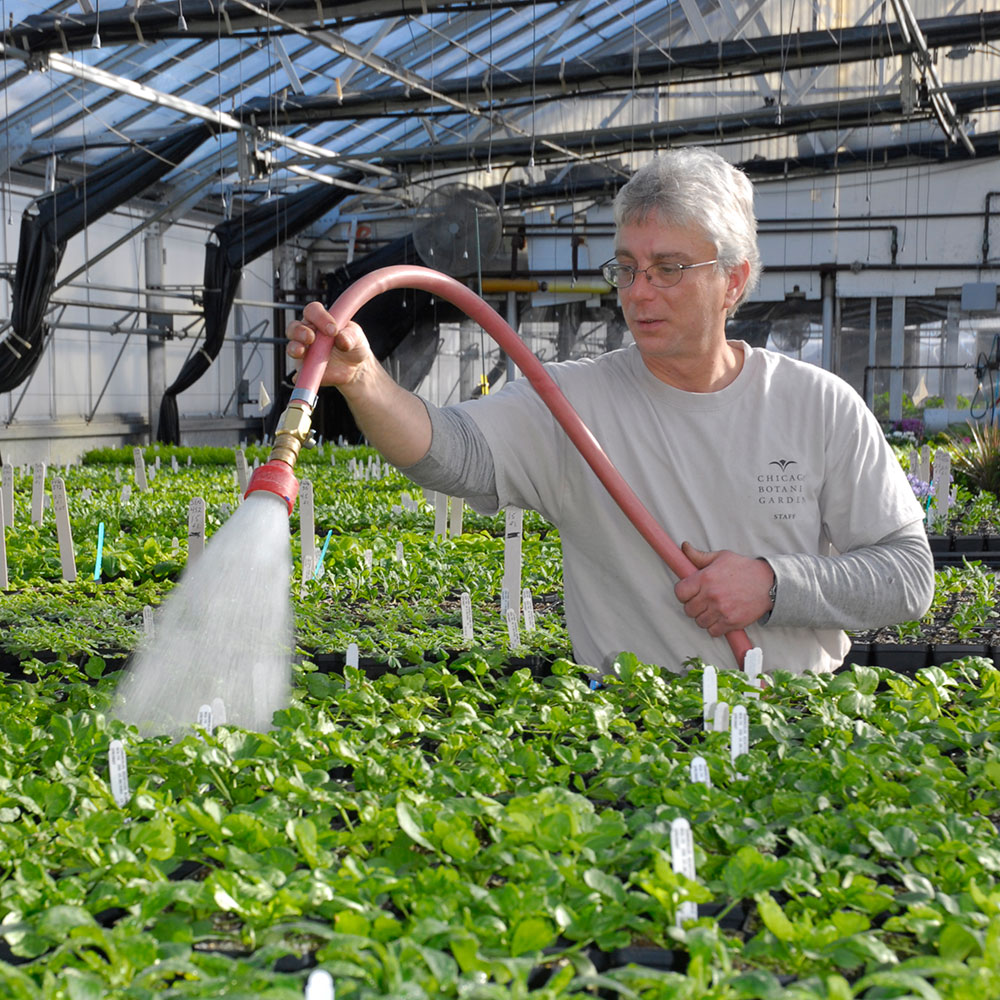
What can the estimated 85 million U.S. gardeners do to continue gardening as they age? Gardening provides so many physical and emotional benefits that it’s well worth pursuing. The activity may even improve problems associated with aging, such as depression, osteoporosis, diabetes, and poor sleep.

PHOTO: Garden volunteer Lauren waters lettuce seedlings in the greenhouses.
Keeping active in the garden is what our volunteers love best.

So let’s explore some ideas that might help you continue gardening despite these challenges. I’ve found that prevention, preparation, positioning, and partners—the four “P’s,” if you will—enable many older gardeners to carry on.

There is no better place to start than prevention. Since recovery takes longer as we age, let’s make sure we have less to recover from. Make a solemn oath not to go out to the garden until you are wearing proper footwear! Even if you plan to just survey the yard while barefoot with your first cup of coffee, danger lurks! Without shoes, you are more likely to fall or sprain an ankle. The damp grass can be slippery, and uneven surfaces can lead to a twisted ankle. Falls can lead to serious complications and are best avoided. 

Take a few minutes to limber up your joints, especially your back and legs, before you start working in the garden. You will be much more comfortable if your muscles are warmed up. Surprising them by pulling a stubborn weed can cause pain and injury that could have been avoided. 

Remember to protect your skin. That means sunscreen, a hat, gloves, and loose, light clothing. Invest in a pair of really good gloves that you will keep on no matter what the task. Cuts and abrasions in the skin of the hands are an invitation to infection. Likewise, protect your eyes from extreme brightness with sunglasses. 

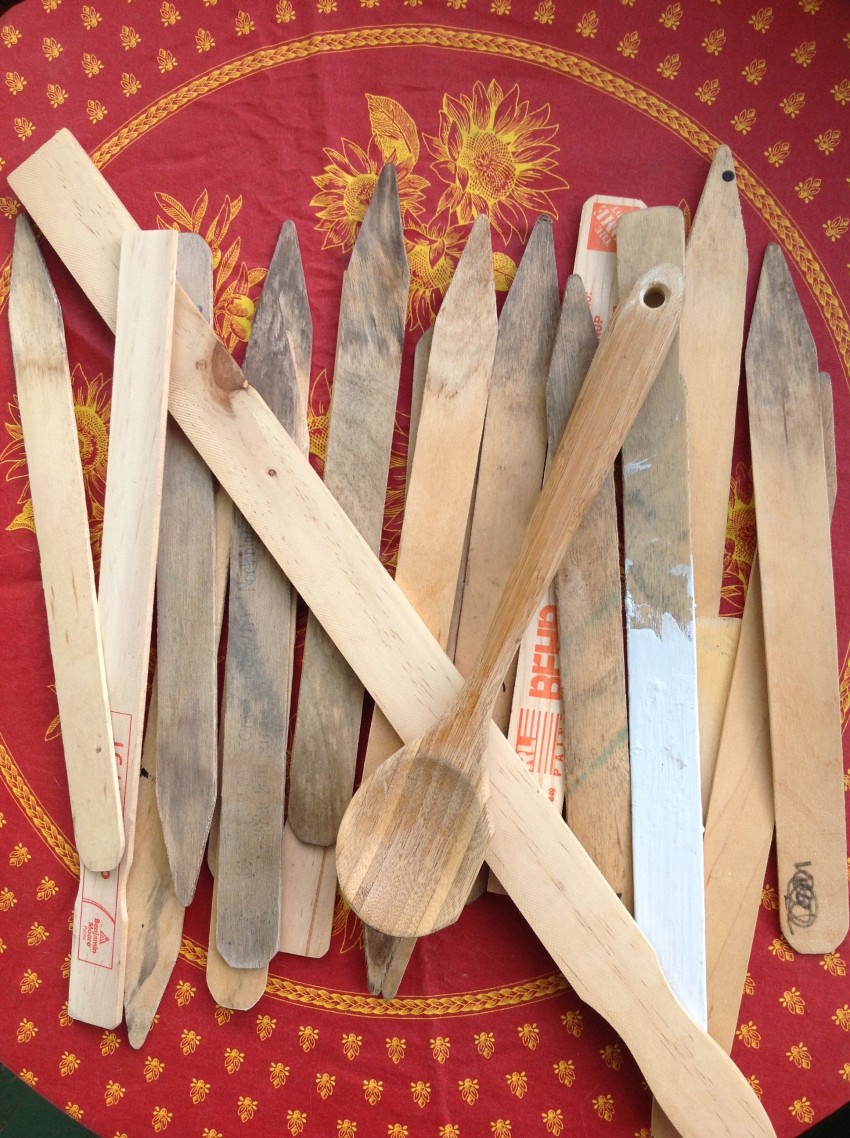
Prevention even applies to the end of a day in a garden. Make sure to put away all tools and to coil all hoses away from walkways. Painting the handles of tools with bright colors make them easier to spot in the garden or lawn. 

Preparation is the next area where the time spent will be repaid handsomely.

PHOTO: A container box planting of rosemary, sage, eggplant, and smaller blooms.
Containers along a path are an elegant solution to reducing overall garden space, and making seasonal plantings easier to maintain.

Begin with a critical appraisal of the areas you tend. Note what you enjoy most as well as what you dread doing. Look at quantities of plant material, and consider the age and condition of your trees and shrubs. This is an opportunity to make some well-considered decisions and create your ideal garden. Whether you implement changes all at once or gradually, your ideal should include your favorite plants and tasks in manageable proportions. 

If you do a lot of pruning regularly, decide if that is pleasurable to you. If not, hunt for some woody plants that maintain their shape naturally. If your perennials have grown into huge beds, decide if you would be just as happy with less. If so, remove your extra perennials and offer to friends or garden clubs. 

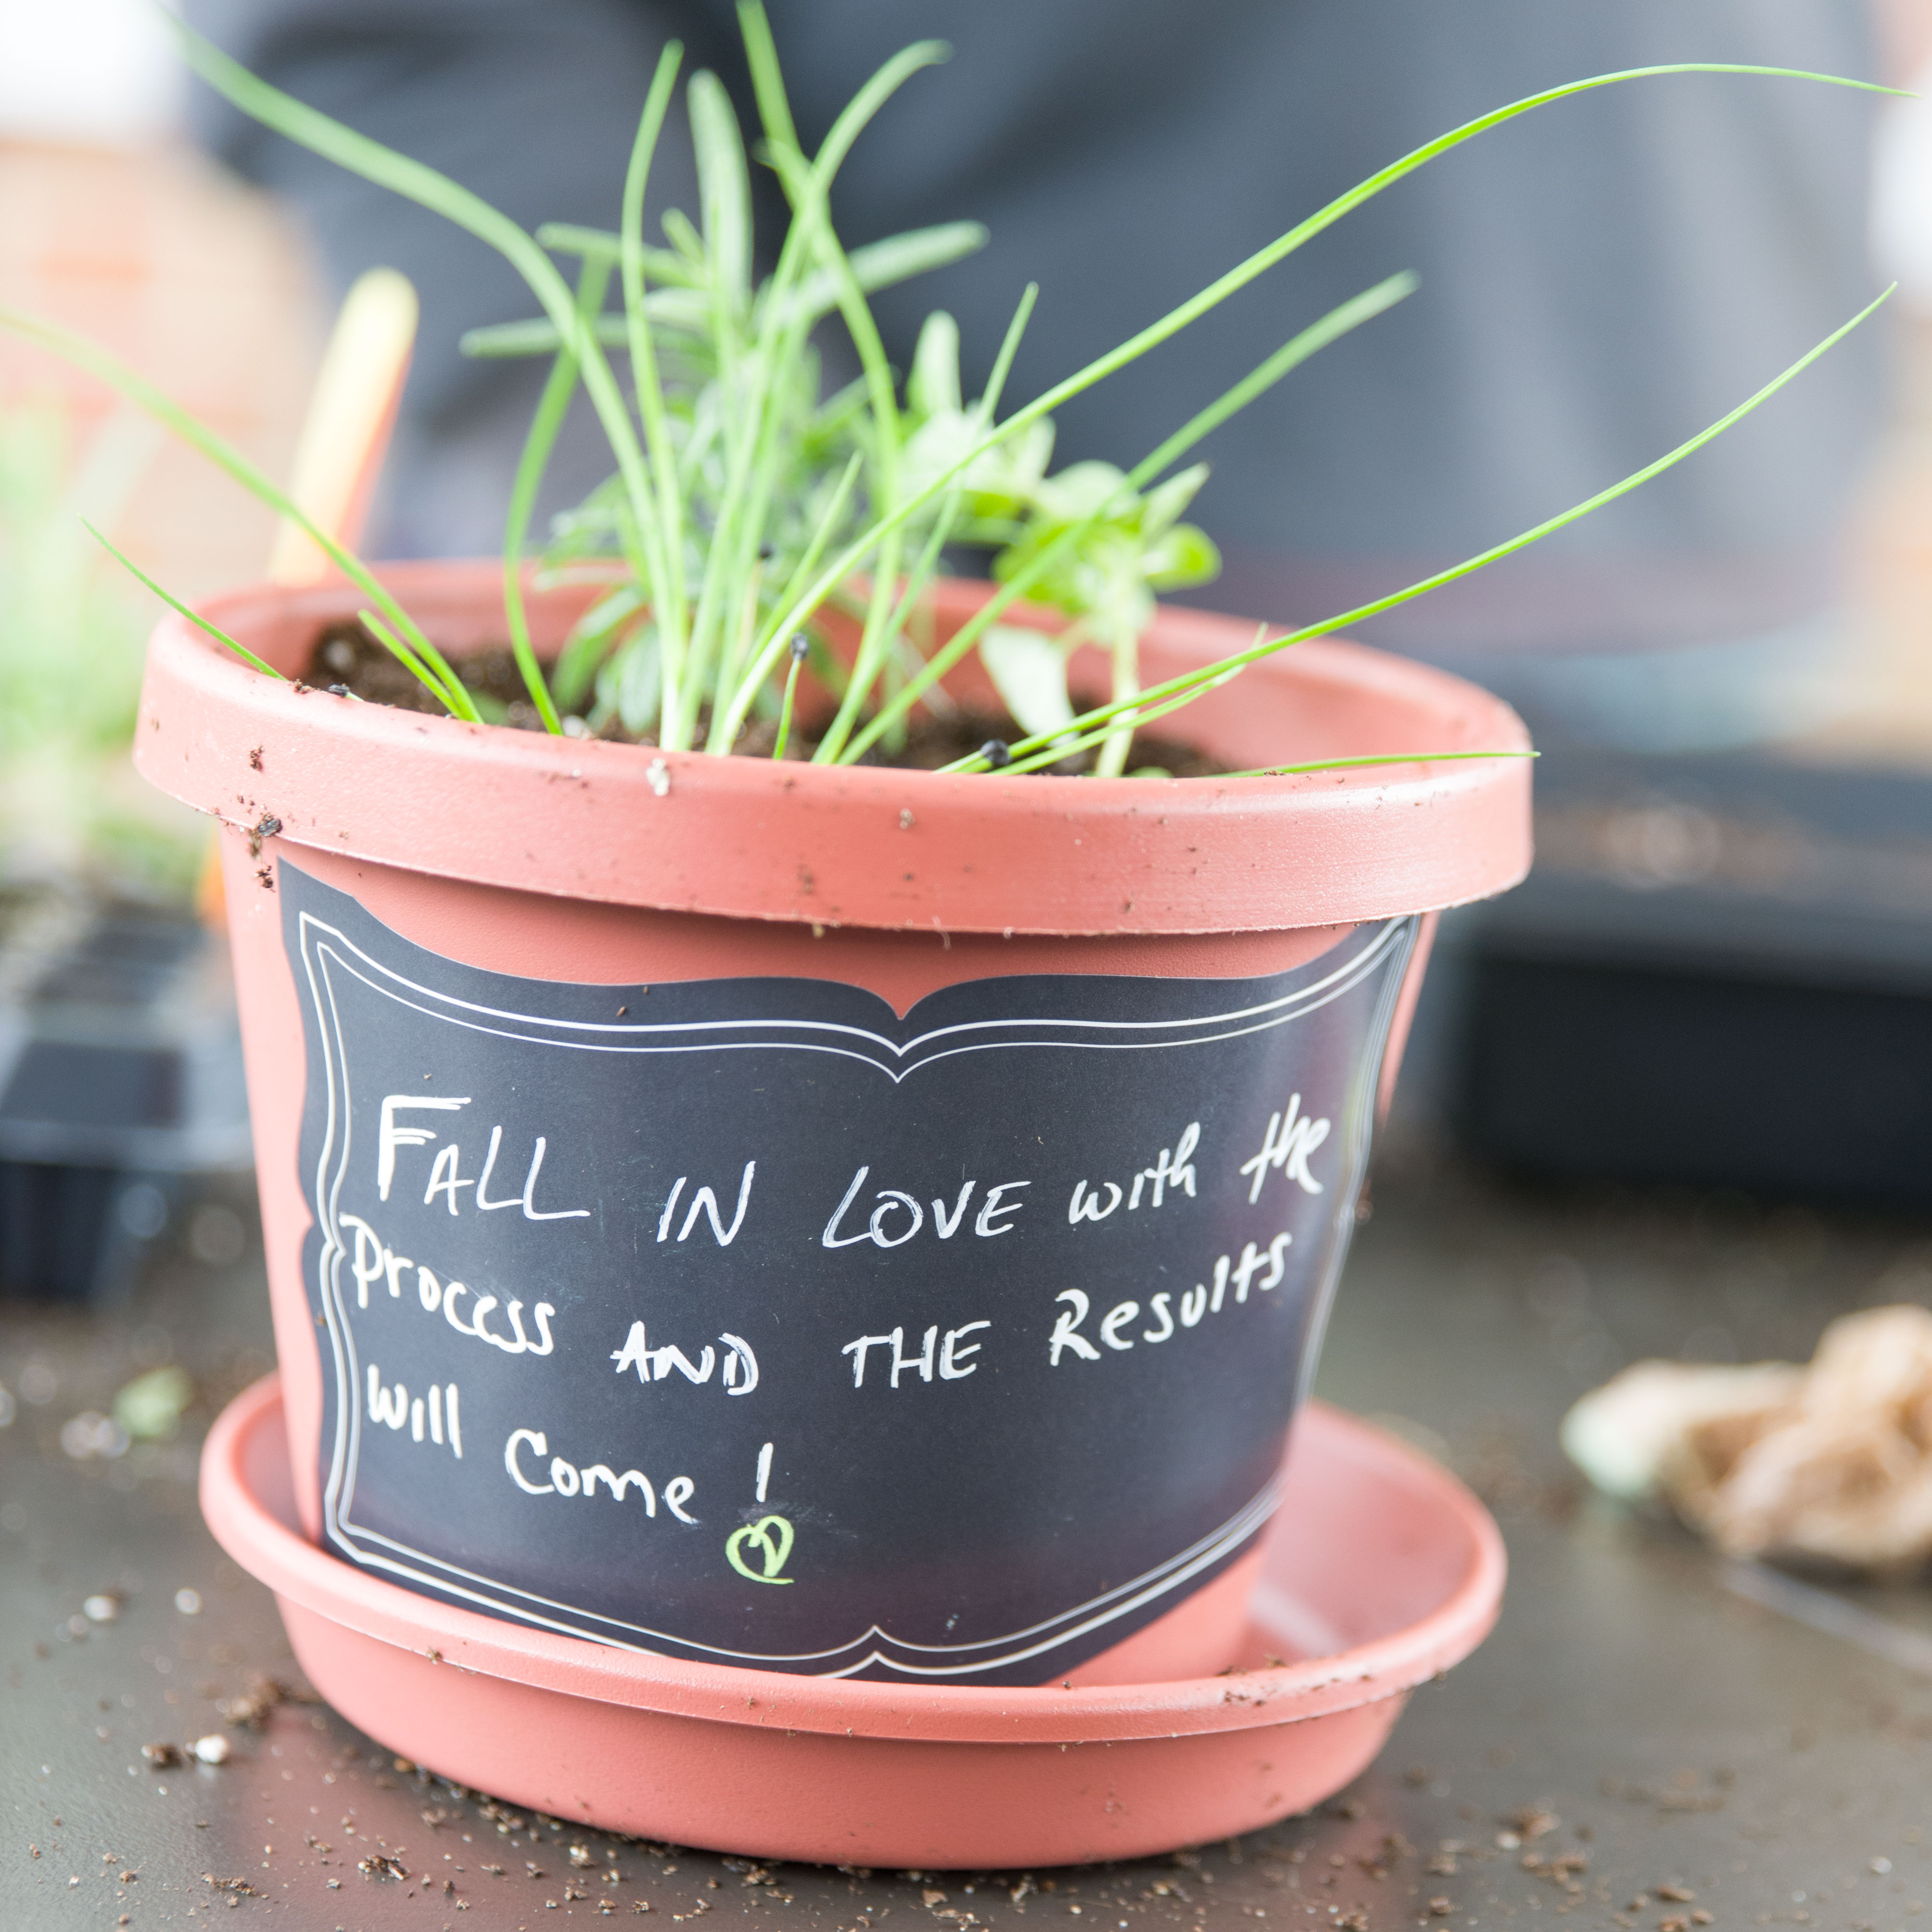
If you have been forceful and unsentimental with your removal decisions, you are likely left with some empty areas that need to be filled. This is a critical juncture. In order to avoid swapping one huge garden for another, see if you can cluster your remaining plants into smaller beds. Absorb some of the newfound space with trees or shrubs that provide structural interest, but are low in their demands. Of course, you can always plant more grass, but groundcovers do a nice job with less chemicals and mowing. Another possibility is to begin raising your garden to an easy-to-reach height. Use containers or create raised beds so that you can tend the plants without getting down to ground level. Perhaps all that space where plants have been removed can be re-envisioned as walking paths among containers and beds. 

Positioning is the third area to think about.

As you revise your garden, keep in mind that reaching down to ground level and up over your head are positions that demand a lot of energy. You will tire quickly unless you can work more in the midrange of your reach. Containers and raised beds bring the soil level up nicely. A raised bed that allows a comfortable approach with a knee space for sitting while facing the bed is ideal. A ledge for side sitting works for short periods of gardening. Try using a pulley system to bring hanging containers down to a workable level and then raise them back up again. 

Finally, let’s think about partners.

PHOTO: Two scoop-shaped grip-handled trowels with serrated edges combine two gardening tools into one.
These scoop-shaped, grip-handled trowels with serrated edges combine two gardening tools into one.

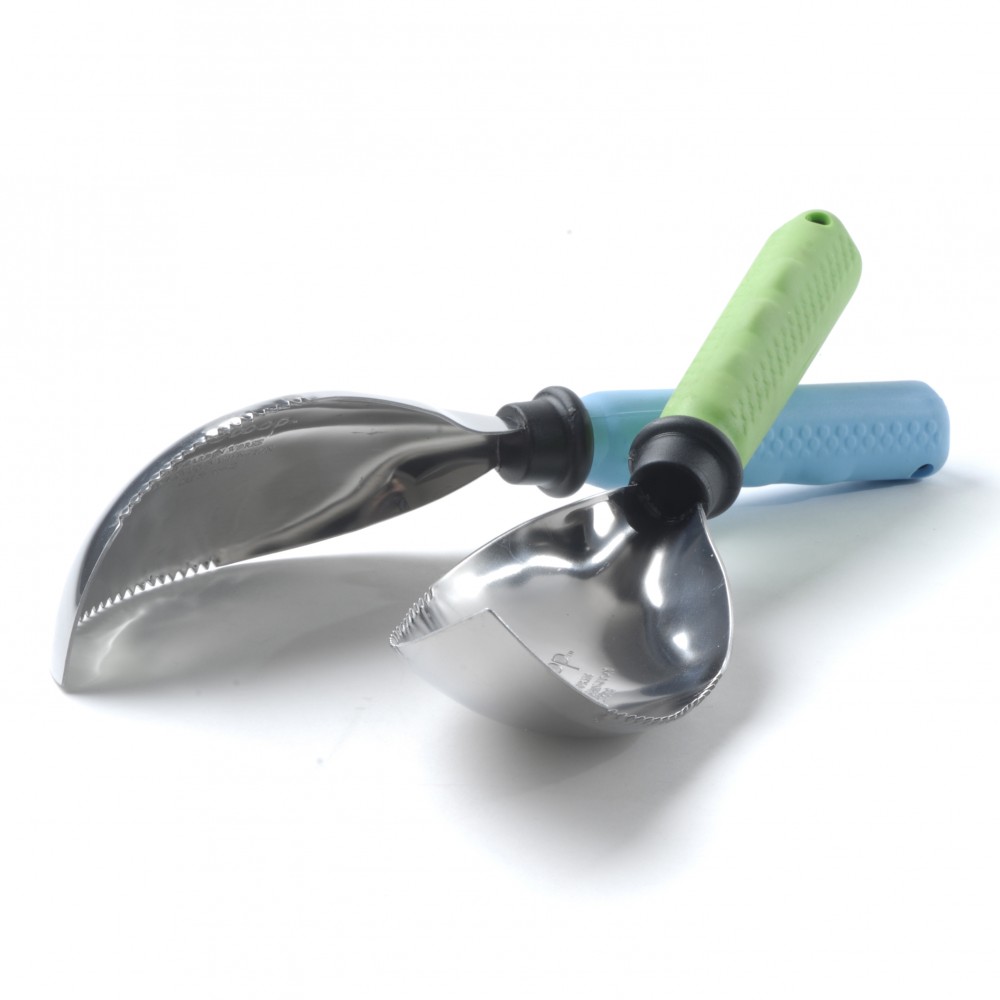
Partners in gardening can be human—perhaps hired help for the most demanding or onerous tasks, such as removing weak trees. Partners can also be the wonderful tools that bolster your body’s ability. A tool that has good leverage, sharpened edges, and smooth operation of moving parts is a joy to work with. An increasing number of ergonomic tools are on the market. Look for larger, nonslip grip surfaces, handles that allow for two-handed manipulation, tool holders that distribute the workload over more than one joint, and carriers that keep tools safe and handy. 

Prevention, preparation, positioning, and partners can have you gardening for a lifetime. Such a healthy hobby is worth the time and effort it takes to keep it enjoyable.  

©2014 Chicago Botanic Garden and my.chicagobotanic.org

Grafting Tomatoes

Grafted tomato plants are available at garden centers and through mail order nursery catalogs, but sell out quickly, as the idea has captured the interest of home gardeners, farmers, and professional greenhouse growers.

PHOTO: Tomato graft with silicon tubing holding the graft in place to heal.
The finished tomato graft: this will be placed into a “healing chamber” for a week while the graft seals.

An ancient art and science long used on fruit trees, grafting is the placement of the tissues of one plant (called a scion) onto another plant (called a stock). The rootstock is thought to impart disease resistance and increased vigor to a less vigorous—perhaps heirloom—tomato grafted on the top, producing more tomatoes over a longer period of time.

Curious about the process and whether the price tag could be justified—grafted plants run from $9 to $18 a plant—I decided to graft some tomato plants myself and grow them out. My first foray was in winter 2013. The Chicago Botanic Garden’s propagator in the plant production department, Cathy Thomas, had just returned from a conference at Longwood Gardens, where one of the topics was grafting vegetables. She willingly supported my quest and enthusiastically discussed the details with me.

The process seemed fairly straightforward after we settled on which varieties to graft together. Deciding to graft the cultivar ‘Black Cherry’ onto ‘Better Boy’ rootstock, we worked with tiny, 3-inch-tall tomato starts, taking care that the top and bottom stems of each plant were exactly the same diameter at the place they were to be grafted. Our grafting tools included clear silicon tubing cut to 10 to 15 millimeter lengths, a new, unused razor blade, and our tomato seedlings.

Starting by sanitizing our hands, we used a new razor blade to slice the stem of the scion (top graft plant) off at a 45-degree angle. The plastic tubing, soon to be the grafting clip that would bandage the graft union, was prepared by splitting it in half. All the leaves were removed from the scion, leaving only the meristem. (The meristem is the region of stem directly above the roots of the seedling, where actively dividing cells rapidly form new tissue.) Two diagonal cuts were made, forming a nice wedge to fit into the rootstock. The rootstock was split and held open to accommodate the scion. A silicon clip was slipped around the cleft graft. Newly grafted plants were then set into a “healing chamber,” a place with indirect light and high humidity, for up to a week. In the healing chamber, the plants can heal without needing to reach for light, which can cause the tops to pop off. We placed our new grafts in a large plastic bag in the Regenstein Fruit & Vegetable Garden greenhouse. The healing began.

PHOTO: Slicing the top off the rootstock tomato seedling.
Cut the root stock off at the meristem; discard the top of the seedling to avoid confusing it with the scions you will be grafting.
PHOTO: Slicing the top of the meristem to insert the scion graft.
After cutting off the top of the rootstock, user the razor to vertically slice the top part of the remaining meristem.
PHOTO: Removing the leaves from the tomato scion graft.
Remove the extra leaves from the scion, leaving only the top set.
PHOTO: Sharpening the tip of the scion to a point.
Make two 45-degree cuts to the end of the scion to create a sharp tip to insert into the rootstock.
PHOTO: The scion is inserted into the rootstock of the tomato graft.
Using the razor’s edge to pry open the split rootstock, gently insert the prepared scion.
PHOTO: Closeup of the finished tomato graft.
Slice the silicone tubing open and wrap the cuff around the graft, entirely covering the graft to support the top plant and speed healing.

Two weeks later, we had a dismal one-third survival rate! Much to my relief, the lone survivor was a superlative tomato plant in almost every way. Oh, what a strong tomato we had! My excitement rose—what if heirloom tomatoes could be as delicious and more prolific and adaptable? When soils warmed, we planted our grafted tomato out in the Fruit & Vegetable Garden, positioned right next to a ‘Black Cherry’ plant growing on its own root, so the differences would be easy to discern. Our hope was that we could address some of the ins and outs of grafting for the public, and the feasibility of DIY (do it yourself) for gardeners. Do grafted heirloom tomatoes have more vigor, better quality, and bear more fruit than ungrafted “own-root” heirloom tomatoes? Which has a more abundant harvest over a longer period of time?

Last summer, our grafted tomato plant certainly provided the earliest harvest. Comparatively, it was earlier to fruit than the plant grown on its own root by two weeks, and was prolific throughout the season. That being said, in the organic system of the Fruit & Vegetable Garden, our soils are nutrient-rich and disease-free in large part due to crop rotation and soil-building practices. The question used in marketing “Is the key place for grafted tomatoes in a soil that has disease problems?” didn’t apply to us. Are grafted tomatoes the answer for those with less-than-ideal environmental growing conditions? For greenhouse growers unable to practice crop rotation as a hedge against a build-up of soil-borne disease, or home gardeners who contend with cool nights and a short growing season, I would say yes, I think so, but at a cost.

PHOTO: Grafted tomato in healing chamber.
Place the finished graft in a humid location, out of direct sunlight, to heal for up to one week.

When planning on grafting, growers must buy double the amount of seed and need to double the number of plantings (to account for the graft failure rate) to maintain the same number of viable seedlings to plant. Cathy and I tried our grafting project again this spring and are looking forward to growing ‘Stripes of Yore’ and ‘Primary Colors’ on ‘Big Beef’ hybrid rootstock. I swapped seed for these unusual varieties with a tomato enthusiast who attended our annual Seed Swap this past February. Our rootstock has excellent resistance to common tomato diseases: AS (alternaria stem canker), F2 (fusarium wilt), L (gray leaf spot), N (nematodes), TMV (tobacco mosaic virus), V (verticillium wilt).

We planted grafted tomatoes in the Fruit & Vegetable Garden, right alongside some of the other 52 varieties of heirloom and hybrid tomatoes.

©2014 Chicago Botanic Garden and my.chicagobotanic.org

Best. Plant labels. Ever.

One of the best things about visiting (and working at!) the Chicago Botanic Garden: you get great ideas for your own garden.

I put one of them to work in my new “all vegetable” front yard garden this weekend.

Horticulture program specialist Nancy Clifton faced the challenge of labeling dozens of different heirloom tomato varieties in containers. Her solution was simple and elegant: gather up the paint stirrers and get out the chalkboard paint!

BEFORE:  Clean out the paint shelf! Old paint stirrers, stakes, and even wooden spoons can work as plant markers.
Before: Clean out the paint shelf! Old paint stirrers, stakes, and even wooden spoons work as plant markers.
PHOTO: Plant labels painted with two coats of chalkboard paint.
After: Two coats of chalkboard paint ought to do it. Tip: Looks better when you paint the sides, too.

The photos are testament to how easy it is: assemble a pile of paintable wooden markers-to-be, scrub-brush lightly under running water, and let dry. (No need to overdo it on the pre-cleaning—the paint covers most everything.) On a fine spring day, apply two coats of chalkboard paint. I went for black, but you can have the white base paint tinted any color. (Ooh! Lime green would have been good!) Let paint dry between coats.

PHOTO: Pile of black plant markers with names inscribed.
A pile of tomato markers await 50 degree-plus nights before the tomatoes can go in.

To write the names,  I used the same basic white grease pencil—found at any art store—that’s used on the metal signs at the Garden. It withstands rain, wind, and dirty hands.

Like many gardeners, I’ve tried lots of different methods for labeling over the years: Popsicle sticks (disintegrate fast, get stepped on), zinc and copper markers (too small to read from a distance, get stepped on), and rocks (hard to keep in one spot). This approach is simple, recyclable, nice looking, and kind of fun to do—makes a good kid project, too!

Can’t wait to get those tomatoes in the ground…

©2014 Chicago Botanic Garden and my.chicagobotanic.org

Bottle Cap Bouquets

Miniature flower arrangements offer a charming and whimsical gift for mom, grandma, or anyone special. A nice feature of these tiny bouquets is that you can show off the beauty of small flowers that always sing backup to showier blossoms in large arrangements. Also, you can use aromatic herbs with small leaves as filler greens to add a pleasant scent.

PHOTO: The supplies for creating bottlecap bouquets.
The supplies for creating bottle cap bouquets.
PHOTO: a tiny bouquet of mini carnation, baby's breath, and a sprig of sage.
This little arrangement of mini-carnations, baby’s breath, and a sprig of sage has pink burlap ribbon wrapped around the bottle cap to mimic a fancy basket of flowers.

What you need:

  • A cap from a plastic bottle, such as a milk container or soda bottle
  • Floral foam (the wet kind)
  • A bunch of small flowers—I used mini-carnations, waxflowers (Chamelaucium uncinatum), and baby’s breath (Gypsophila paniculata)
  • Fresh herbs (thyme, rosemary, and lavender work well because they have stiff stems)
  • Optional: ribbon for added decoration

The directions are pretty simple.

Cut the floral foam to fit the inside of the bottle cap. Start a little larger than you need, and then trim it to fit. Push it into the cap. If your cap is narrow, like a milk bottle cap, you may want the foam to be above the level of the cap so there is enough room to hold the flowers. Otherwise, trim the top so the foam does not stick up. Add water to soak the foam.

PHOTO: hands tracing around a bottlecap and block of foam with a pencil.
Trace the cap on a piece of foam and then carve the foam with a butter knife to fit inside the cap.
PHOTO: hands poking flowers into floral foam.
Begin sticking the flowers into the foam. Here, we started with a waxflower in the center and added smaller flowers and herbs around it.

Cut the flower and herb stems about 3 inches. You can trim them shorter depending on the desired height in the arrangement. Stick them into the foam. You might want to start with one of your larger flowers in the center and then add smaller flowers and herbs around it.

PHOTO: a tiny bouquet of waxflower, baby's breath, and rosemary.
Waxflower, baby’s breath, and rosemary complete this delicate arrangement.
PHOTO: a tiny bouquet of baby's breath and thyme.
Not into pink? This yellow cap with baby’s breath and thyme is fragrant and cheerful.

When you are satisfied with your floral creation, you can either leave it as is—especially if the color of the bottle cap looks nice with the flowers—or you can tie a ribbon around the bottle cap. The best way to keep it in place is by using a few drops from a hot-glue gun. 

PHOTO: a tiny garden created in an old contact lens case.
Surprise! An old contact lens case becomes a miniature garden of waxflower and thyme that smells as amazing as it looks.

Tips

When using a shallow bottle cap, limit the number of larger flowers like mini-carnations or mini-daisies to three or fewer. Floral foam has limits. Adding too many flowers will cause the foam to fall apart and the flowers to flop over. If the first attempt suffers from floppy flowers, start over with a new piece of foam and add fewer flowers. 

If you really want more than three large flowers, use a taller cup, such as a medicine cup from a bottle of cough syrup, as the vase. Even then, take care not to overload the foam. This is a small bouquet, after all!

PHOTO: the final bottlcap bouquet arrangements in a group.
Precious and colorful, these-mini bouquets will stay fresh and bring cheer for a few days.

Floral foam is irresistible. Your kids, even teenagers, will want to play with it. Parcel it out in small pieces so they don’t play around with the whole block before you can use it. 

You can use the same procedure to make a mini-dried flower arrangement; just don’t wet the foam. Any way you make them, these little bouquets are sure to bring big smiles from someone you love. 

©2014 Chicago Botanic Garden and my.chicagobotanic.org