Quick poll: Does the word “moving” trigger your anxiety?
How about “moving more than 100 plants”?
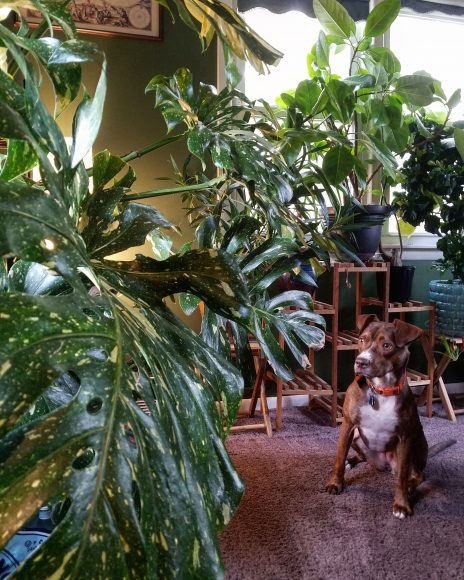
Former Chicago Botanic Garden horticulturist Tom Weaver recently moved to Minnesota to start a new chapter. Along with his husband and dog, he brought his plant family, a love he has nurtured since childhood. “My mom makes fun of me because I knew the Latin names of plants before I could read,” he said.
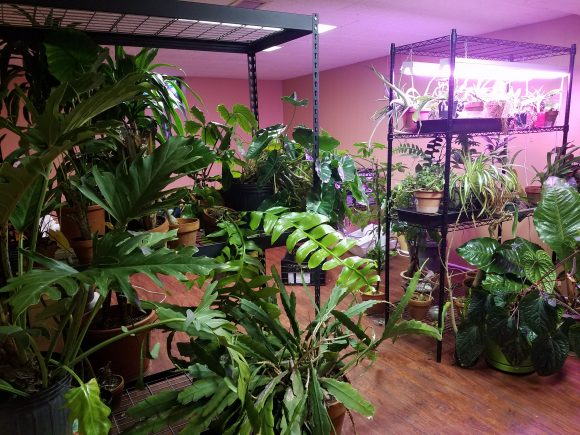
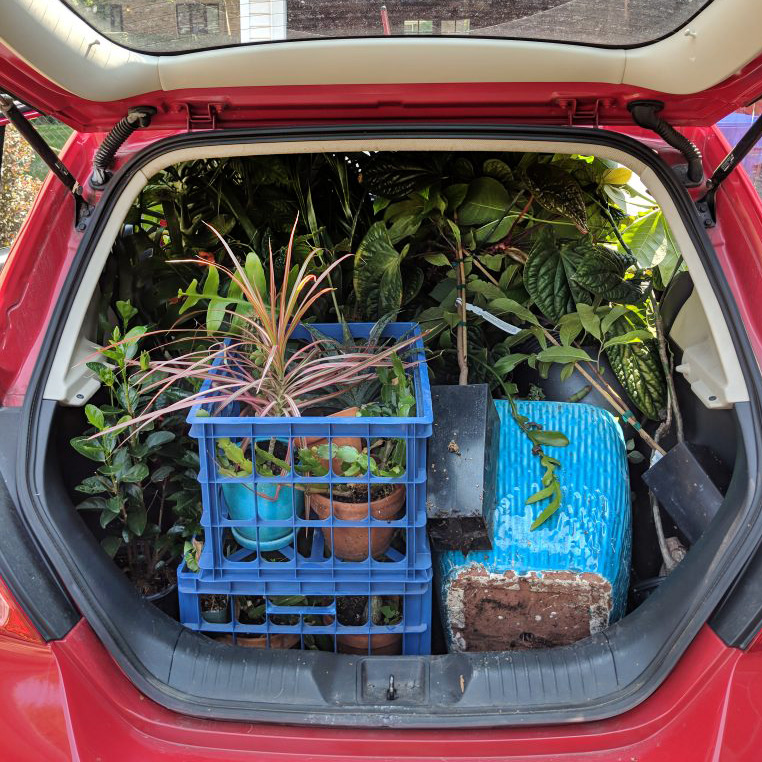
Now he’s a proud plant parent to more than 100 plants. The collection is impressive, to be sure. But just how does one transport a thriving plant collection?
As I prepared for my own move (only a few blocks away), I sat down with Weaver to learn how to make the transition happy and healthy for my green, leafy friends.
- Research state restrictions for plants
“First you have to consider—if you’re moving across state lines—whether you can even bring your plants,” said Weaver. “California, Florida, Arizona … pretty much any warm-climate state has strict rules about what you can and cannot bring because there are so many agricultural pests.” For a current listing, refer to the National Plant Board.
- Sort and purge
Just as you might sell, donate, or trash unwanted clothes, take a good look at your plants. Toss any you don’t want to bring to your new home. “Why bring something if you’re just going to throw it away once you get there?” Weaver said. “Now is the time to get rid of anything disease or insect-infested.”
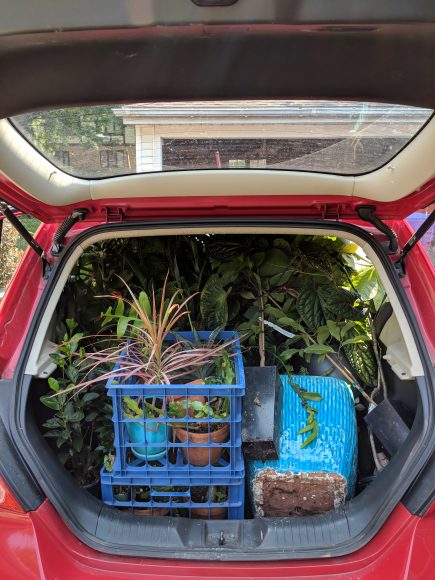
- Make cuttings of large plants you can’t move
If you’re like Weaver, you may want to take only a cutting of large specimens like his 6-foot monstera or 8-foot dracaena. Decide whether you want to bring the whole plant, or save room in your moving truck by taking a cutting (and gifting the large plant to a friend). “The nice thing about aroid plants like monstera is the vines have roots growing all over the place,” said Weaver. “You can easily chop a leaf off and root it without really having to think about it.”
- Pack plants with care
Make sure plants are packed snugly in boxes so they don’t move and break. Weaver recommends wrapping plants in newspaper so dirt won’t spill, and so that plants like cacti don’t poke holes in their plant buddies.
- Water plants before moving
Plants can tolerate two to three days in a box without any major problems, said Weaver. Just be sure to water them before you leave, especially if you’re driving through intense heat. “If it’s going to be 100 degrees and you make pit stops along the way, your plants will get hot,” said Weaver. “You’ll want to water them enough to get them through the trip.”
- Be patient with the adjustment
Getting used to a new home goes for your plants, too. “Once you get to your new place, they’ll go through some transport shock,” said Weaver. “They may lose a couple of leaves. With anything, adjusting takes time. It’s best to put your plants in a spot that is a similar environment to their old home.” Be patient with the learning curve.
©2018 Chicago Botanic Garden and my.chicagobotanic.org

 Install night accent lighting